Ability to Edit their Own Emails
Enhance employee training by empowering trainers to customize their email communications effortlessly
1. Introduction
This guide will walk you through the process of editing emails within the application, enabling trainers to tailor messages to their audience effectively.
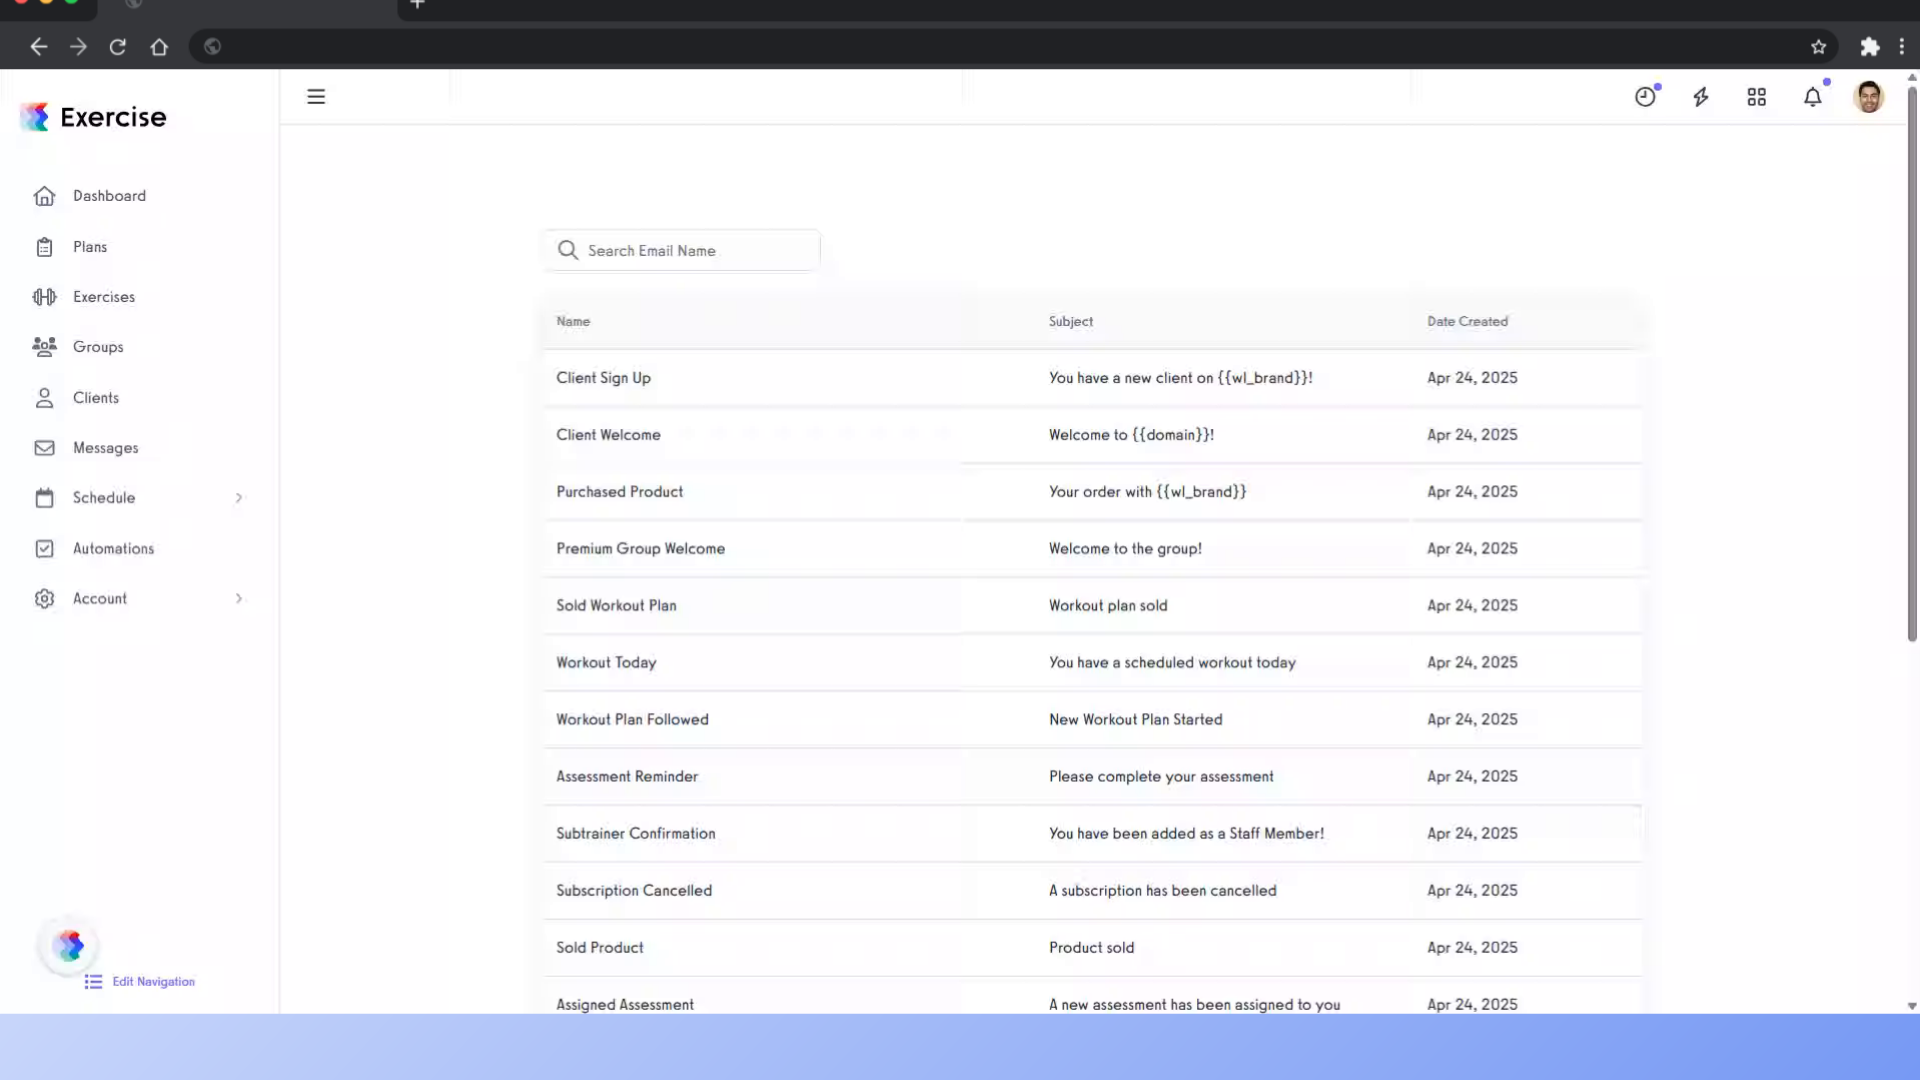
2. Here you can see the “Name”, “Subject” and “Date Created”
Here you can see the “Name”, “Subject” and “Date Created” of a email template.
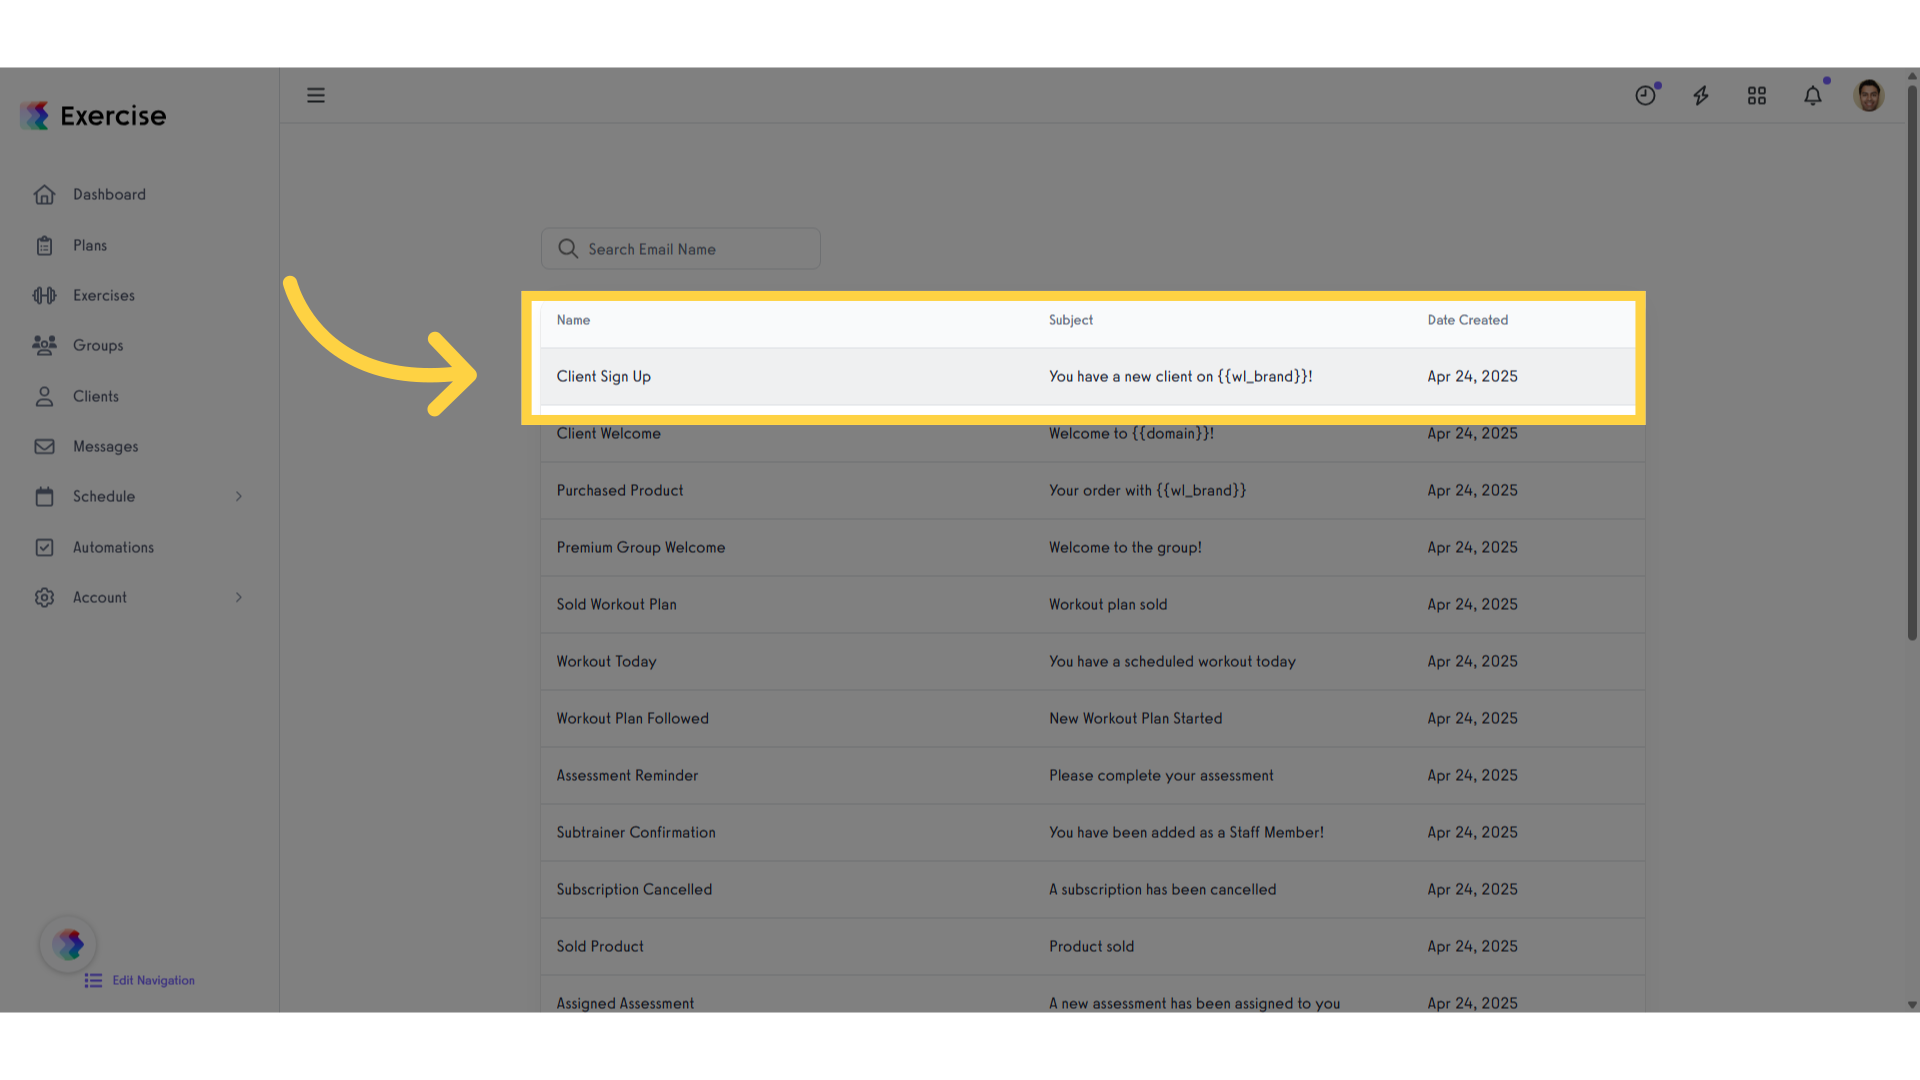
3. Here you can search for a specifc email
Here you can search for a specific email template.
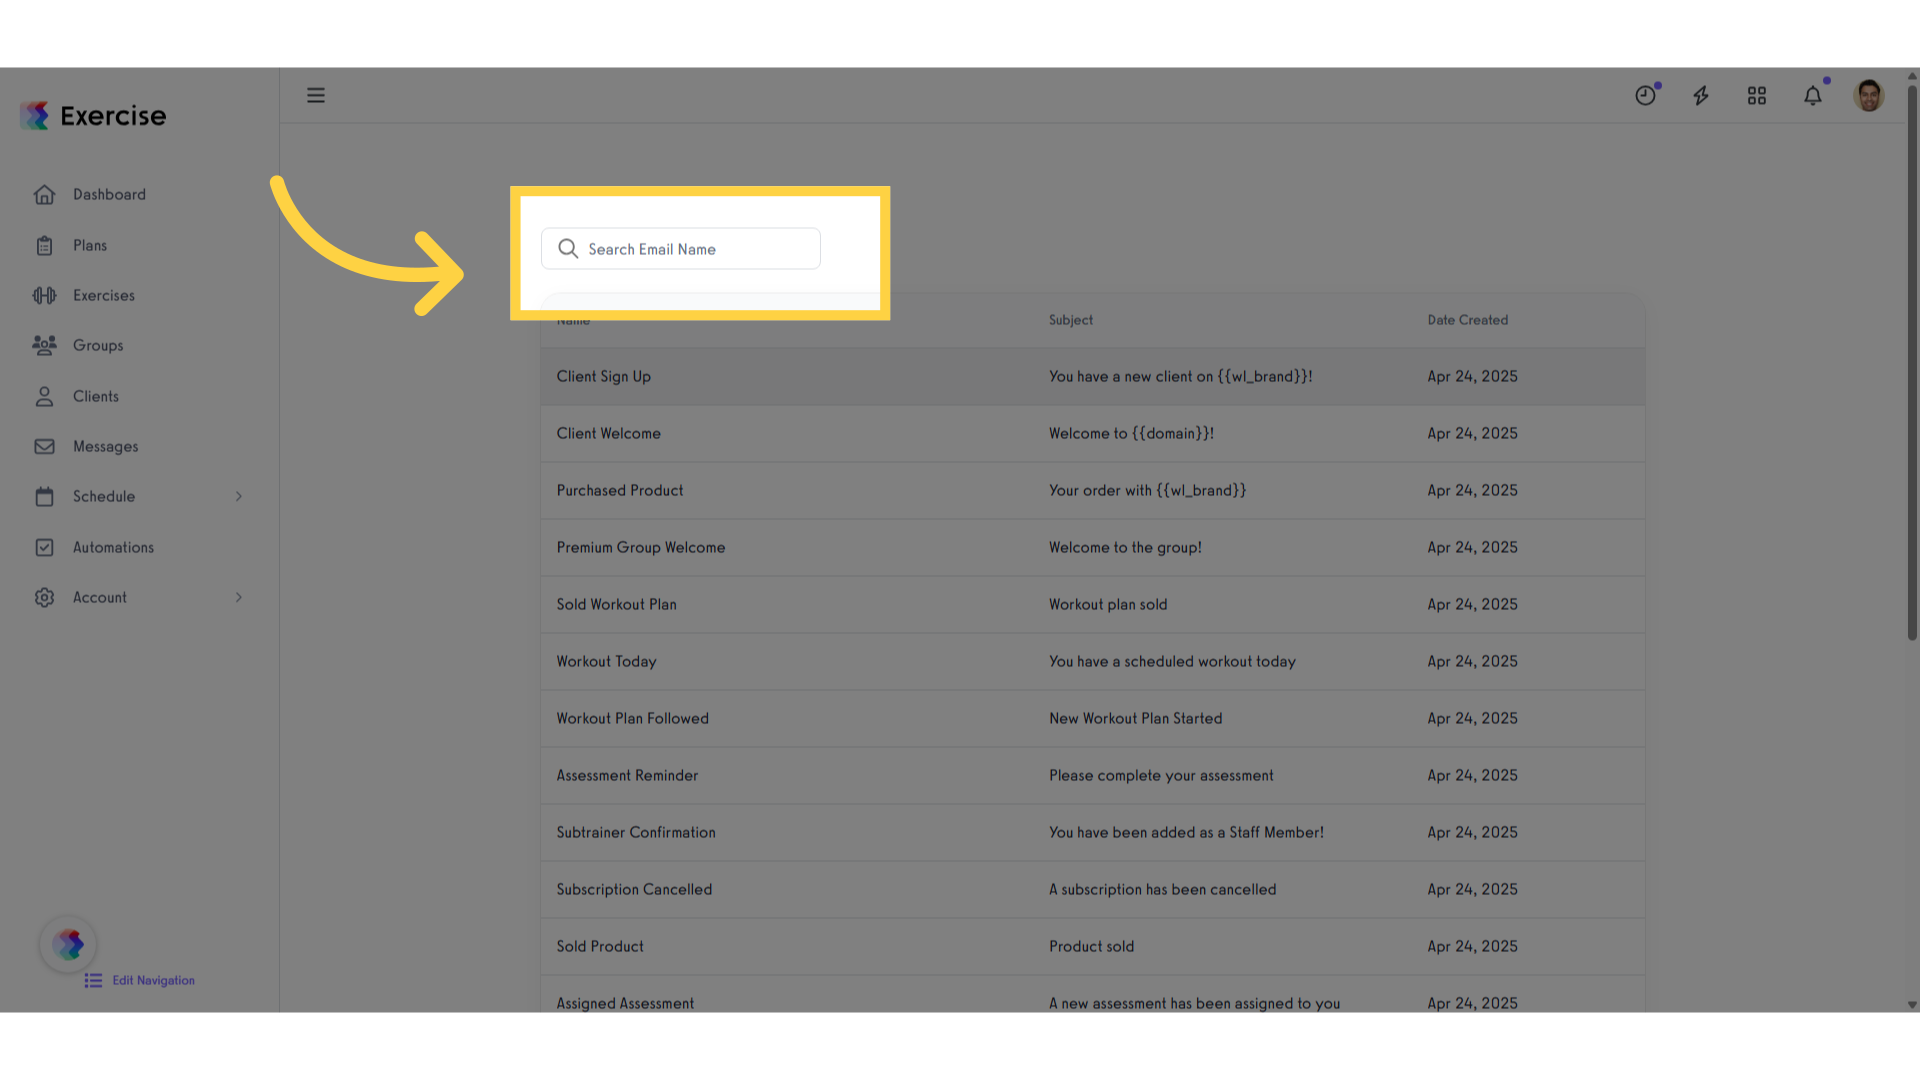
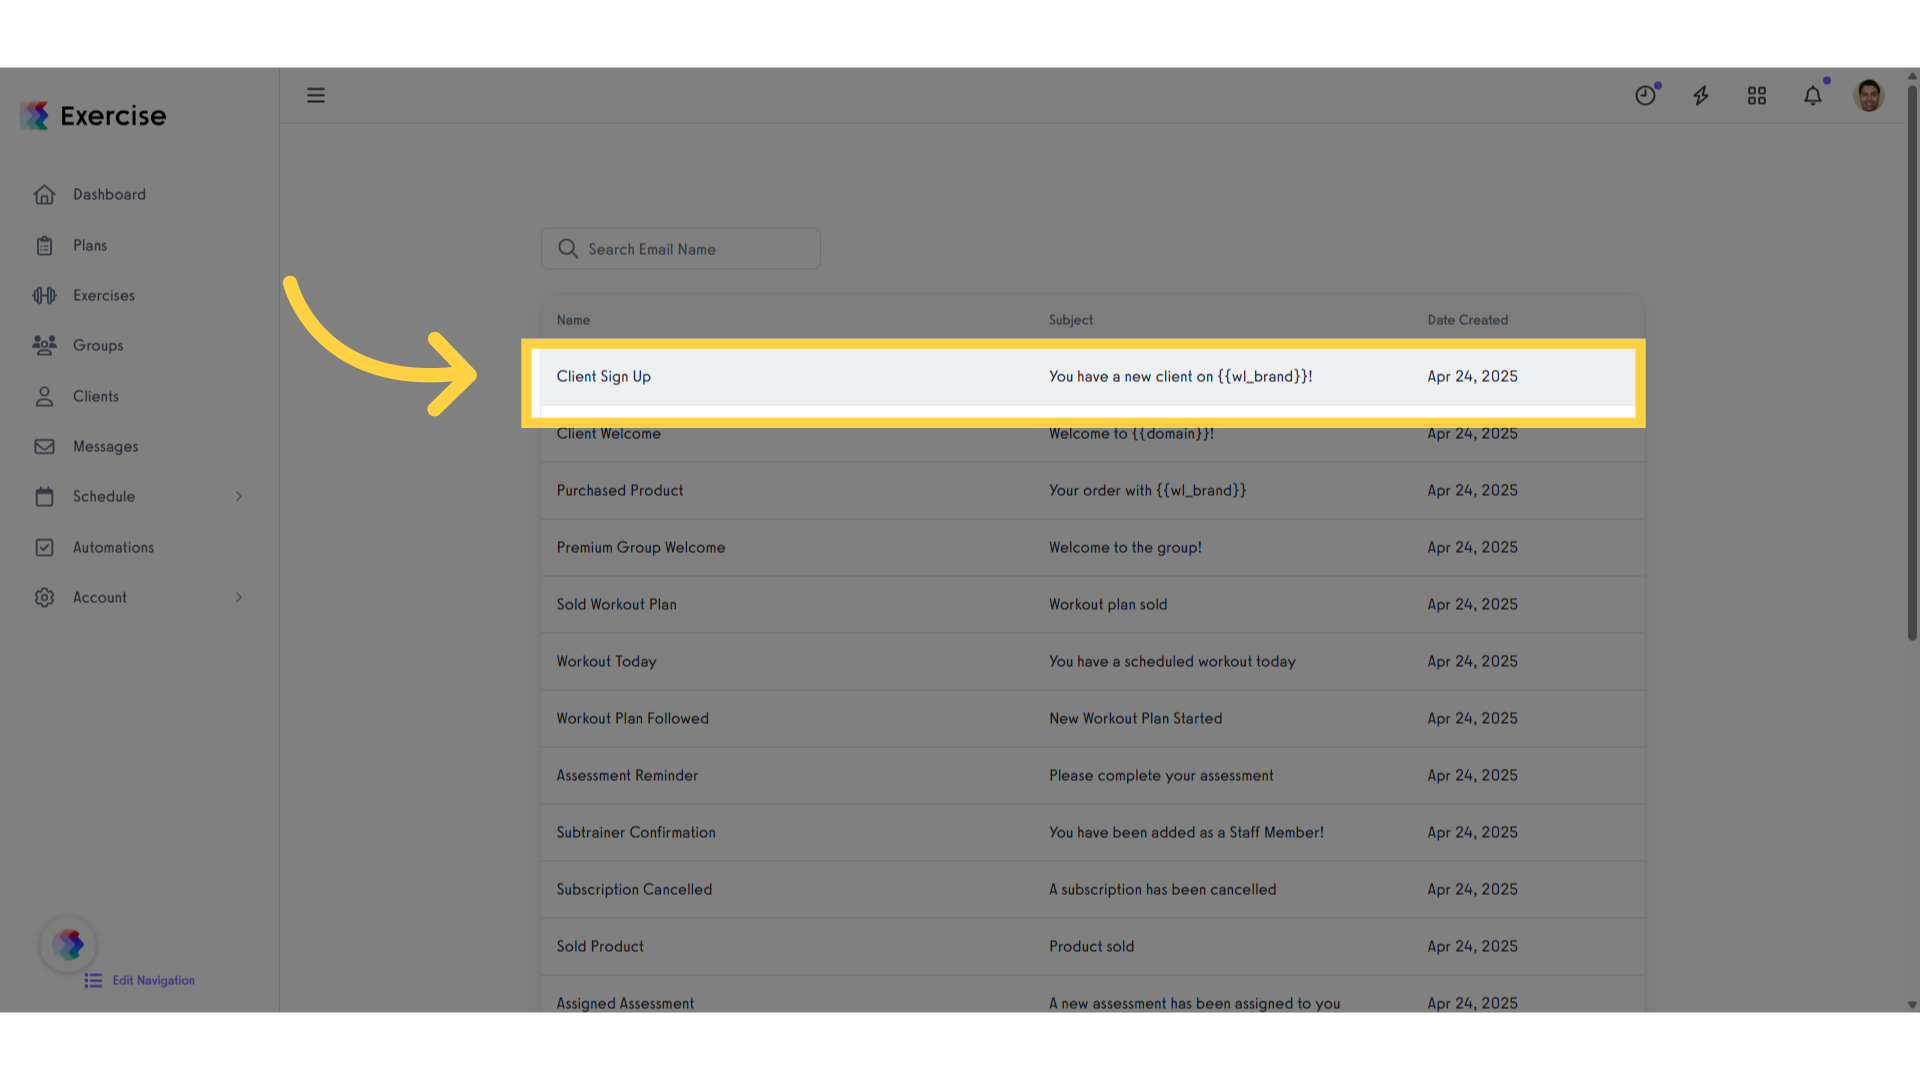
4. Click on the email template desired.
Select the email template you’d like to edit to access the editing section.
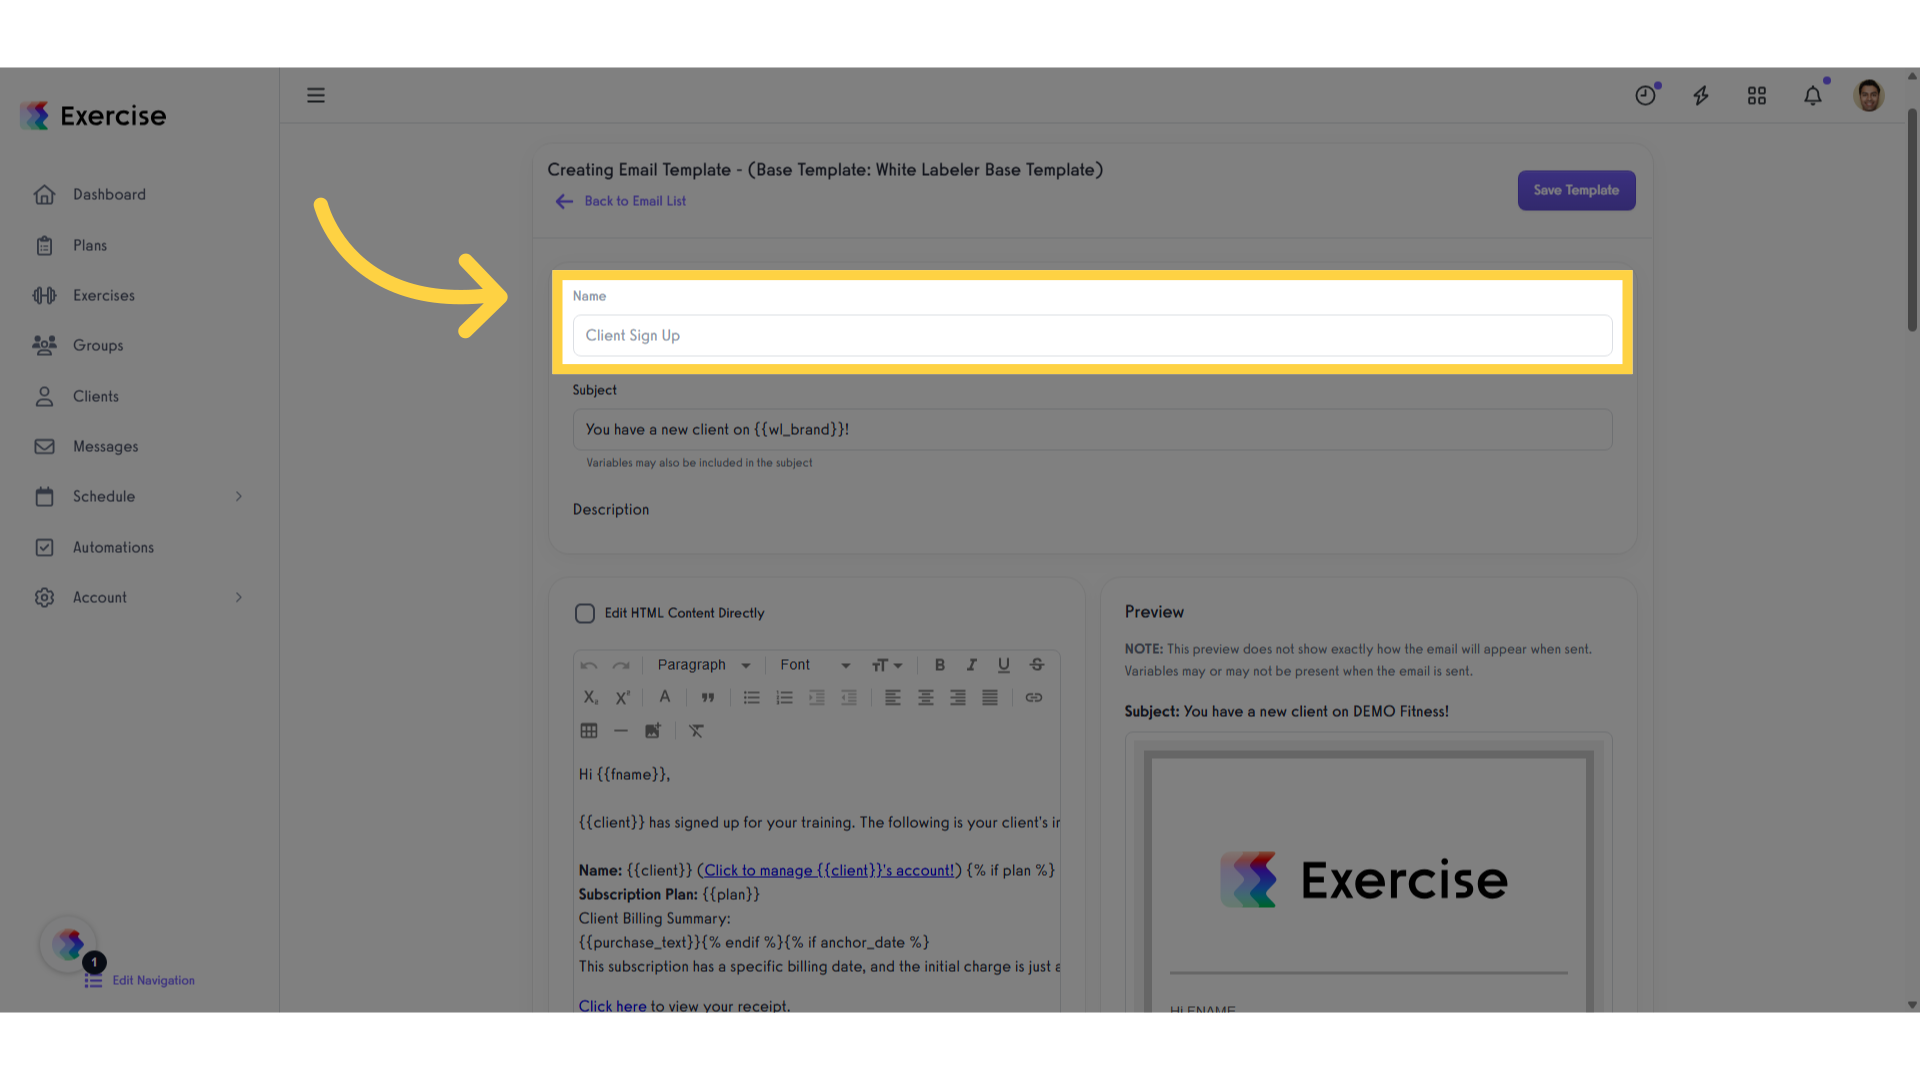
5. Here is the “Name”
Here is the “Name” of the email.
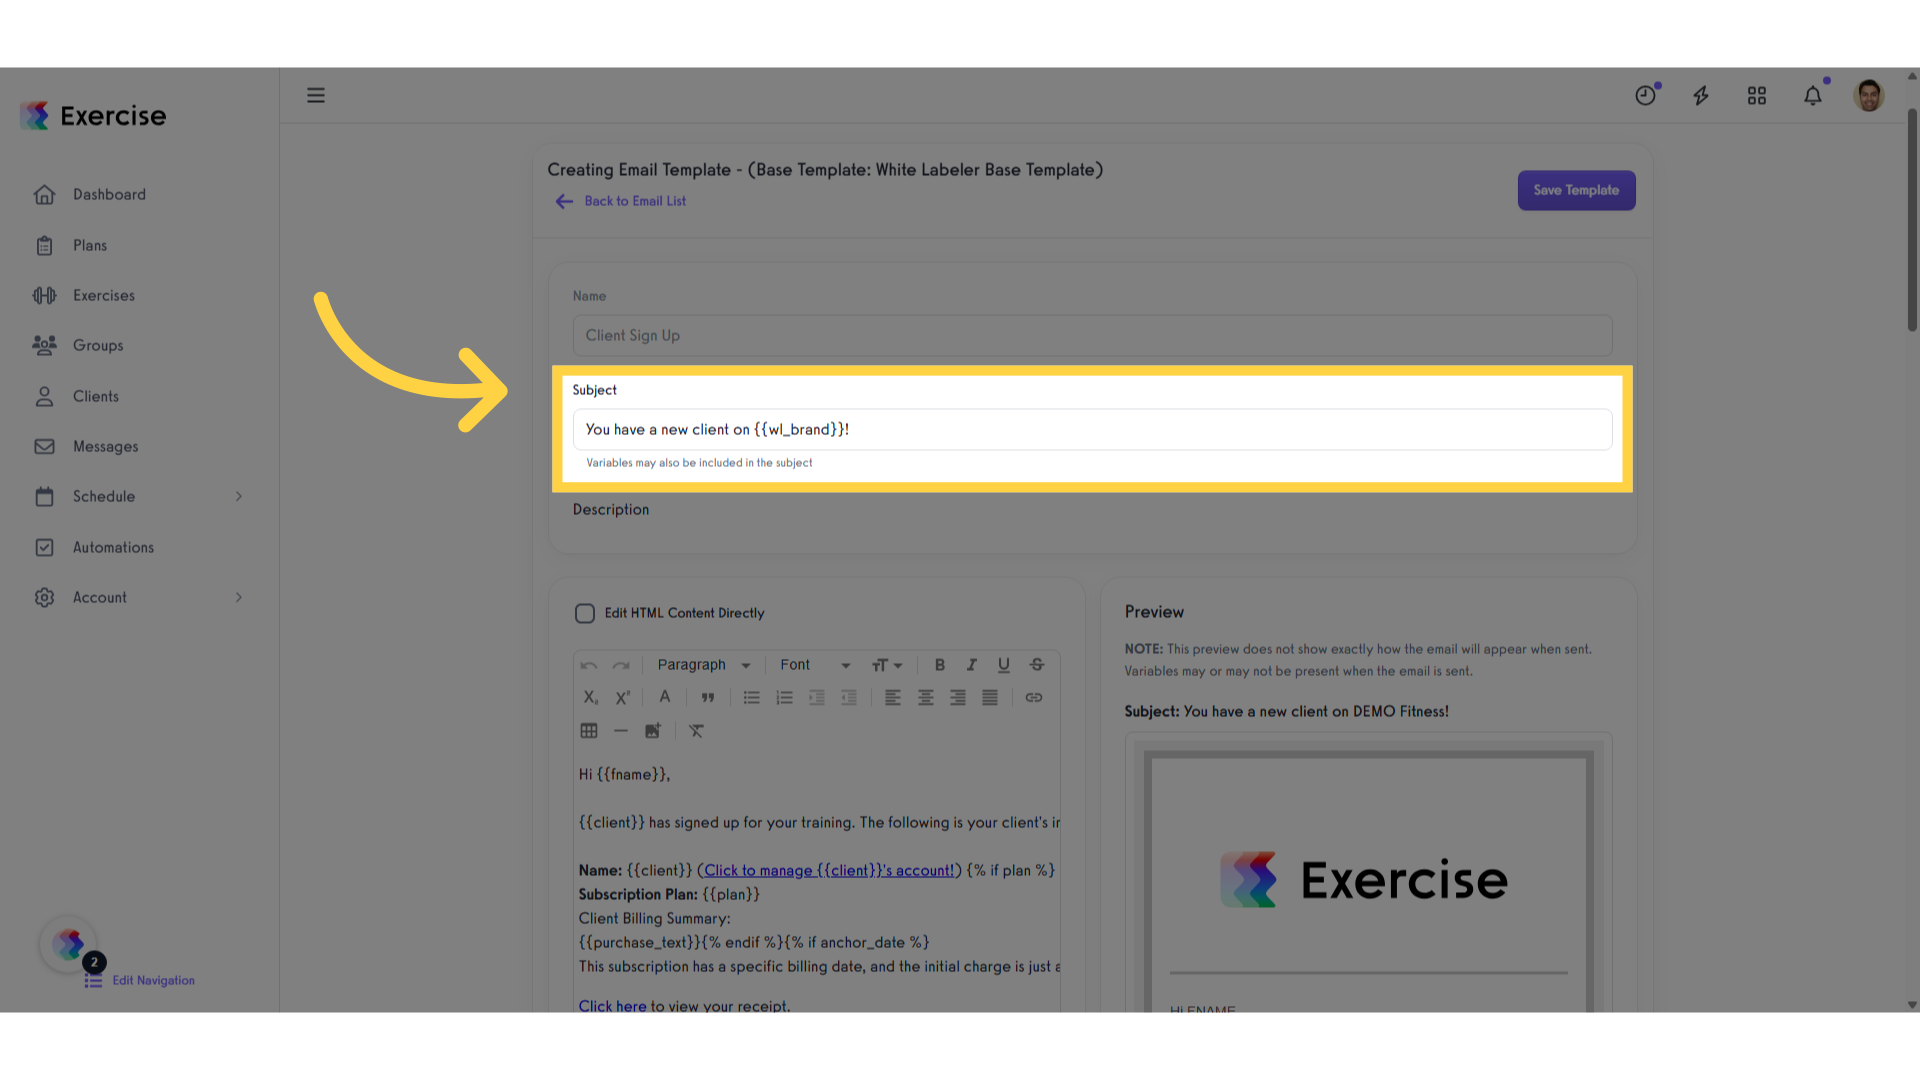
6. Here is the “Subject”
The “Subject” field can be edited. Notice that {{wl_brand}} is the name of your platform.
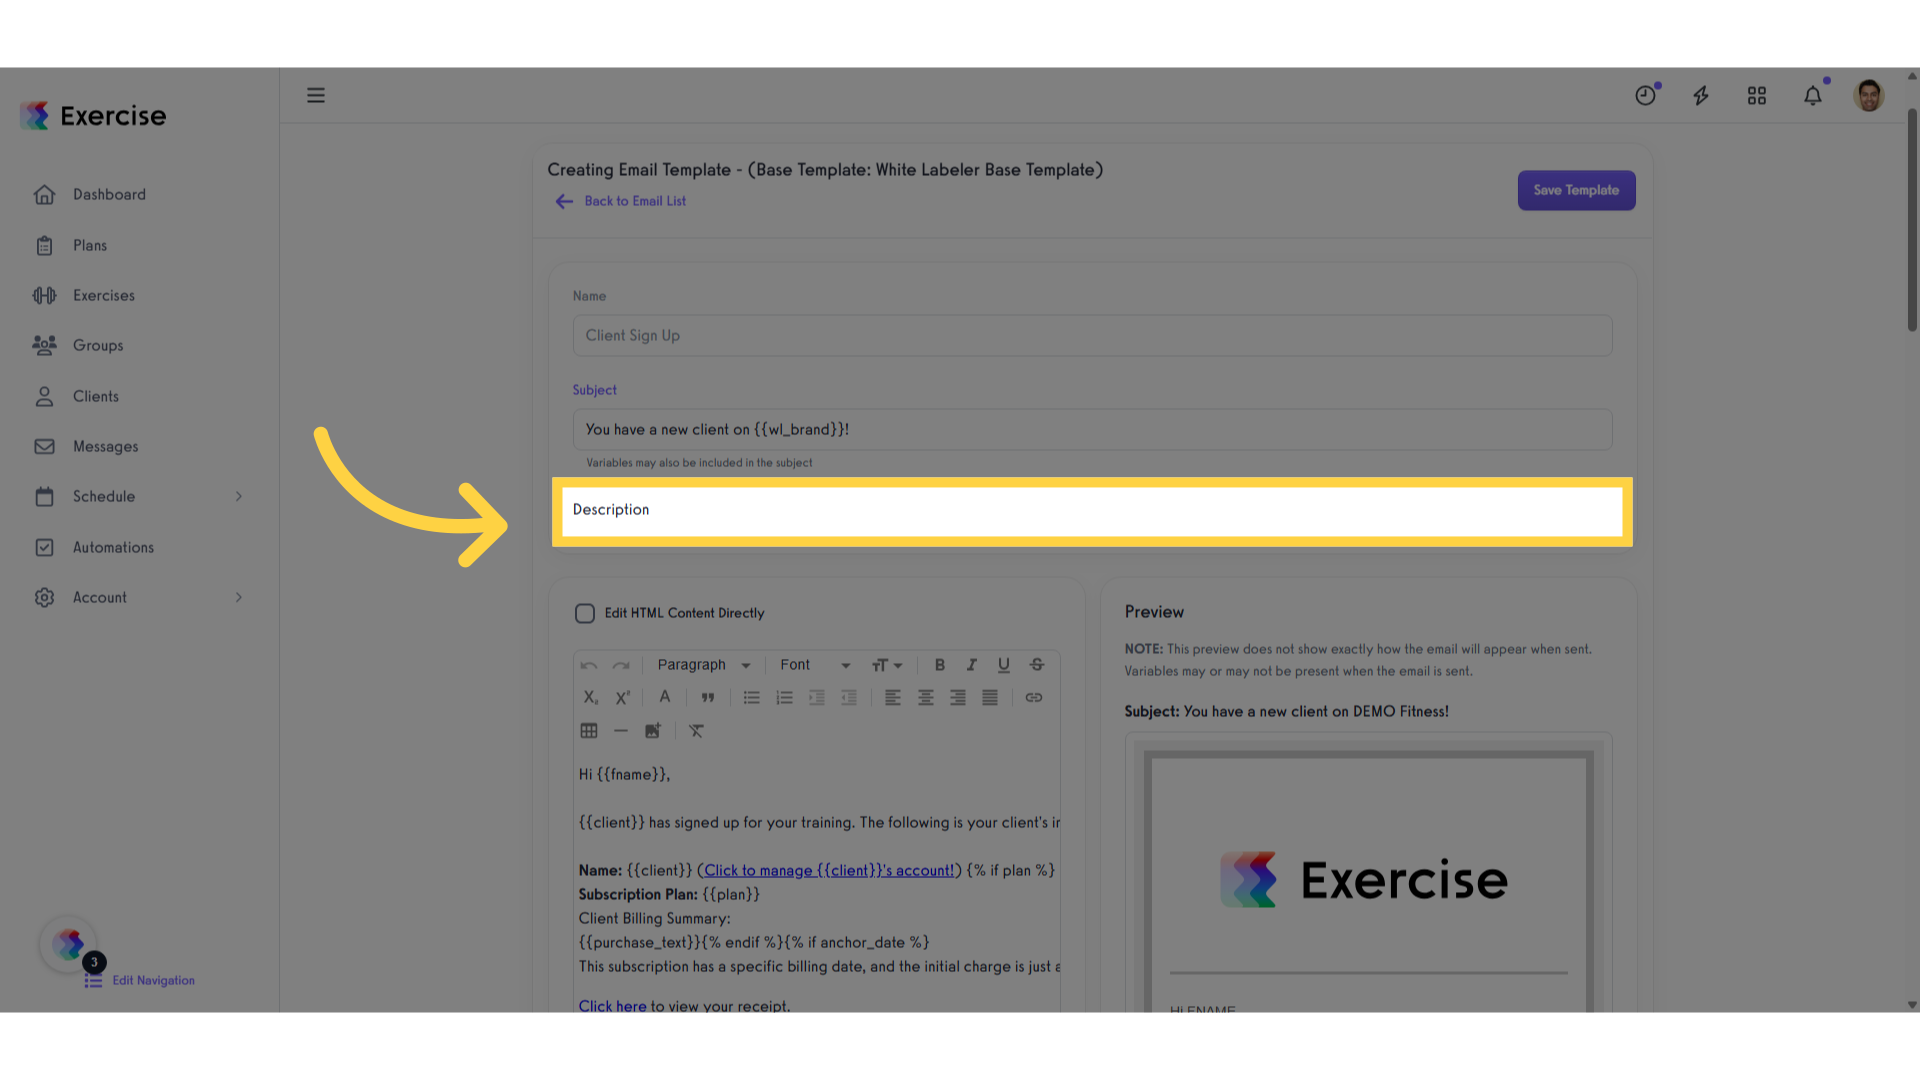
7. Then we have “Description”
The description field contains the email’s content. You can enhance it by adding images and URLs, and feel free to modify the text as needed.
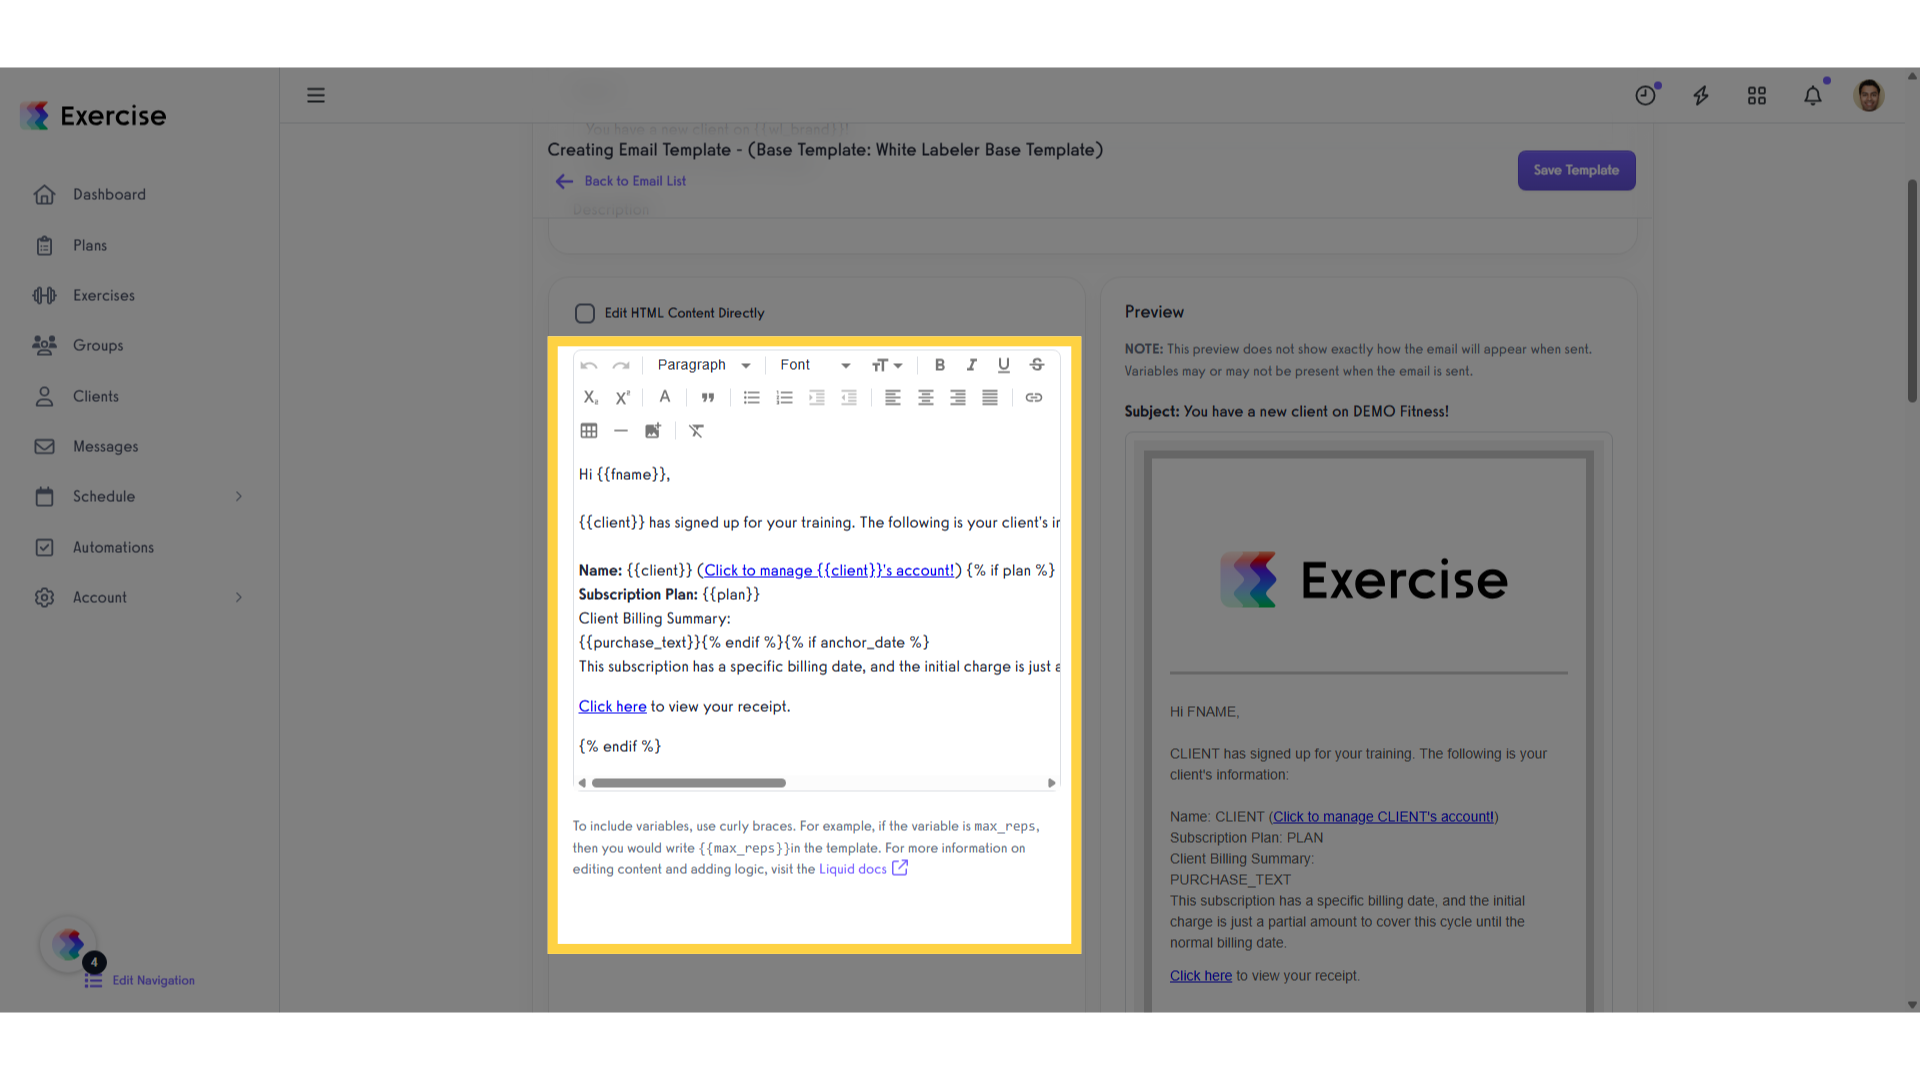
8. Edit description
To update the description, simply modify the designated field accordingly.
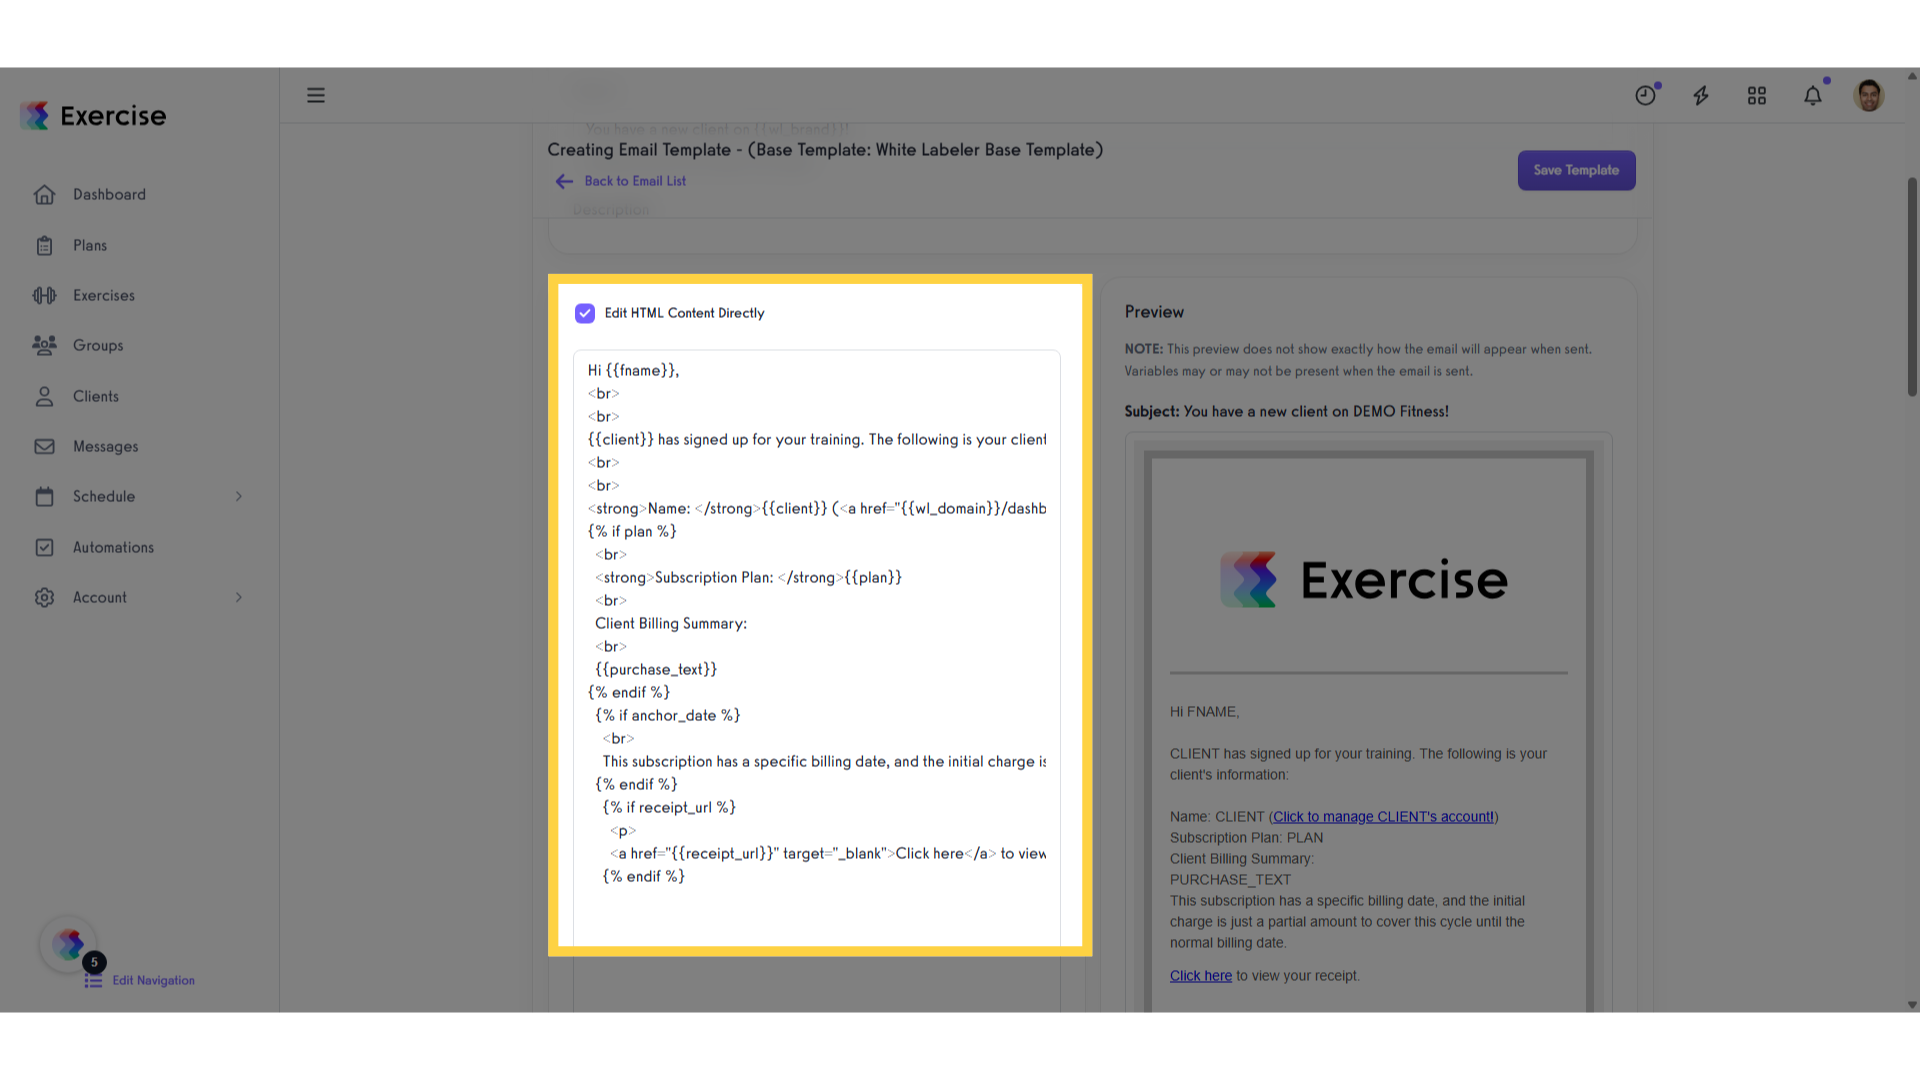
9. Edit HTML
To edit the description using HTML, simply check the box and proceed with your modifications.
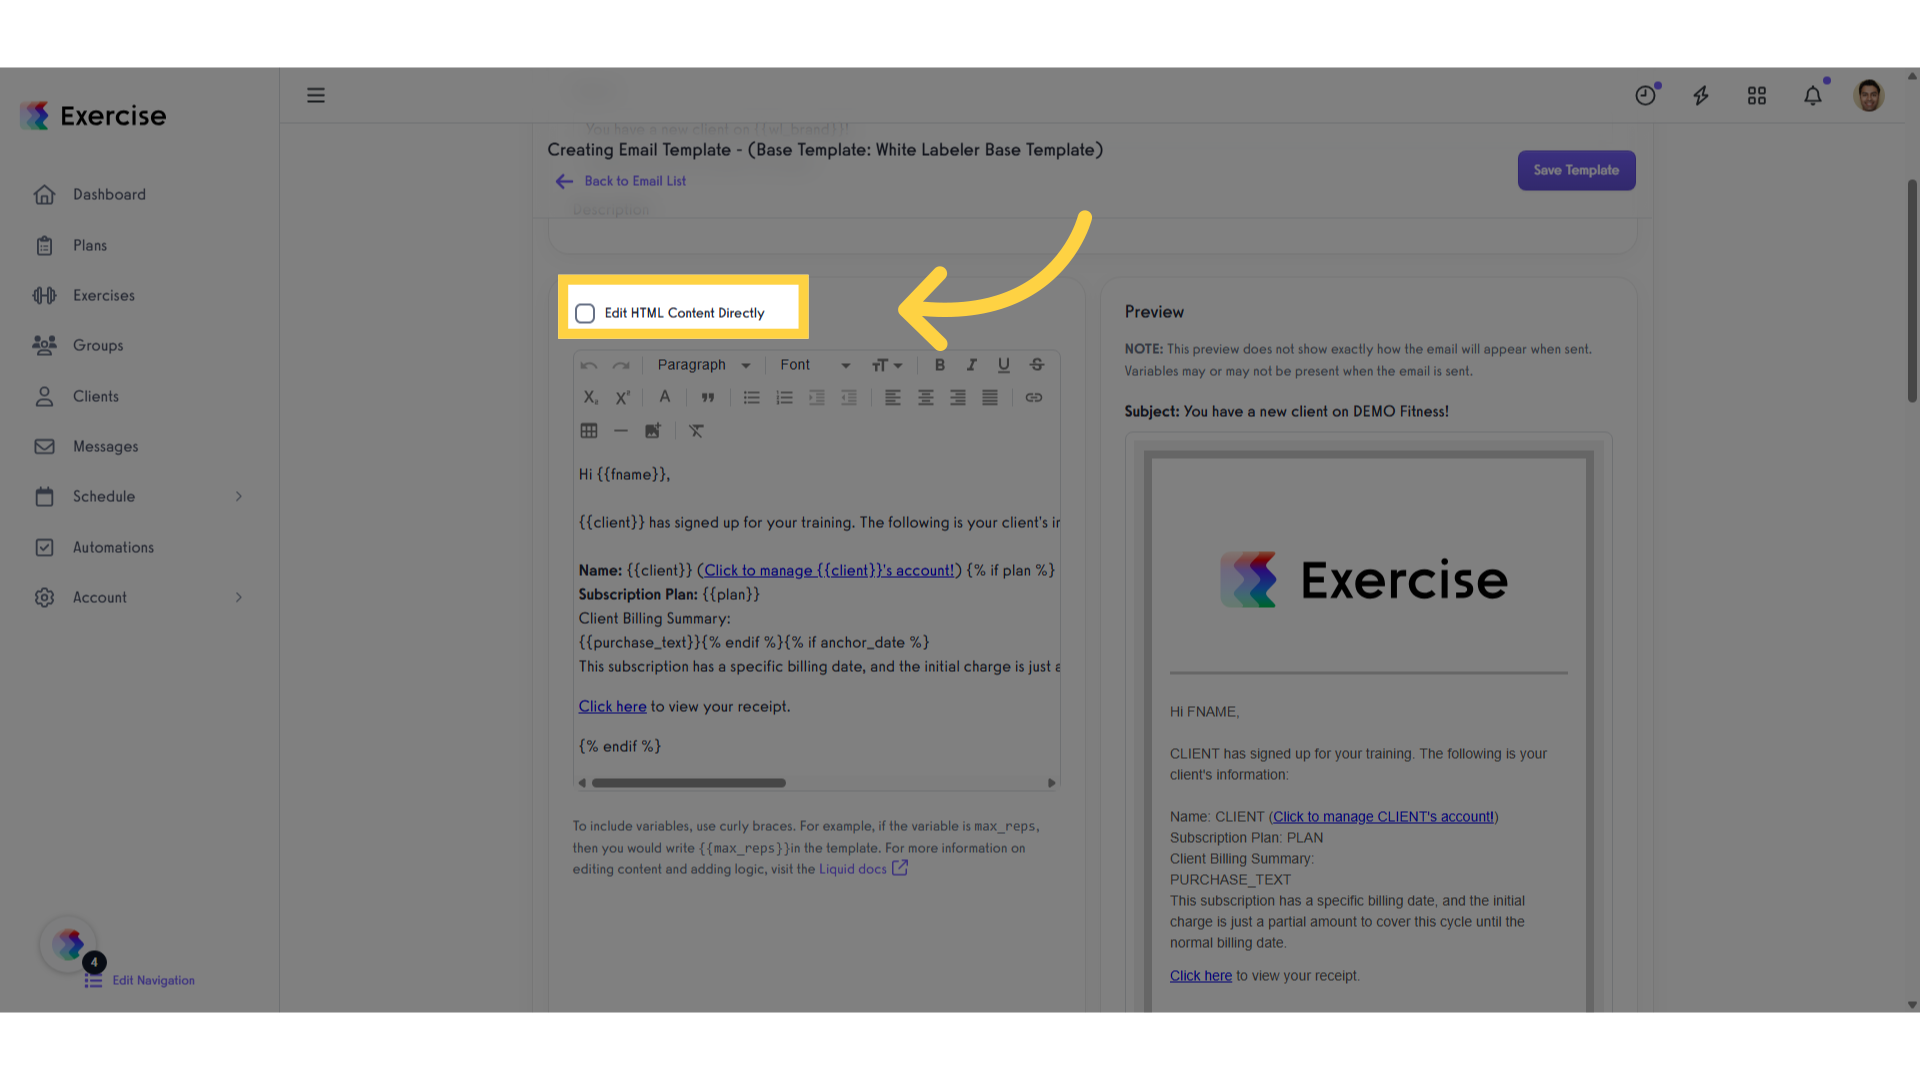
10. Click “Edit HTML Content Directly”
Proceed with the editing.
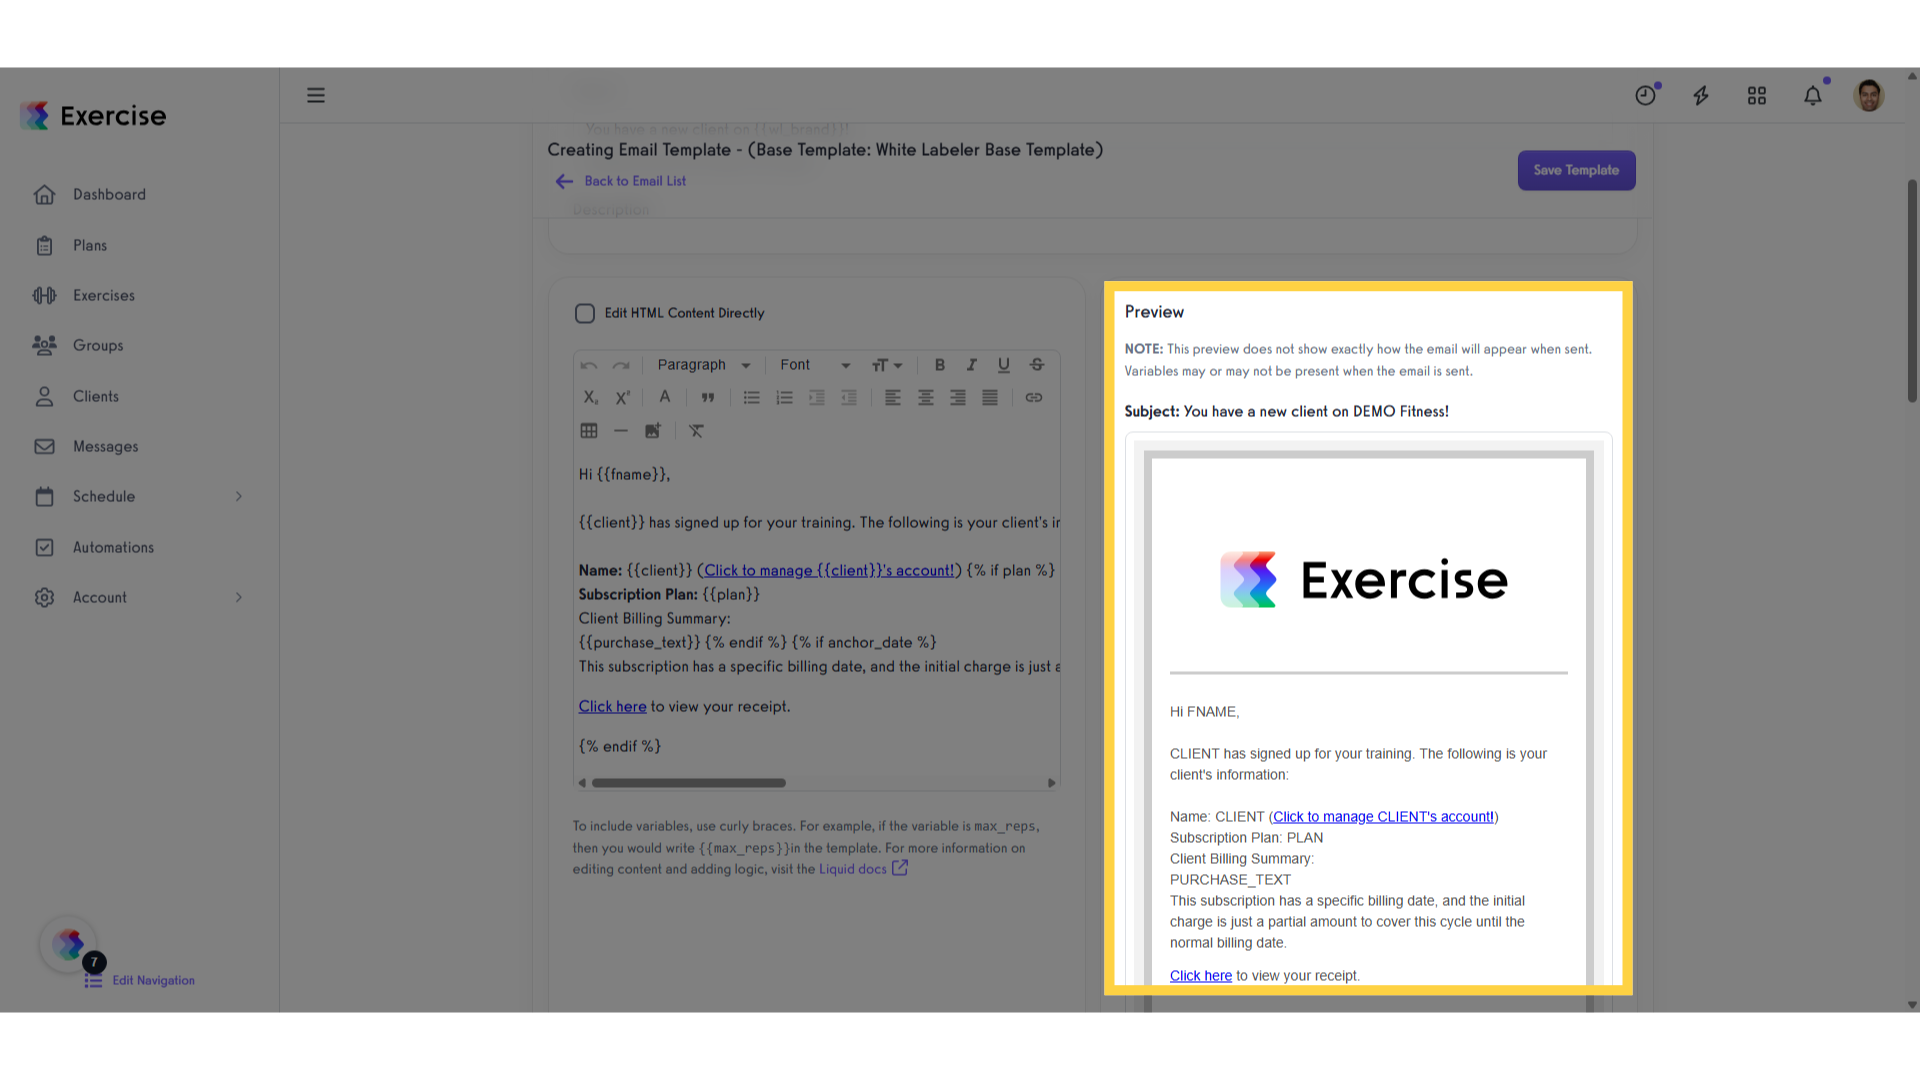
11. The “Preview”
In the preview, you can see how the email will appear to the recipient.
12. The “Preview with Custom Variable Values”
Preview the email draft featuring customizable variables. You can incorporate these elements based on your specific requirements.
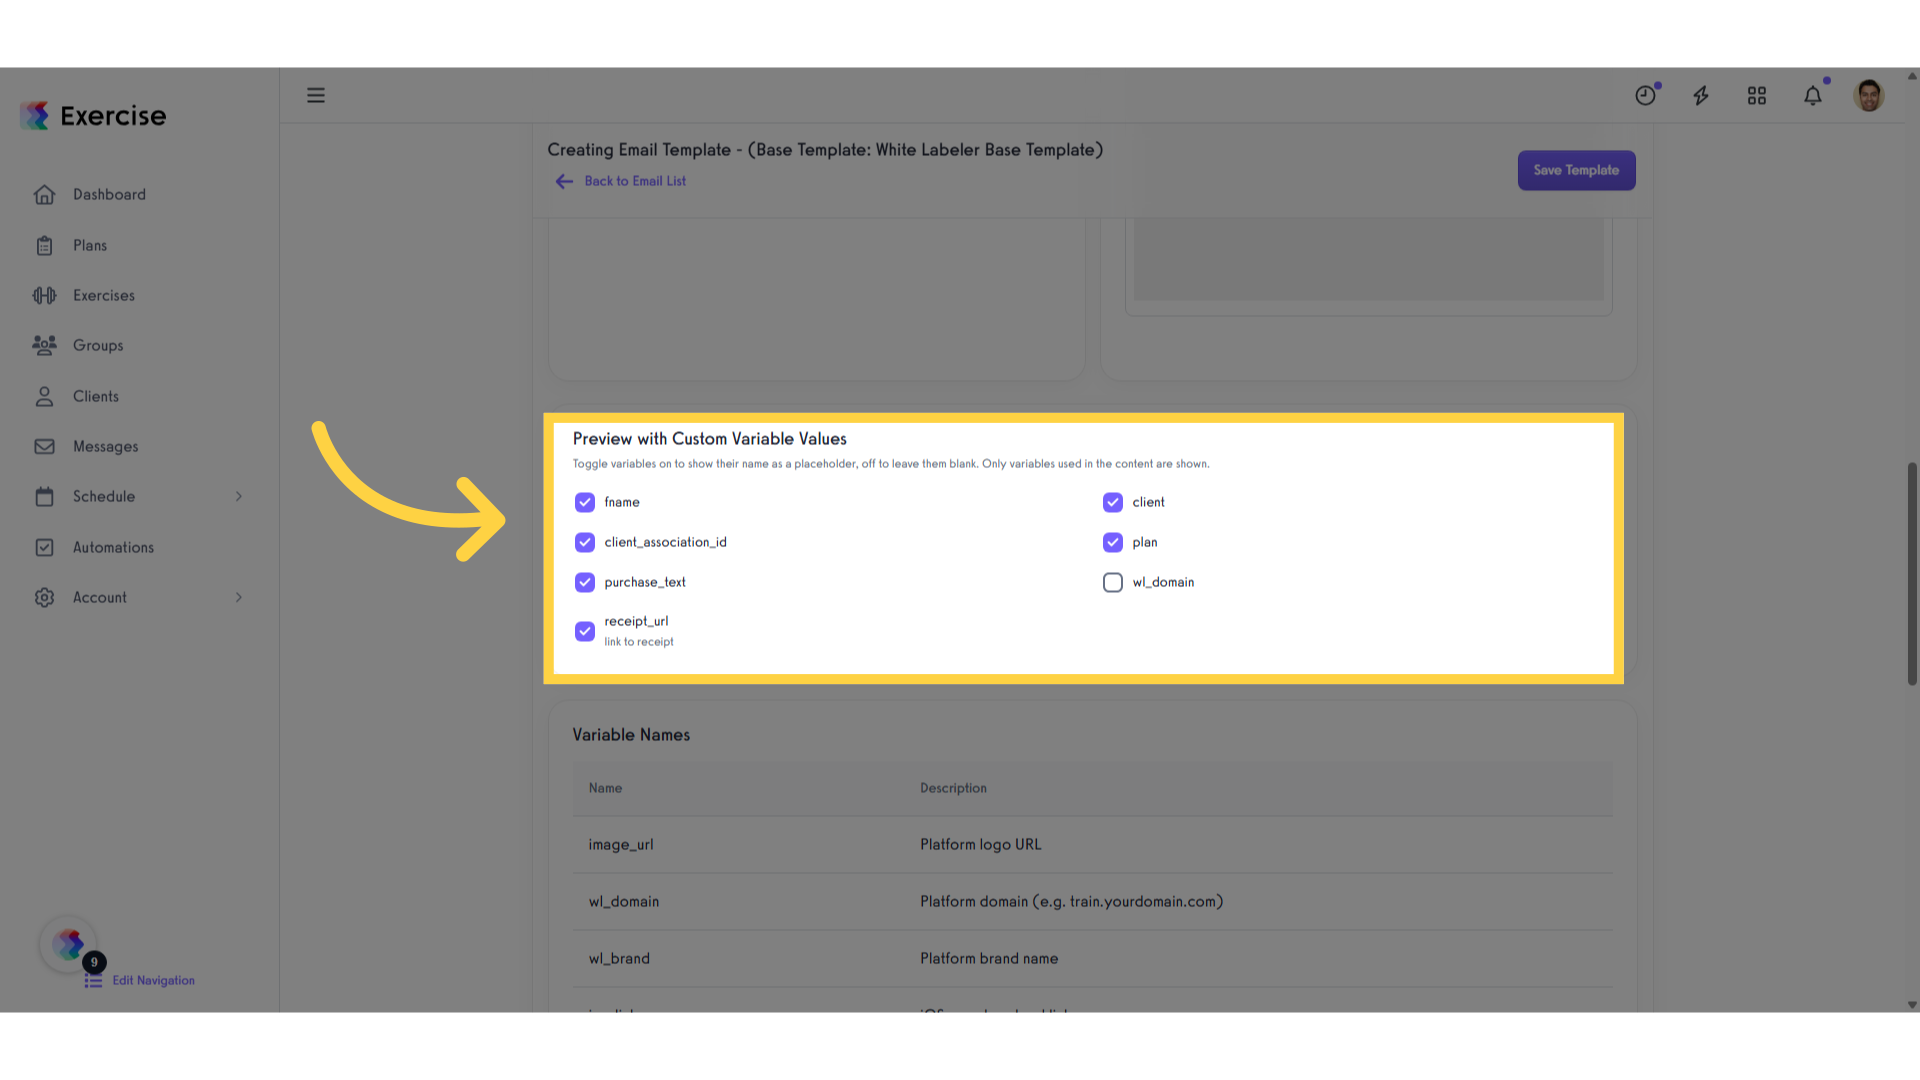
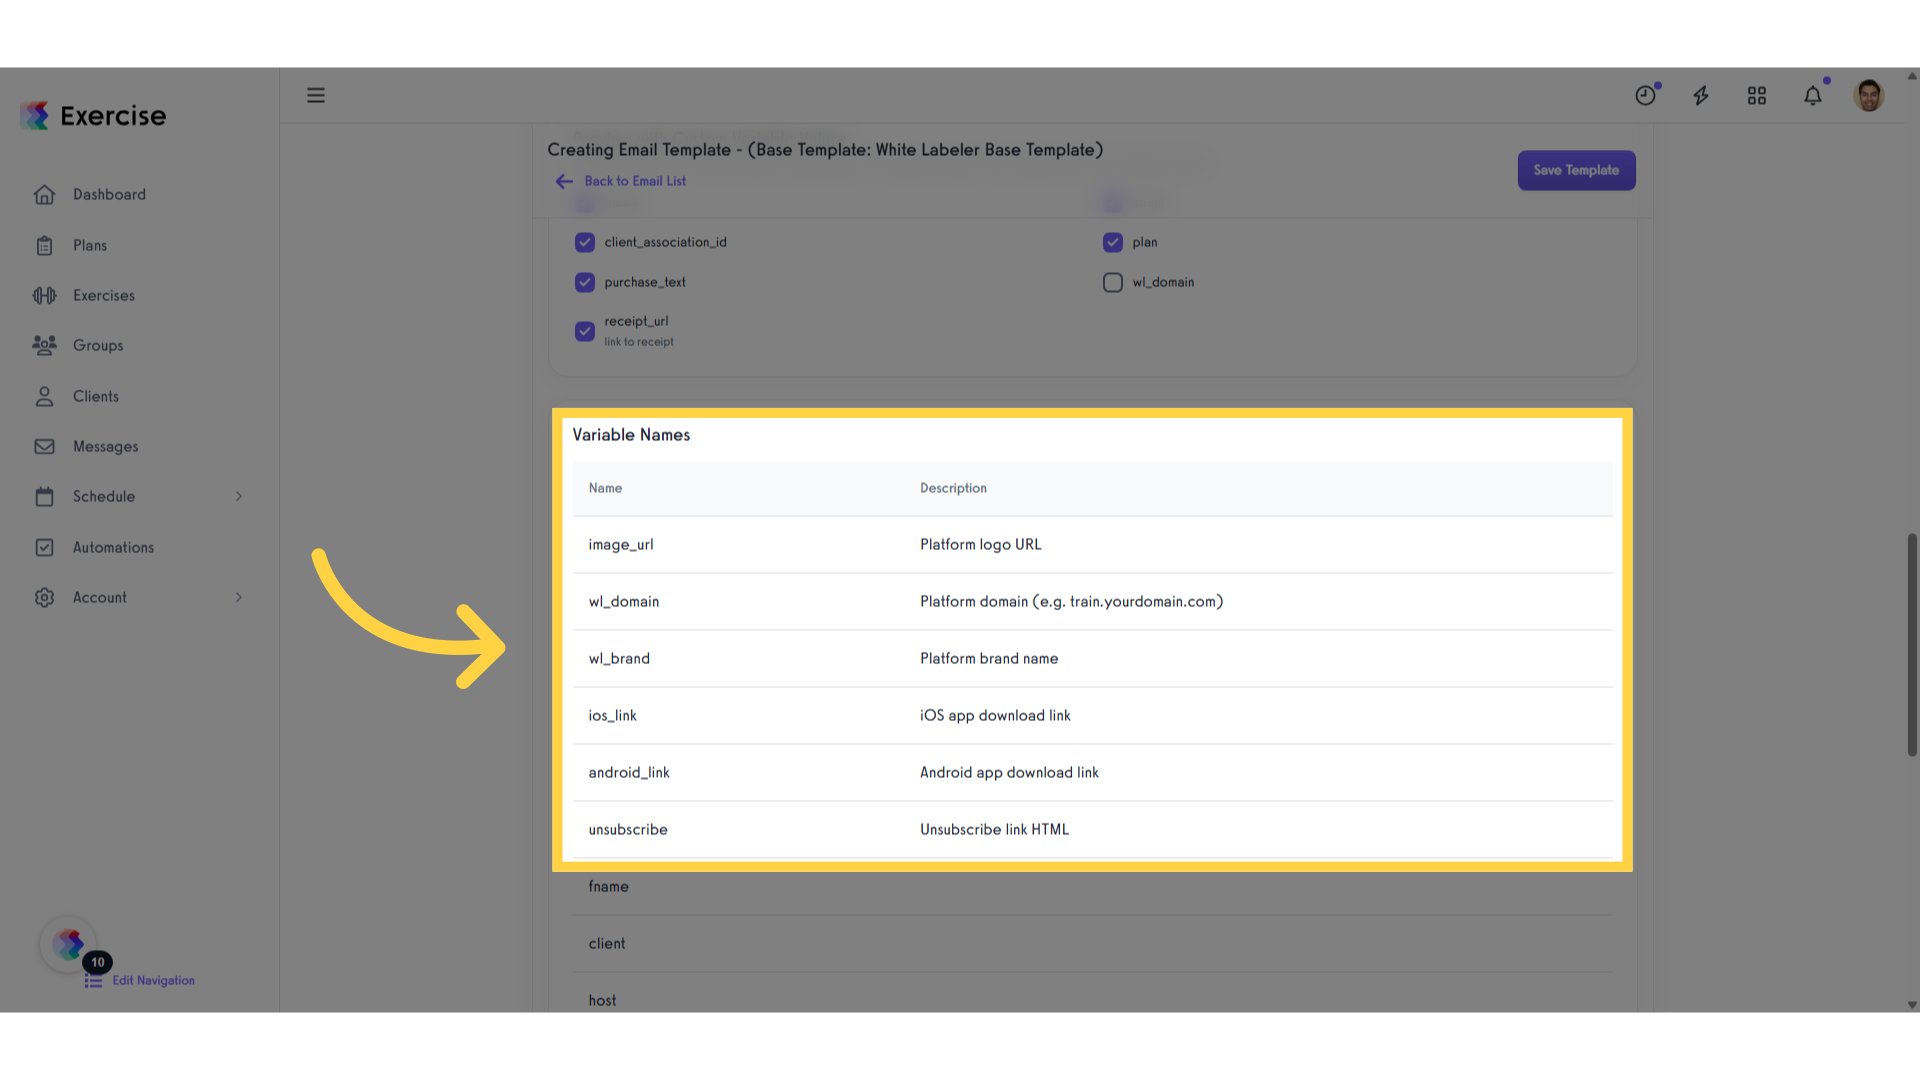
13. The “Variable Names”
Here you can visualize the variable names. With their respective name and description.
14. Click “Save Template”
Save the template.

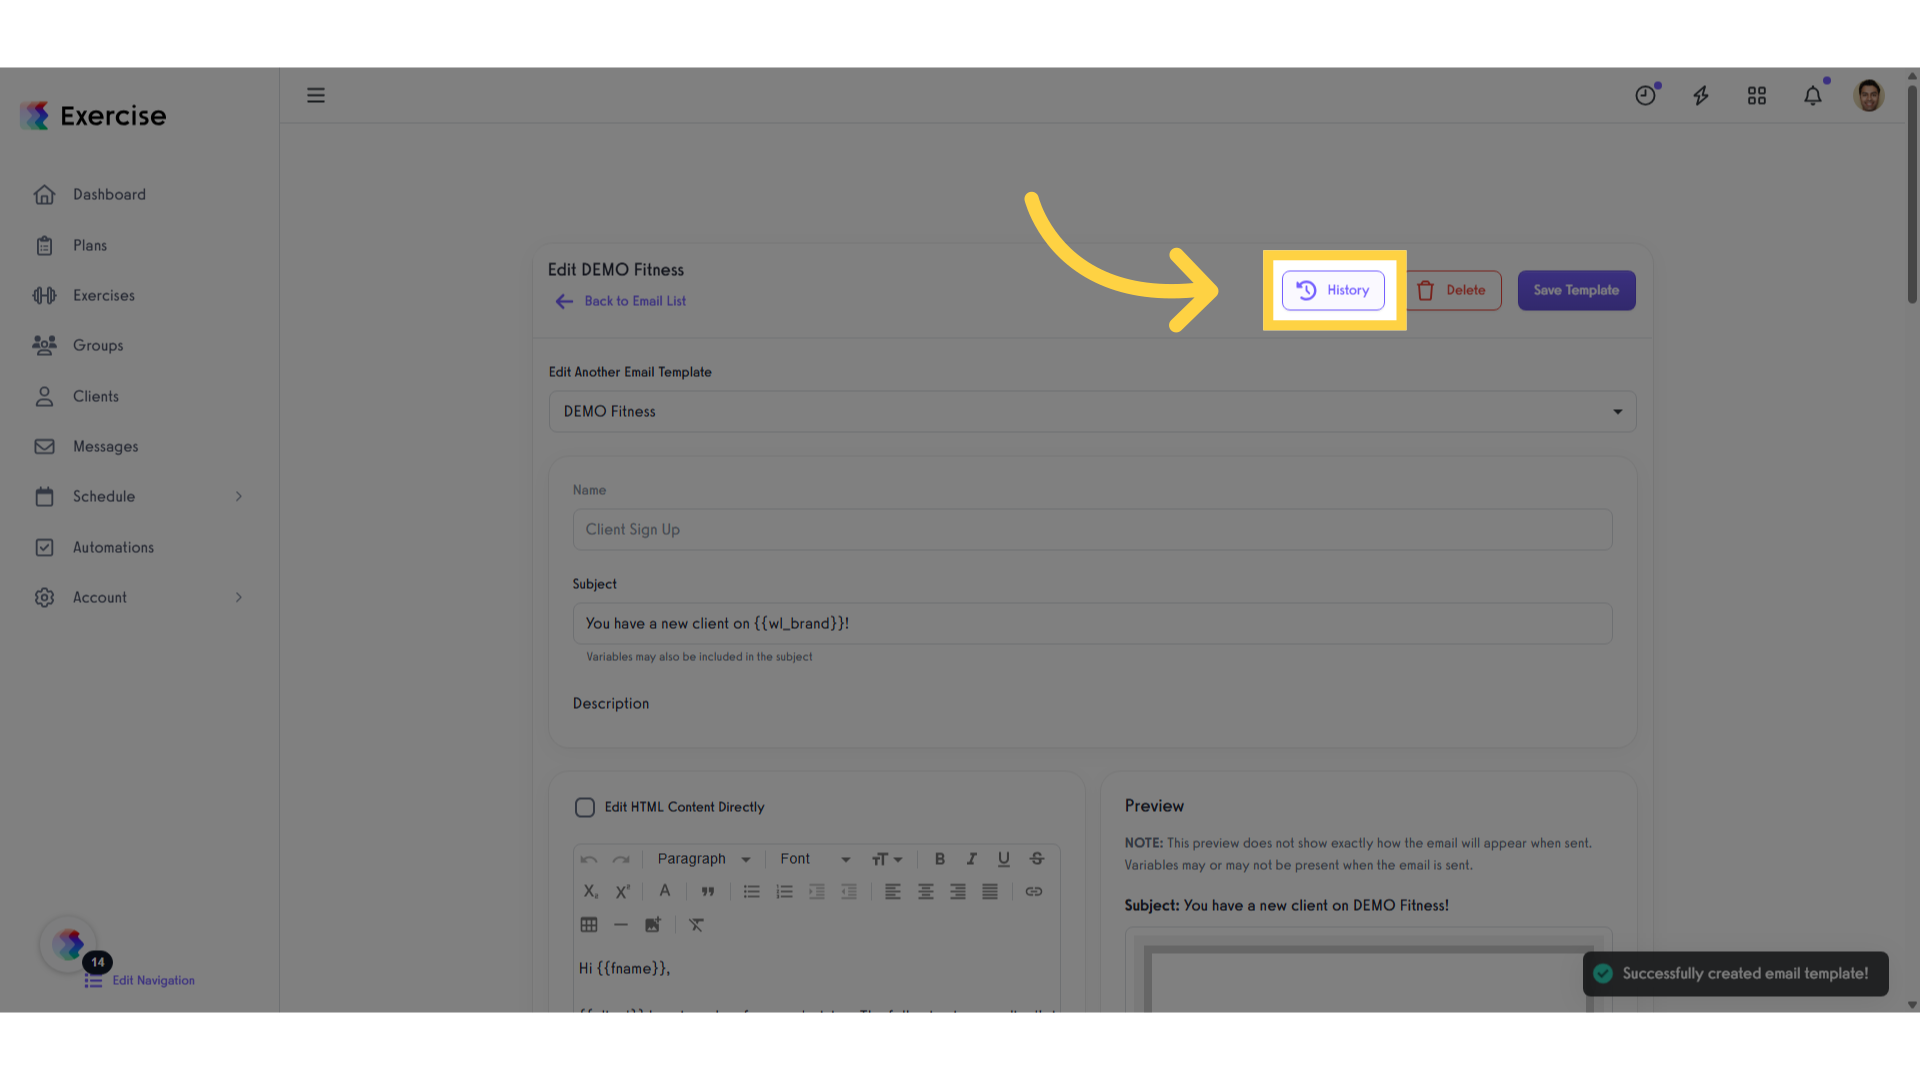
15. Click “History”
Access the email template history.
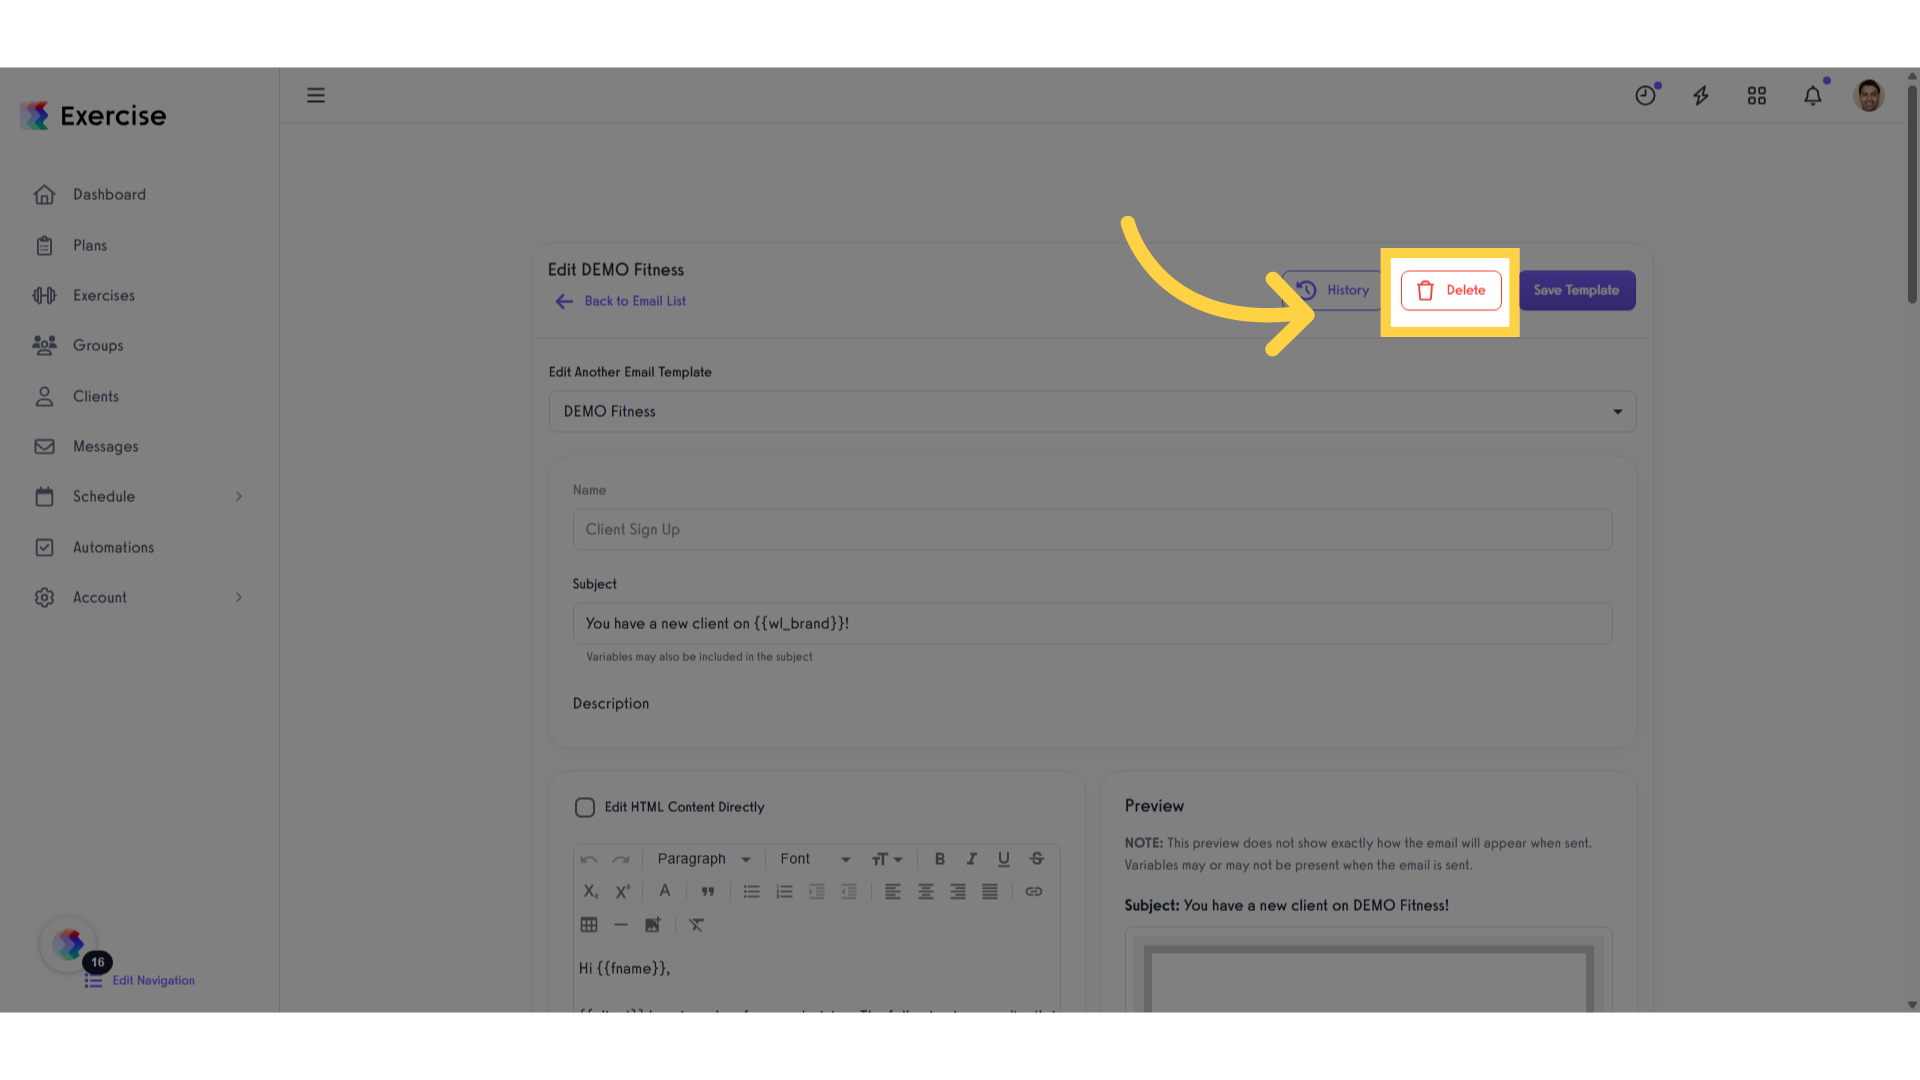
16. Click “Delete”
To delete an email template, please be aware that this action is irreversible. Once deleted, the email template will be permanently removed.
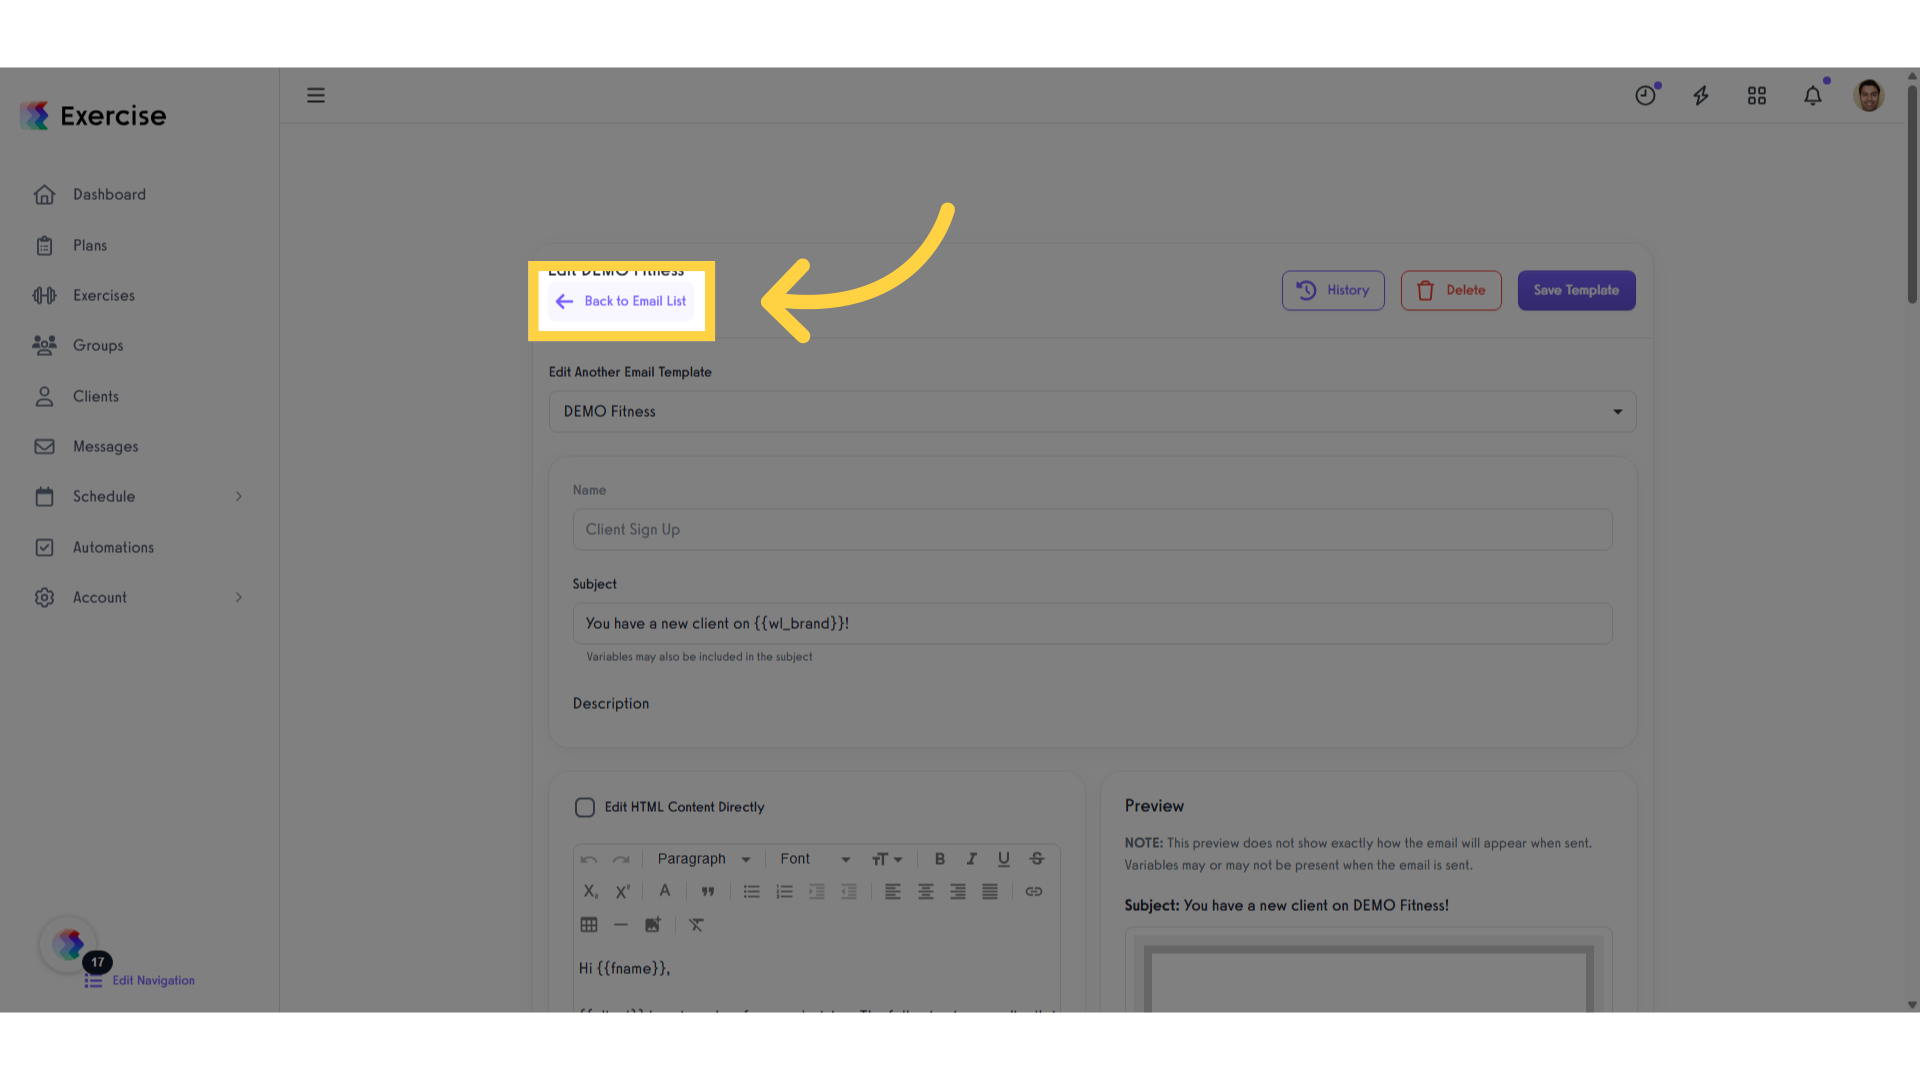
17. Click “Back to Email List”
Return to the email list.
This guide covered the steps required for trainers to edit their emails, from accessing email notifications to customizing templates and reviewing previous versions. Empower trainers to personalize communications and streamline the training process efficiently.


