How Do I Charge a Client When Assigning a Workout Plan to Them?
Within our workout software built for personal trainers, you have the ability to charge a client when assigning a workout plan to them.
Starting from the “Clients” tab on your Dashboard, follow the step-by-step instructions below to learn how to use this feature.
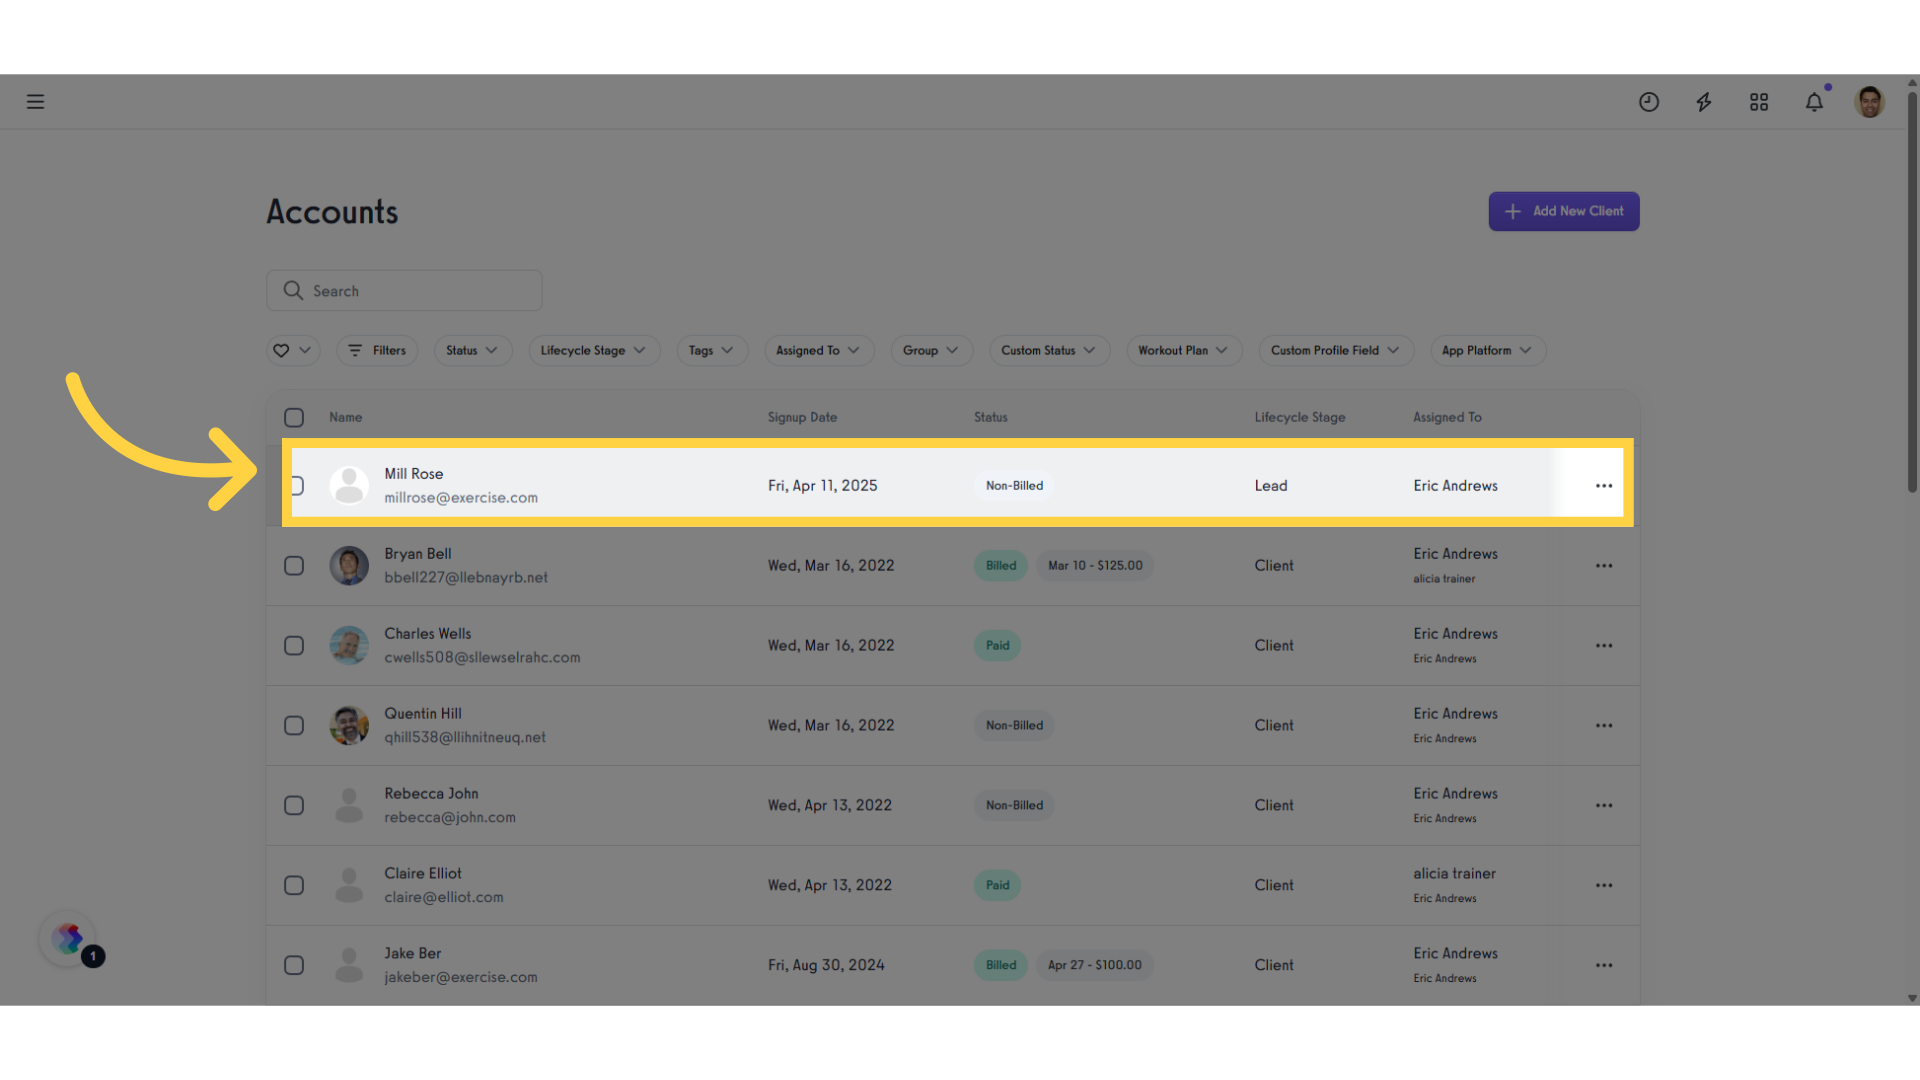
1. Select a Client.
Select a client to charge as you assign a workout plan.
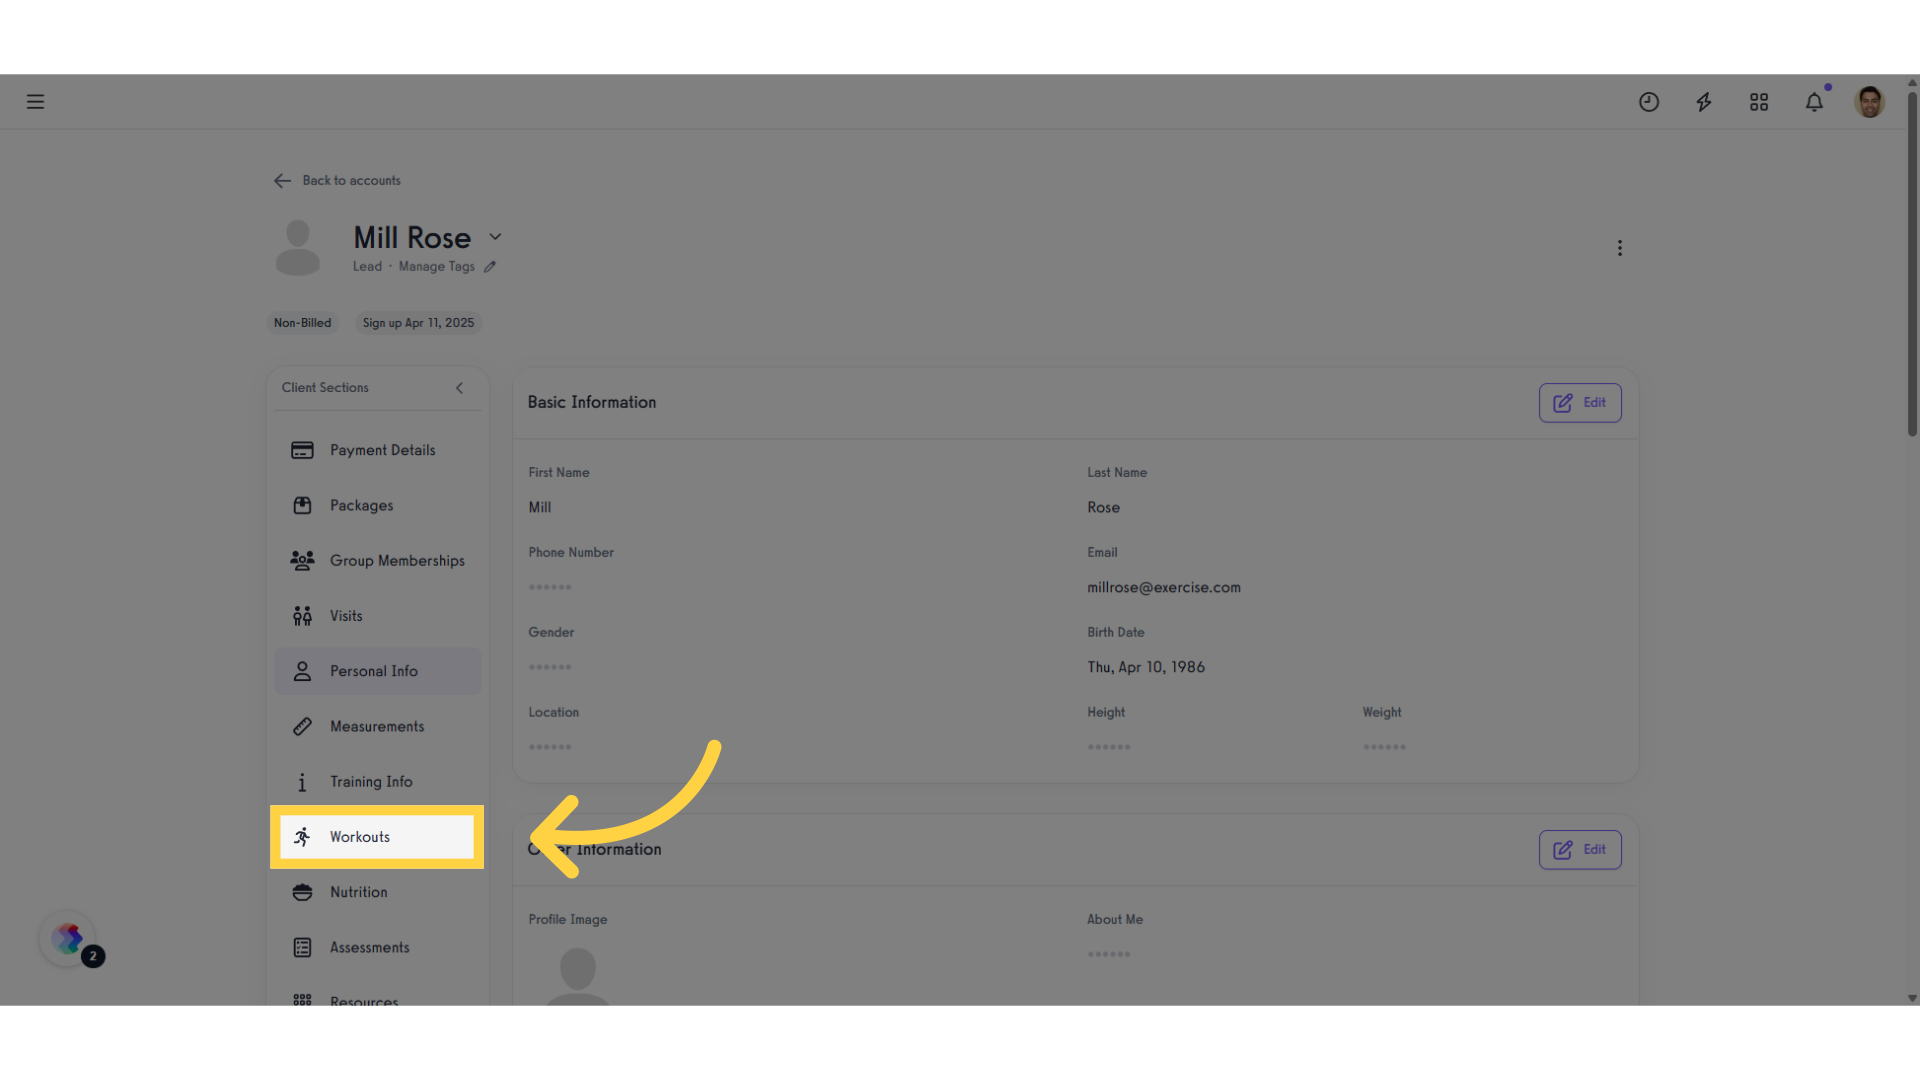
2. Click “Workouts”.
Go to the “Workouts” section in the client’s account.
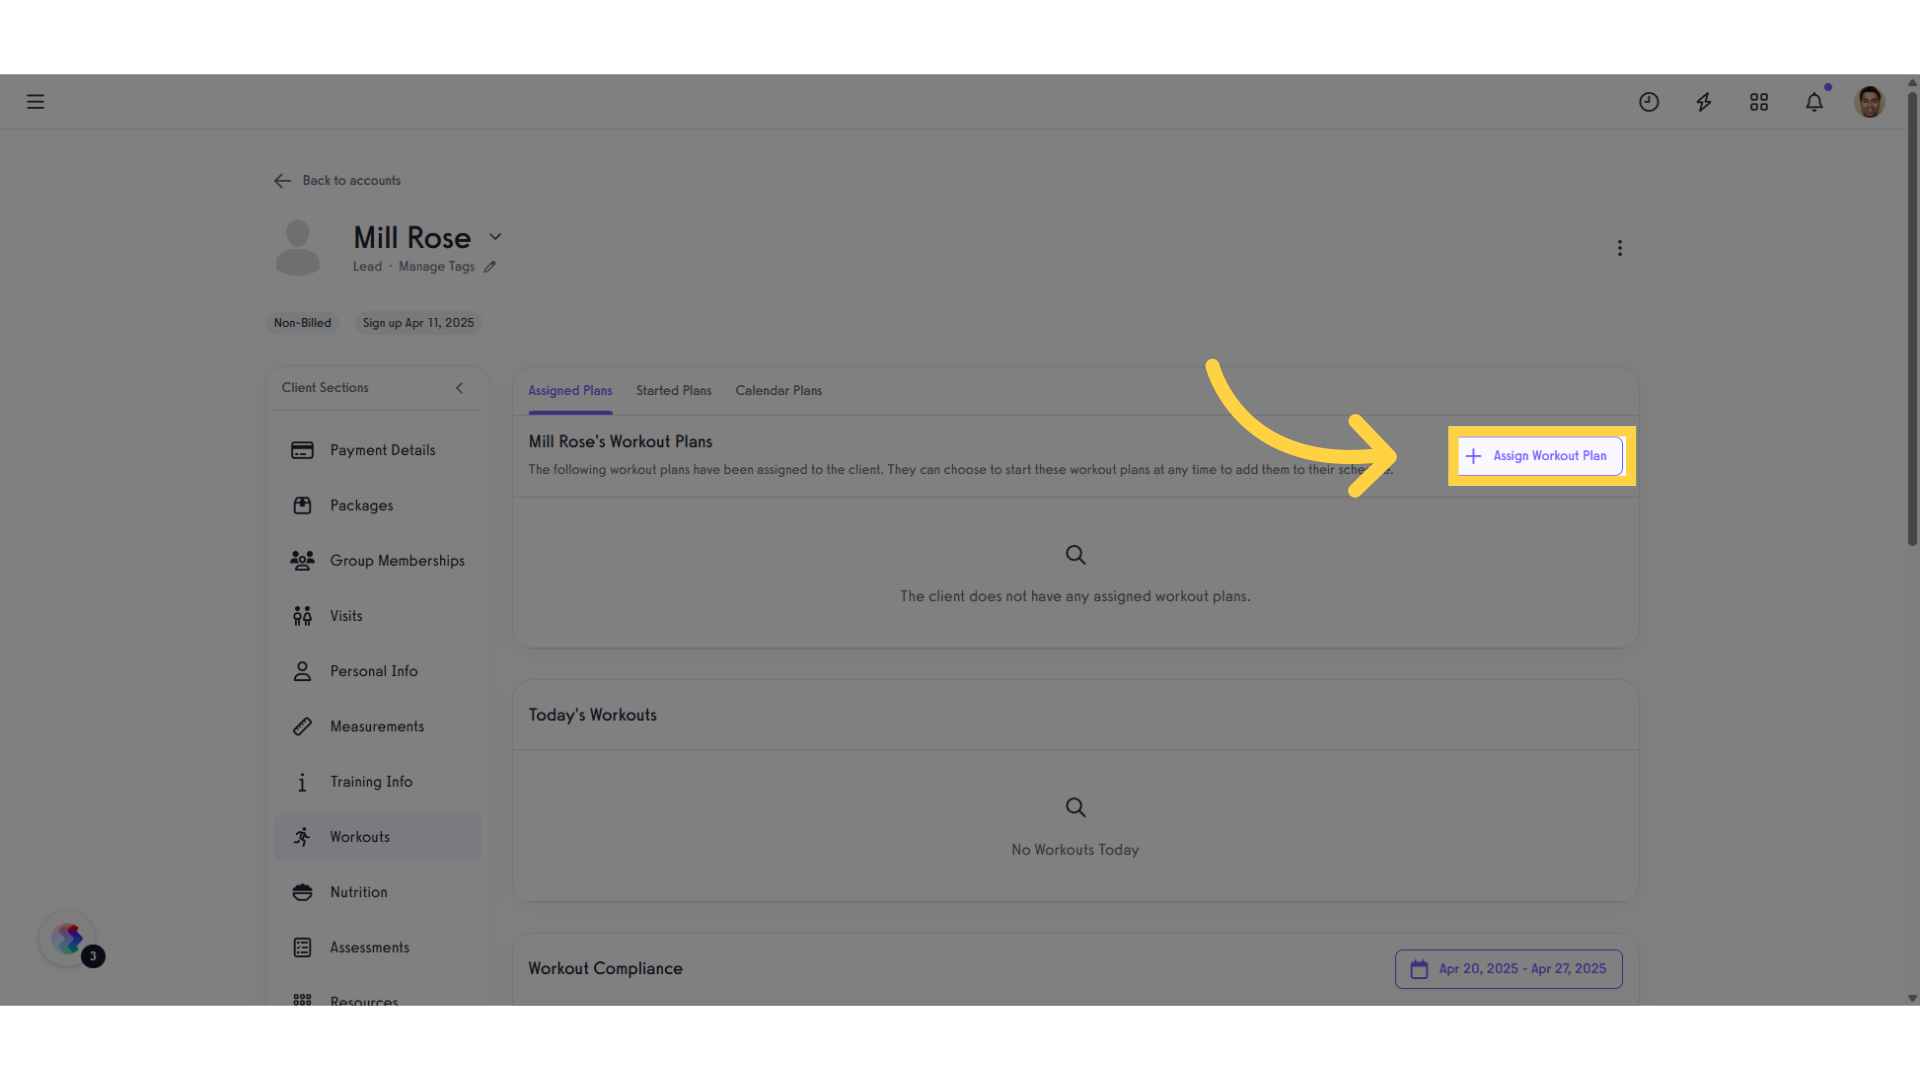
3. Click “Assign Workout Plan”.
In the “Assigned Plans” tab, click “Assign Workout Plan.”
4. Select a Plan.
In the pop-up modal, under the Plans section, select a plan you’d like to assign.

5. Click “Items in Bag”.
To proceed with reviewing the item in your bag and customize it as needed.

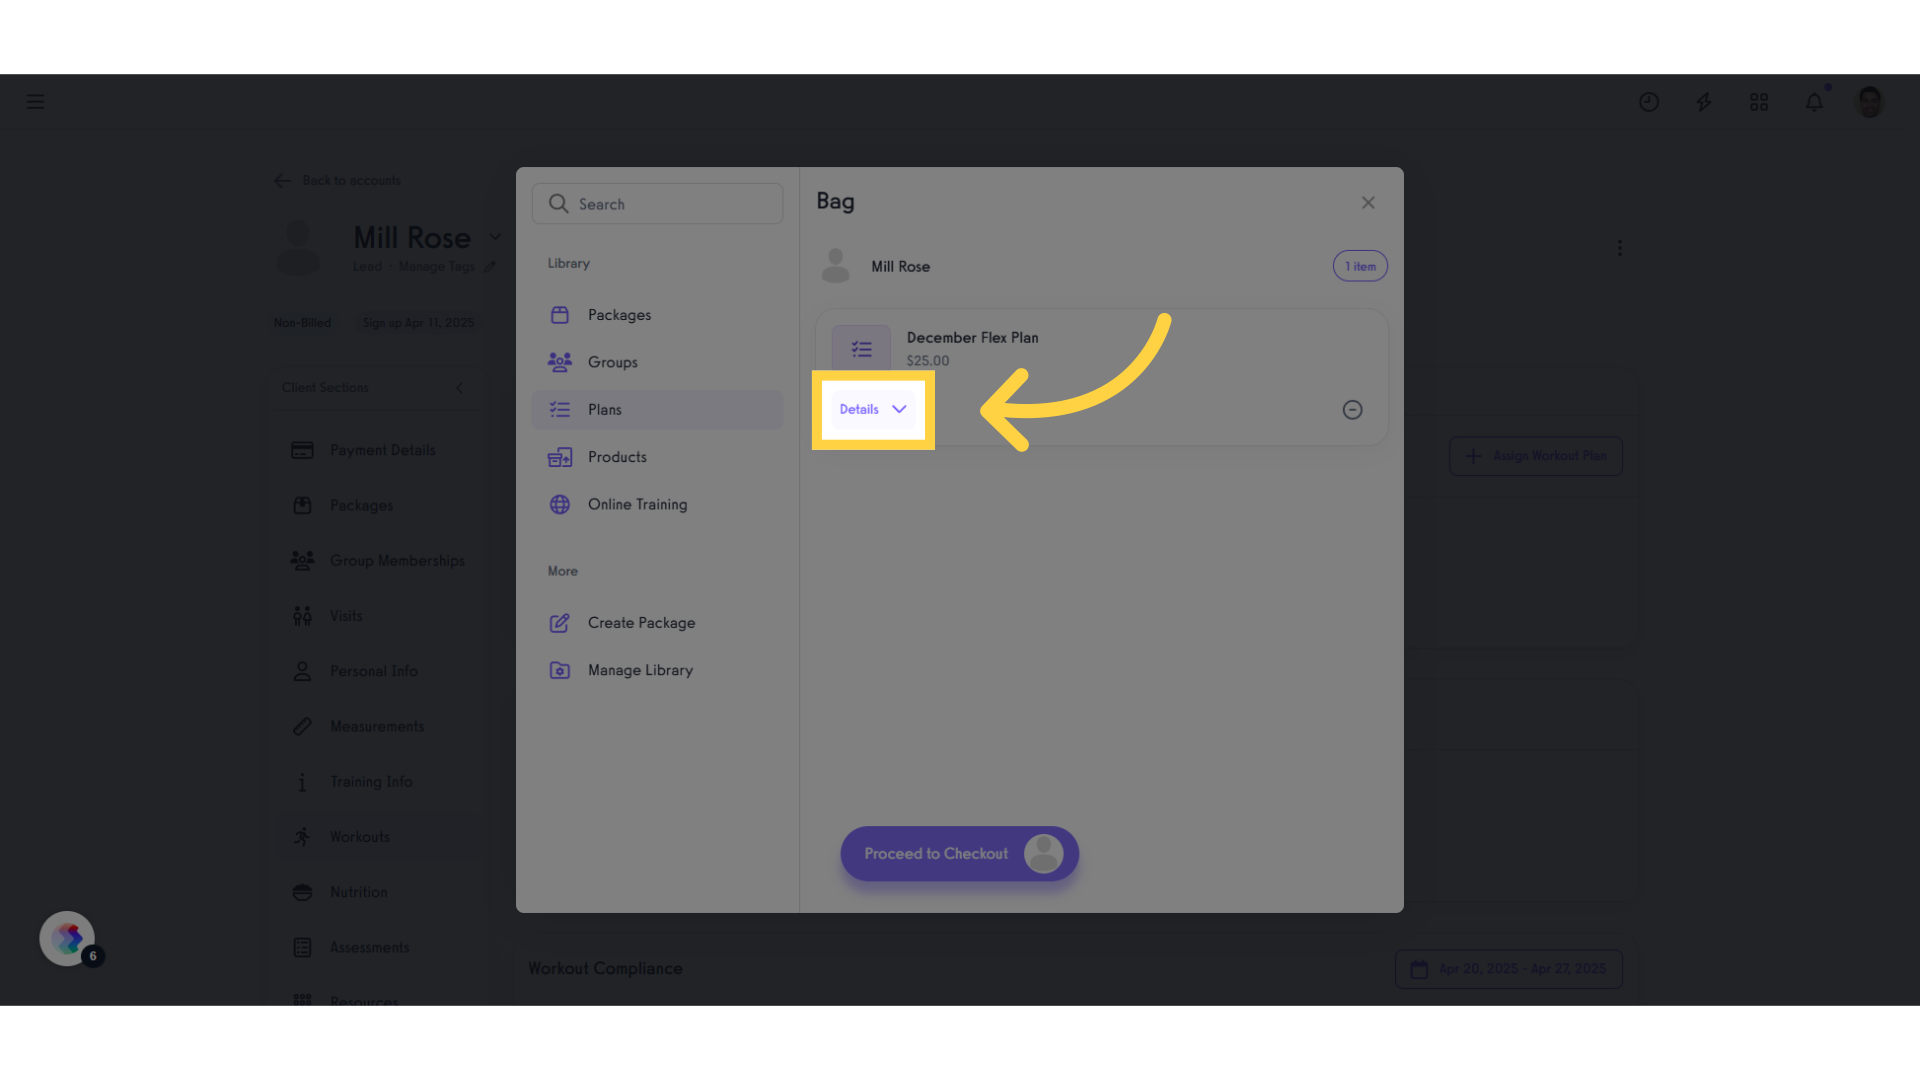
6. Click “Details”.
Accessing the details gives you the information and lets you customize the plan.
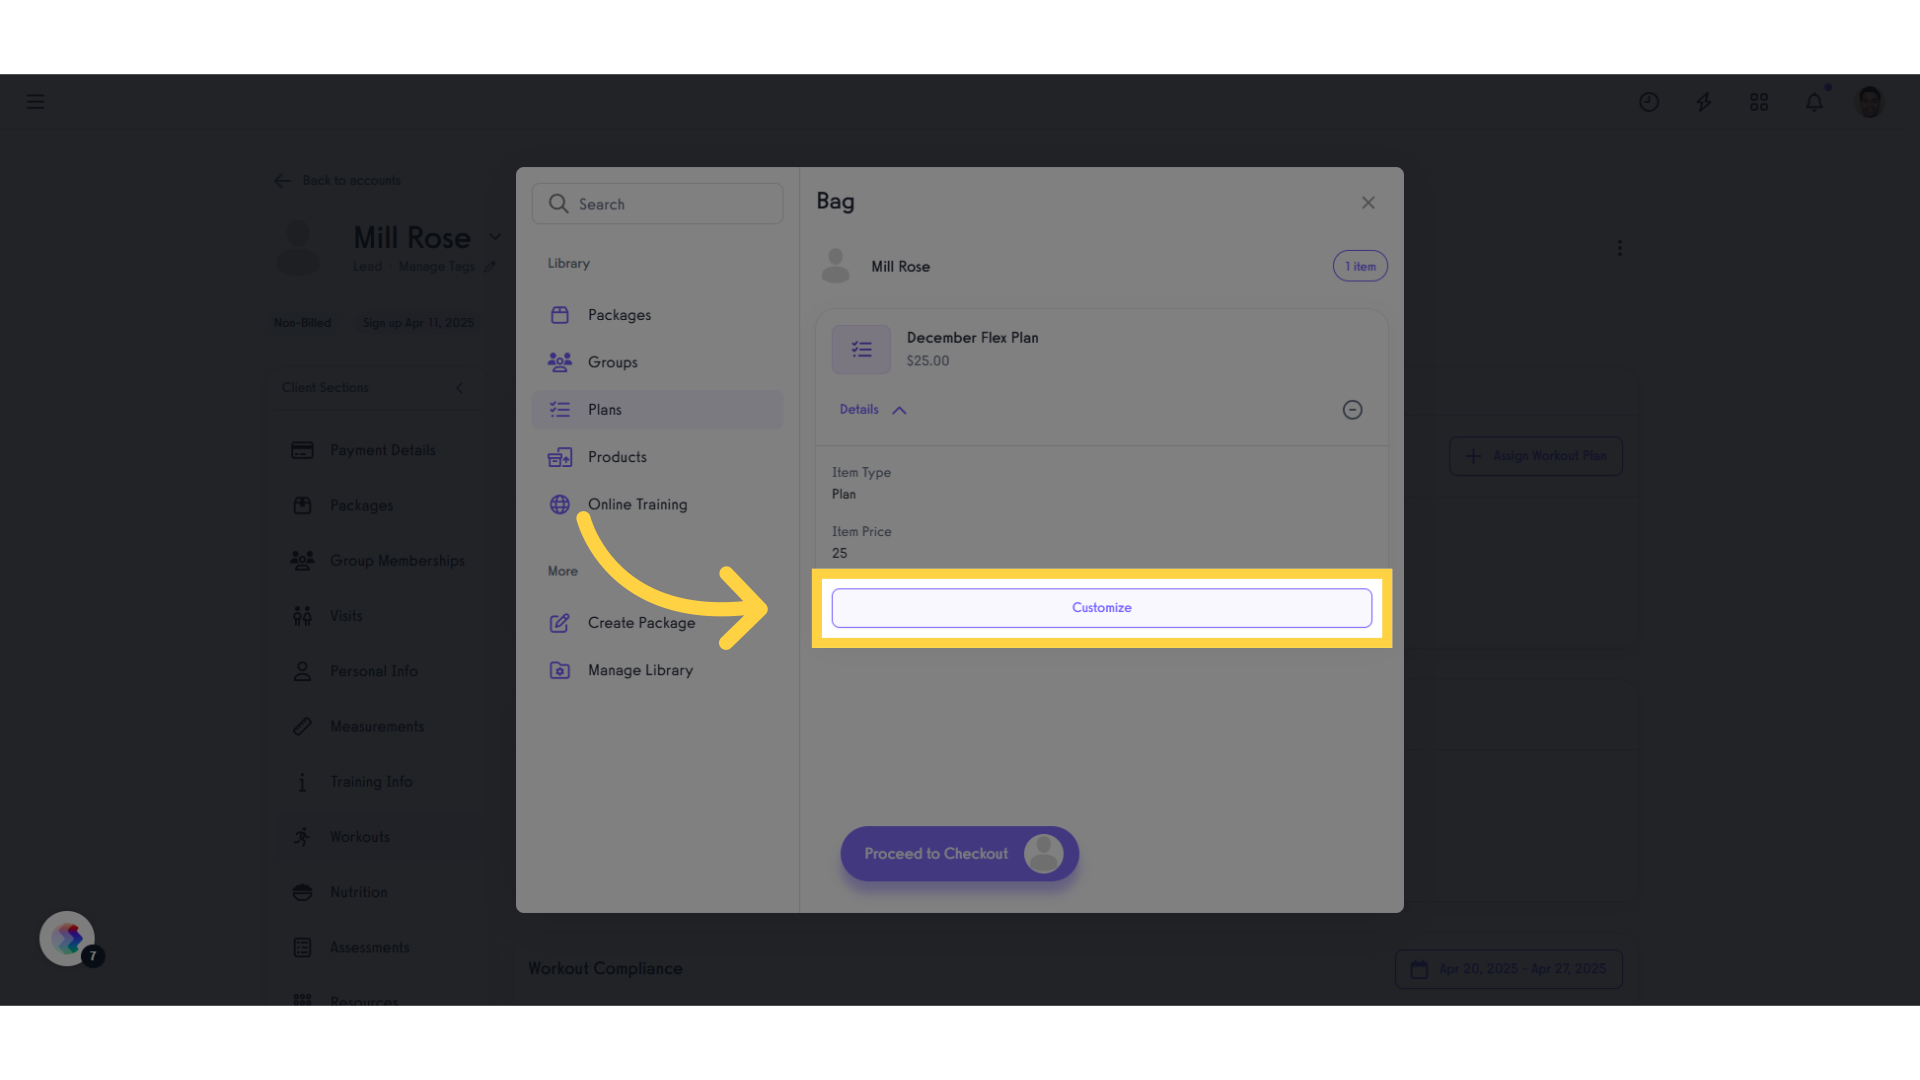
7. Click “Customize”.
Customizing the workout plan allows you to adjust specifics such as Item Price, Apply Coupon, Charged By, and assigning Primary and Secondary Commissionees.
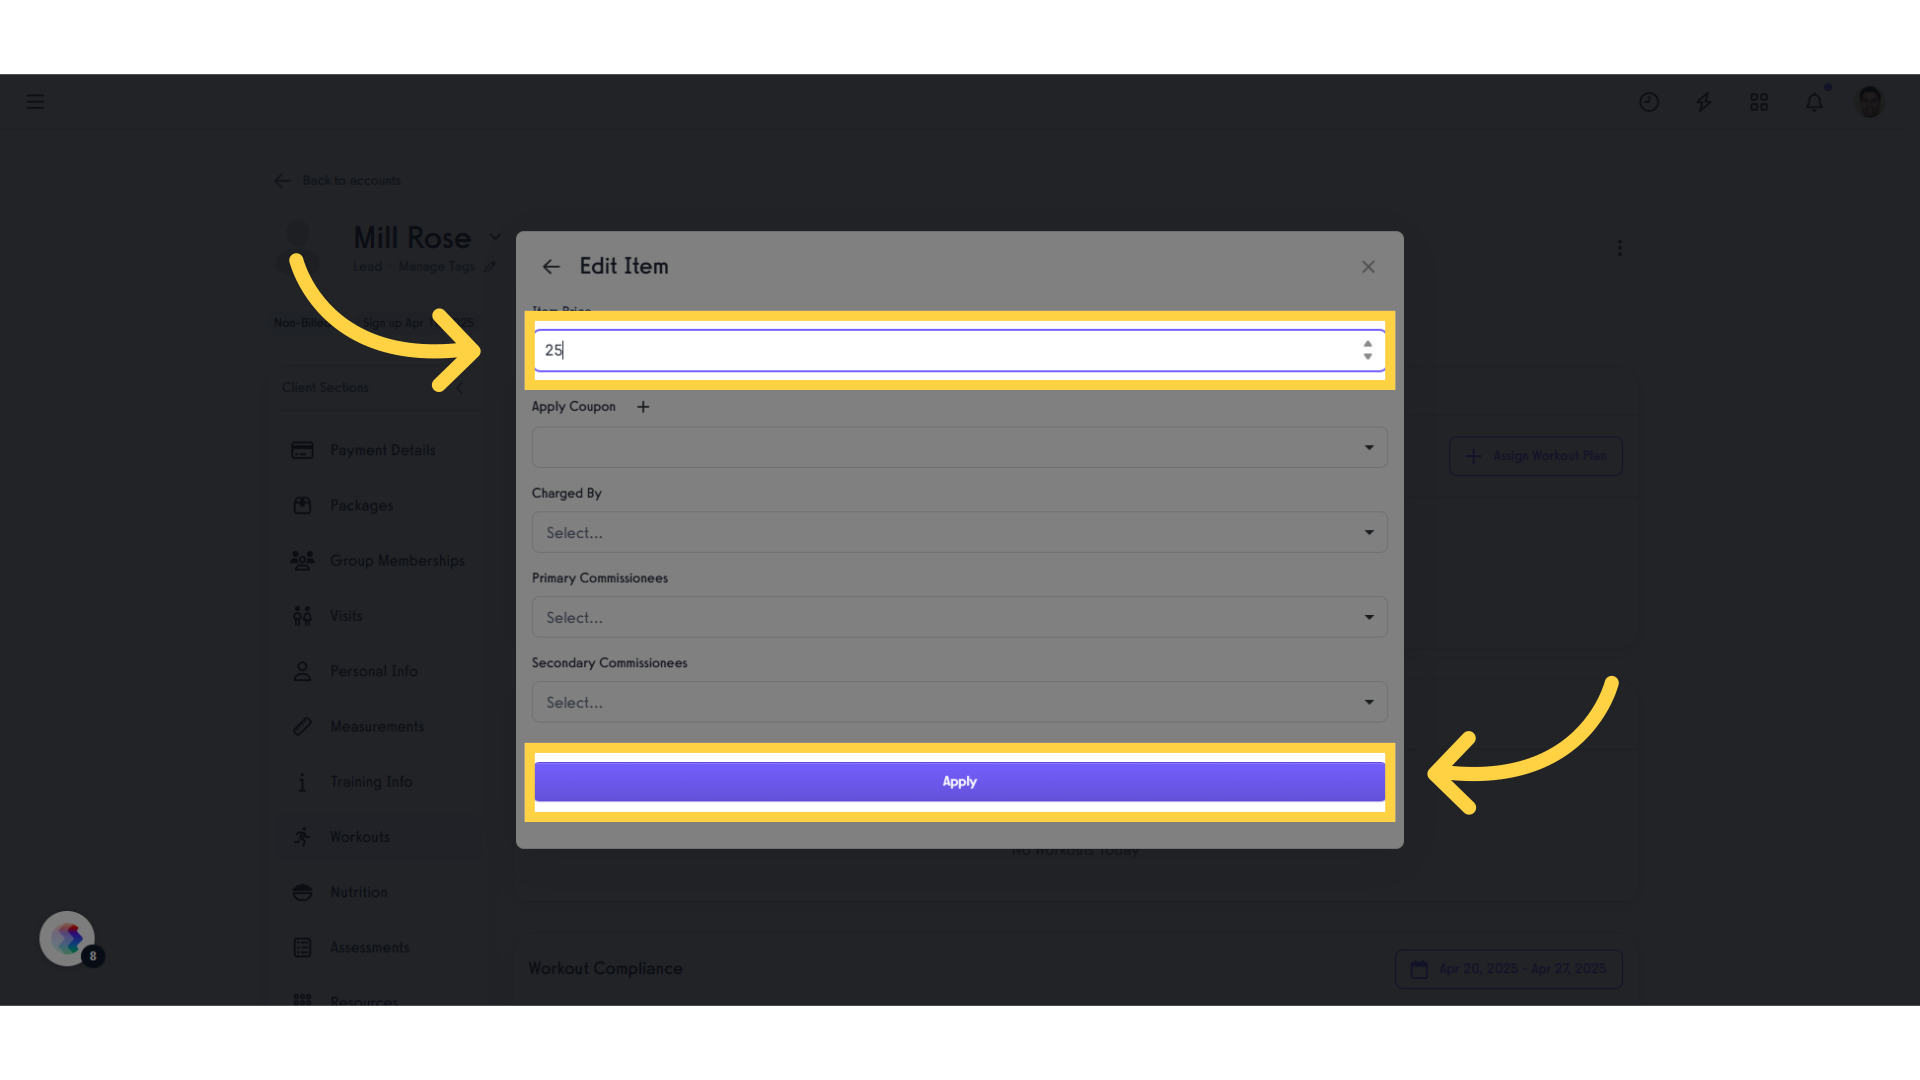
8. Click and Edit “Item Price” and Apply Changes.
Input the amount to charge for the plan, then click “Apply.”
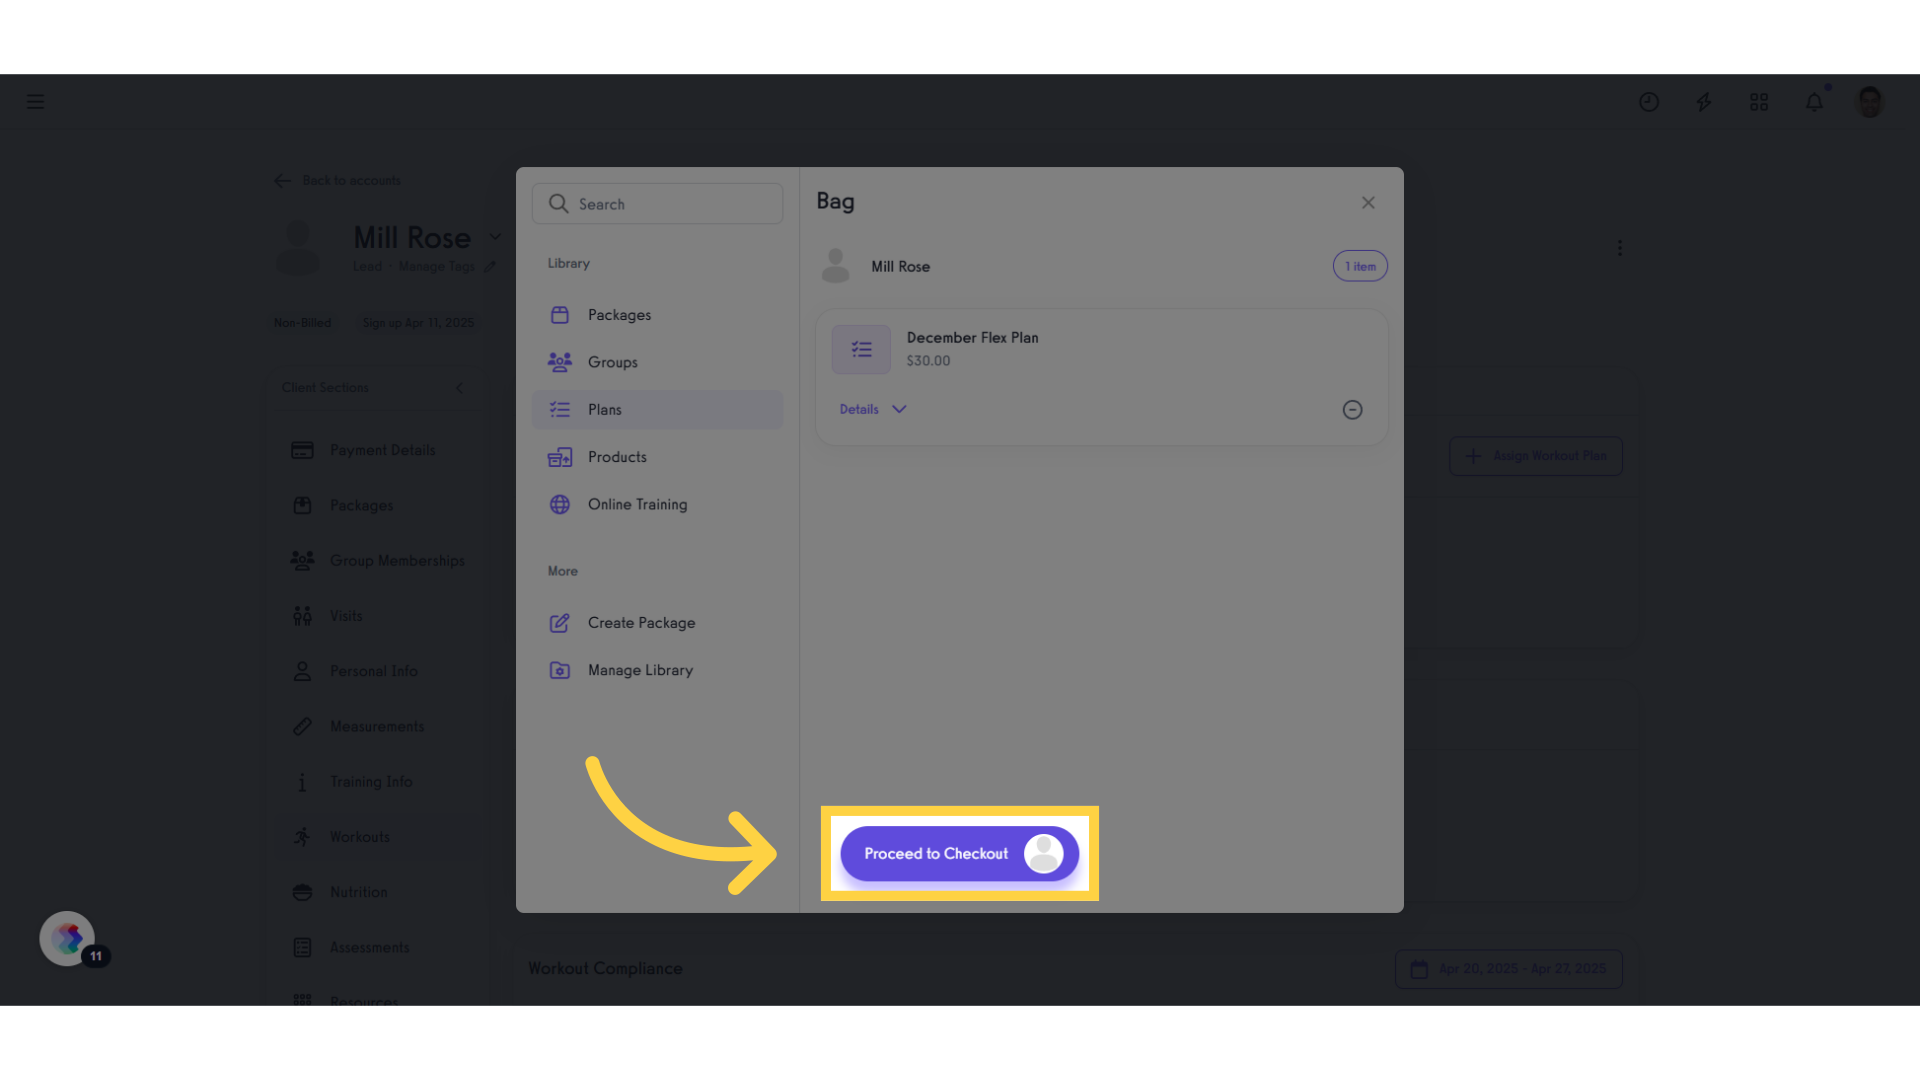
9. Click “Proceed to Checkout”.
Proceeding to checkout takes you to the order review, where you can select a payment method to complete the process.
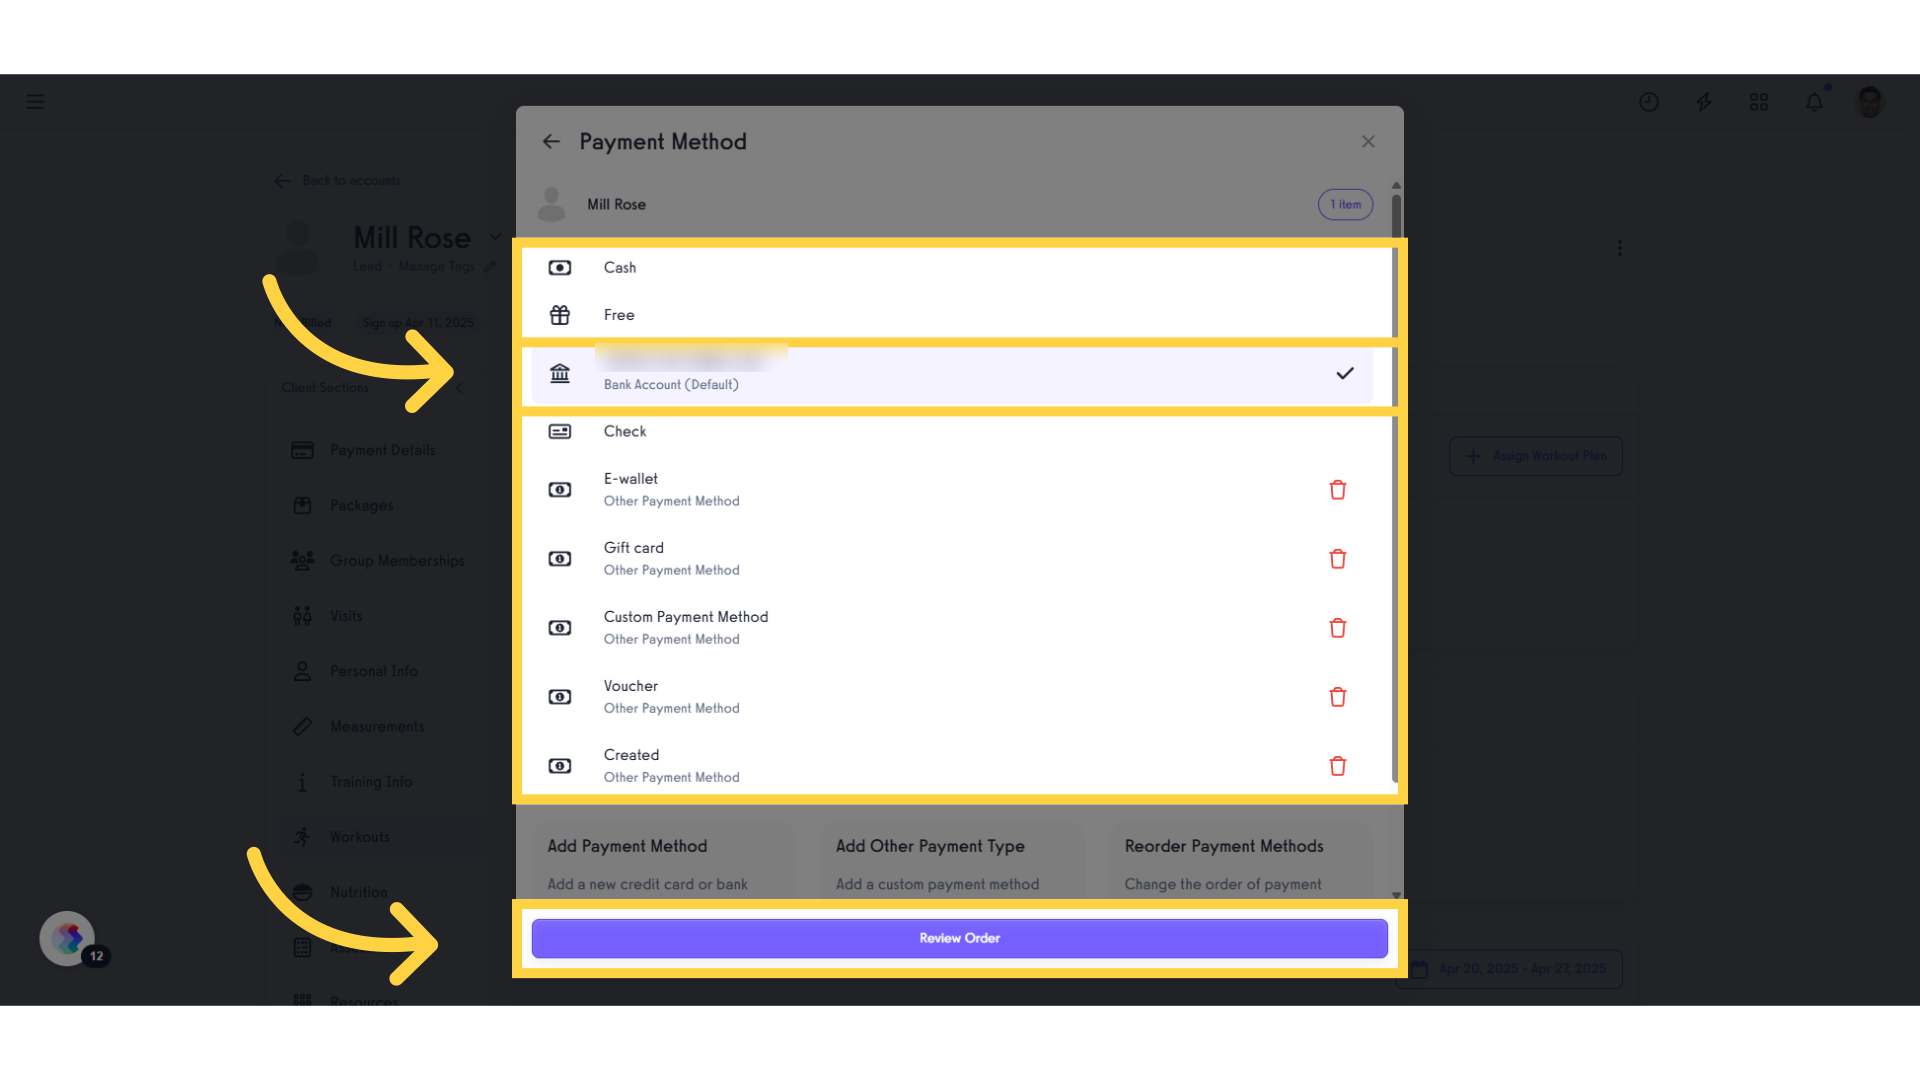
10. Select Payment Method.
Select a payment method, then click “Review Order.” Reviewing the order lets you double-check all details to make sure everything is correct before finalizing.
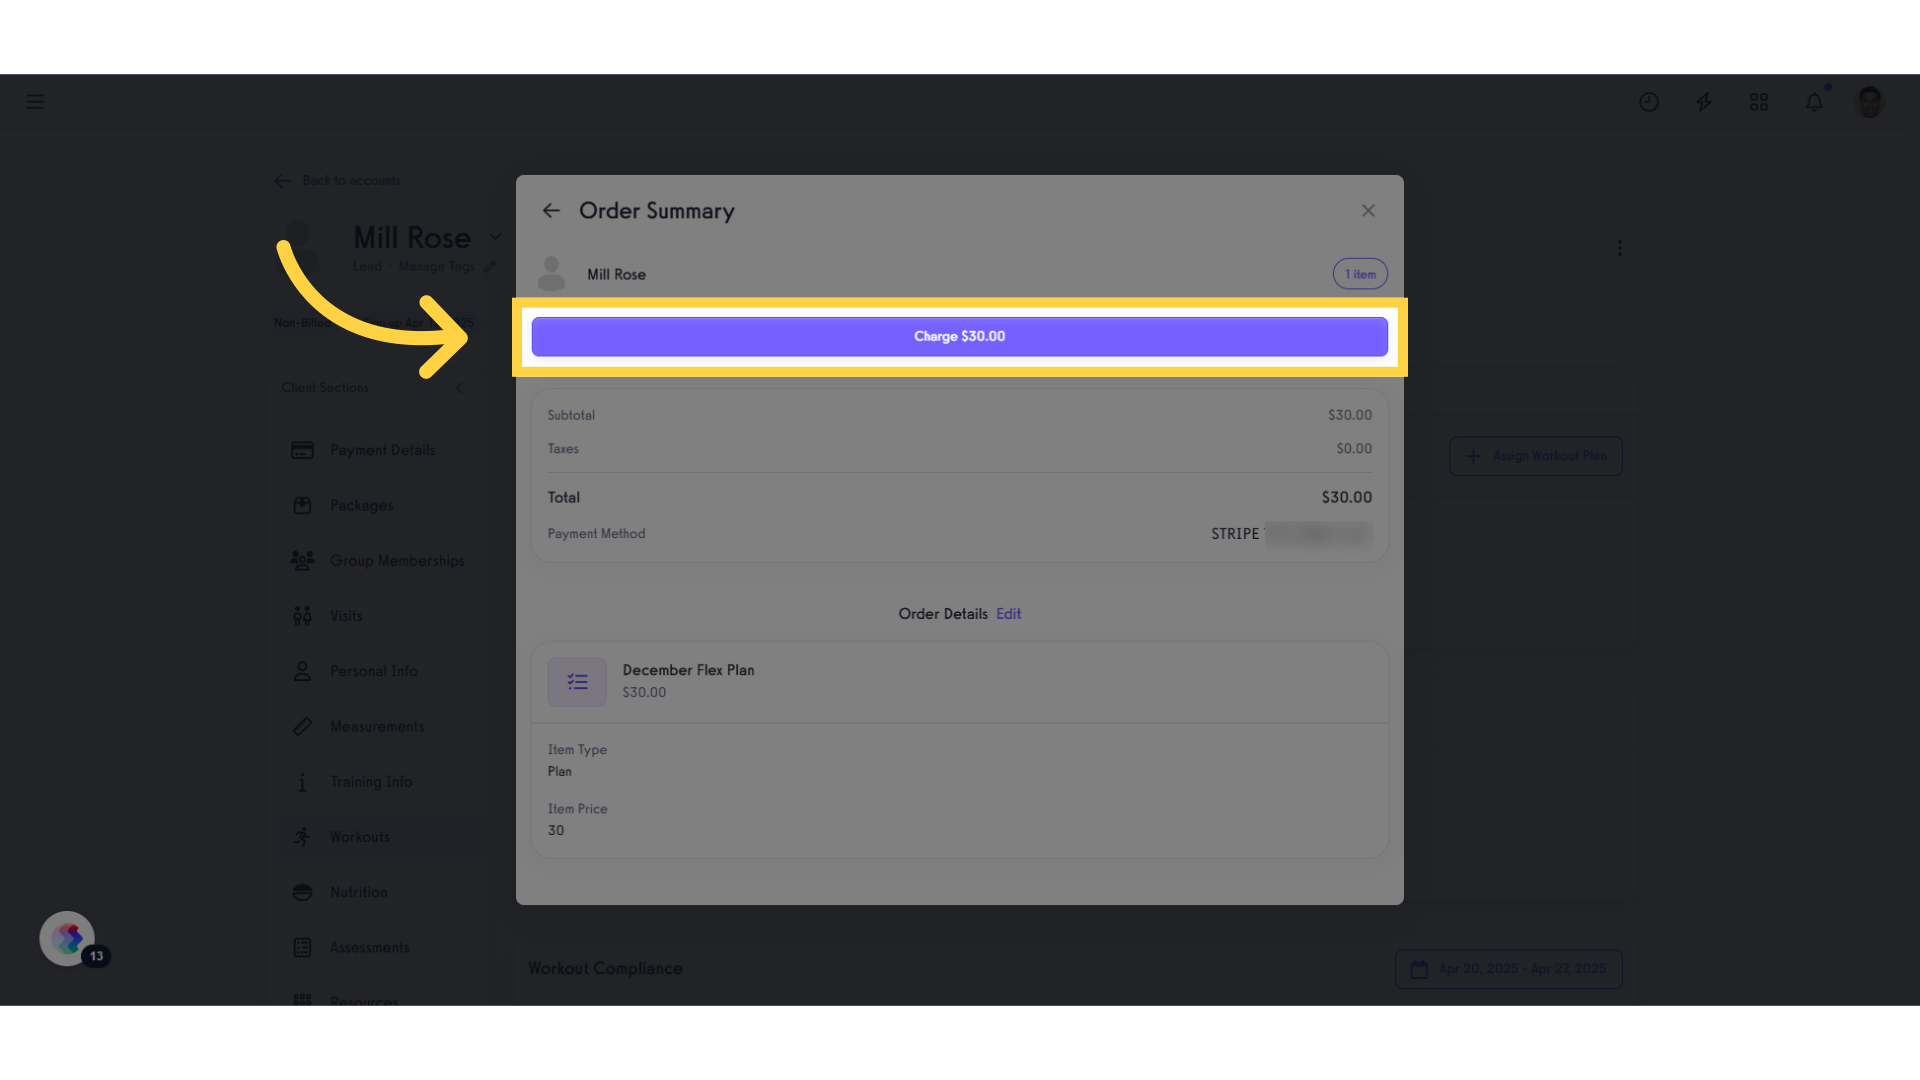
11. Click “Charge”.
Charging the client completes the transaction and adds the plan to their account.
Now, you can charge a client when adding to a plan!


