Collecting Rep-Max Information in an Assessment to Save to Client Profiles
Here’s how to collect rep maxes in an assessment and save to a client’s profile, starting from the “Account” tab of your Dashboard. Step-by-step instructions are below:
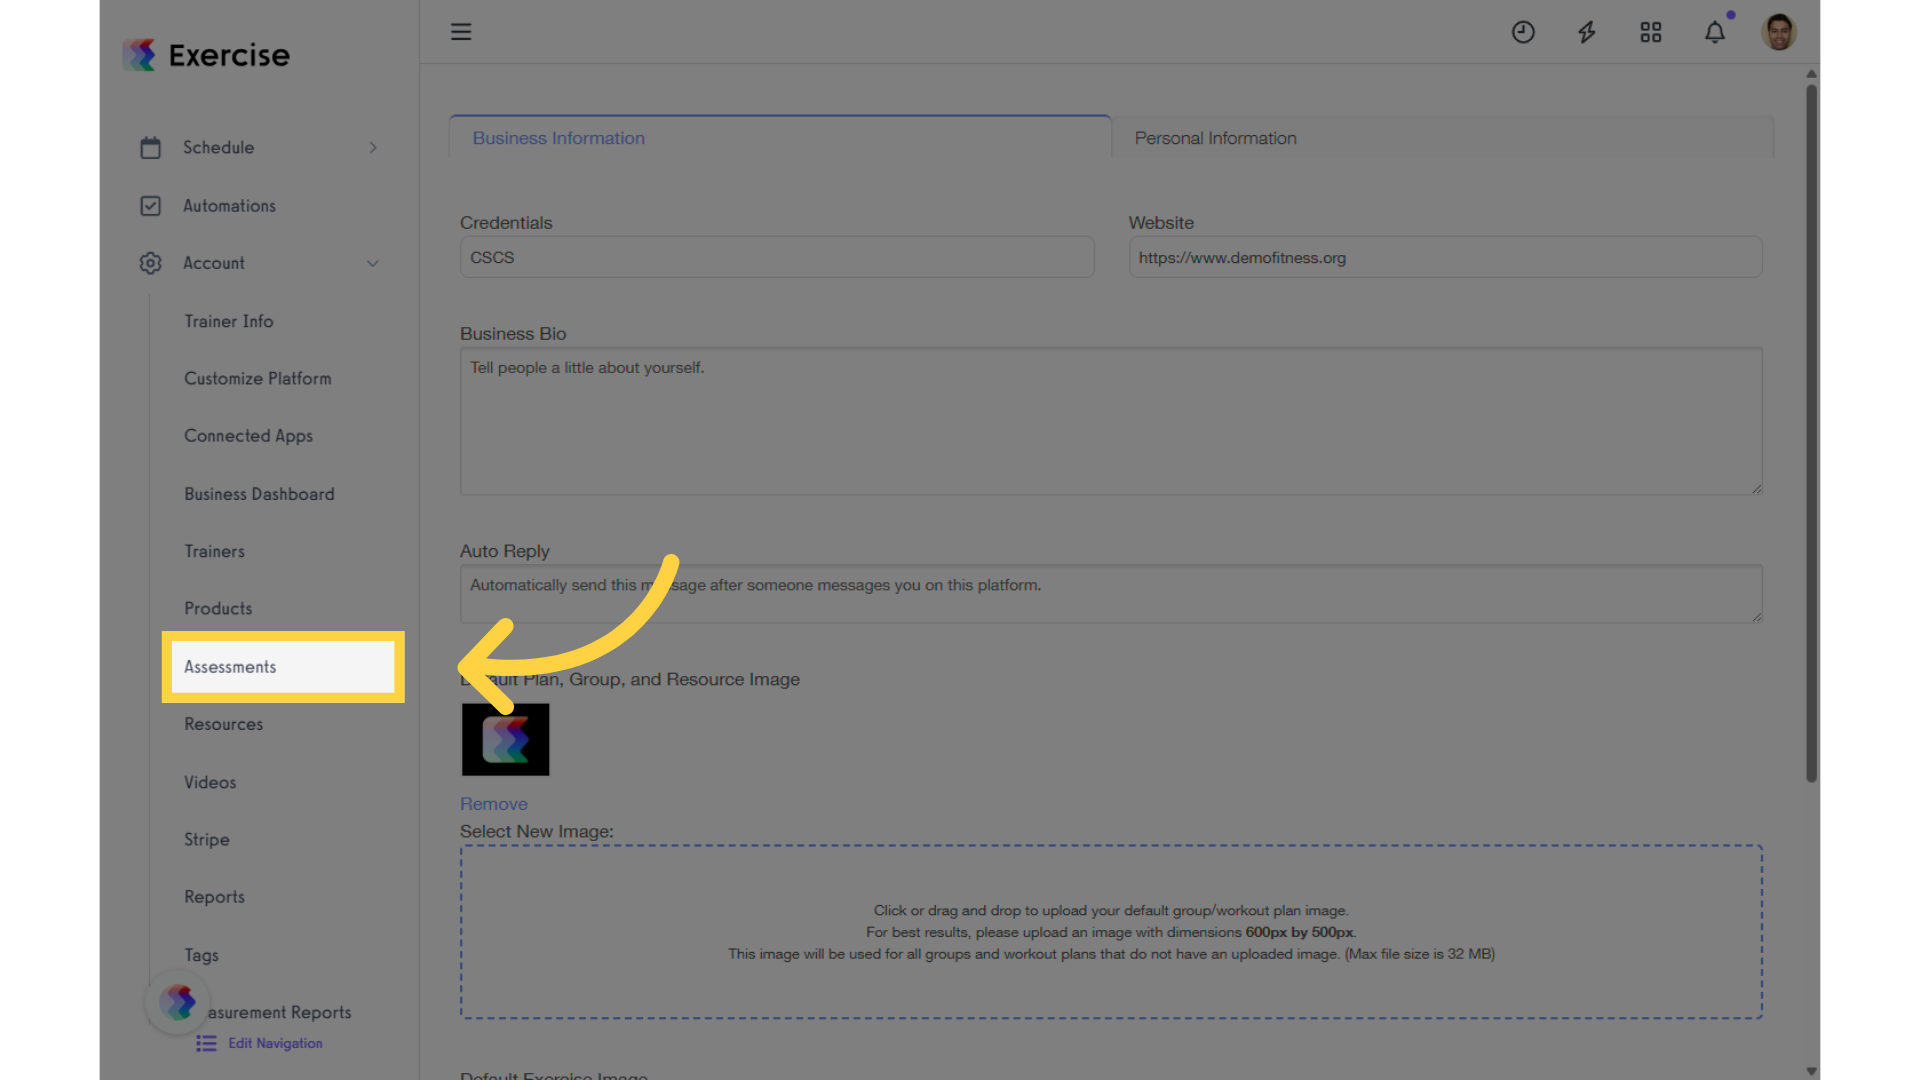
1. In the Account tab, click on the “Assessments” option in the left sidebar.
Go to Assessments to set up and add a rep-max field.
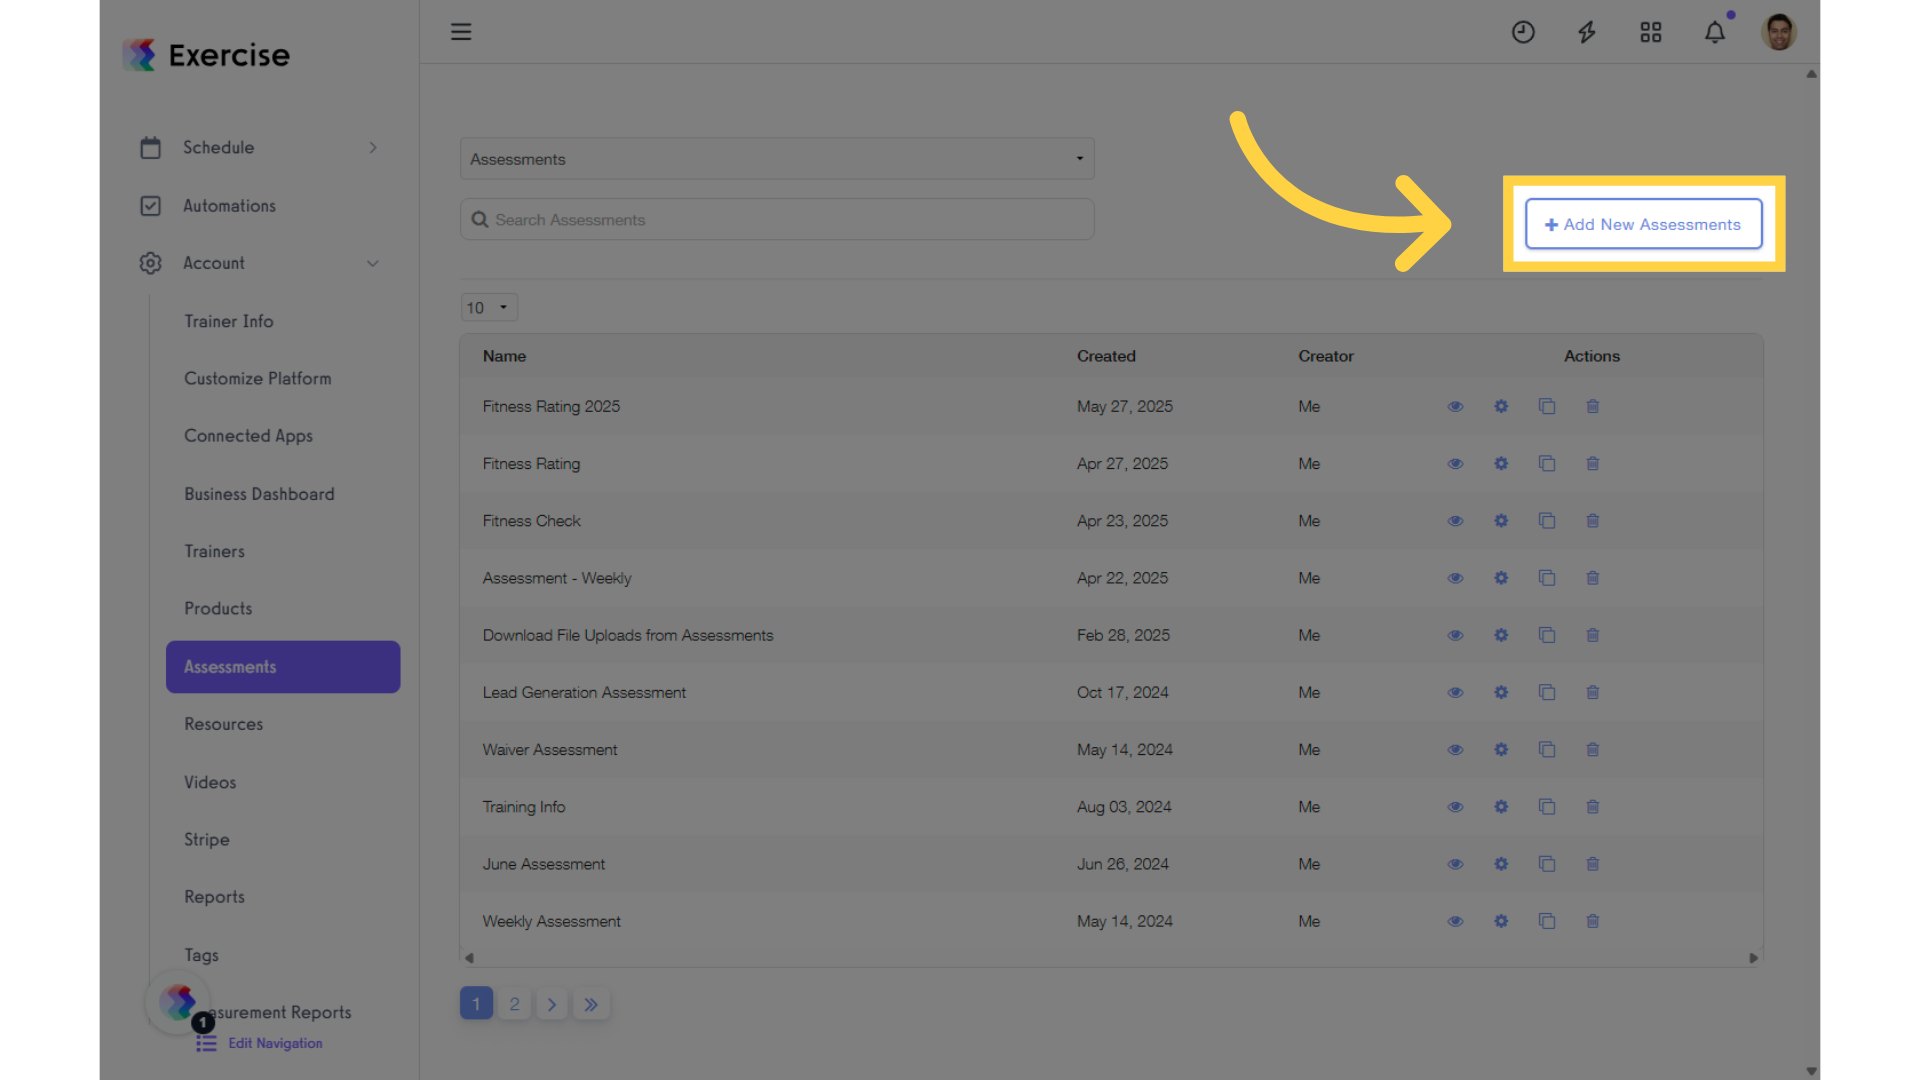
2. Create a new assessment or select an existing one.
In the Assessments tab, select an existing assessment or create a new one,
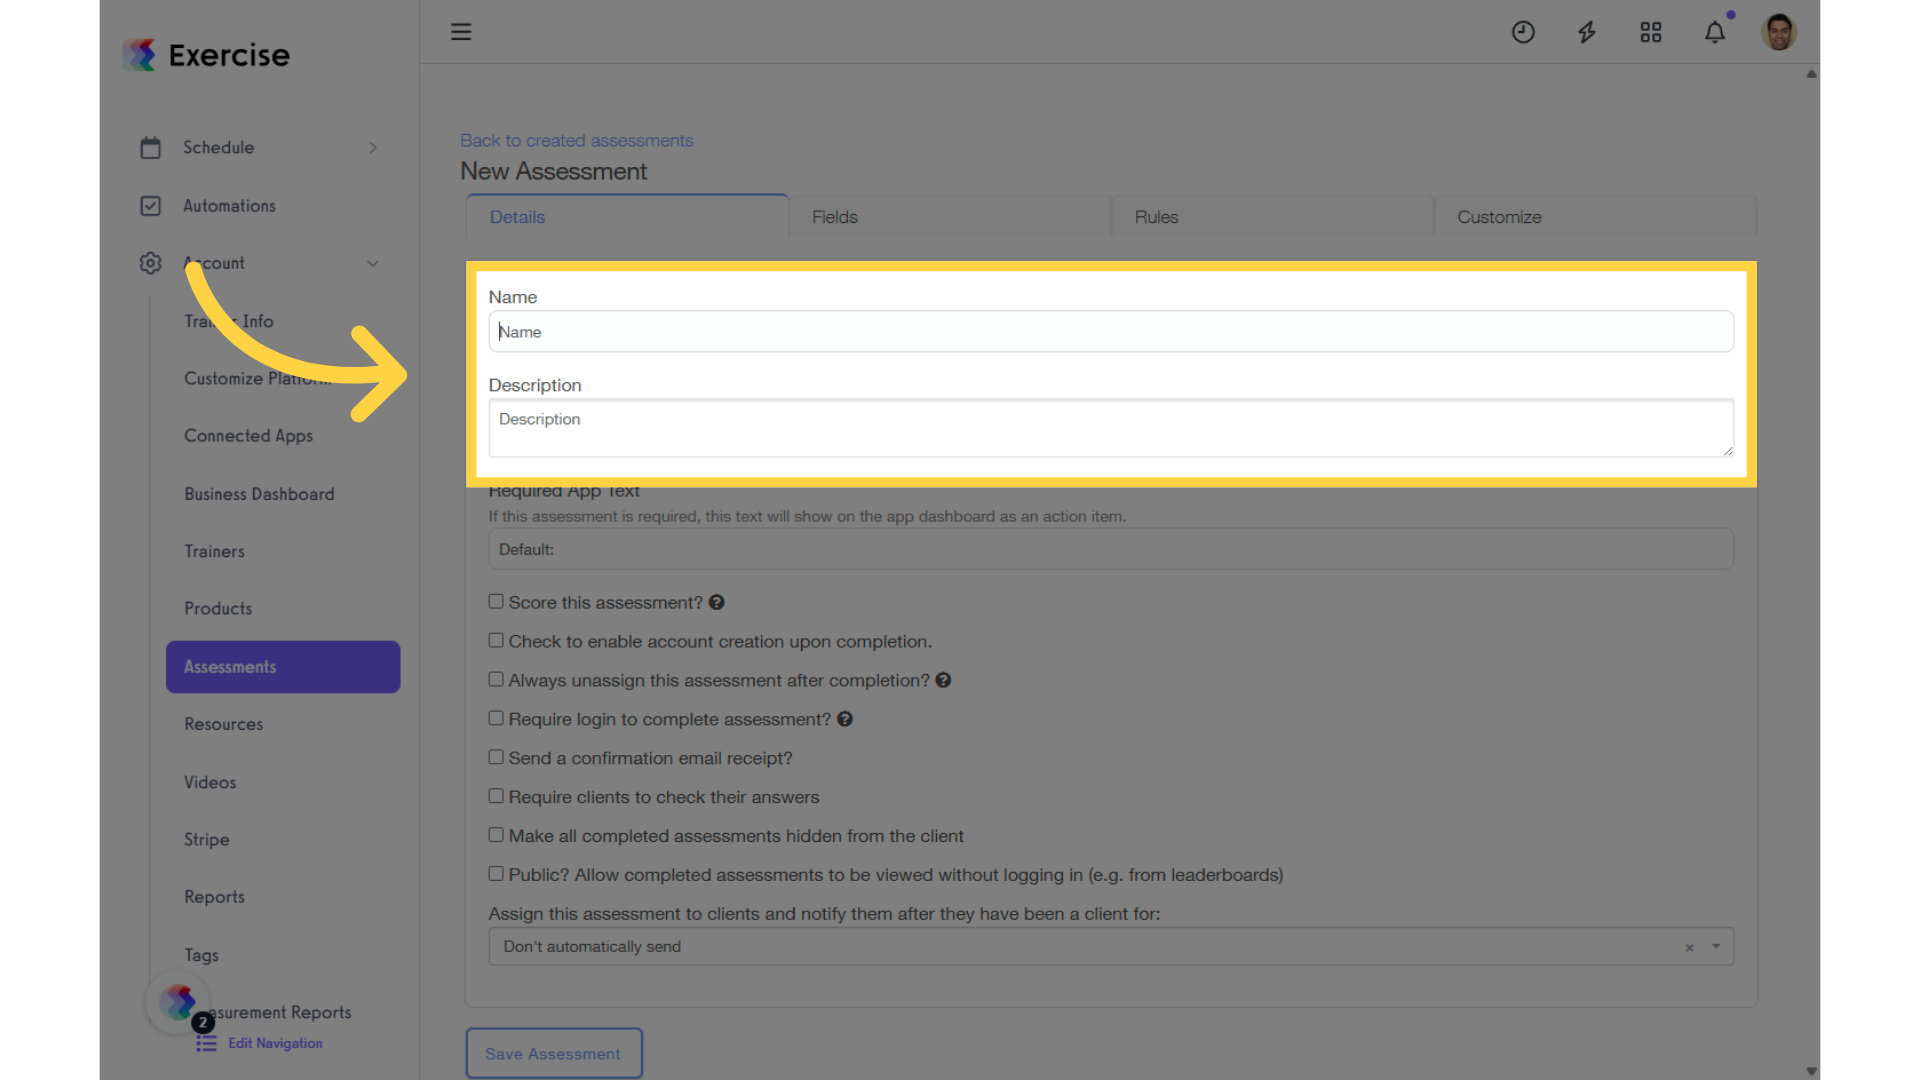
3. Enter an assessment name and description.
Input a unique name for the assessment, helping to categorize and identify this important data at a glance.
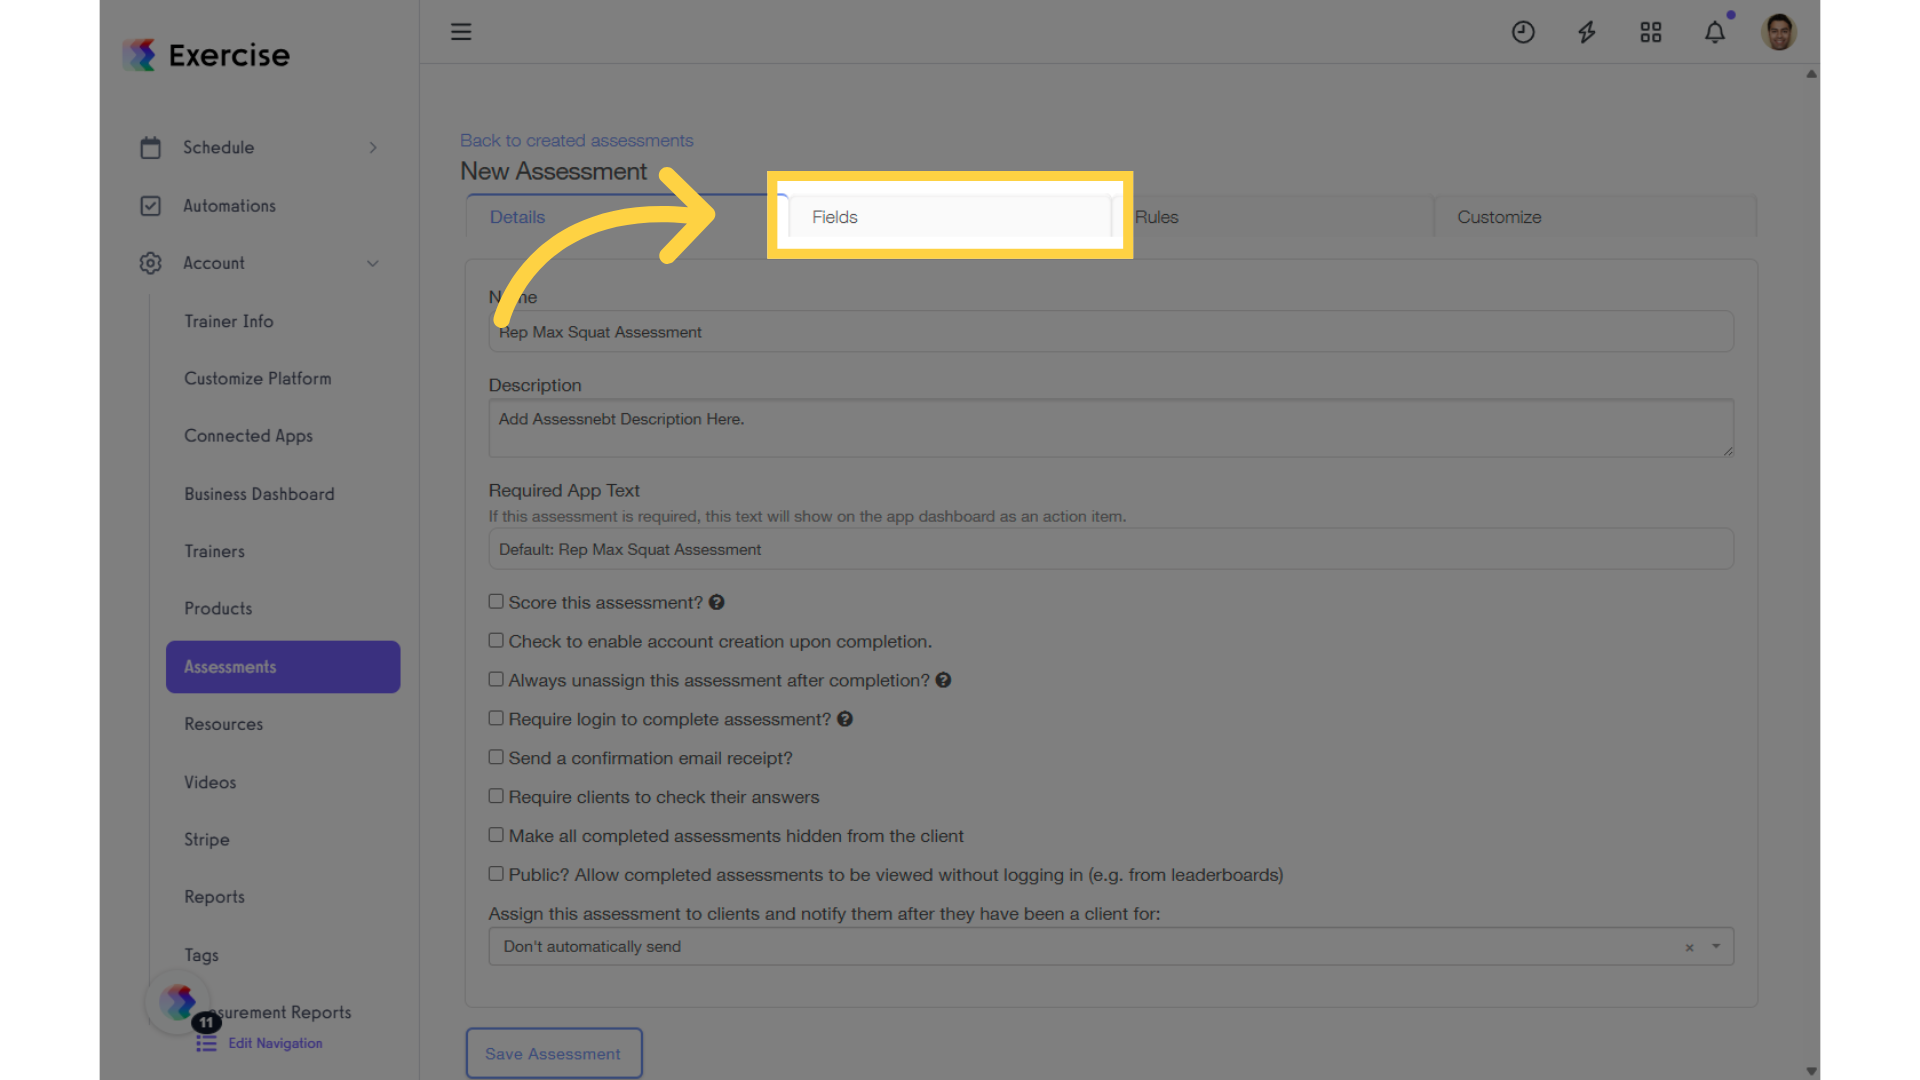
4. Click “Fields” tab.
When you’re editing an assessment, click the “Fields” tab to add or remove assessment field.
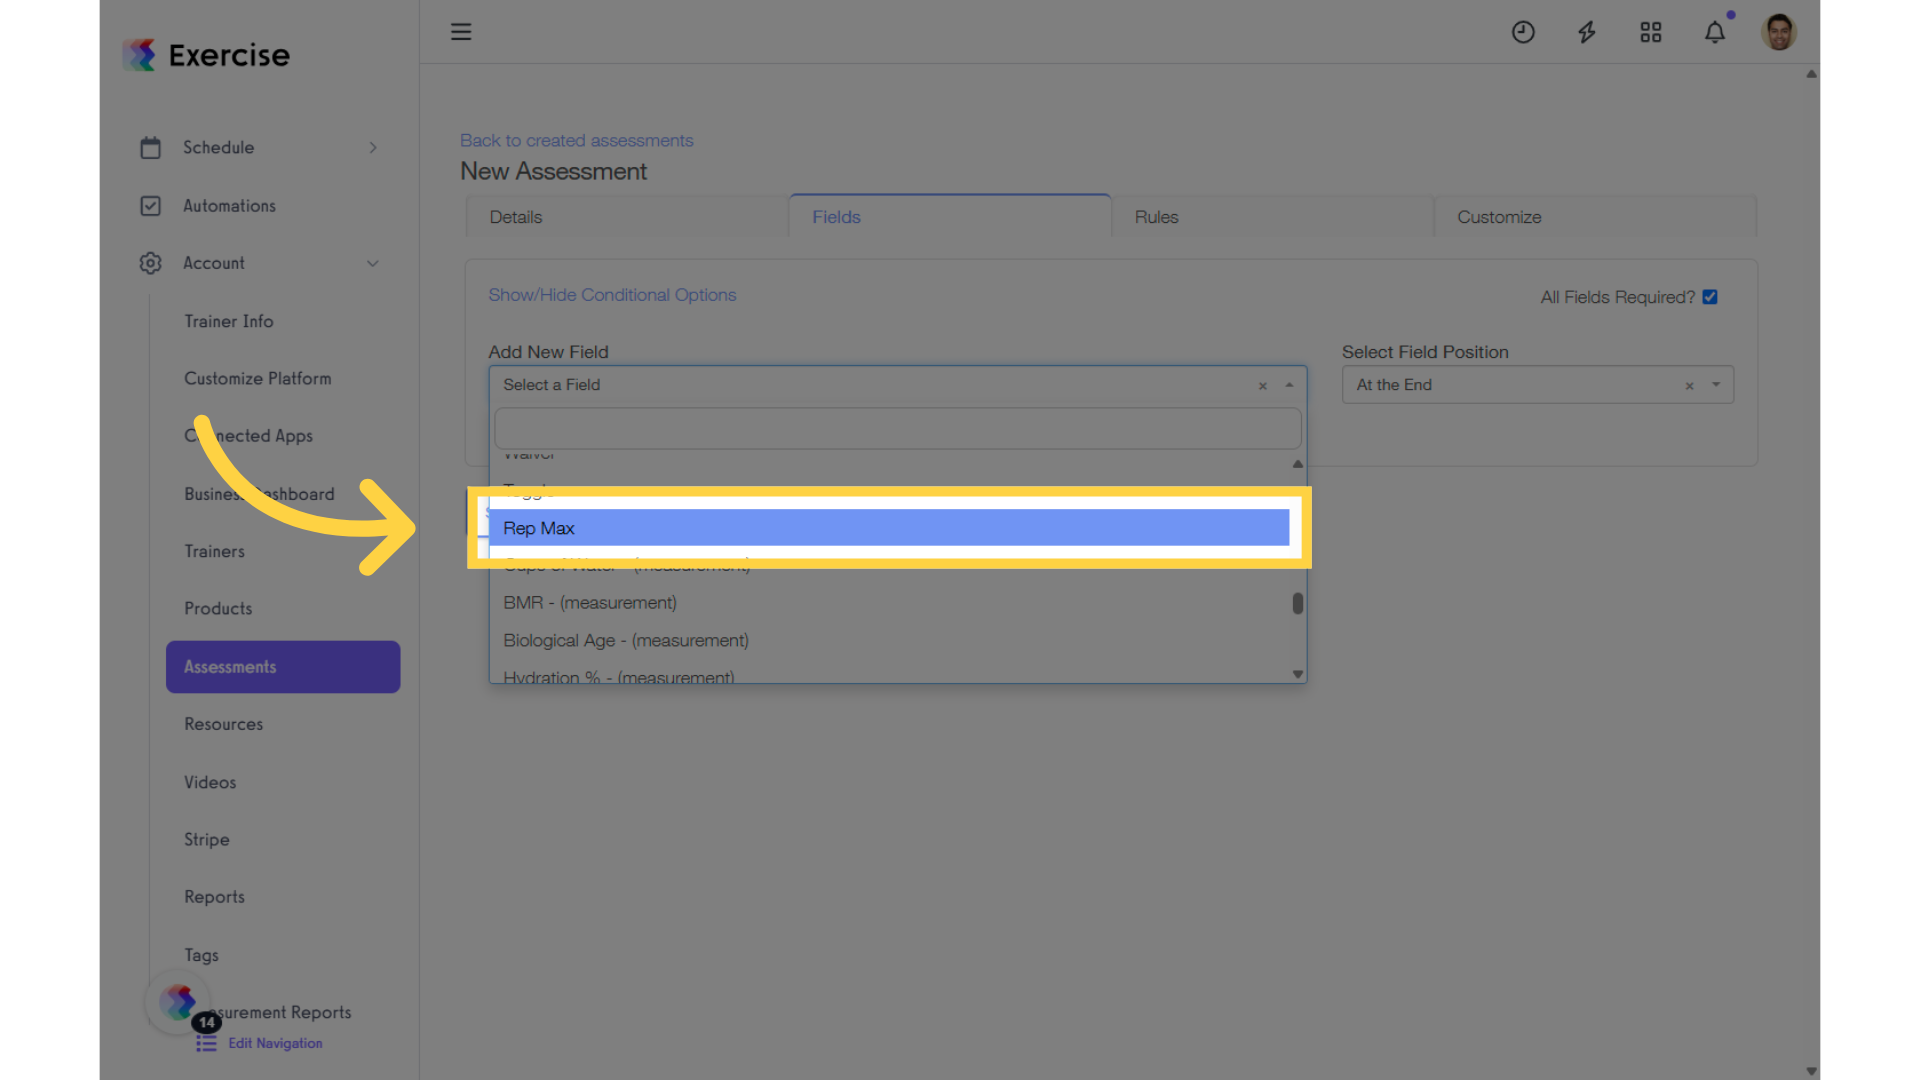
5. Click the “Add New Field” drop-down list.
From the “Add New Field” drop-down list, select “Rep Max.”
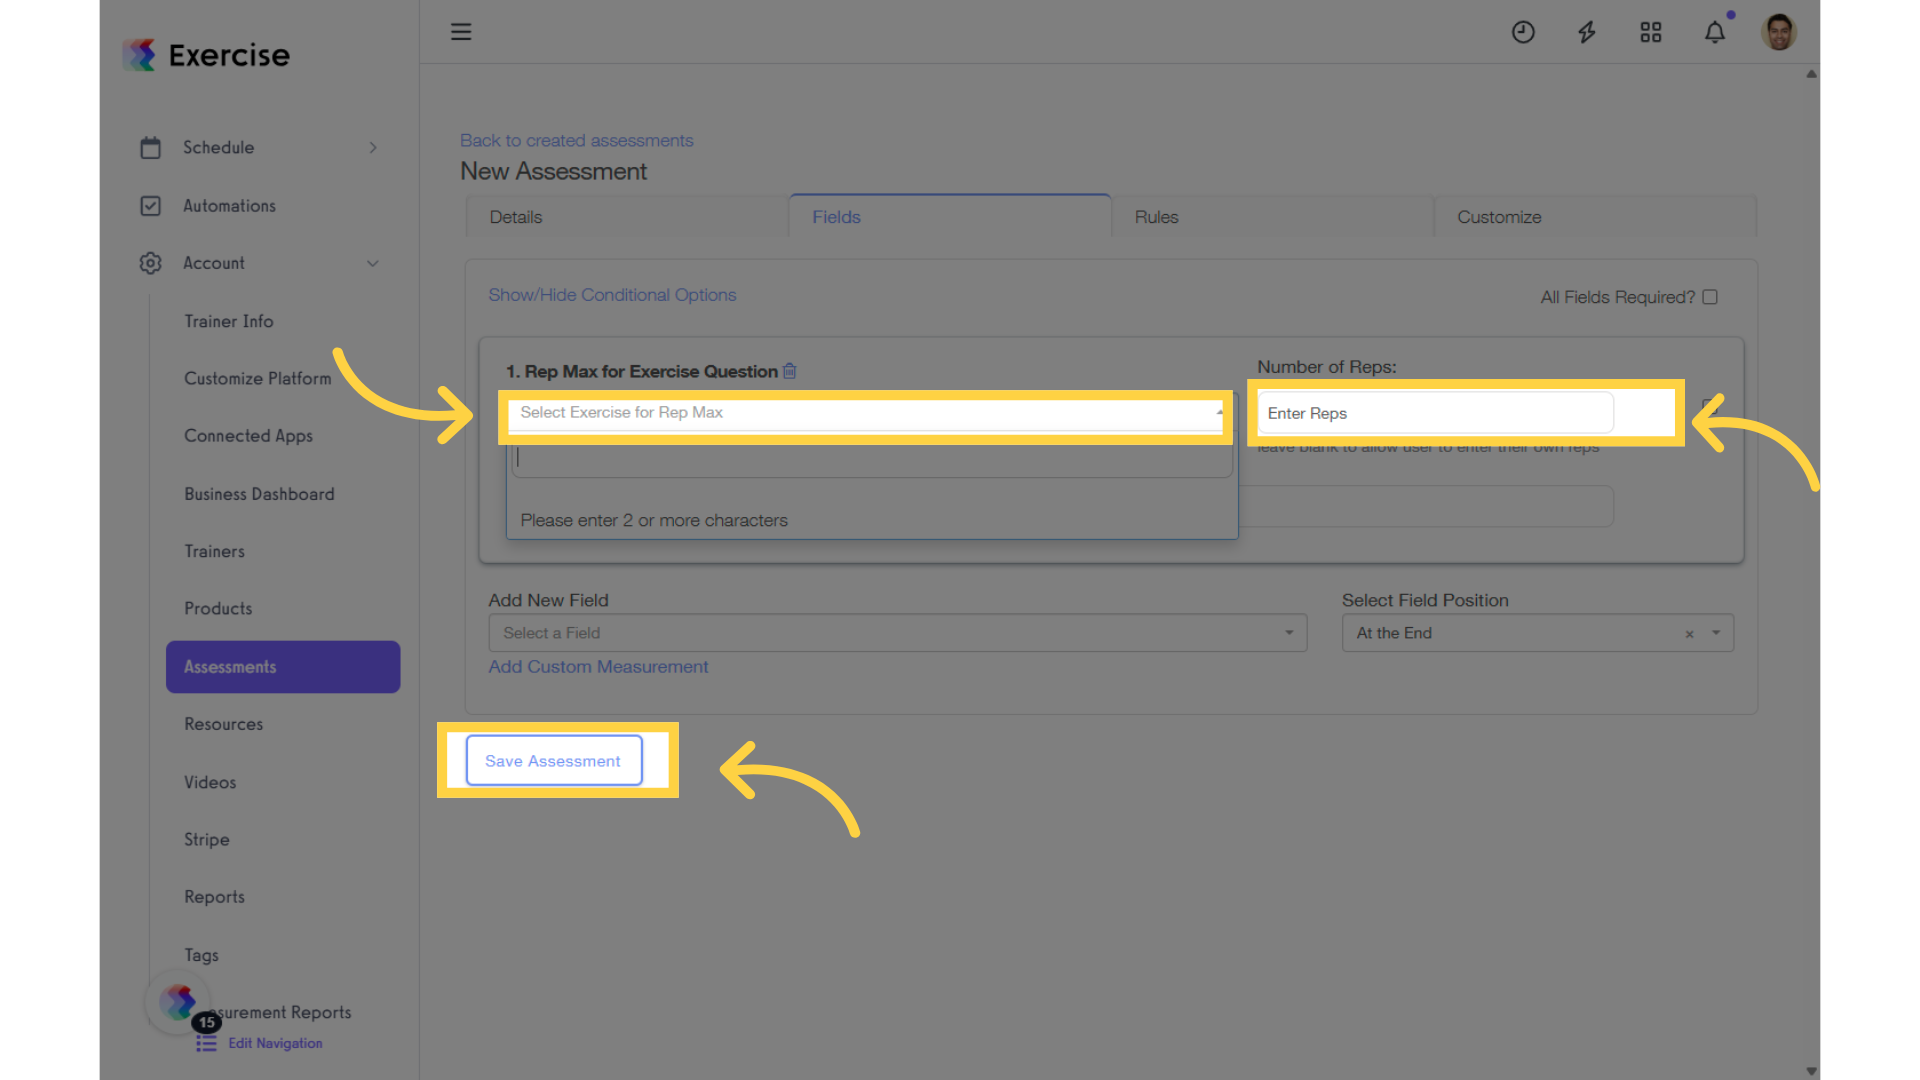
6. Select the exercise and enter the number of reps.
After adding the “Rep Max” field, search for the exercise by typing its name, enter the number of reps, and then click “Save Assessment” to apply the changes.
Now you can collect rep maxes in an assessment to save to a client’s profile!


