How do I fix error messages in the Workout Plan Creator?
Most of the error messages that you’ll see in the Workout Plan Creator are able to be quickly resolved. Our new error messages now have shortcut links to point you in the right direction!
See the shortcut links in action below:

Check out the steps below for a quick look at our new error message system and how you can use it to resolve any issues you might run into while creating a new plan.
Step-by-step Guide:
Step 1: Create and publish a plan.
Most of the time, everything will go smoothly, but if you forget to fill out a field or two, you will encounter an error message like the following:
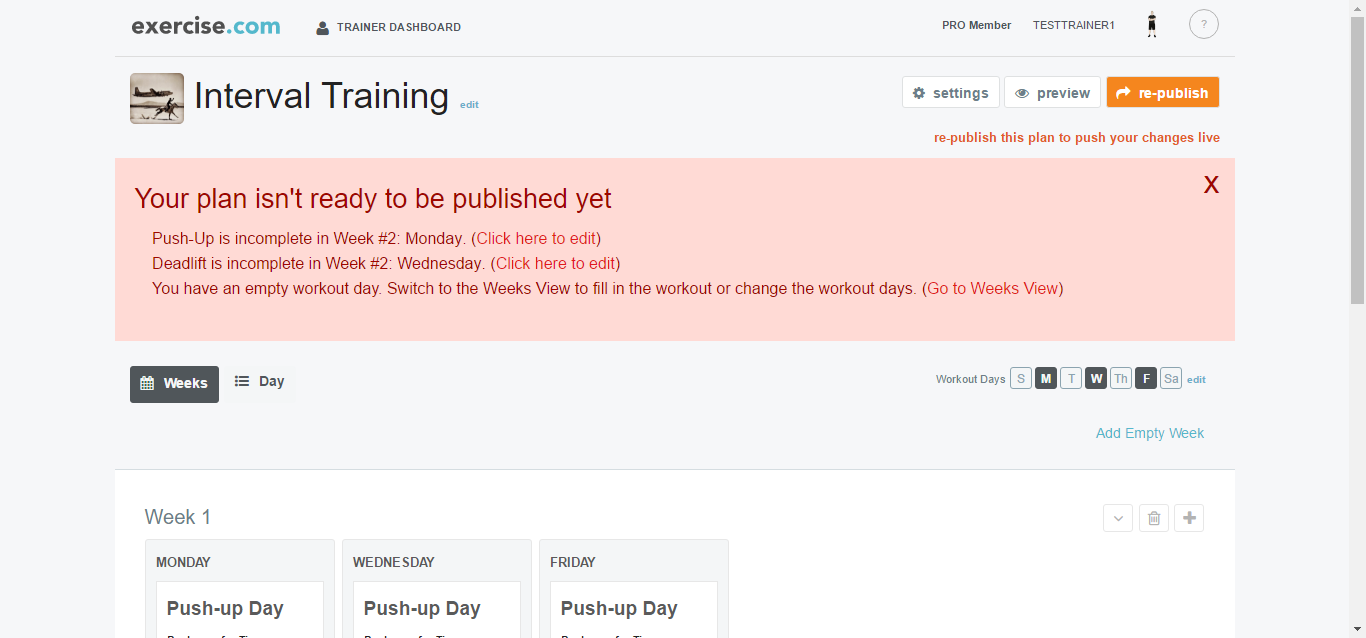
Step 2: View the error message as a checklist.
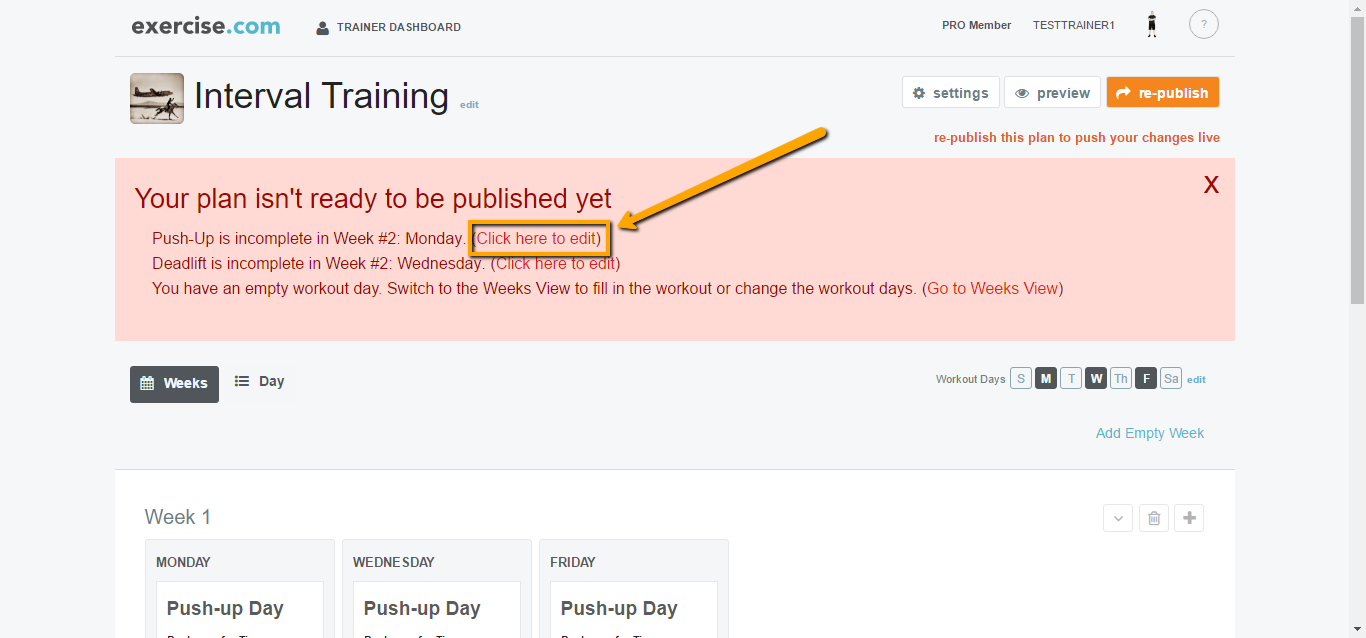
Each line represents a problem that has to be corrected before your plan is complete and ready to be published. Each individual error has its own shortcut link available.
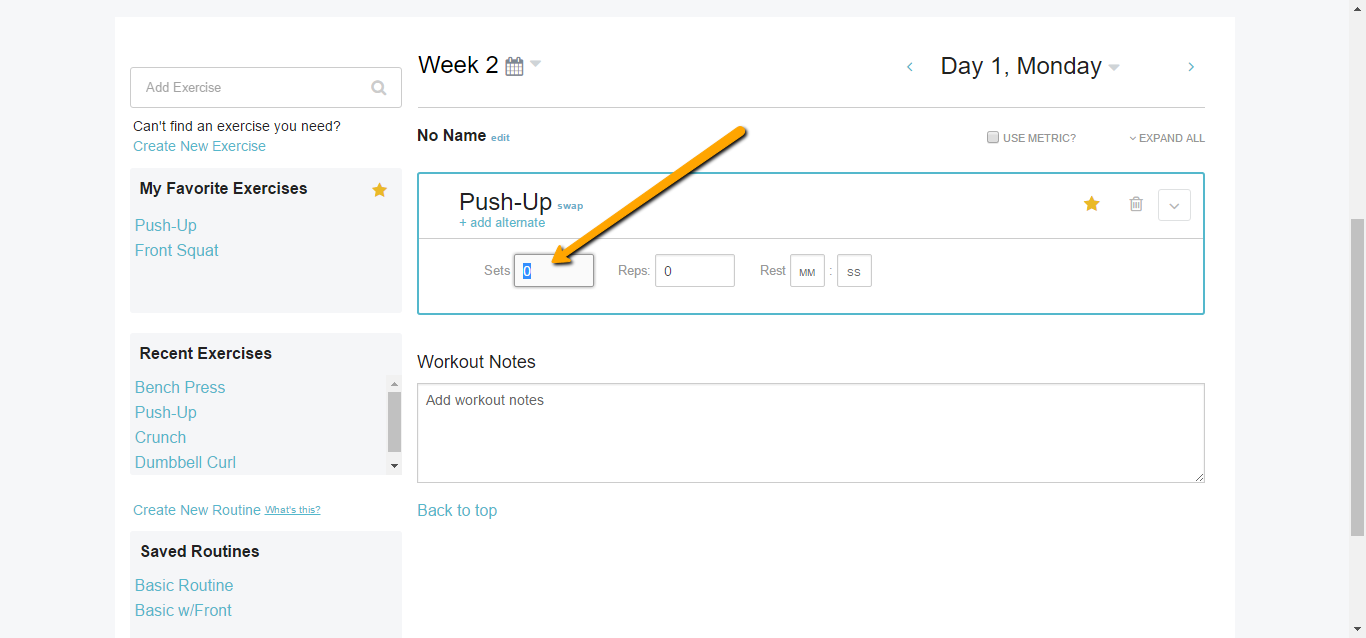
Step 3: Fill in the blanks that you are presented with on the screen.
In this example, our plan was missing sets and reps for some of the workouts. Enter the correct info and repeat for each error message.
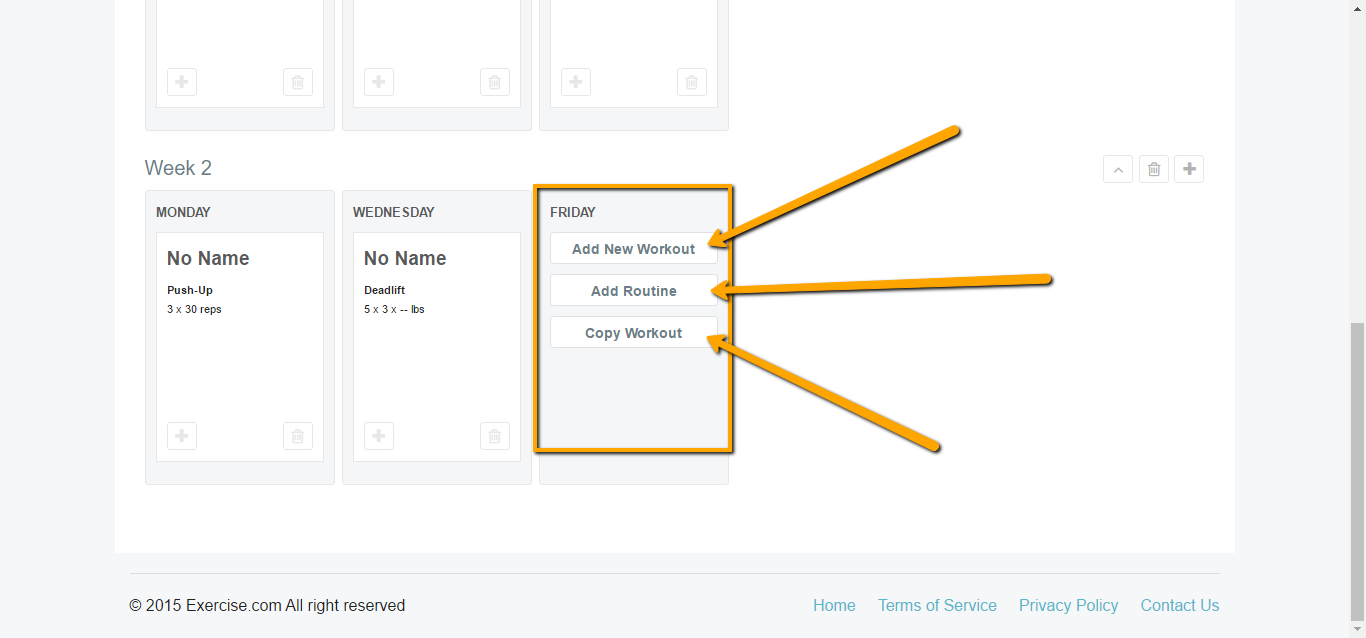
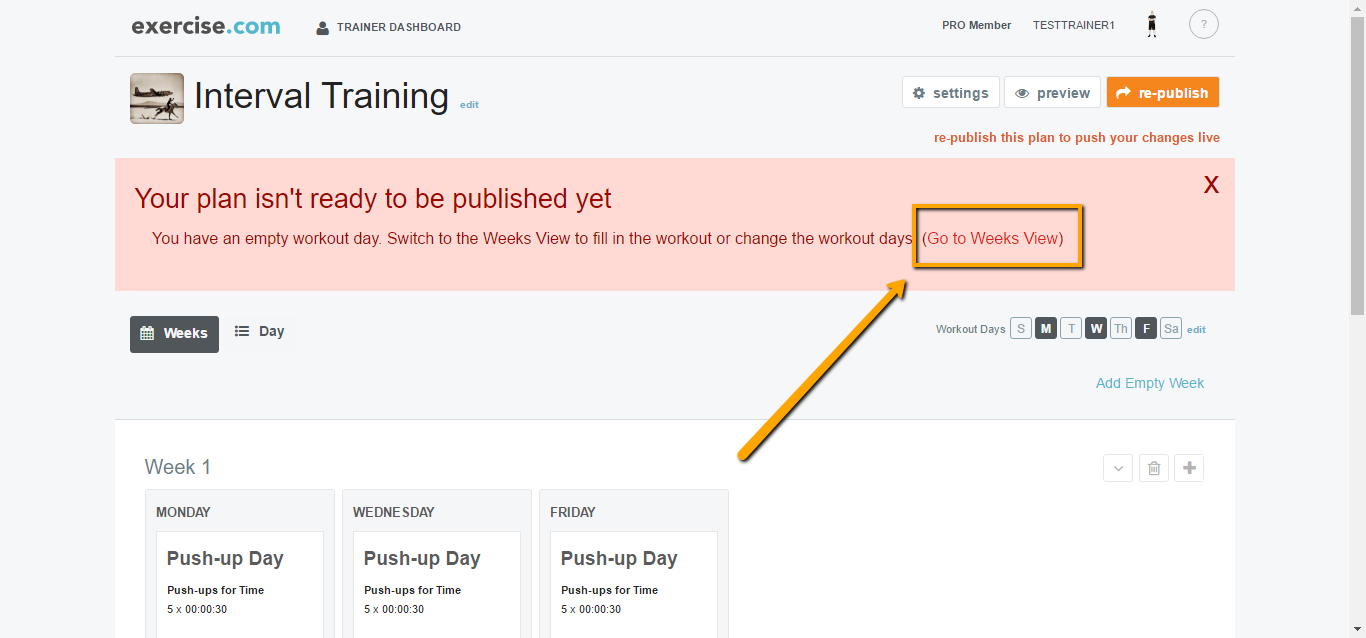
Step 4: Check for entire days missing.
If you encounter an “Empty workout day” error, click “Go to Weeks View” to see which day is missing.
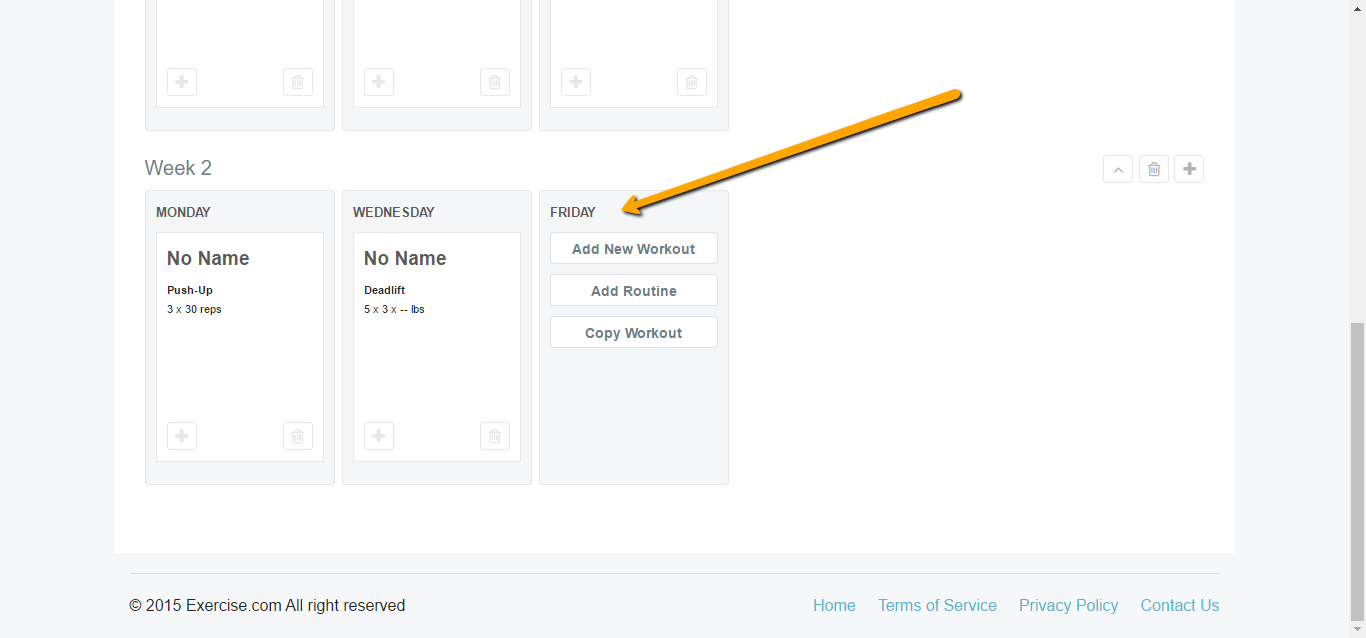
Step 5: For each missing day, fill in the relevant information.
You can either enter a unique workout for that specific day or, if you want people to repeat a workout from an earlier day in the week, you can select “Copy Workout” and transfer the data from one day to another.