How to Access the Variants View in the Products Section
This guide will walk you through the steps to set up and customize product variants, including adding options, editing attributes, managing inventory, and finalizing your changes. By the end of this process, you’ll know how to configure variants and save your product successfully.
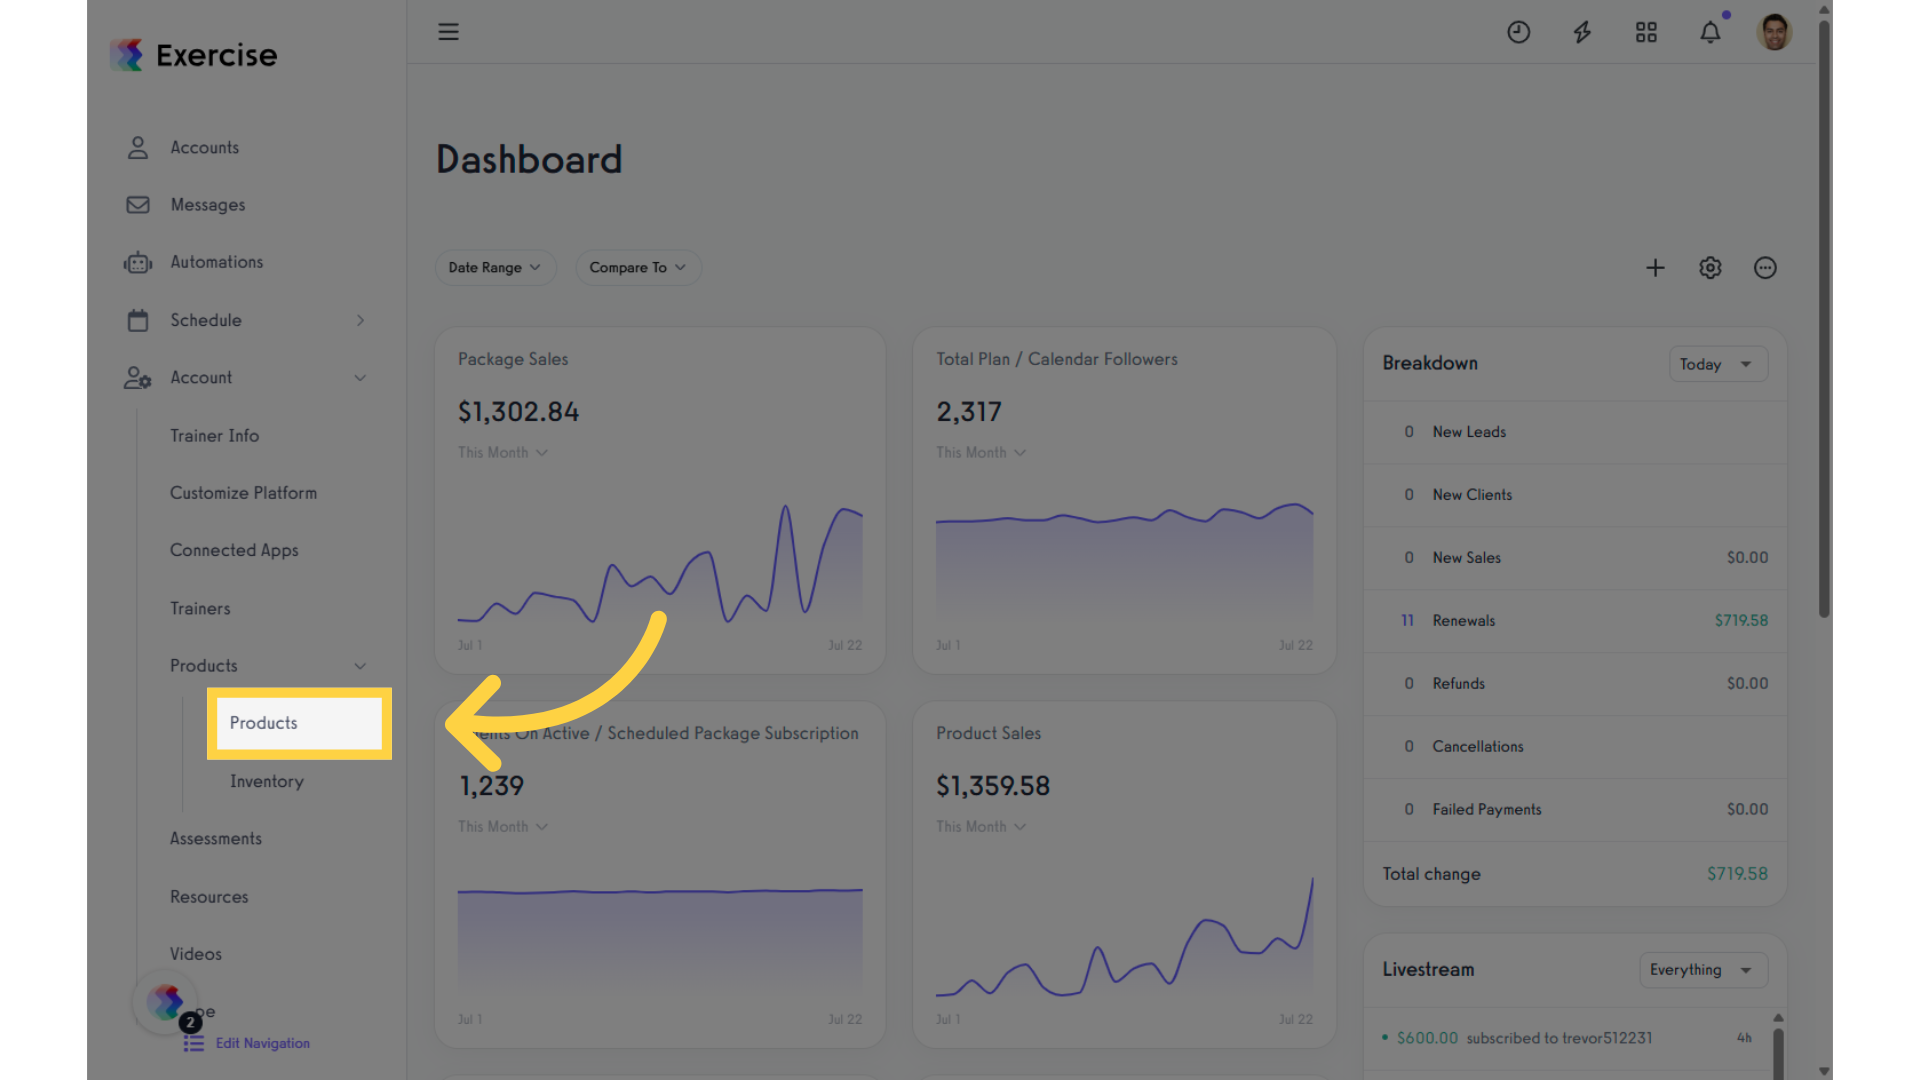
1. Products
Under the “Account” section, click on the “Products” tab.
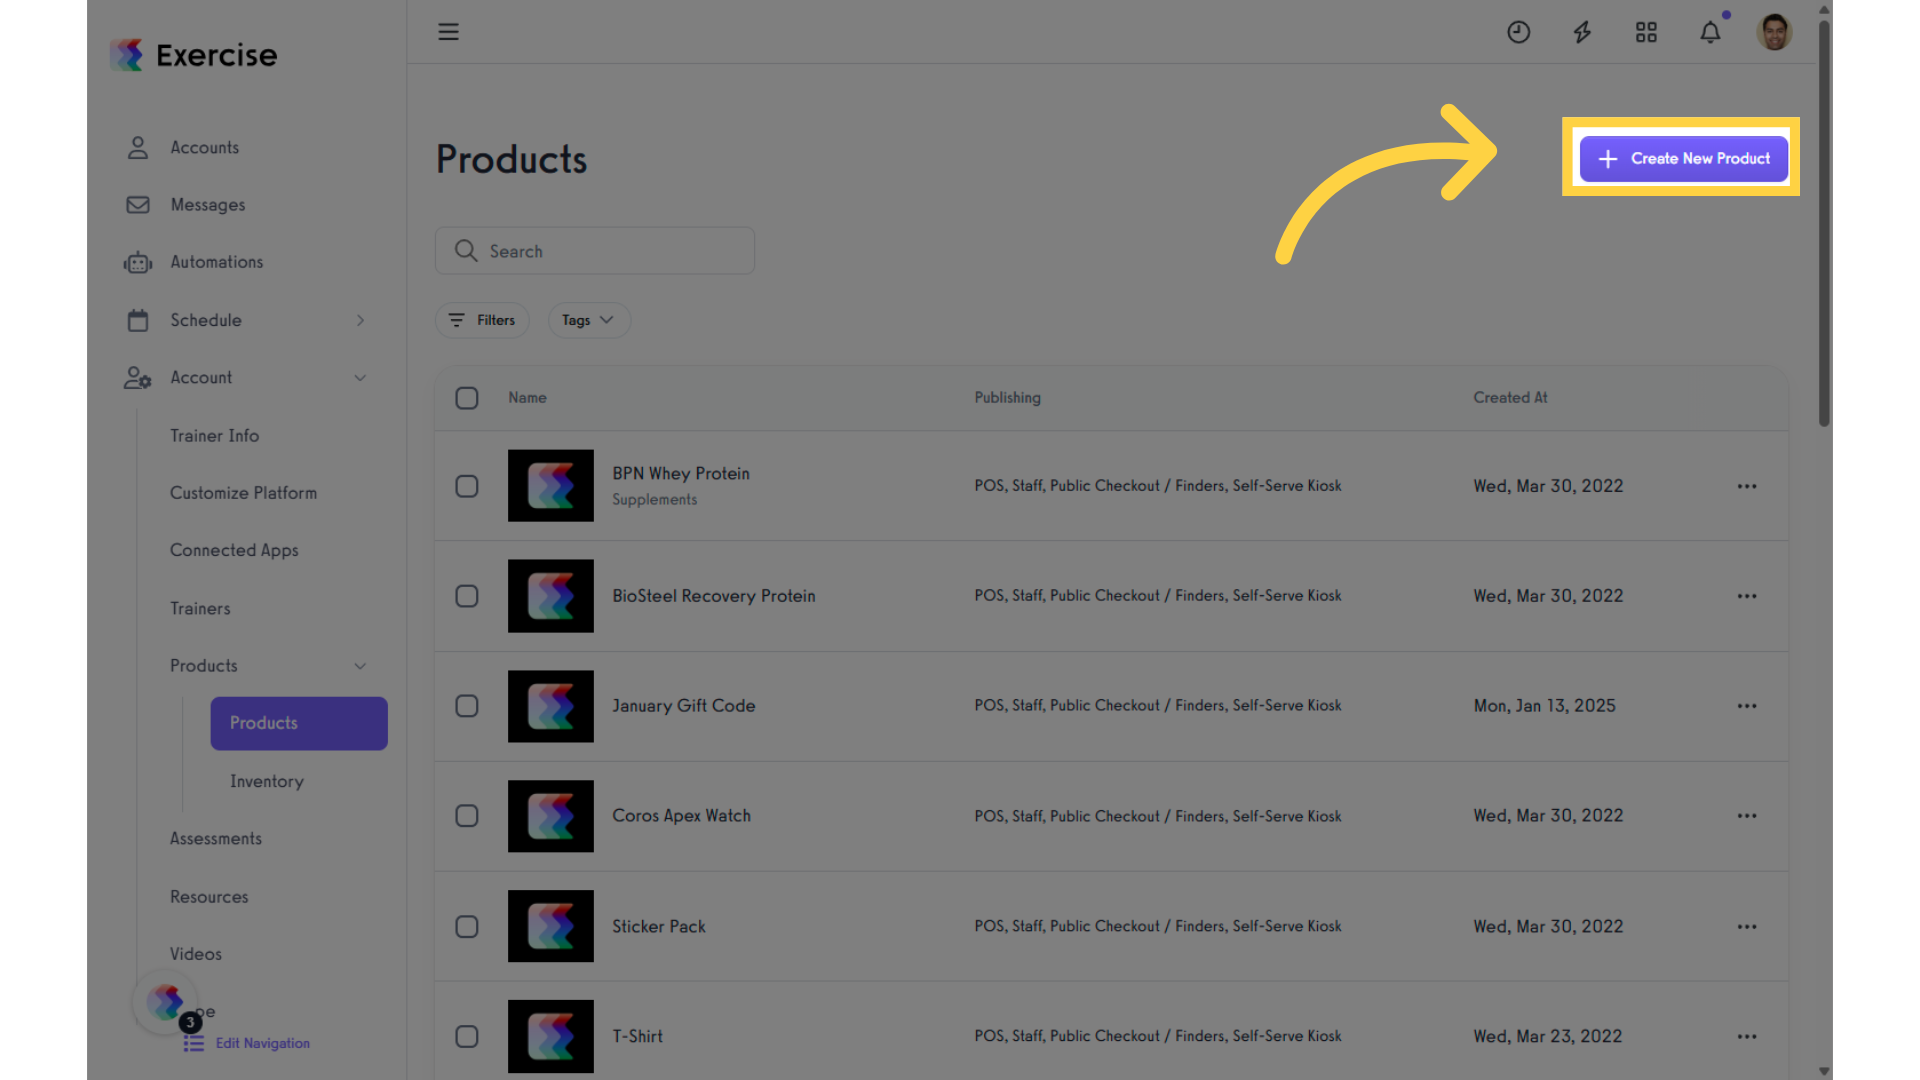
2. Create New Product
To access the new Variants view, start by creating a new product or editing an existing one.
3. Variants
Click on the “Variants” tab.

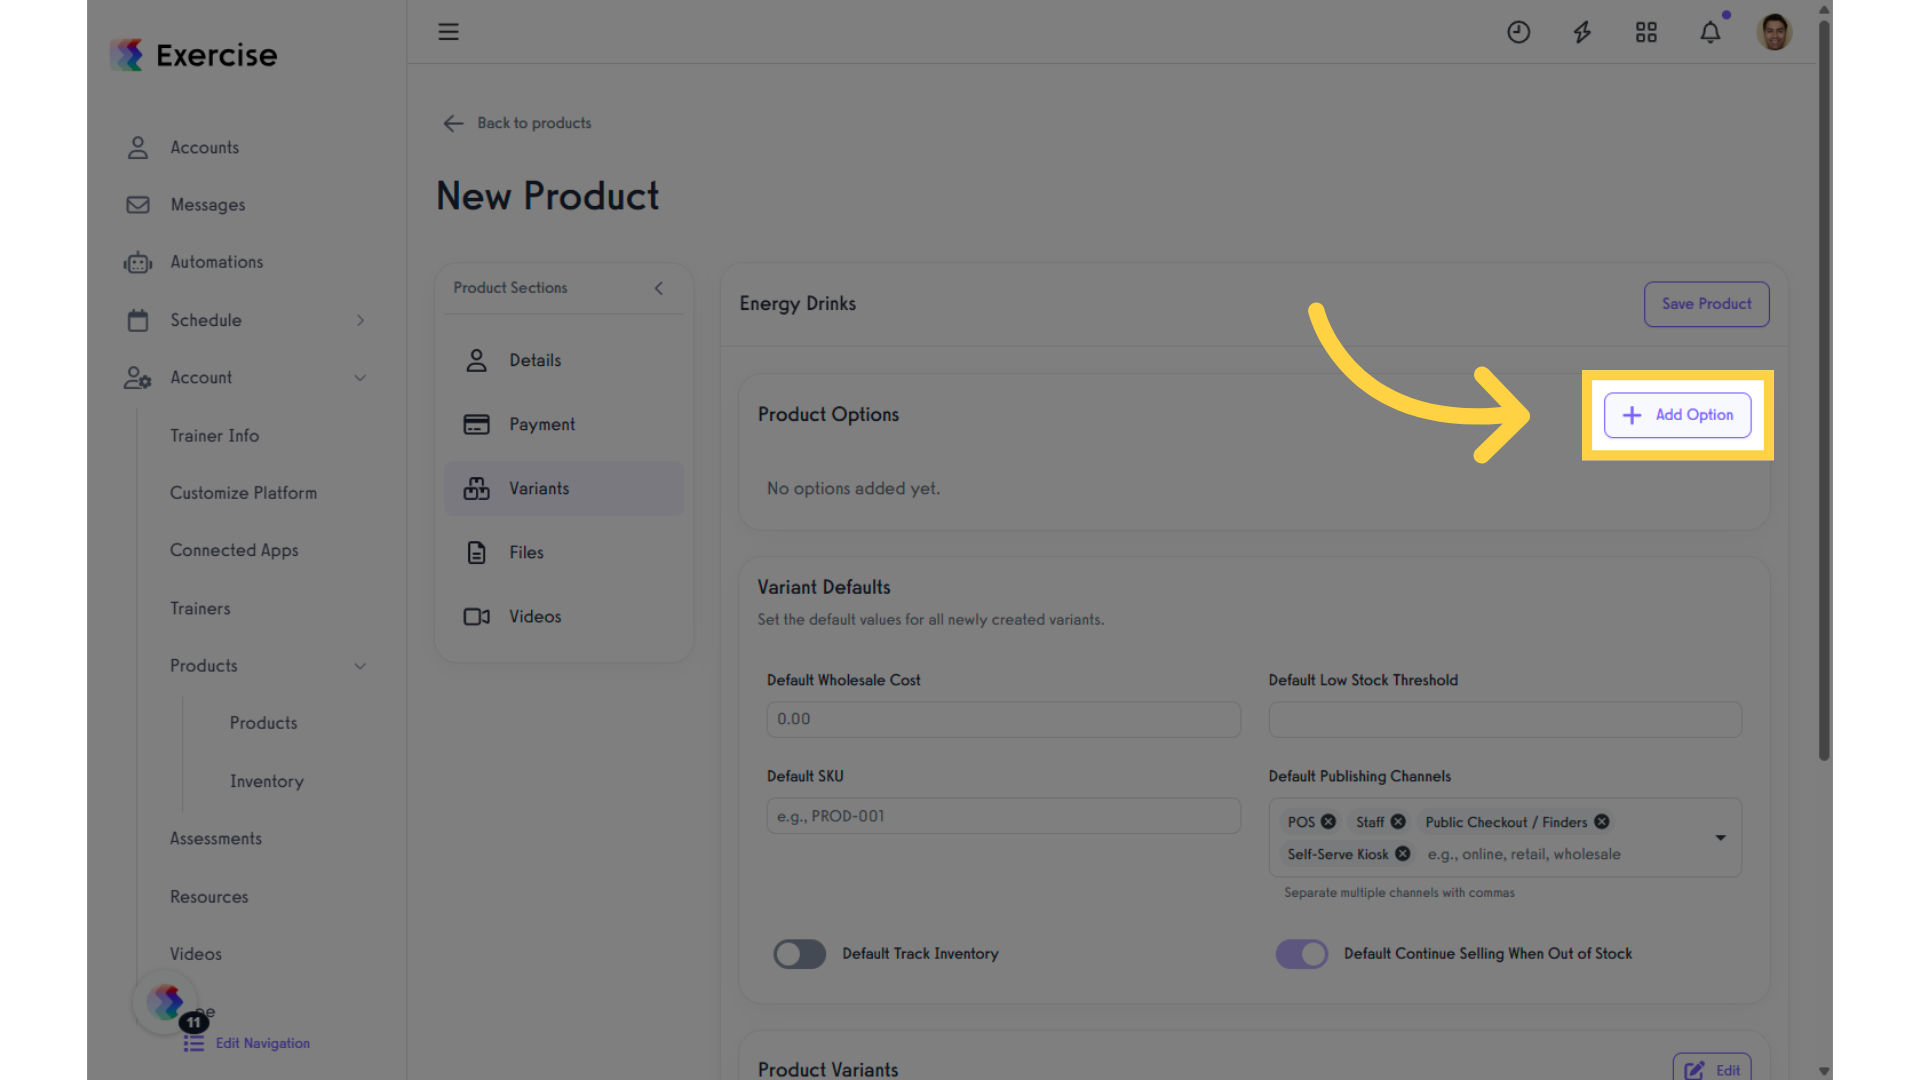
4. Add Option
You can add product options by clicking on the “Add Option” button.
Enter Name
Enter a name in the “Option Name” field.
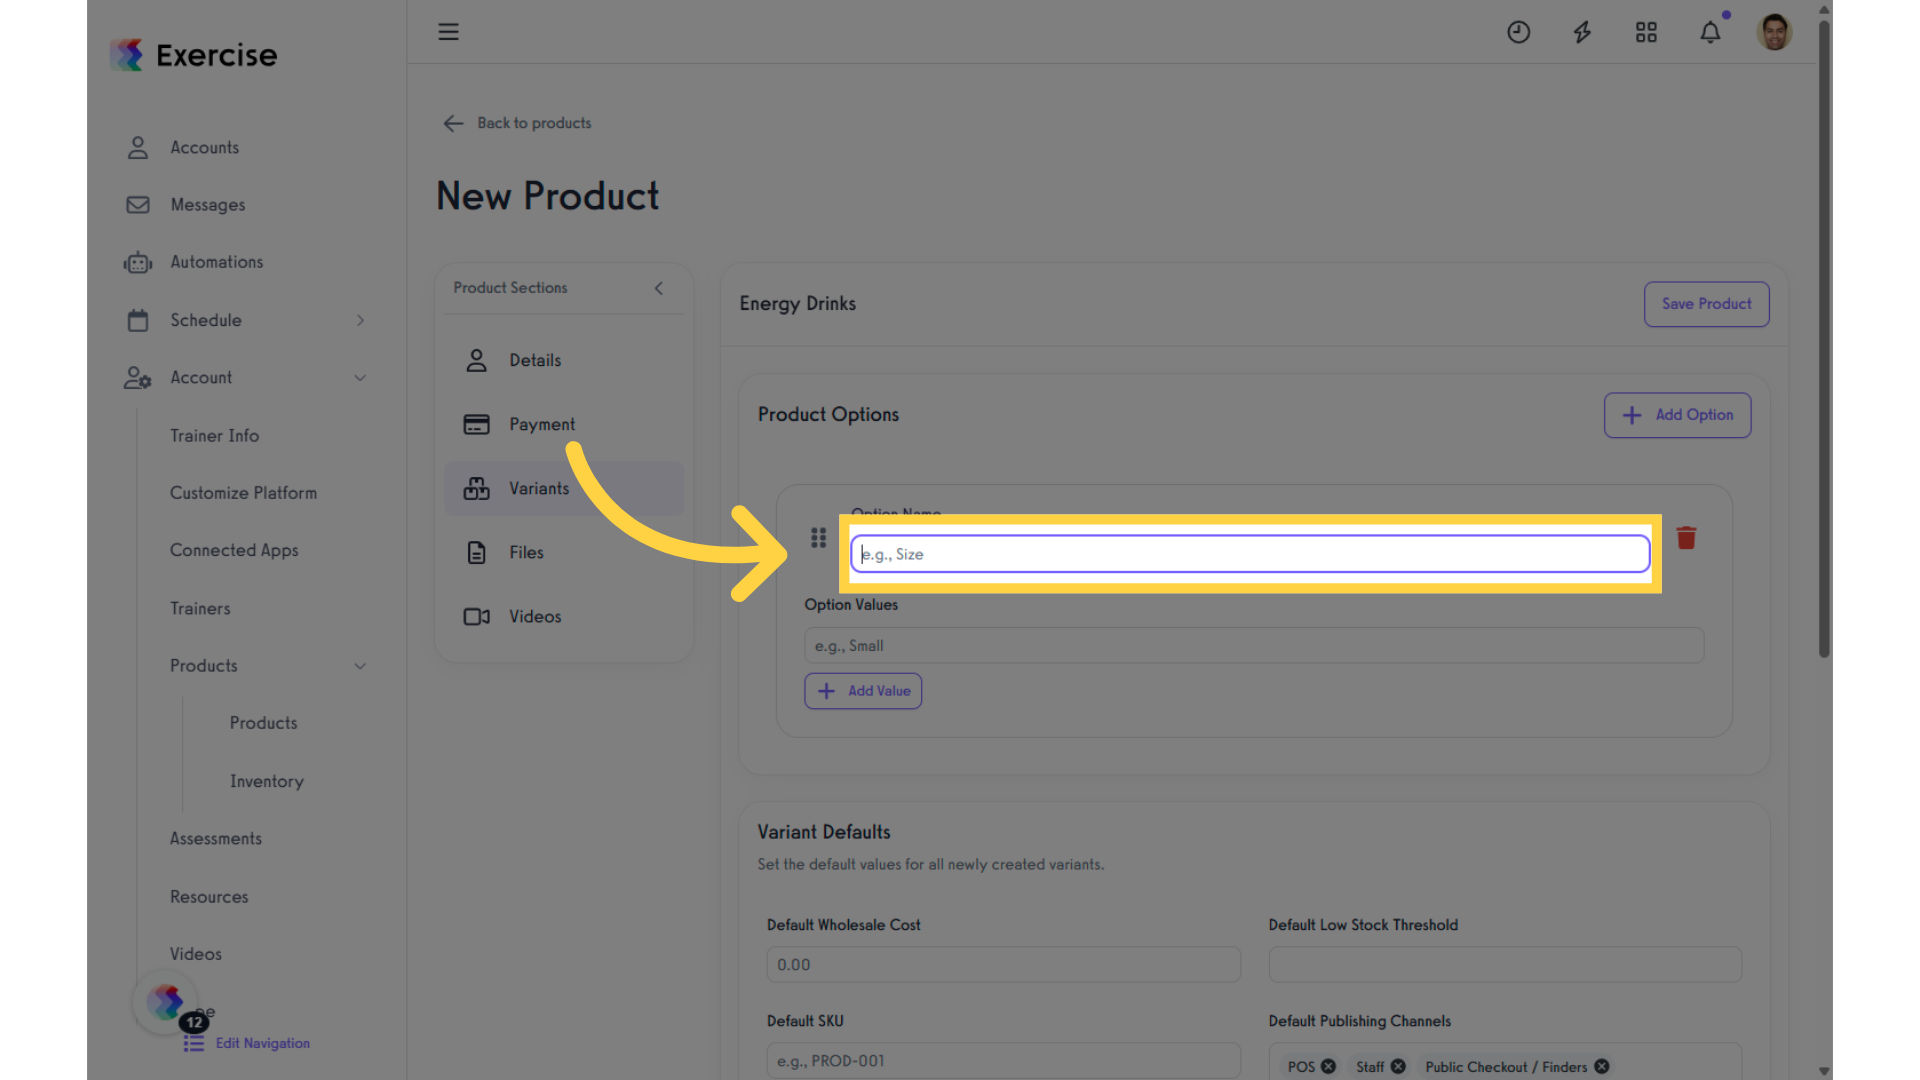
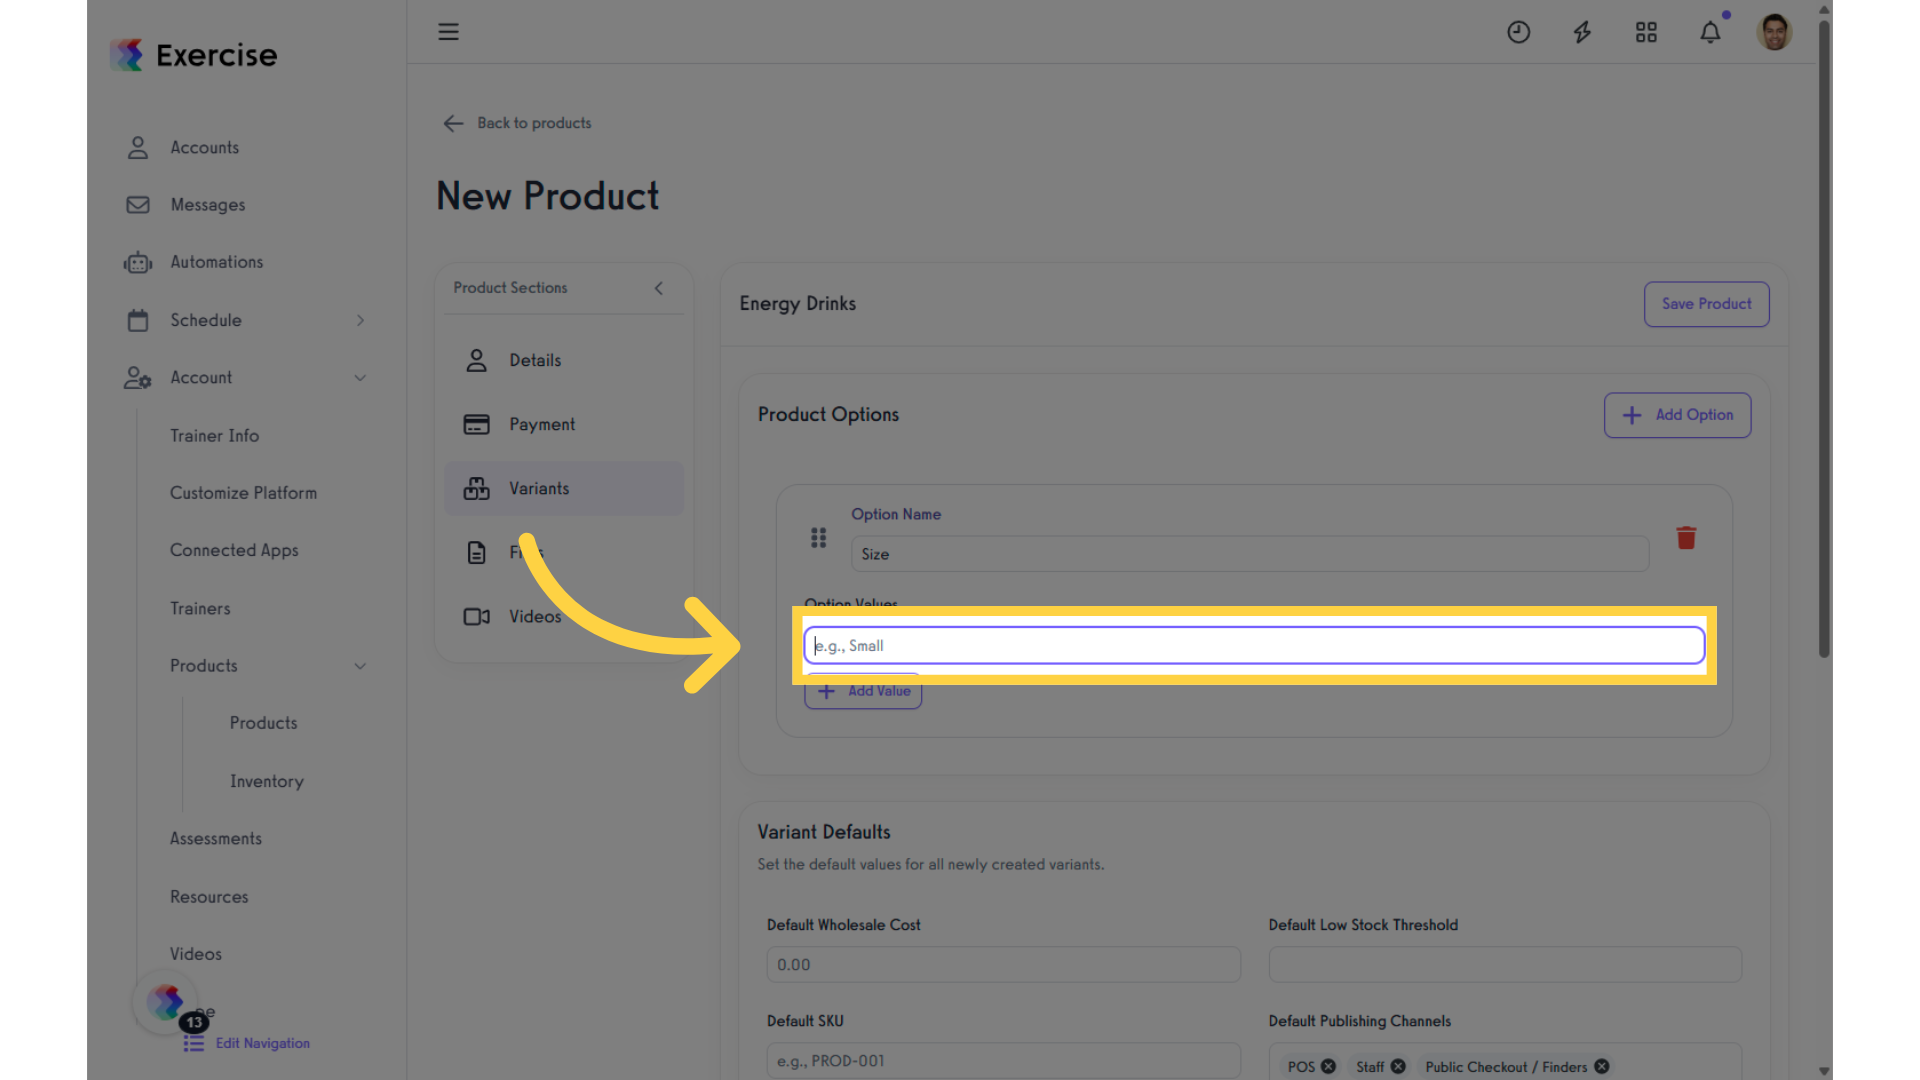
6. Enter Value
Enter a value in the “Option Values” field.
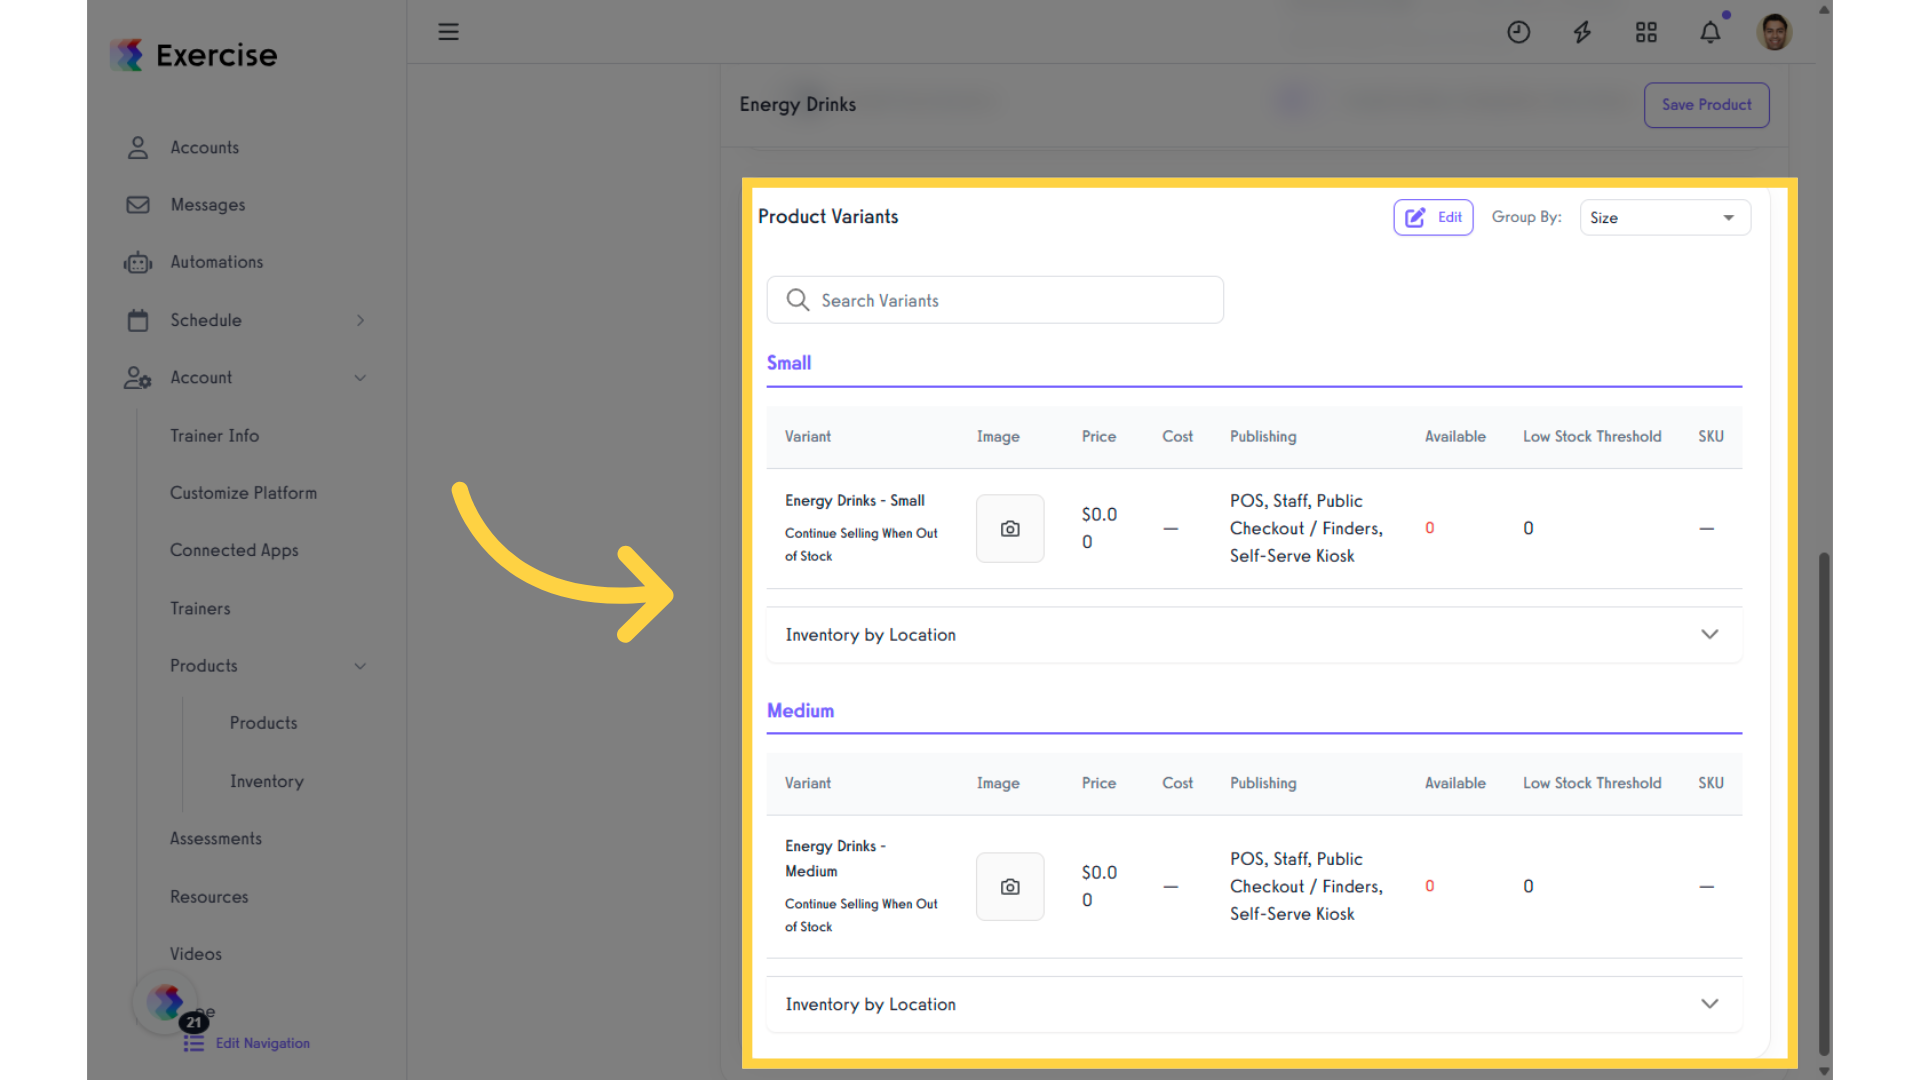
7. View Product Variants
Scroll to the Product Variants section. Here, you can view the combinations of options for each variant. You can also search for specific variants or filter variants by group. By clicking on a variant, you can:
- Upload or change a variant-specific image
- Edit the price, cost, or other attributes
- View and update inventory per location
- Redirect to the history log
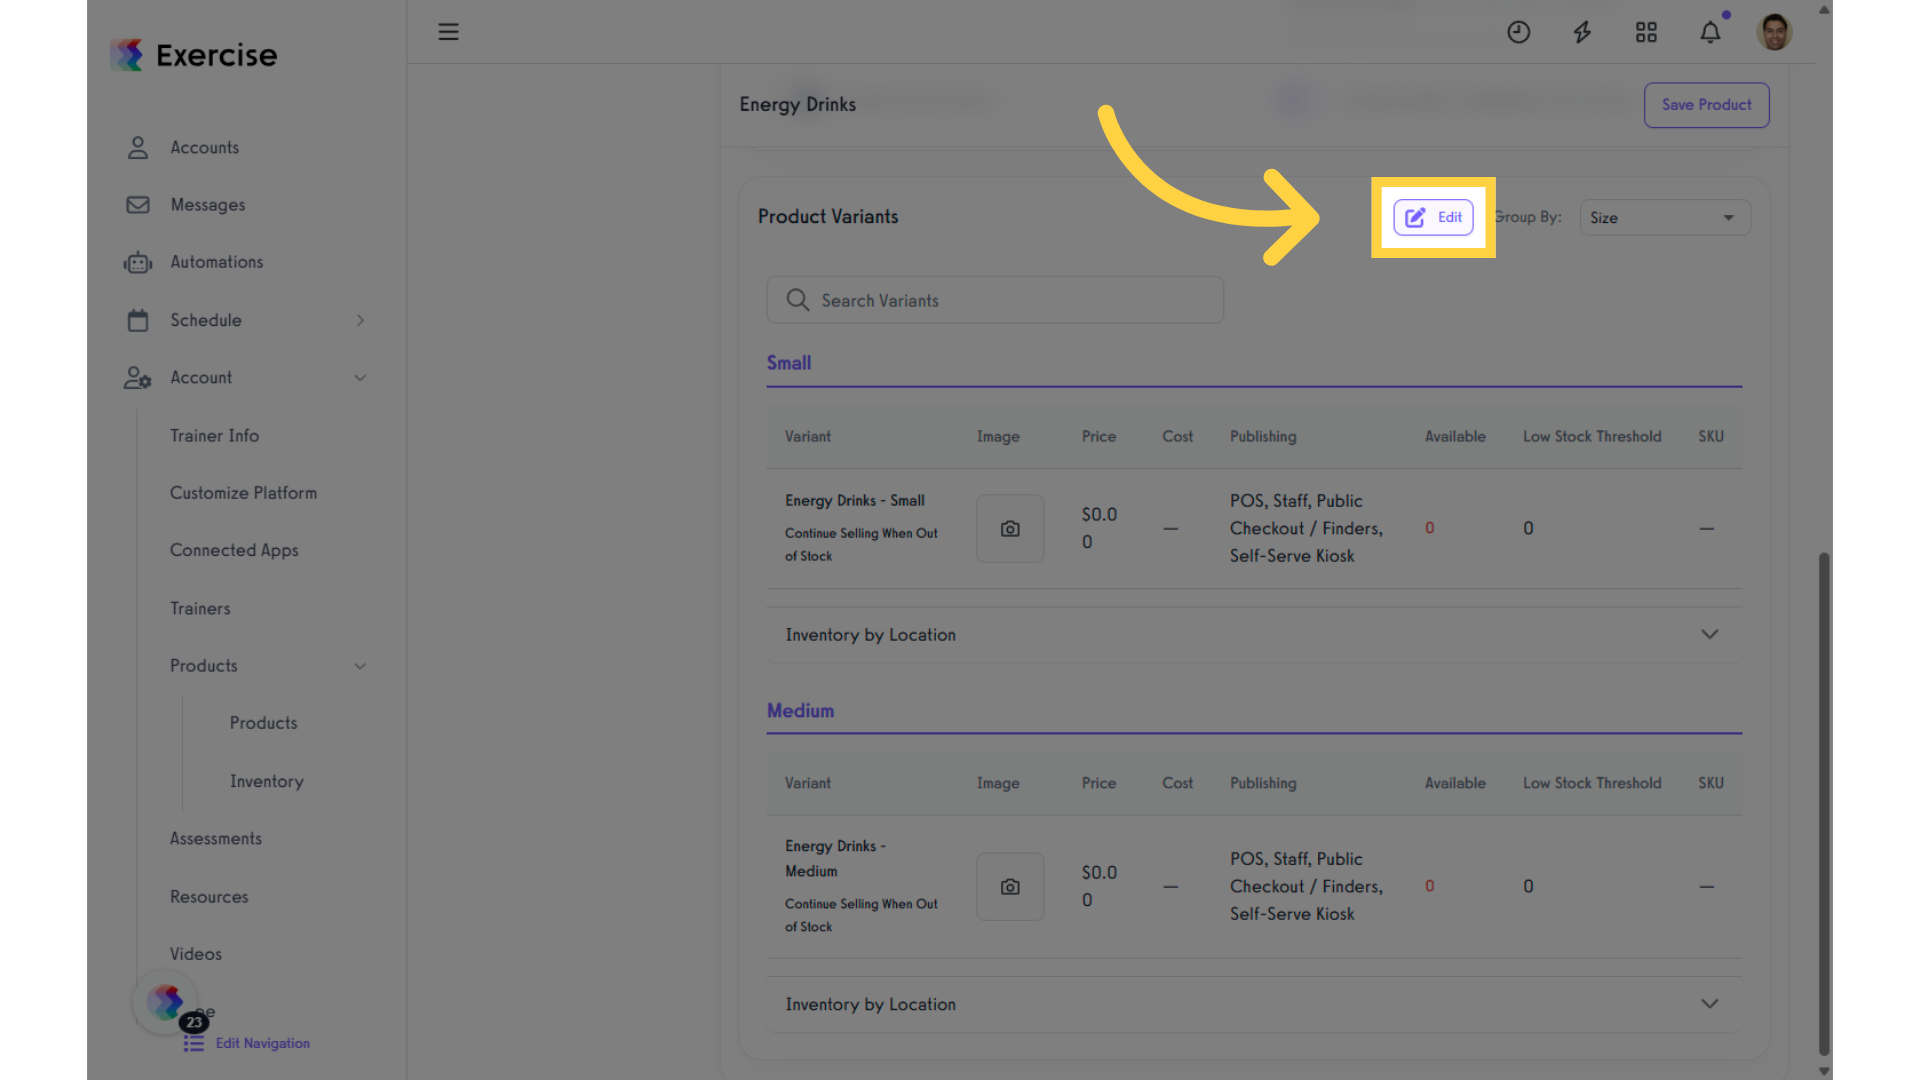
8. Edit Product Variants
Click “Edit” to modify the product variant according to your preferences.
9. Editing Options
In the Product Variants section, click “Edit” to modify the selected variant. You can then upload or change the variant-specific image, and edit the price, cost, or other attributes.
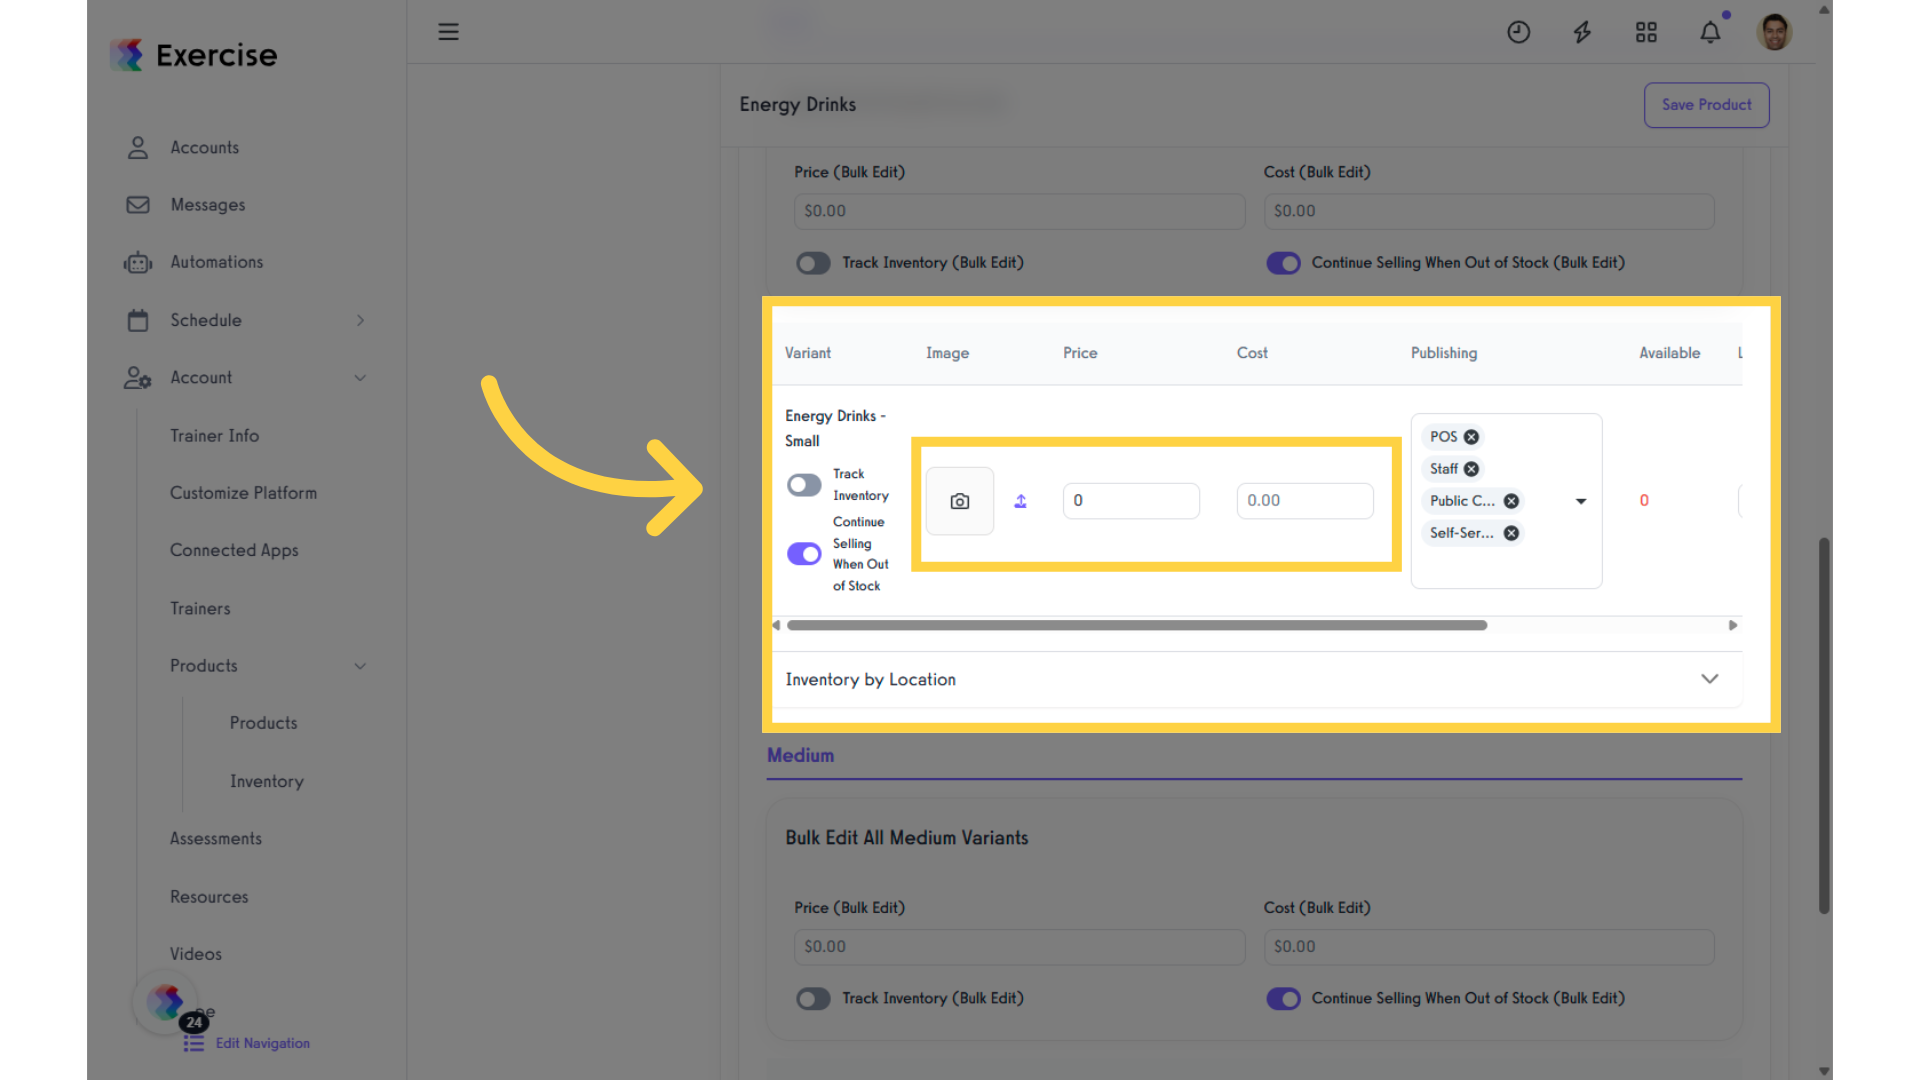
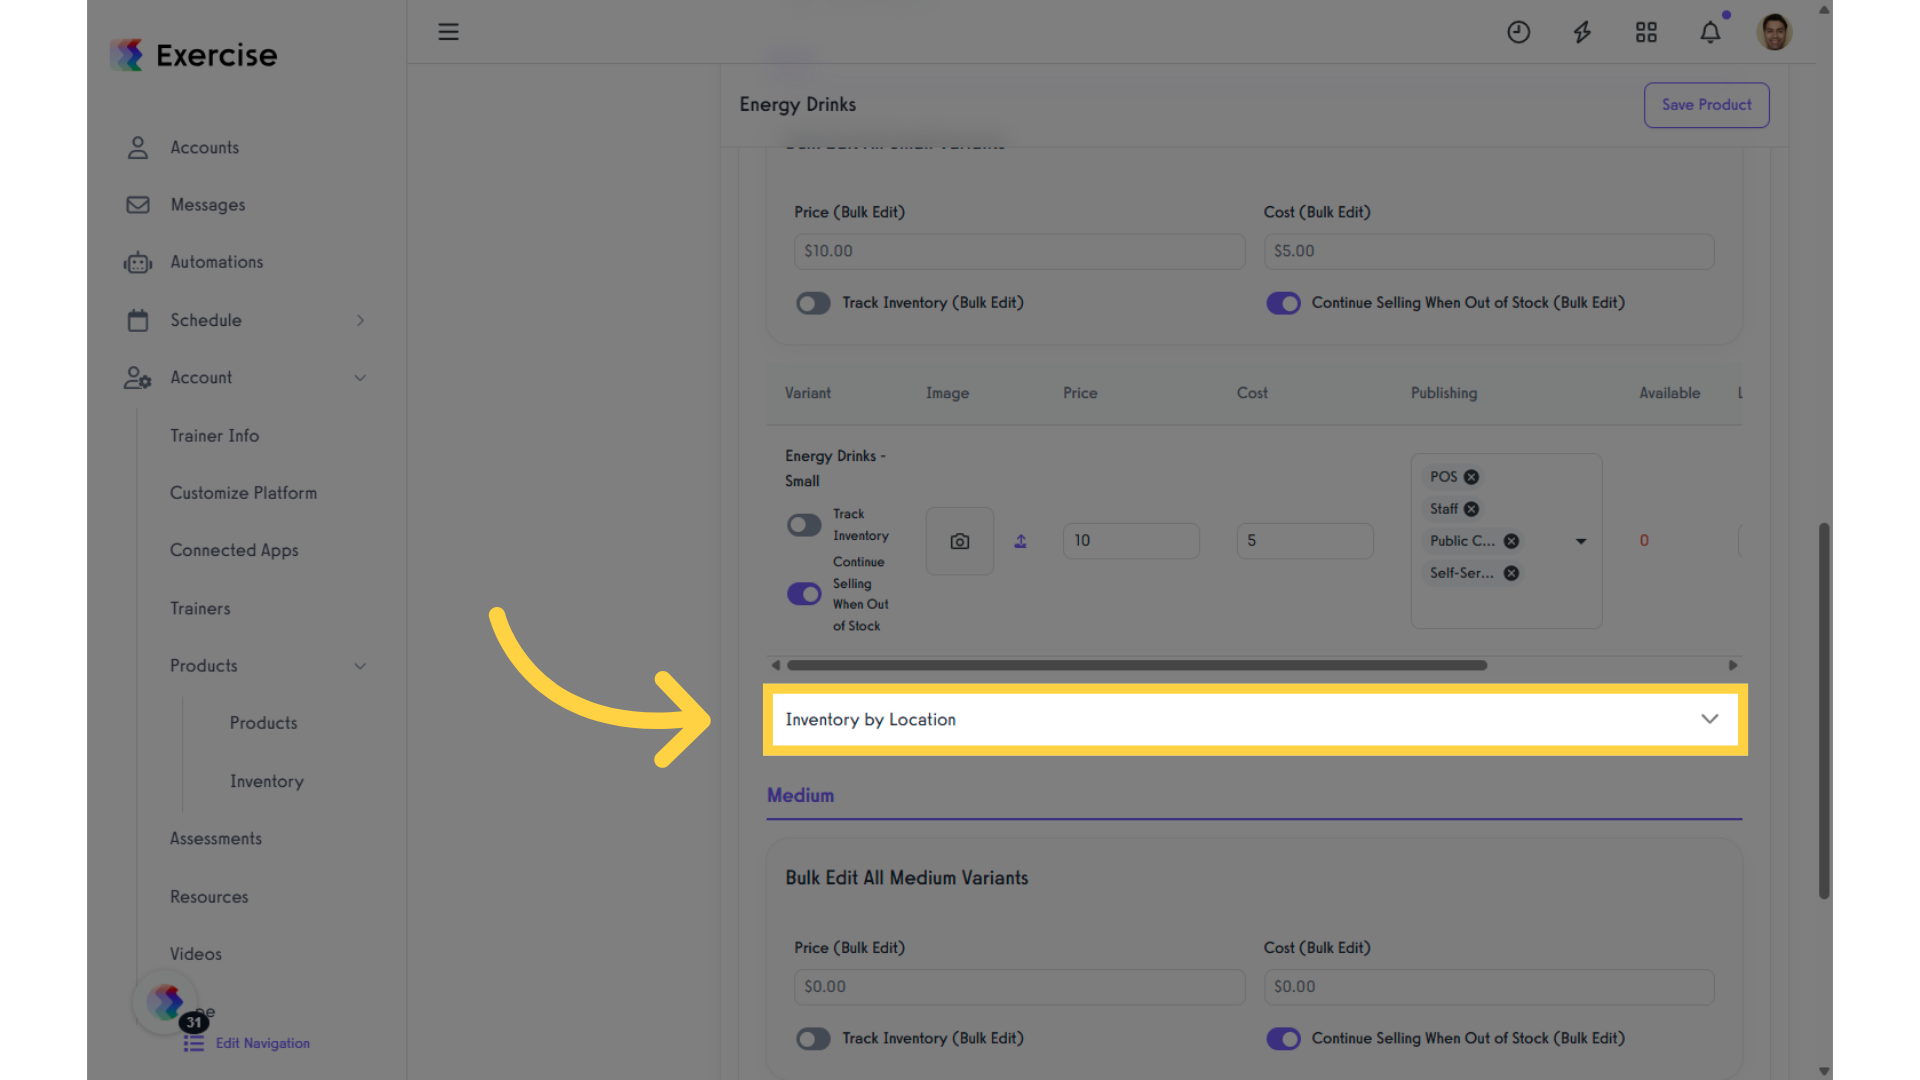
10. Inventory by Location
Select “Inventory by Location” if you want to view and update inventory per location.
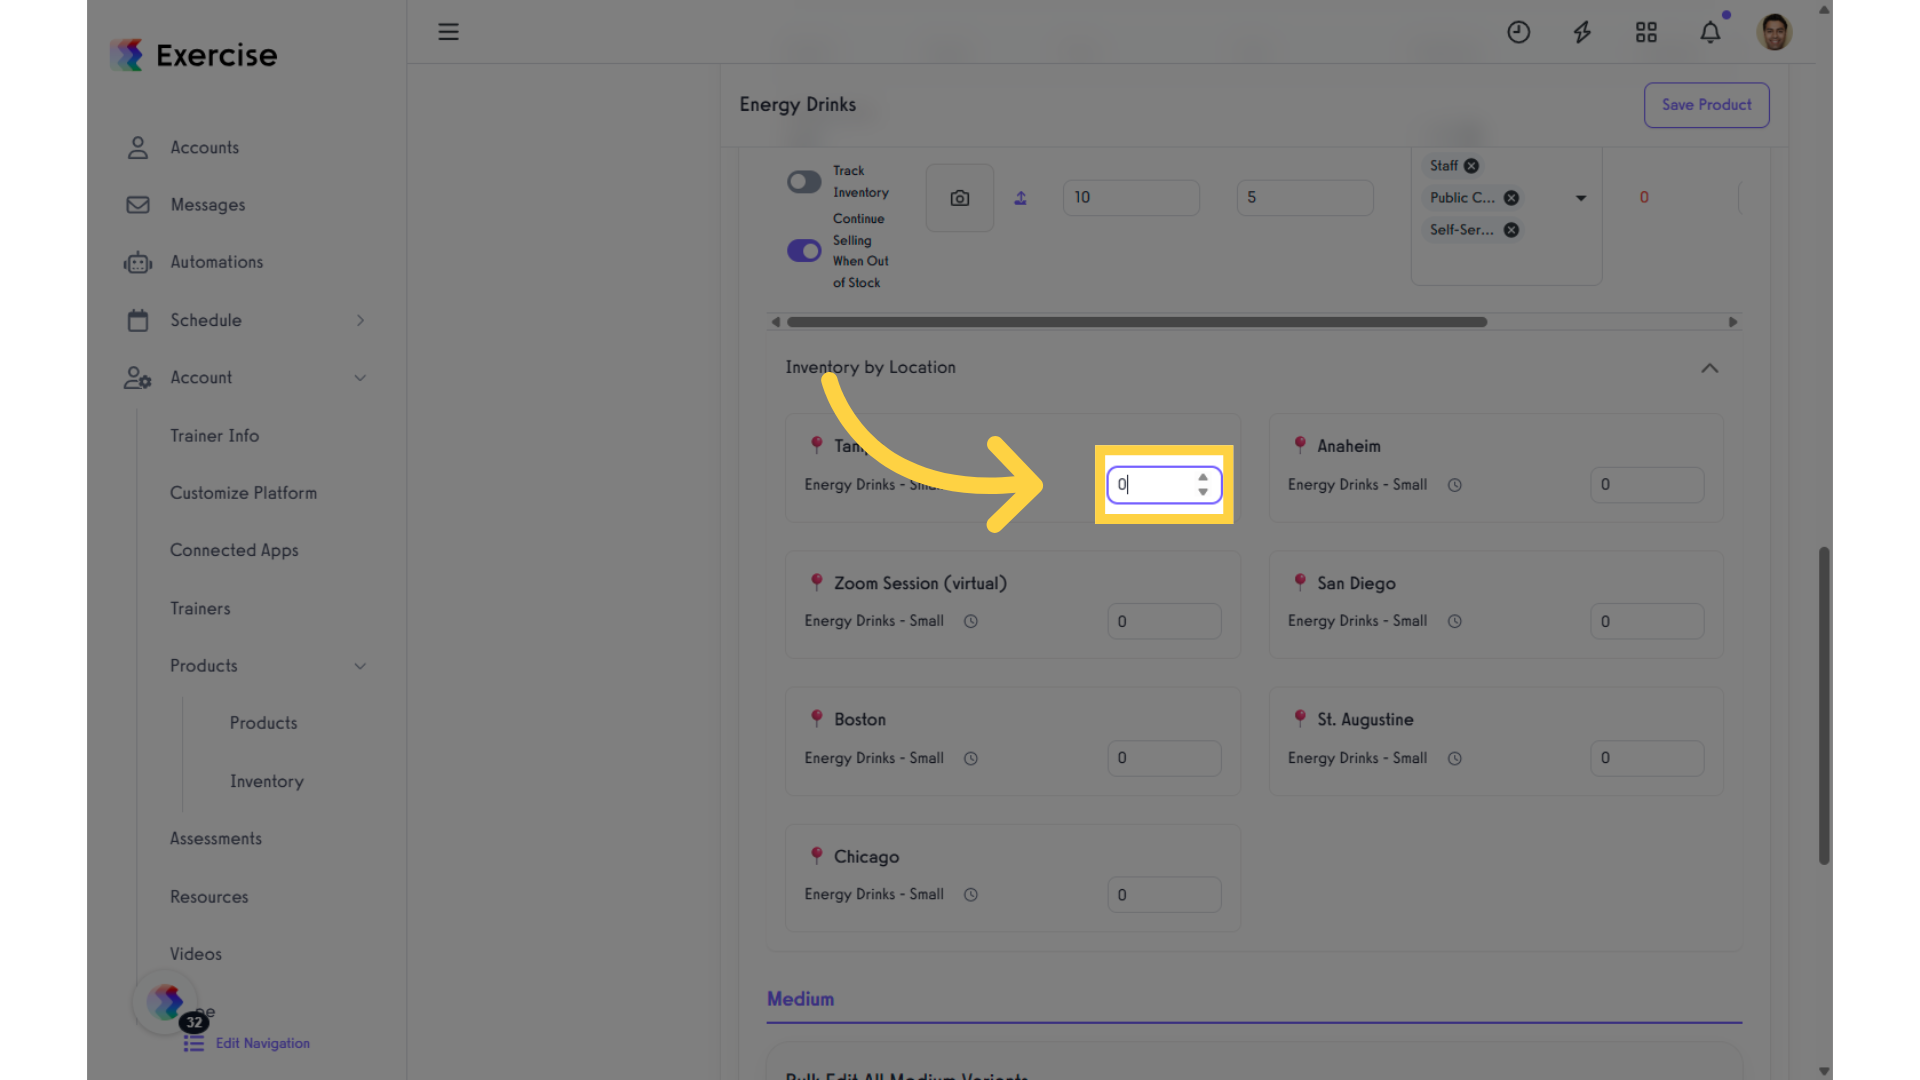
11. Specify Inventory
Enter the quantity of your stock in the provided field.
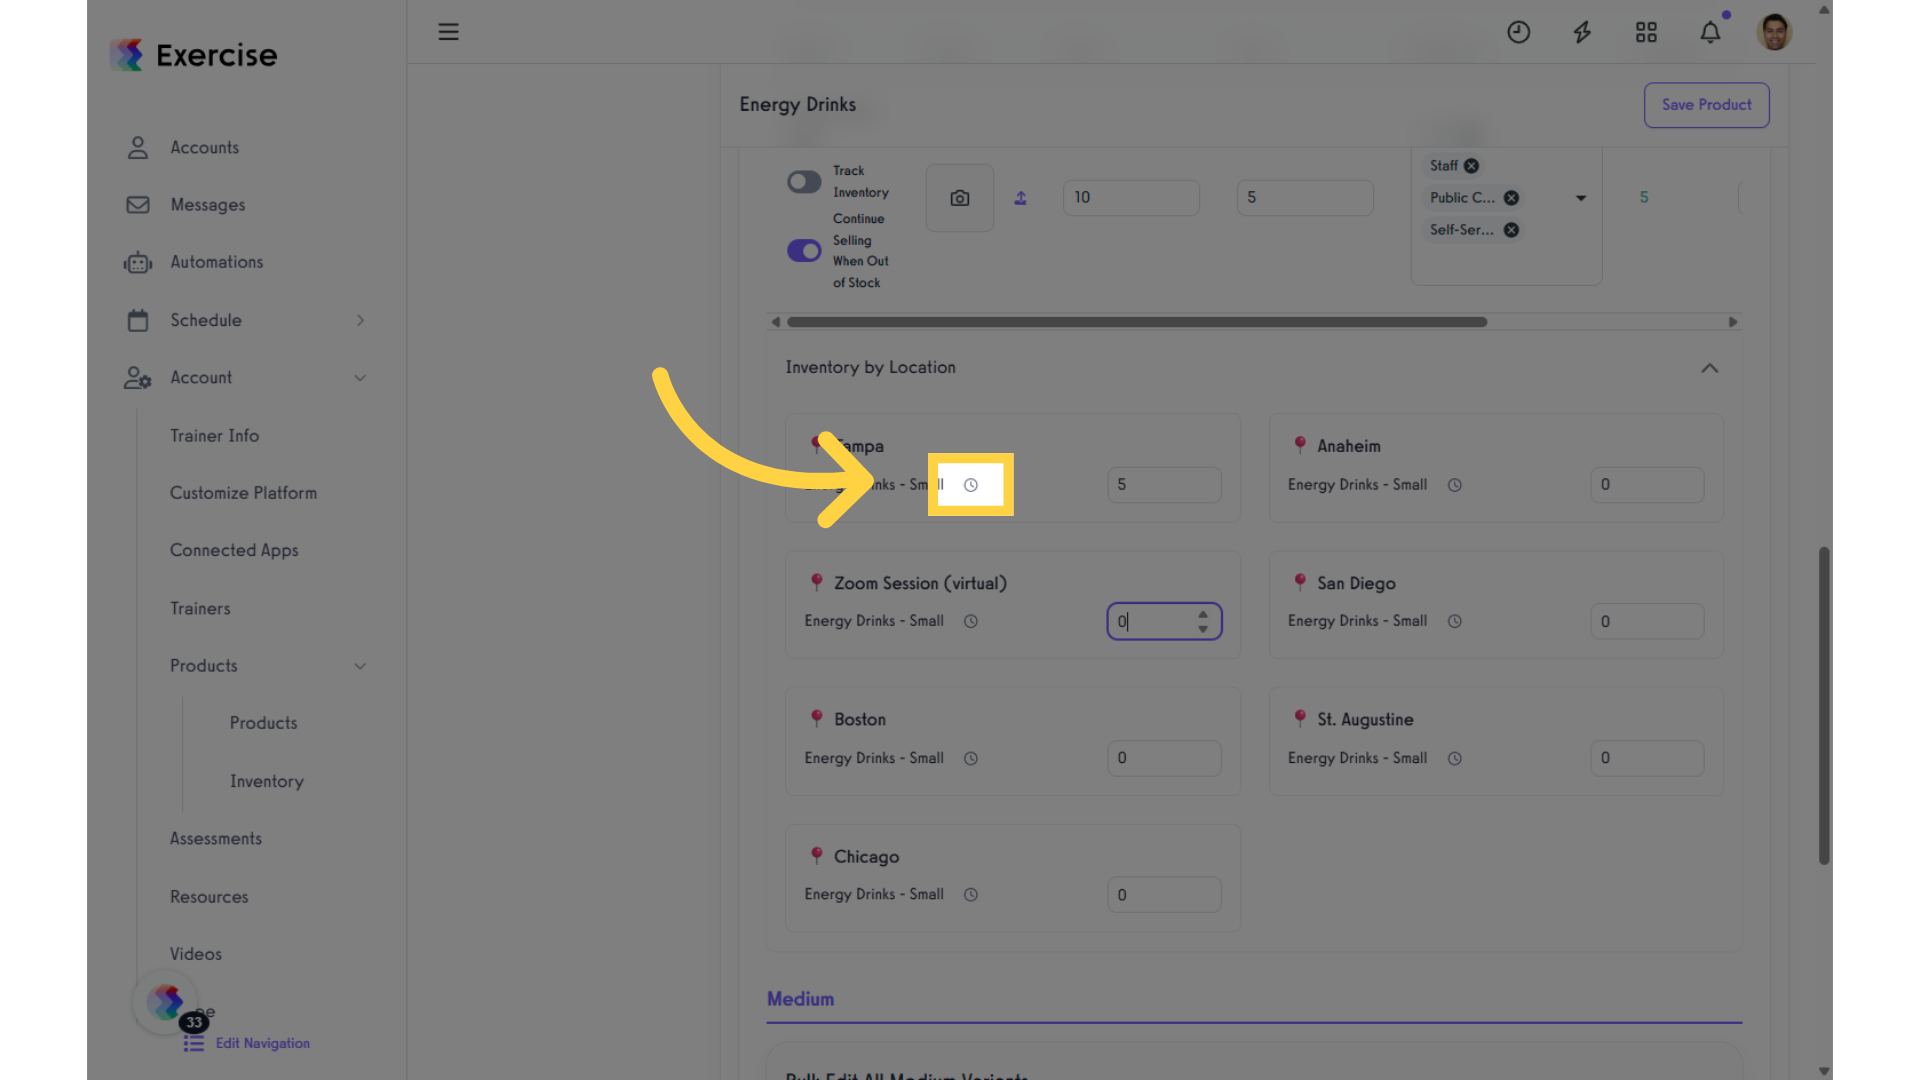
12. Inventory History
To view the Inventory History, simply click the icon found under the “Inventory by Location” section.
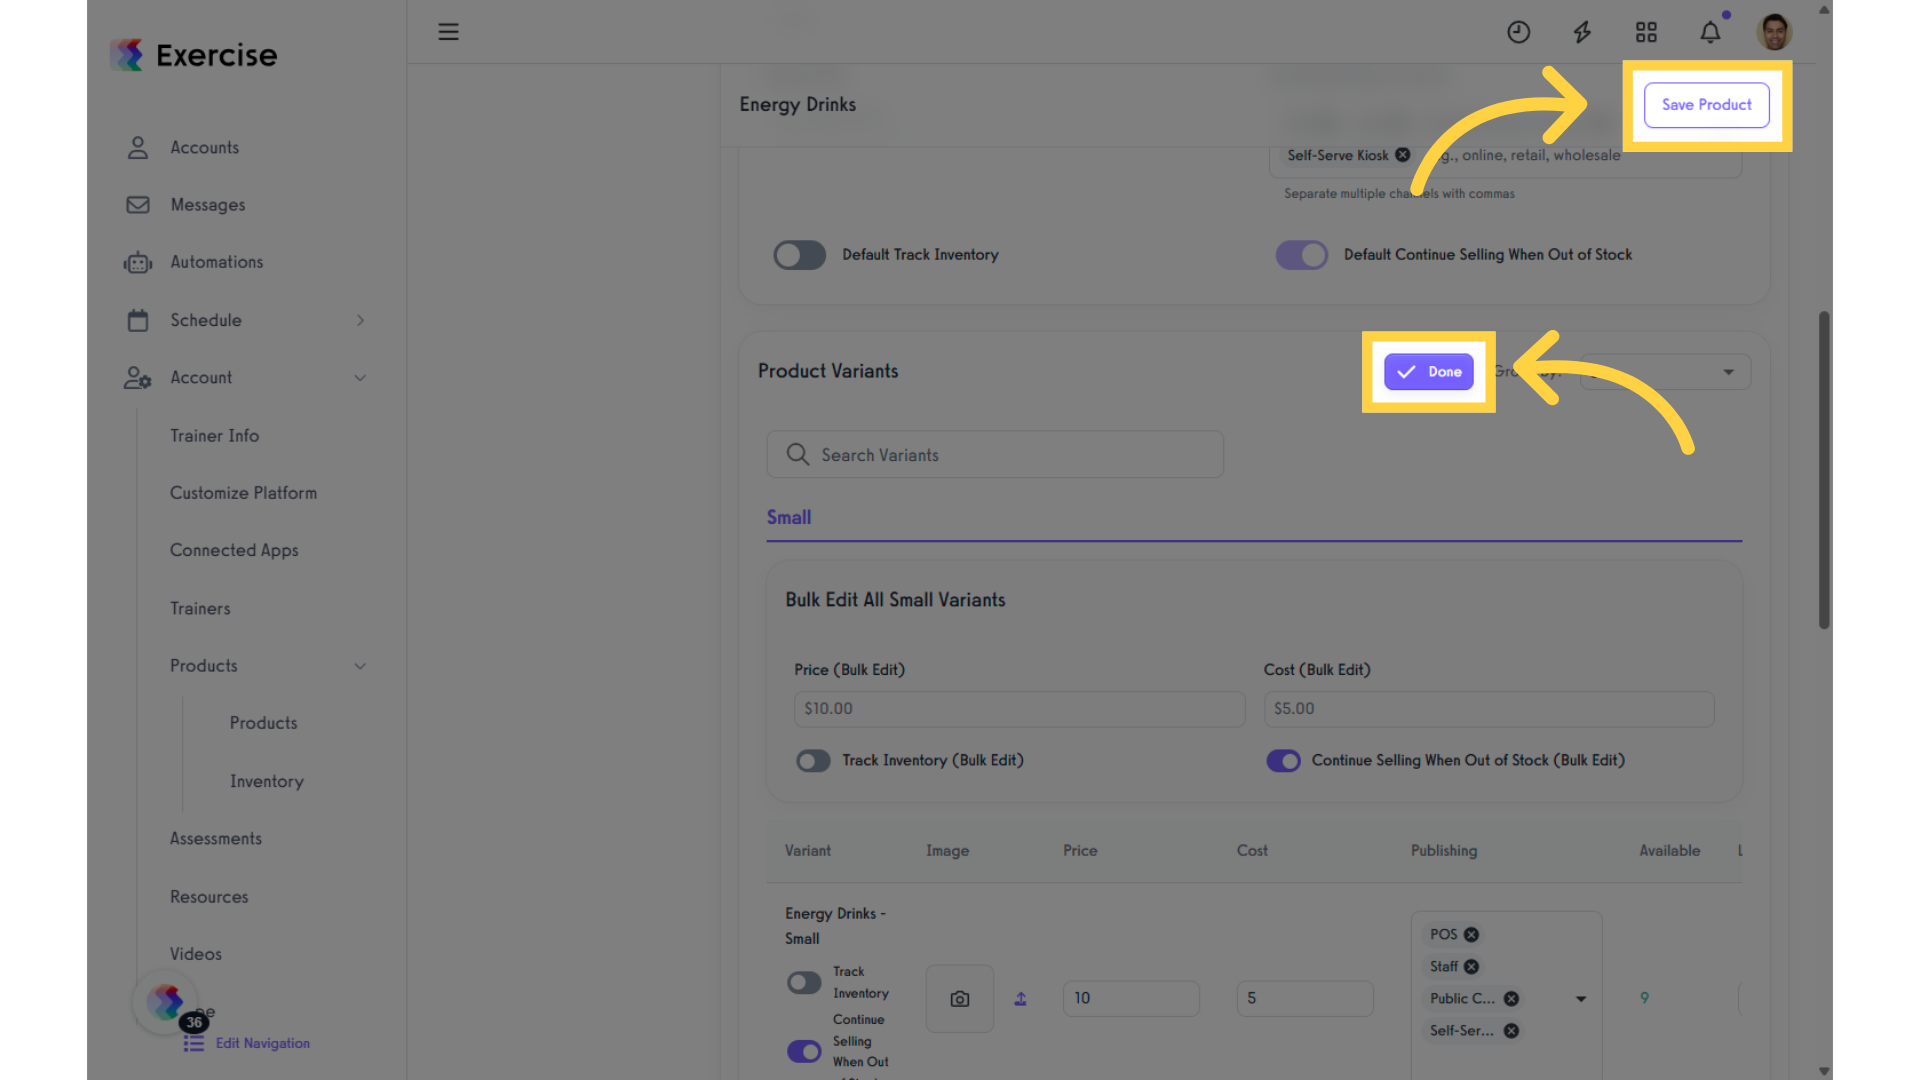
13. Save Product
After completing the setup, select “Done” in the Product Variants section and then click “Save Product” to save your changes.
This guide covered the steps required to access the New Variants View in the Products Section.


