How do I schedule Resources to be released to group members over time?
Posted by
Support Team
on
September 10, 2020
— Updated on
September 10, 2020
Here’s how to schedule Resources to be released to group members over time, starting on the Groups tab of your Dashboard. Step-by-step instructions are below.
Step-by-Step Guide:
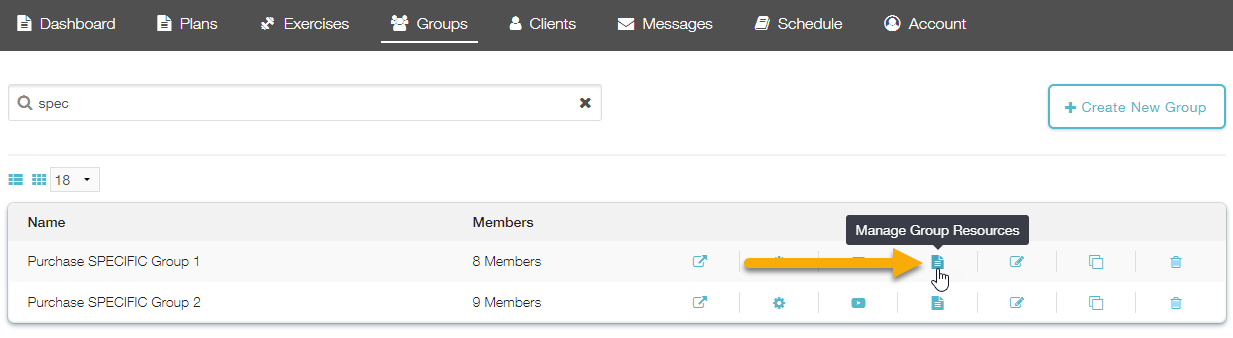
Step 1: Click the “Manage Resources” icon from the “Groups” tab of your Dashboard.
Click the “Manage Resources” icon for the group you want to schedule resources for. Look for the paper icon in the Actions column.
Step 2: Click the “Add New Resource” button to upload the Resource(s) you want to schedule, or edit an existing group resource.

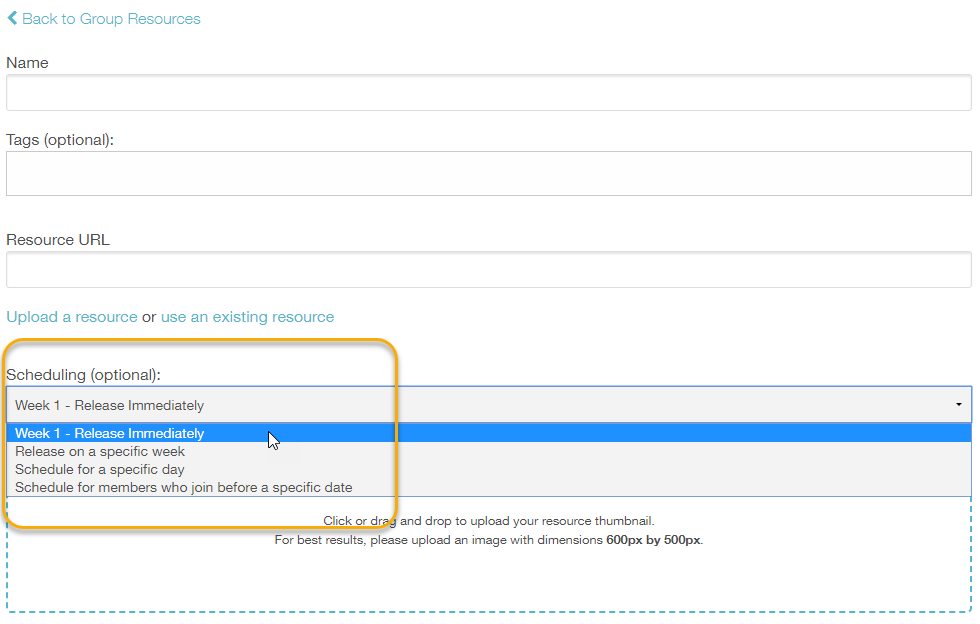
Step 3: Once you’ve uploaded your resource and added a name, you can set up the scheduling options under the “Scheduling (optional)” heading.
Here are your options:
- Week 1 – Release immediately — Make available to all group members right when they join the group.
- Release on a specific week — Make available as soon as the group member starts week X of their group membership.
- Schedule for a specific day — Make available for all members after X date.
- Schedule for members who join before a specific date — Make available for everyone who is in the group BEFORE X date. Anyone who joins later will not see this resource.
Step 4: Set up your scheduling and click “Save Resource” to save your changes.
Now that you know how to schedule Resources to be released to group members, you can bring your best content to your clients right on time!


