How to Filter the Send Message Automation by Lifecycle Stage
With Exercise.com’s Automations, you can set up workflows that send the right messages to the right people at the right time. This guide will show you how to add a lifecycle filter to the ‘Who?’ step in your automation.
This guide walks you through creating an automation, selecting triggers, and refining your audience with lifecycle and other filters for precise targeting.

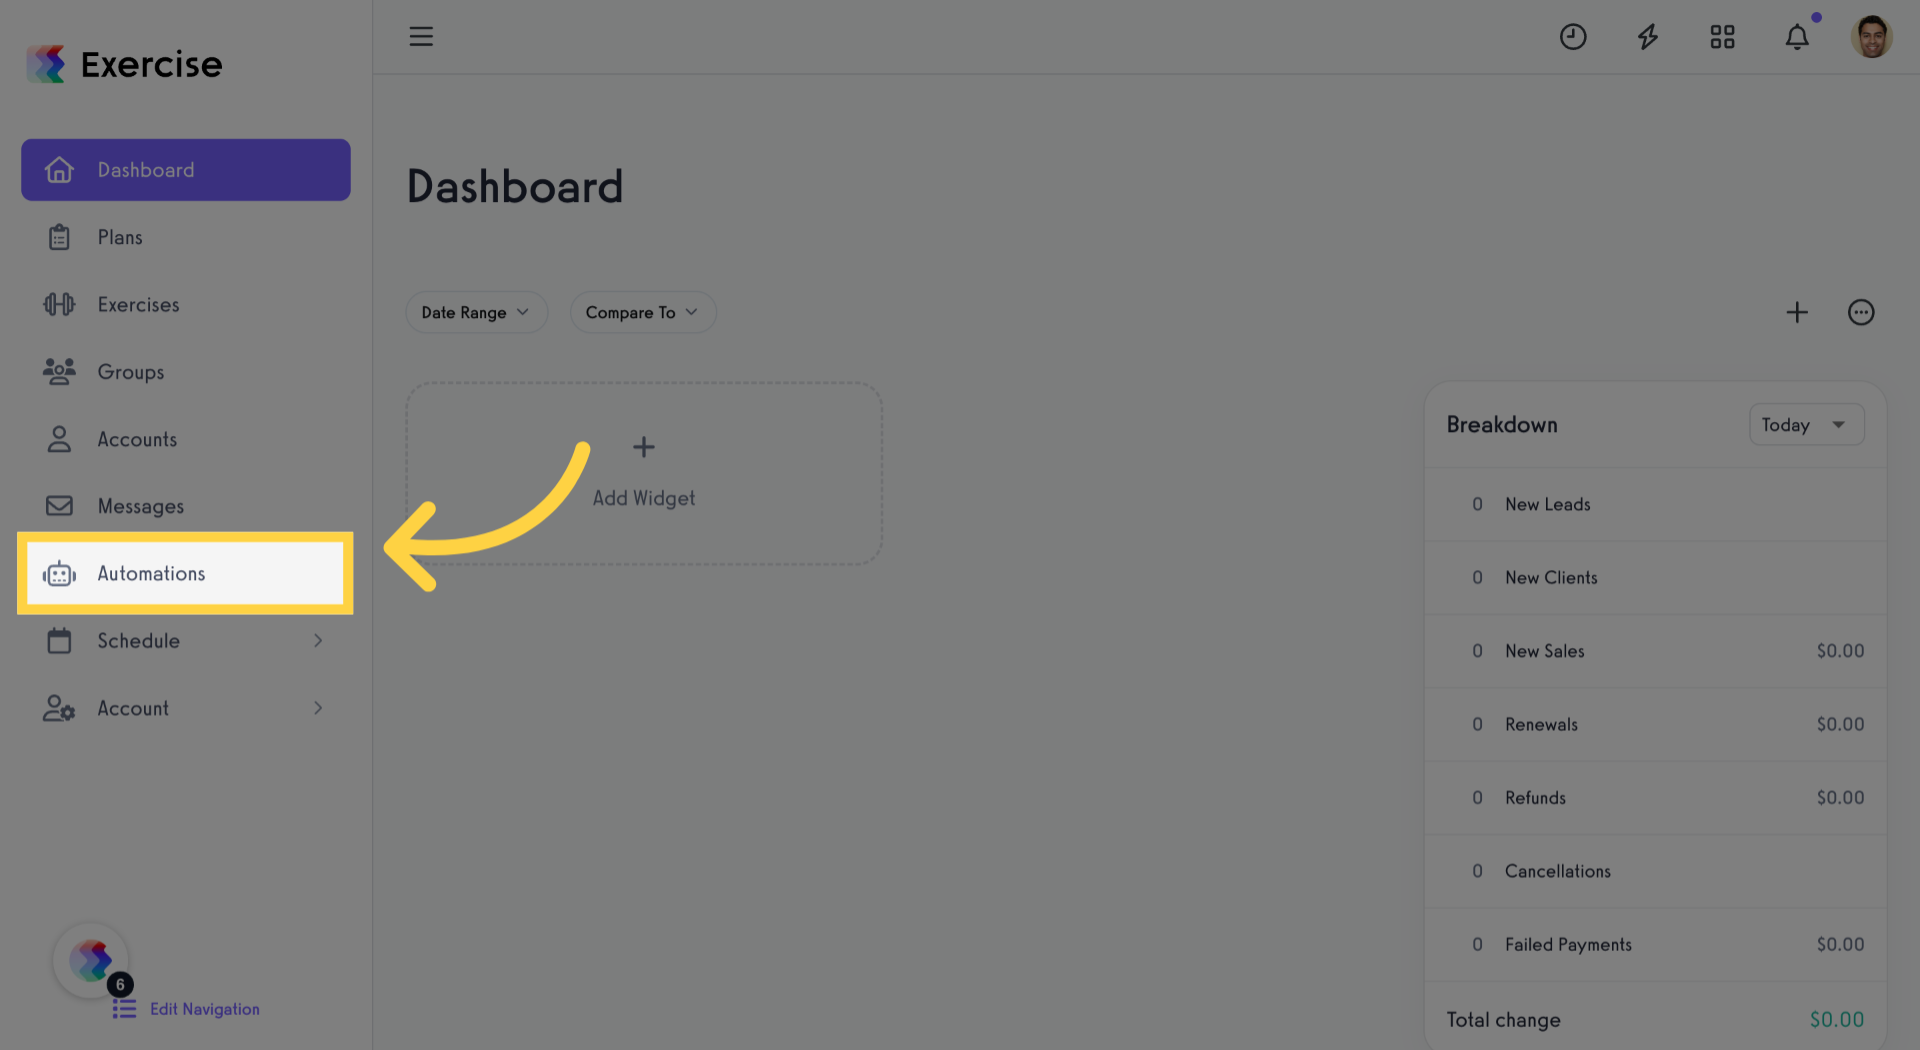
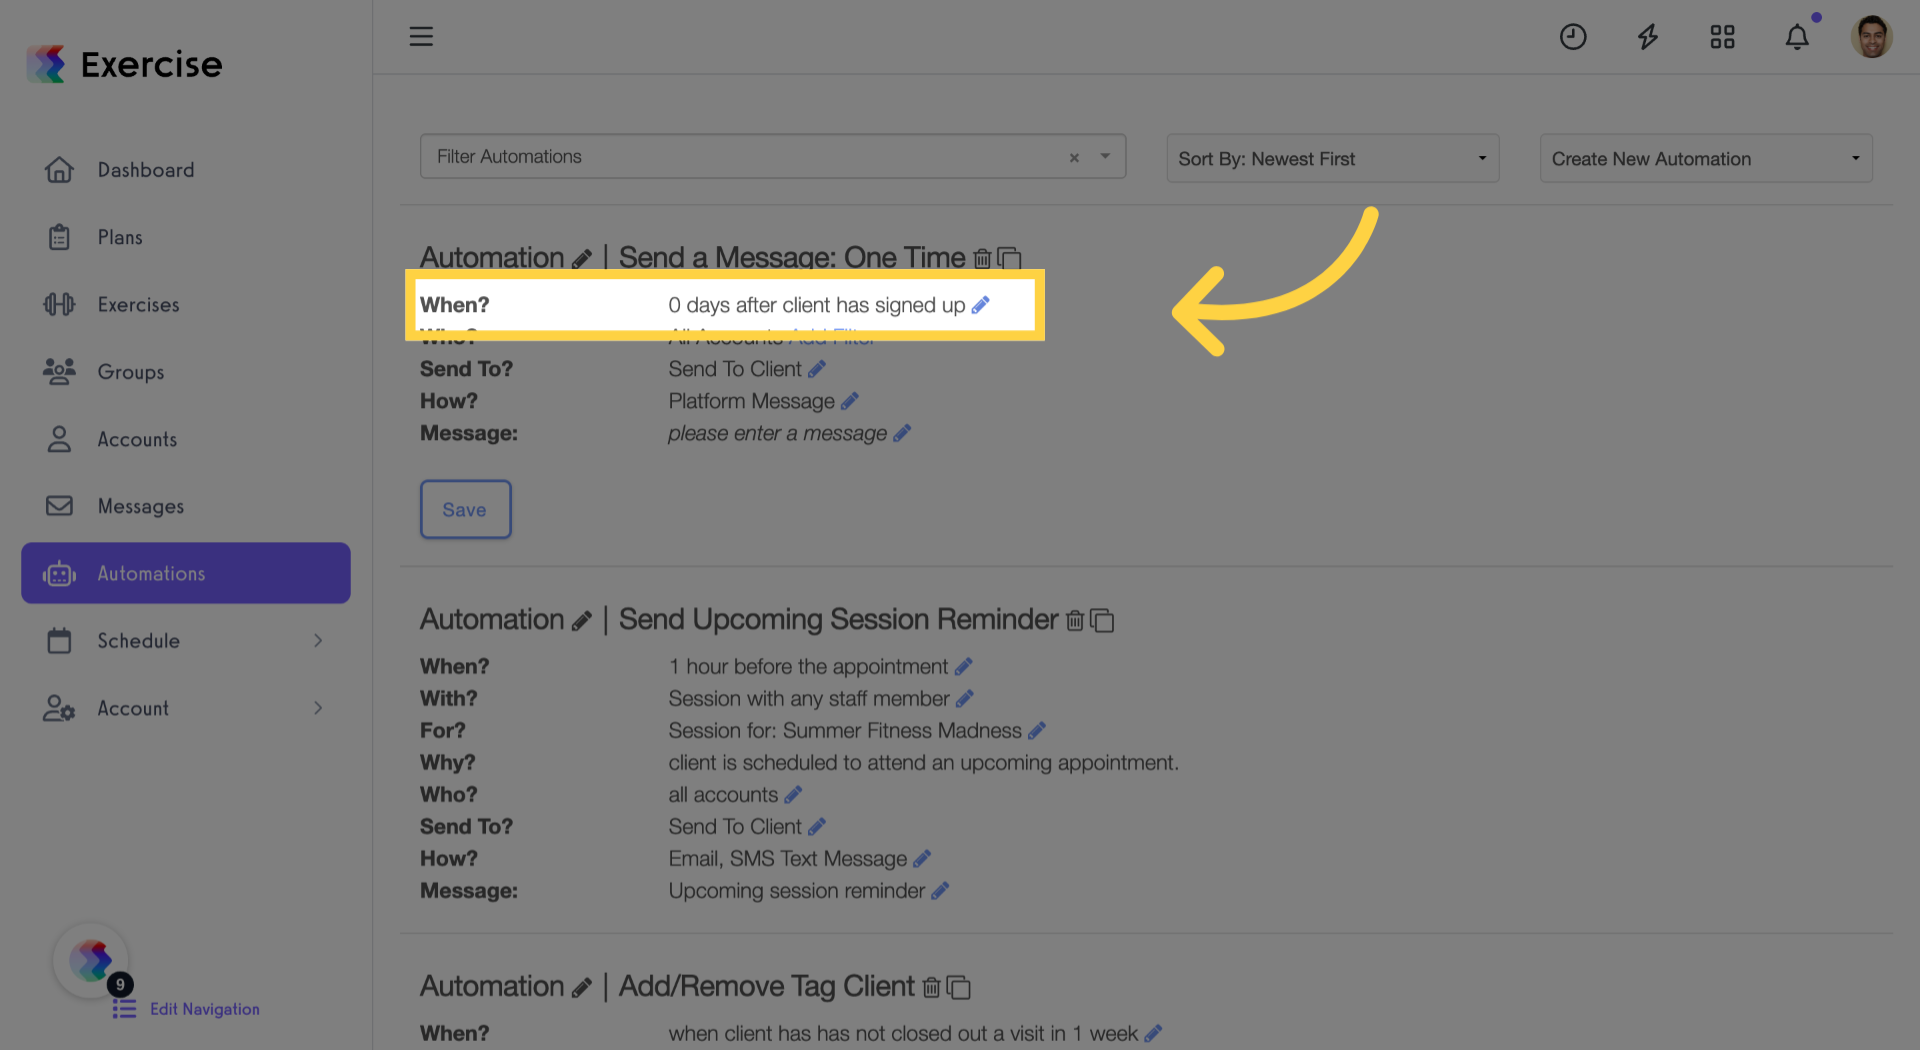
1. Click “Automations”
Open the ‘Automations’ tab to start creating or managing automation workflows.
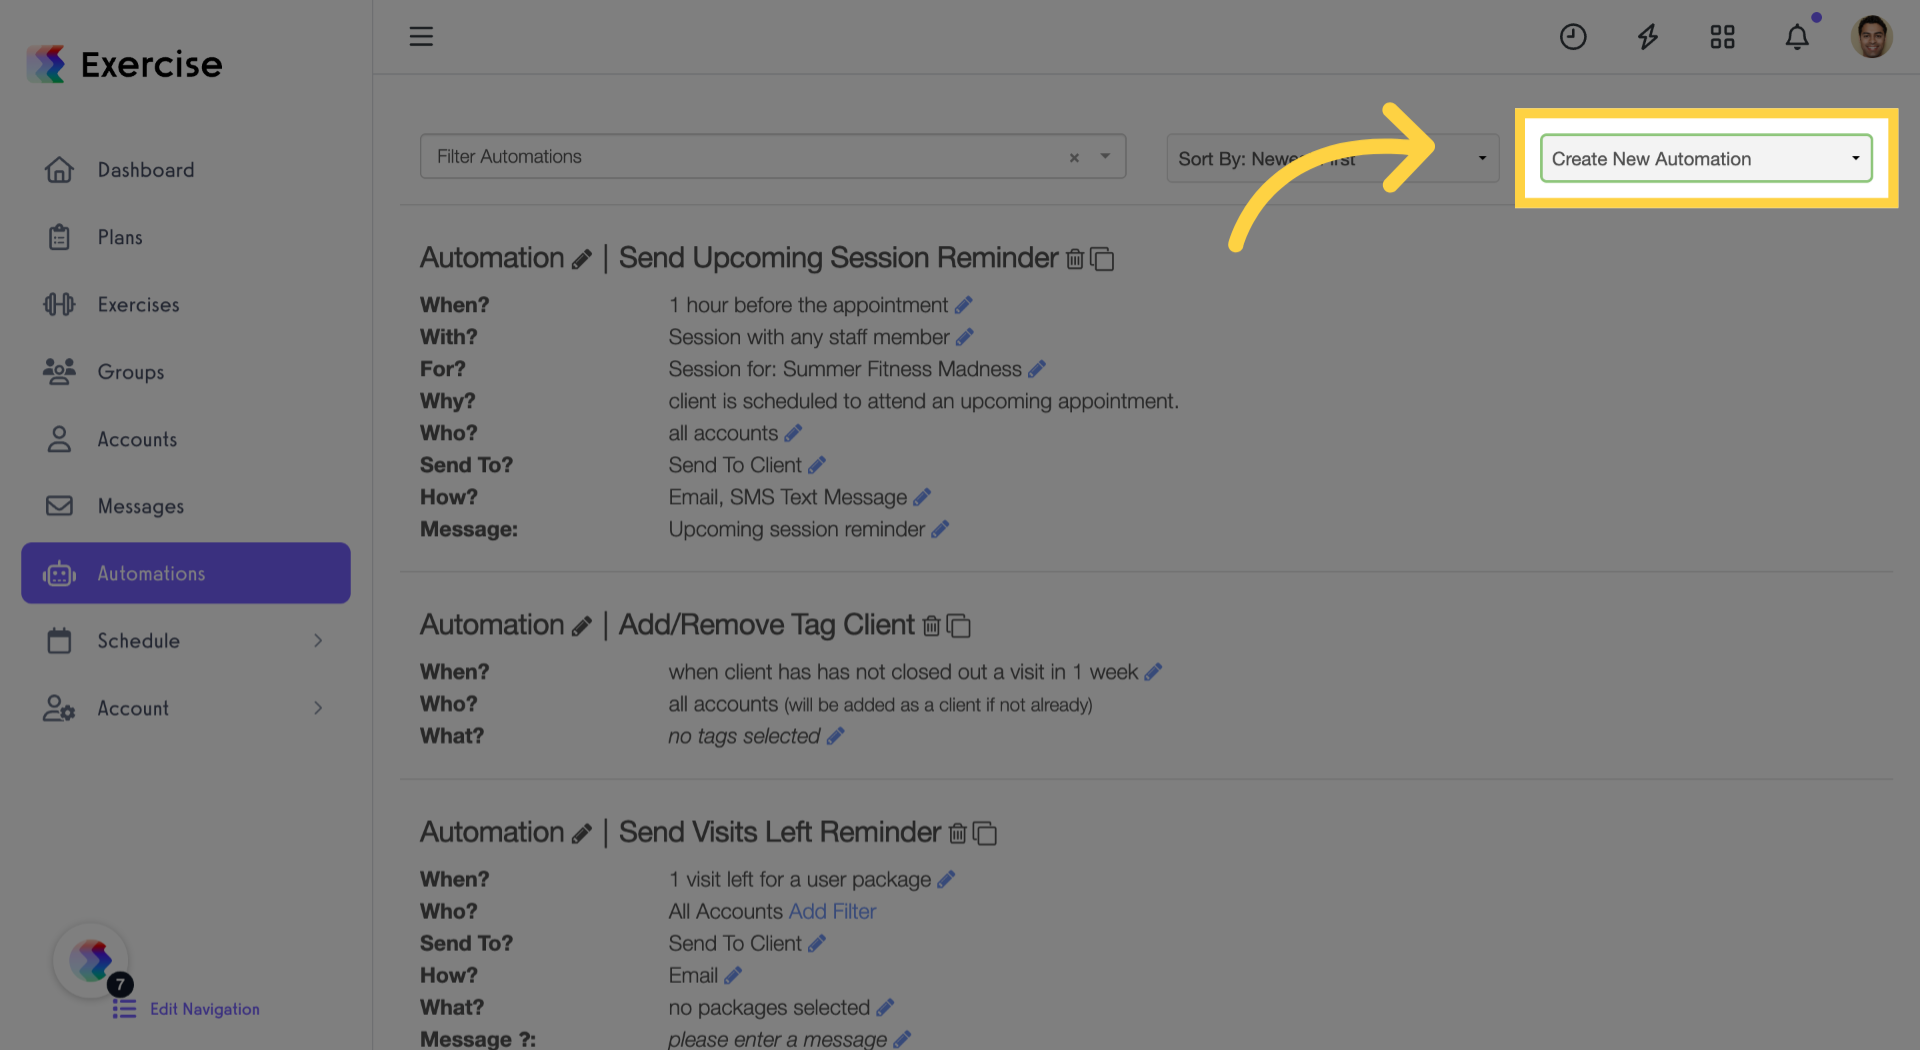
2. Click “Create New Automation”
Choose ‘Create New Automation’ to initiate a new automation setup.
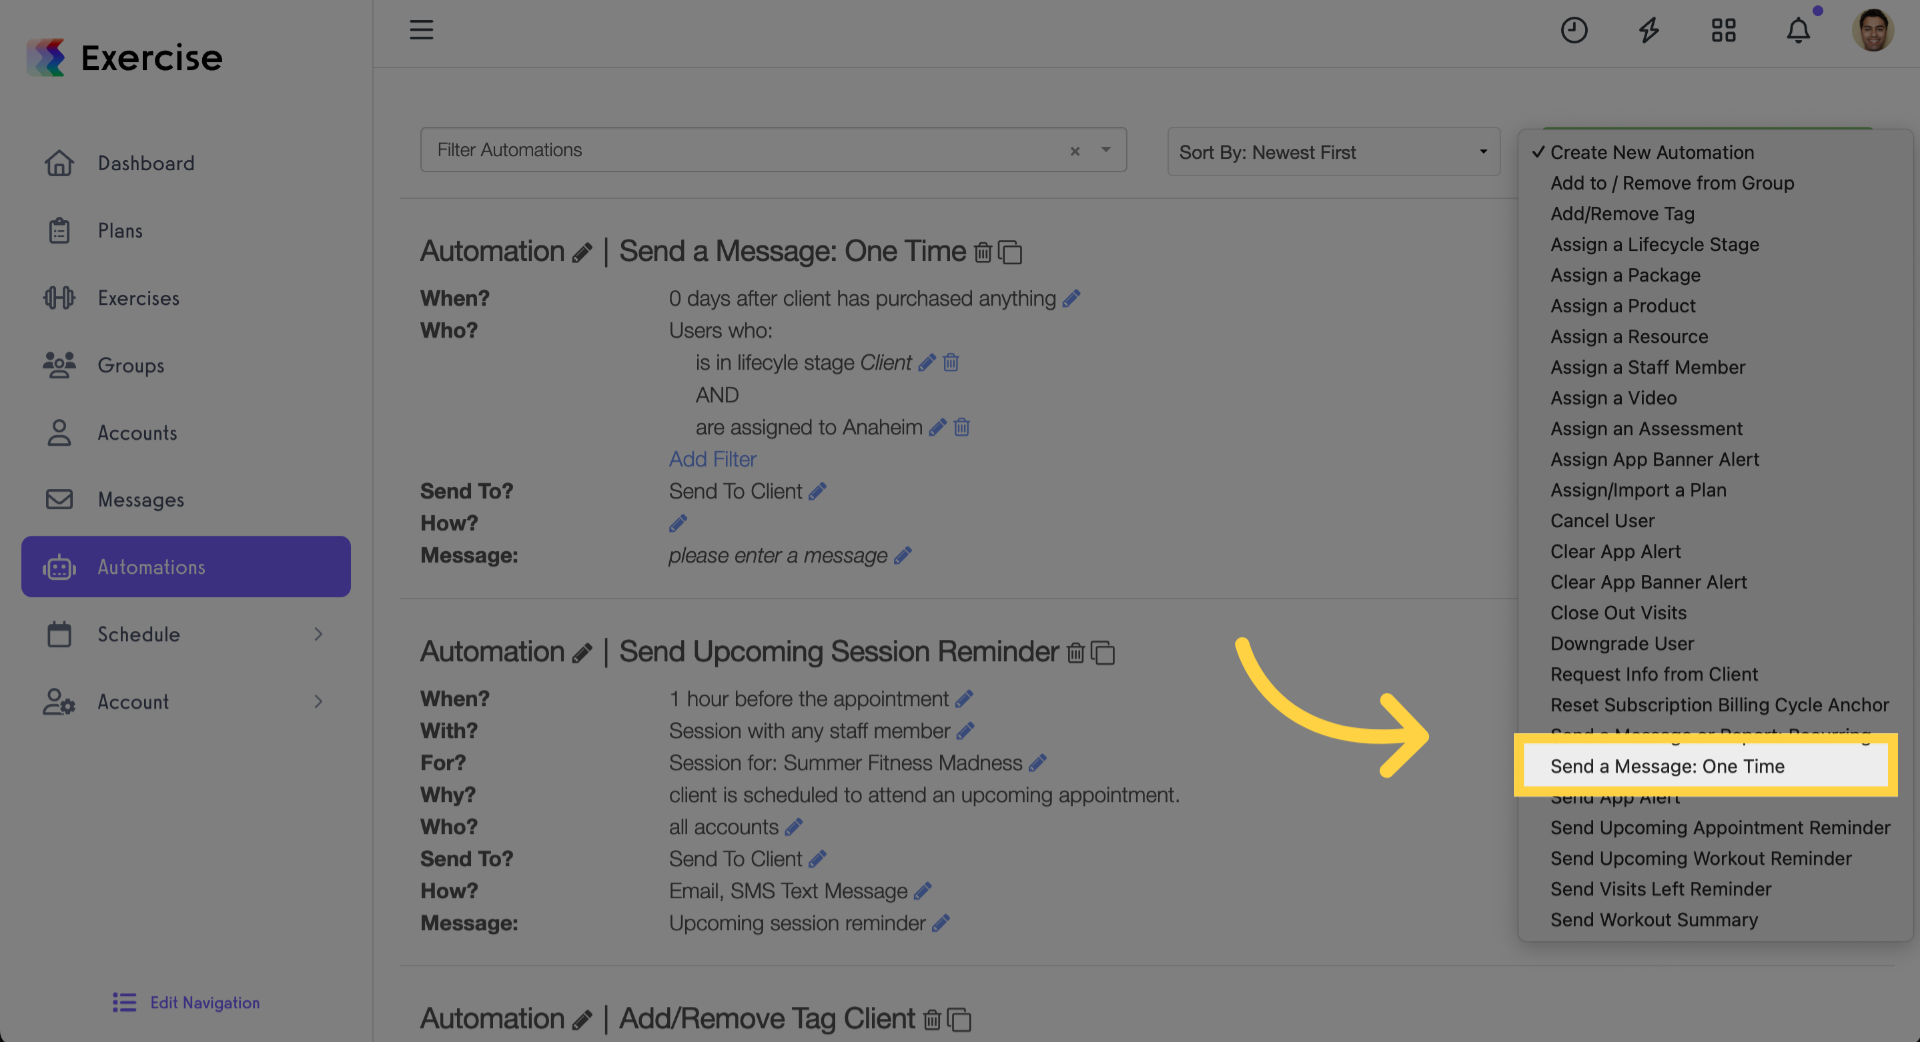
3. Select “Send a Message: One Time”
4. Name Your Automation
Provide a descriptive name for your new automation to easily identify its purpose.
5. Select Trigger Event
Proceed to define the trigger event that will start your automation process.
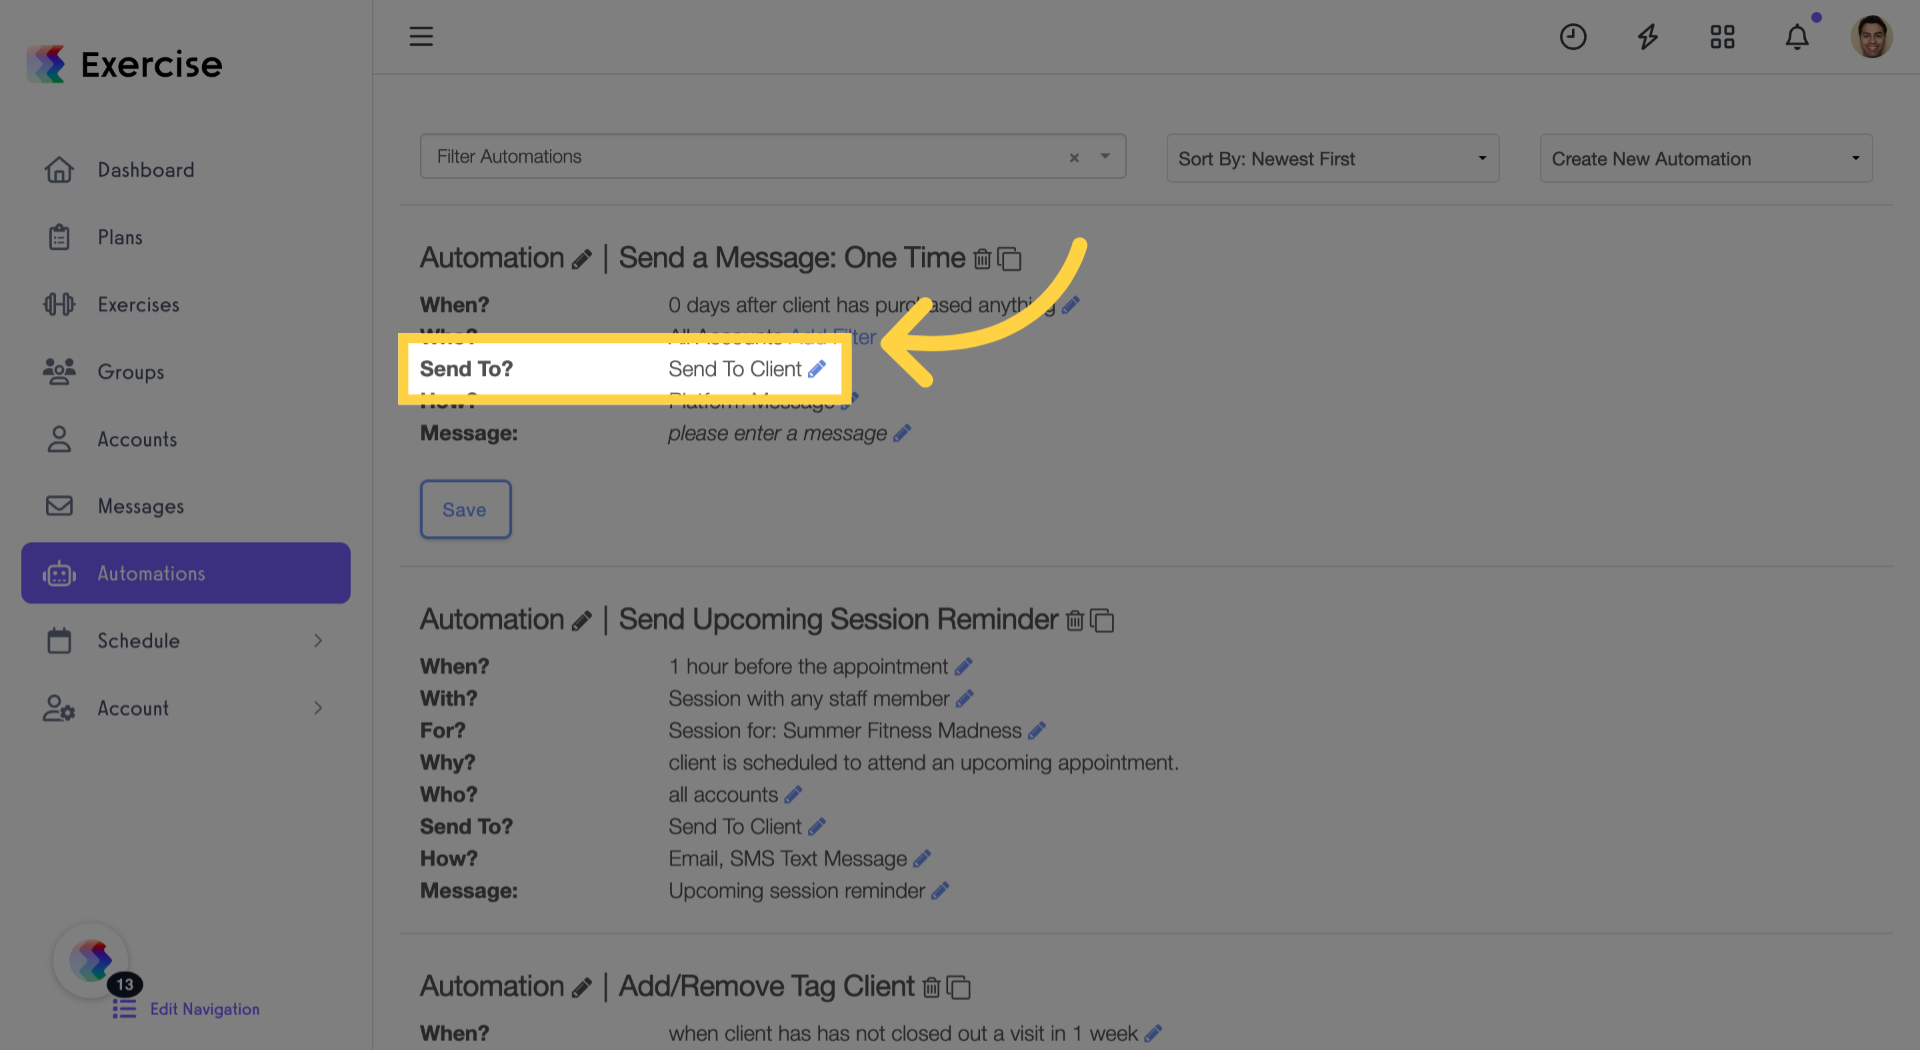
6. Open the Next Step
Access the next configuration step to refine your automation conditions.
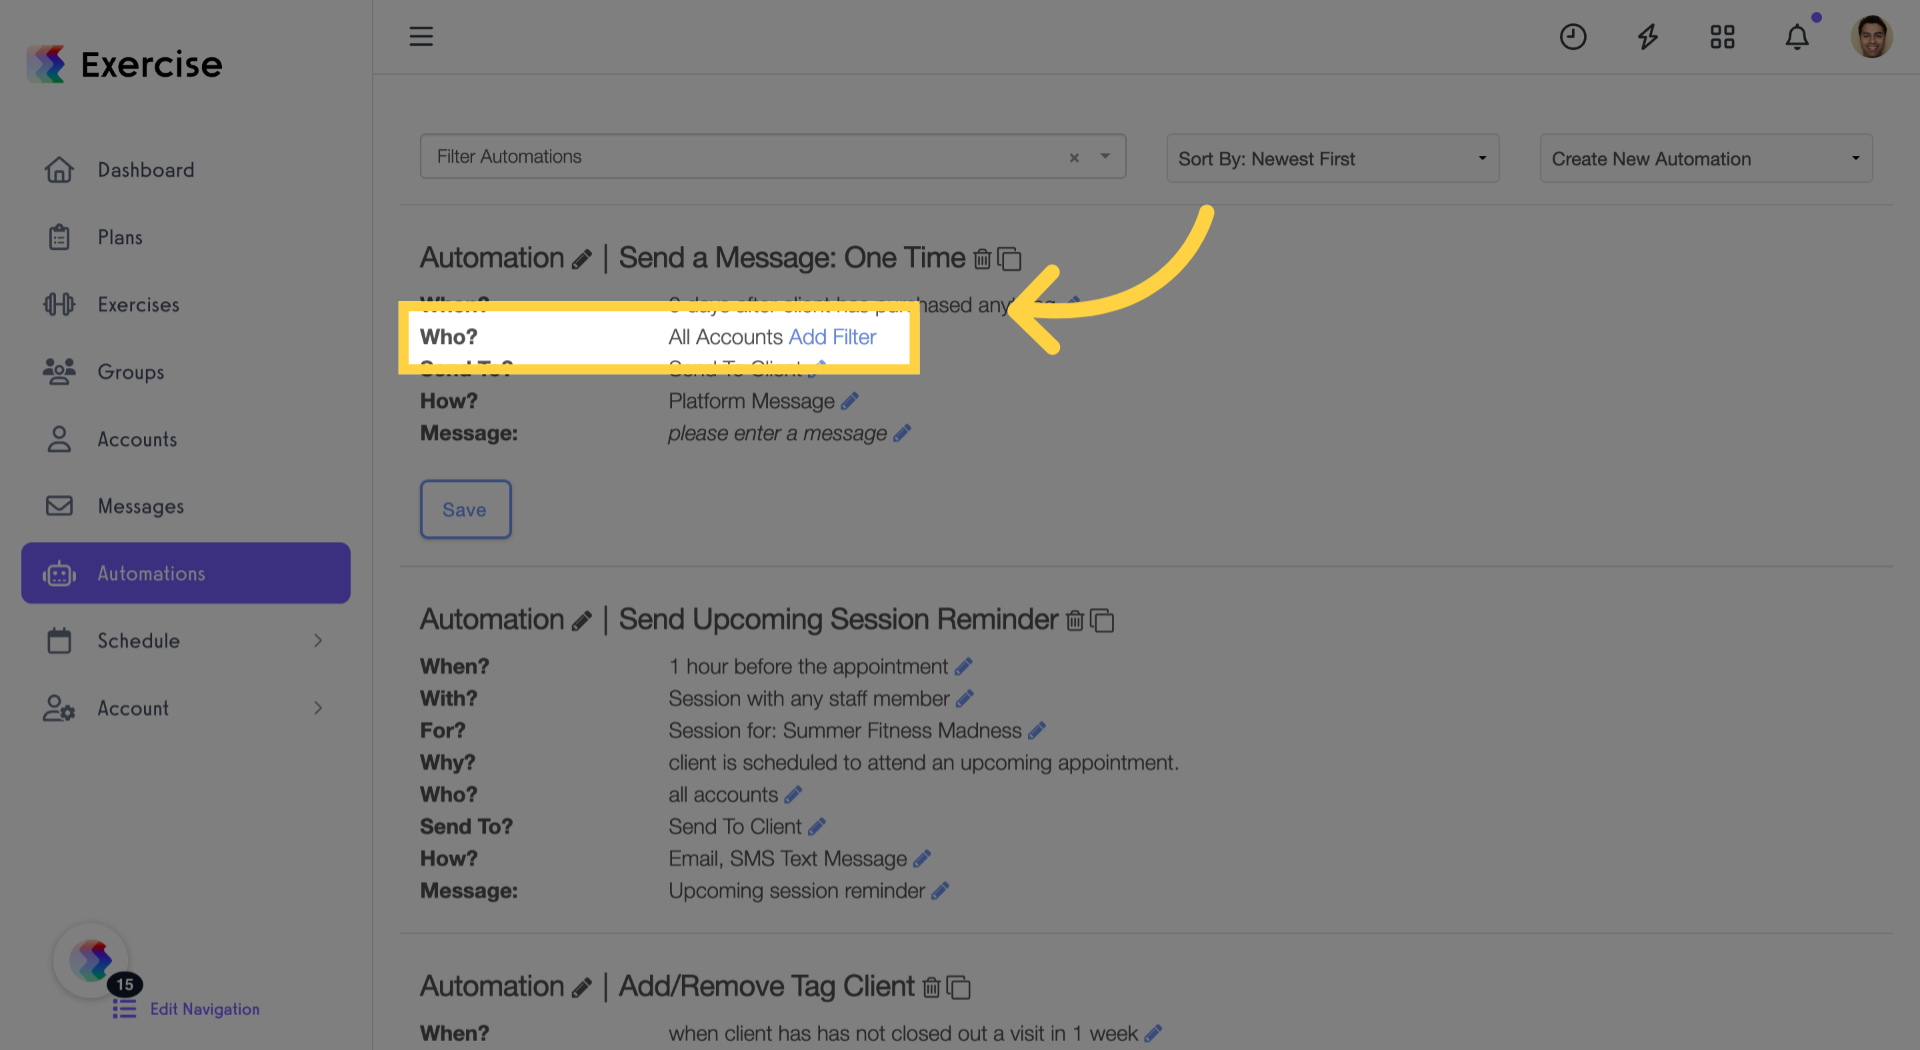
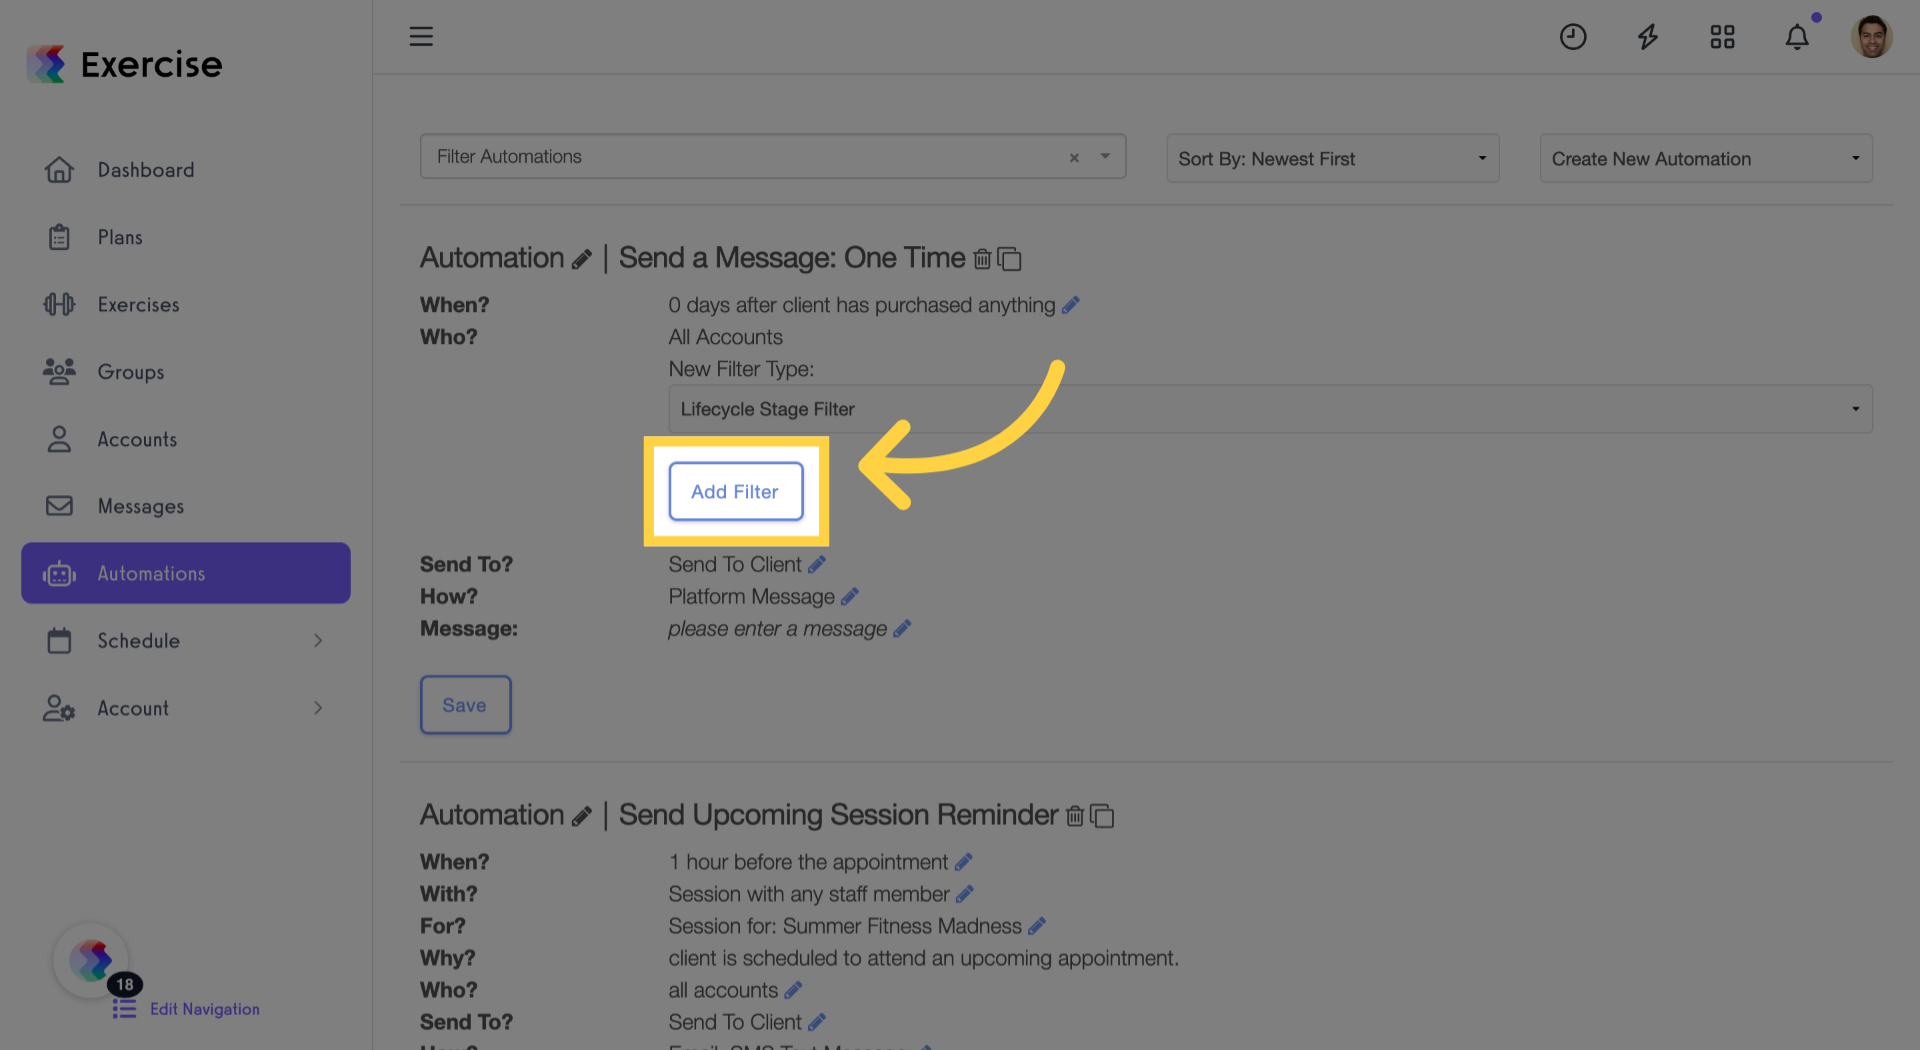
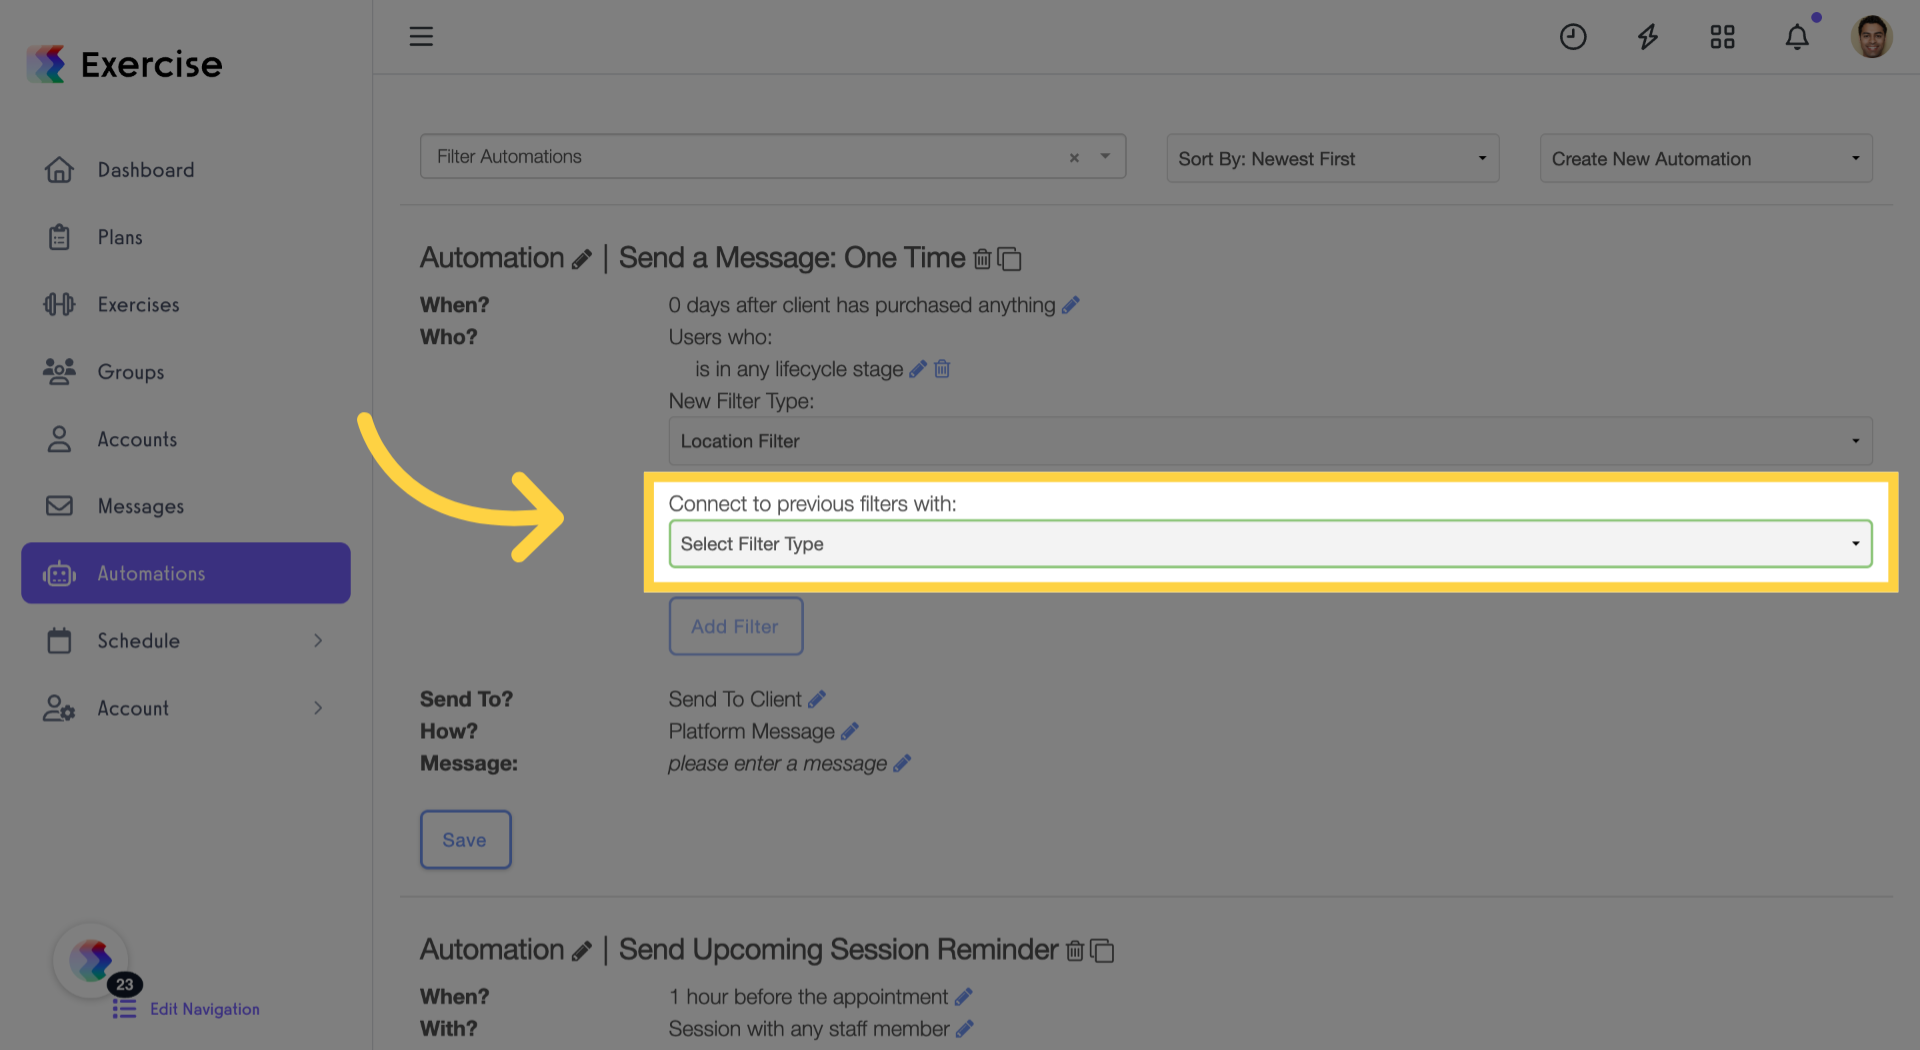
7. Click “Add Filter”
Add a new filter to narrow down the audience or conditions for your automation.
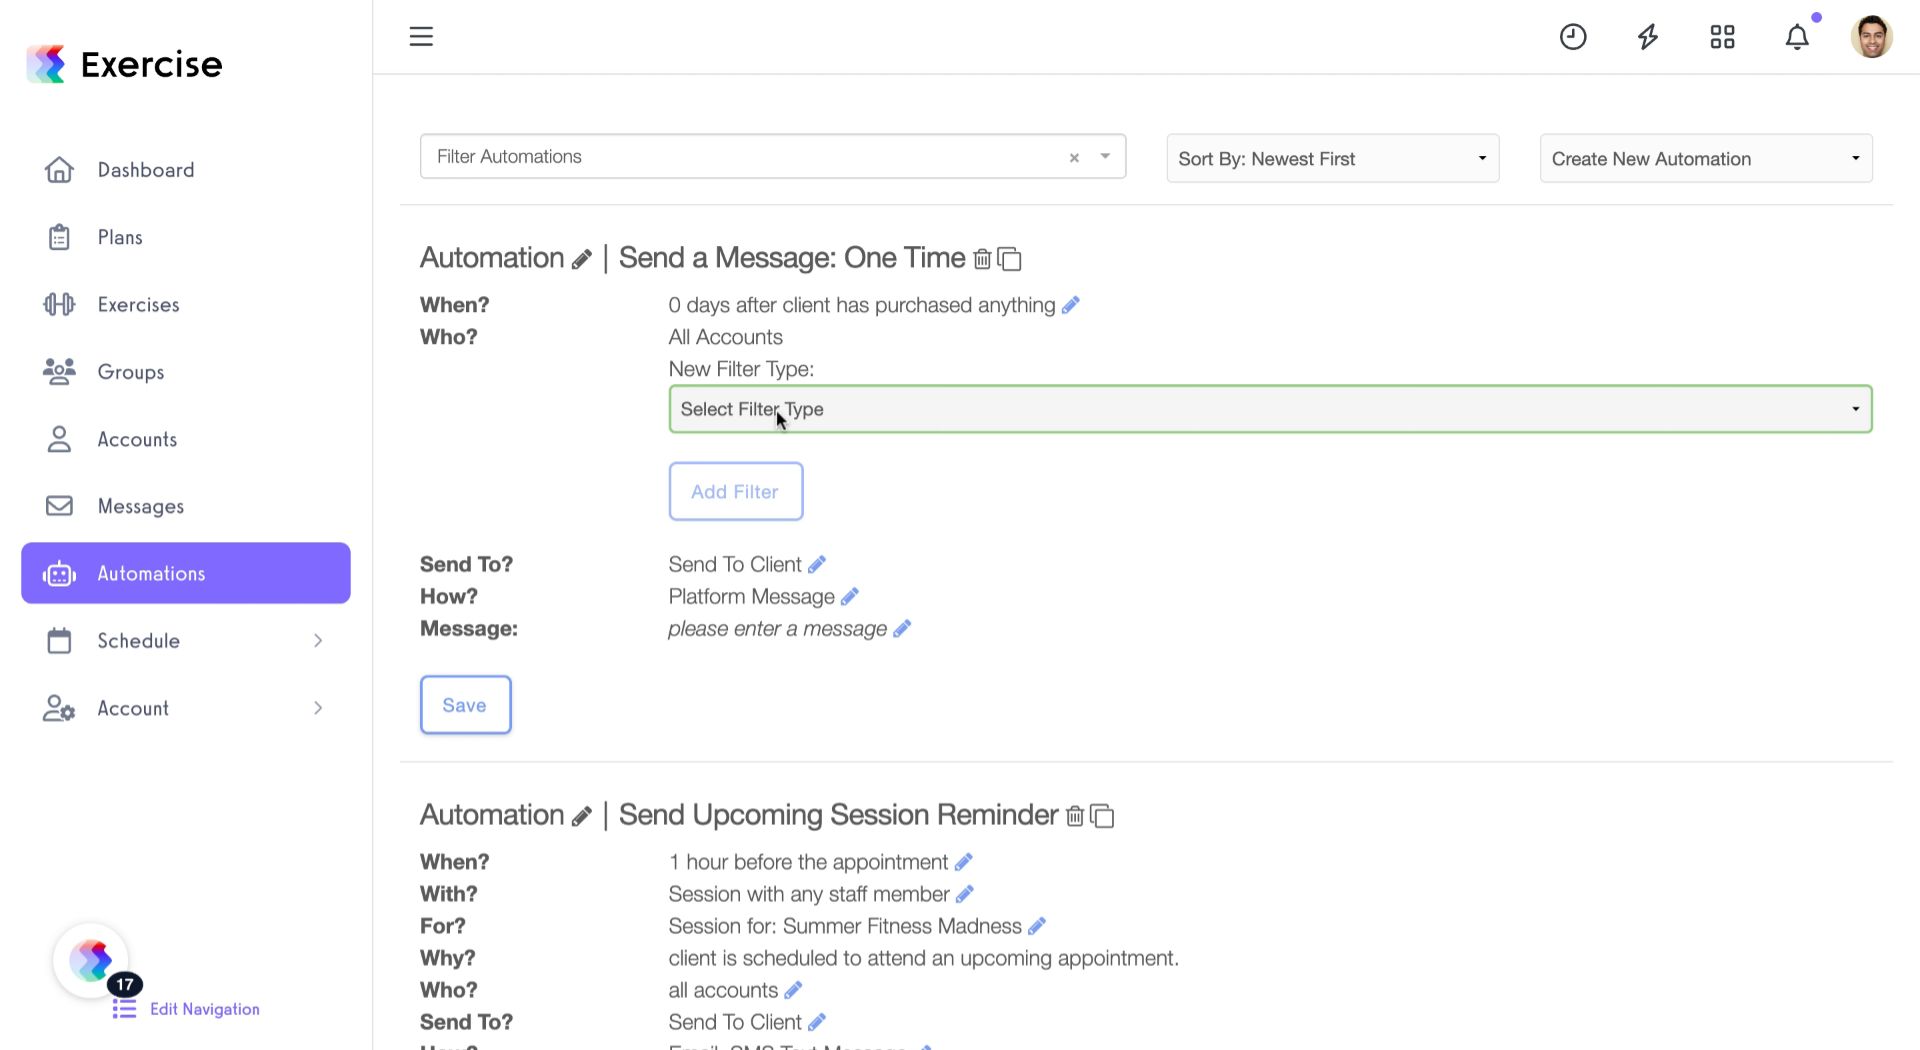
8. Choose Filter Type
Choose the appropriate filter type from options like Group, Location, Tag, Lifecycle Stage, Subscription, or Purchase filters.

9. Select “Lifecycle Stage Filter”
Select “Lifecycle Stage Filter”.
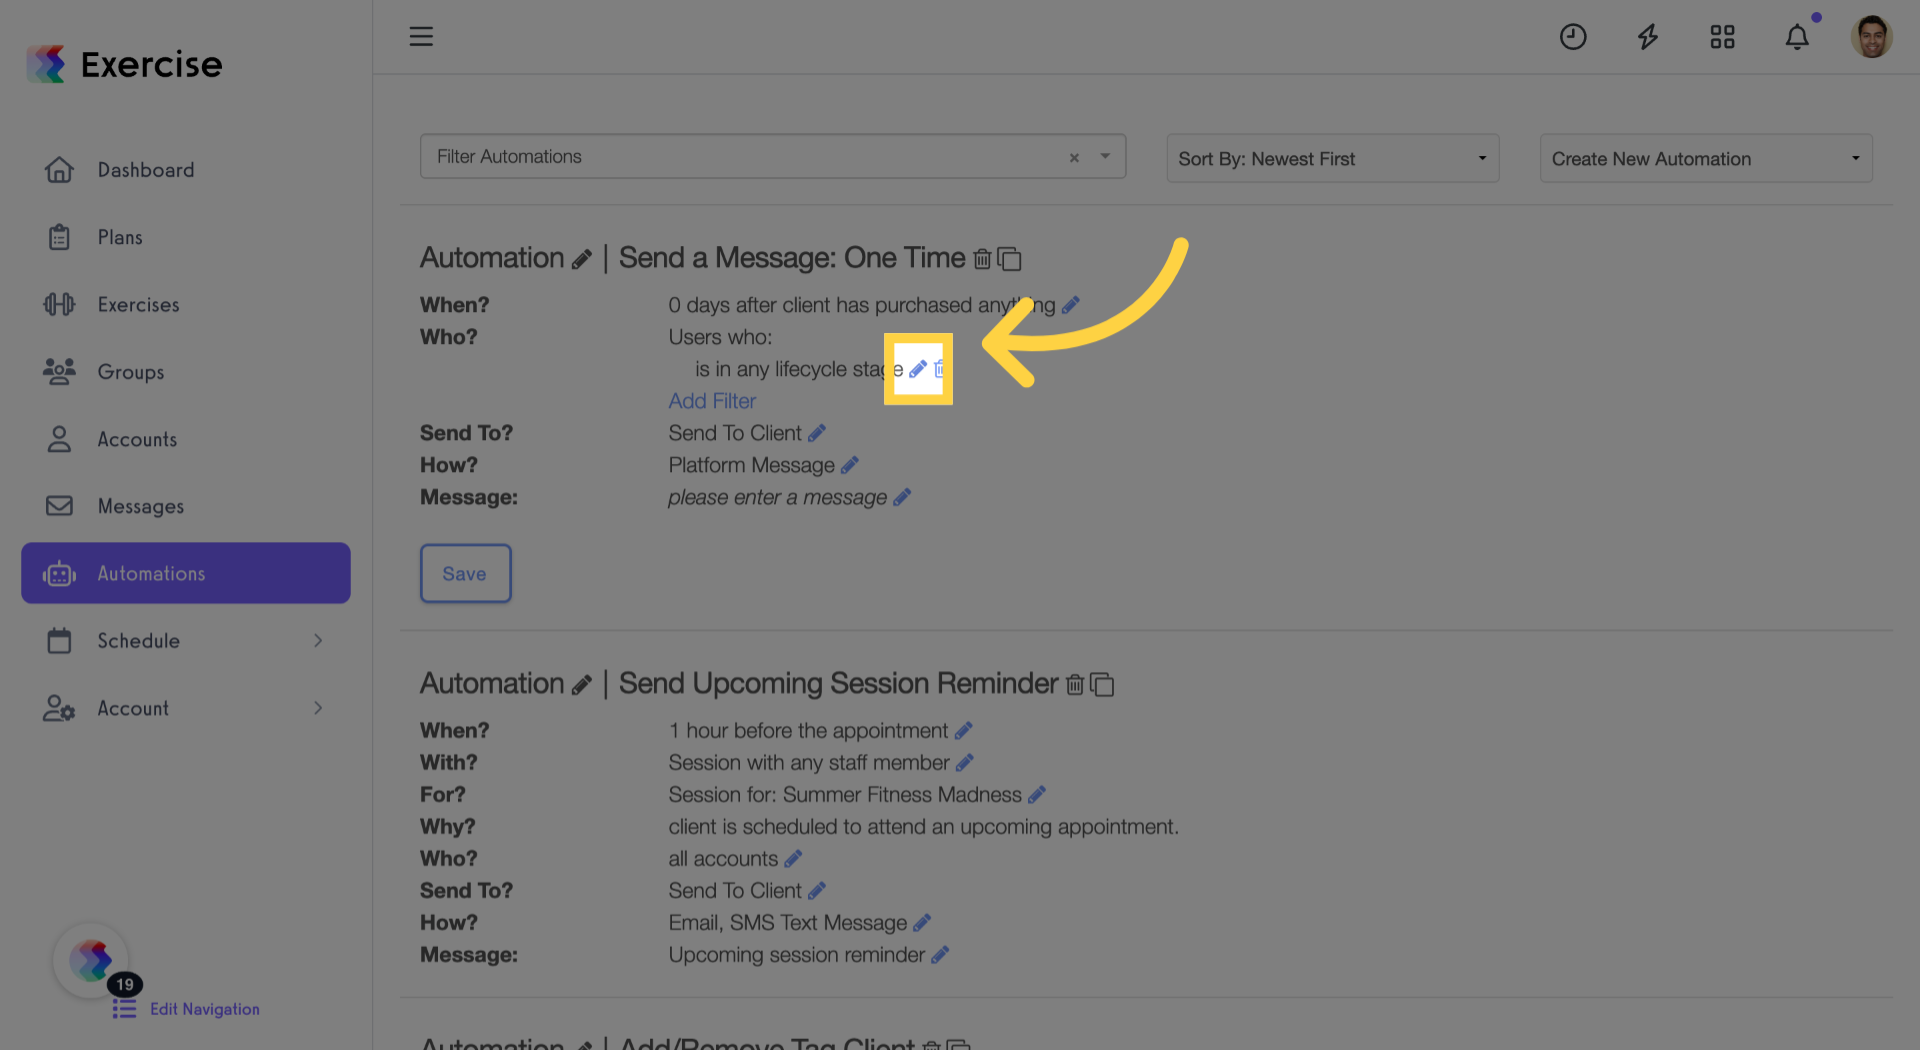
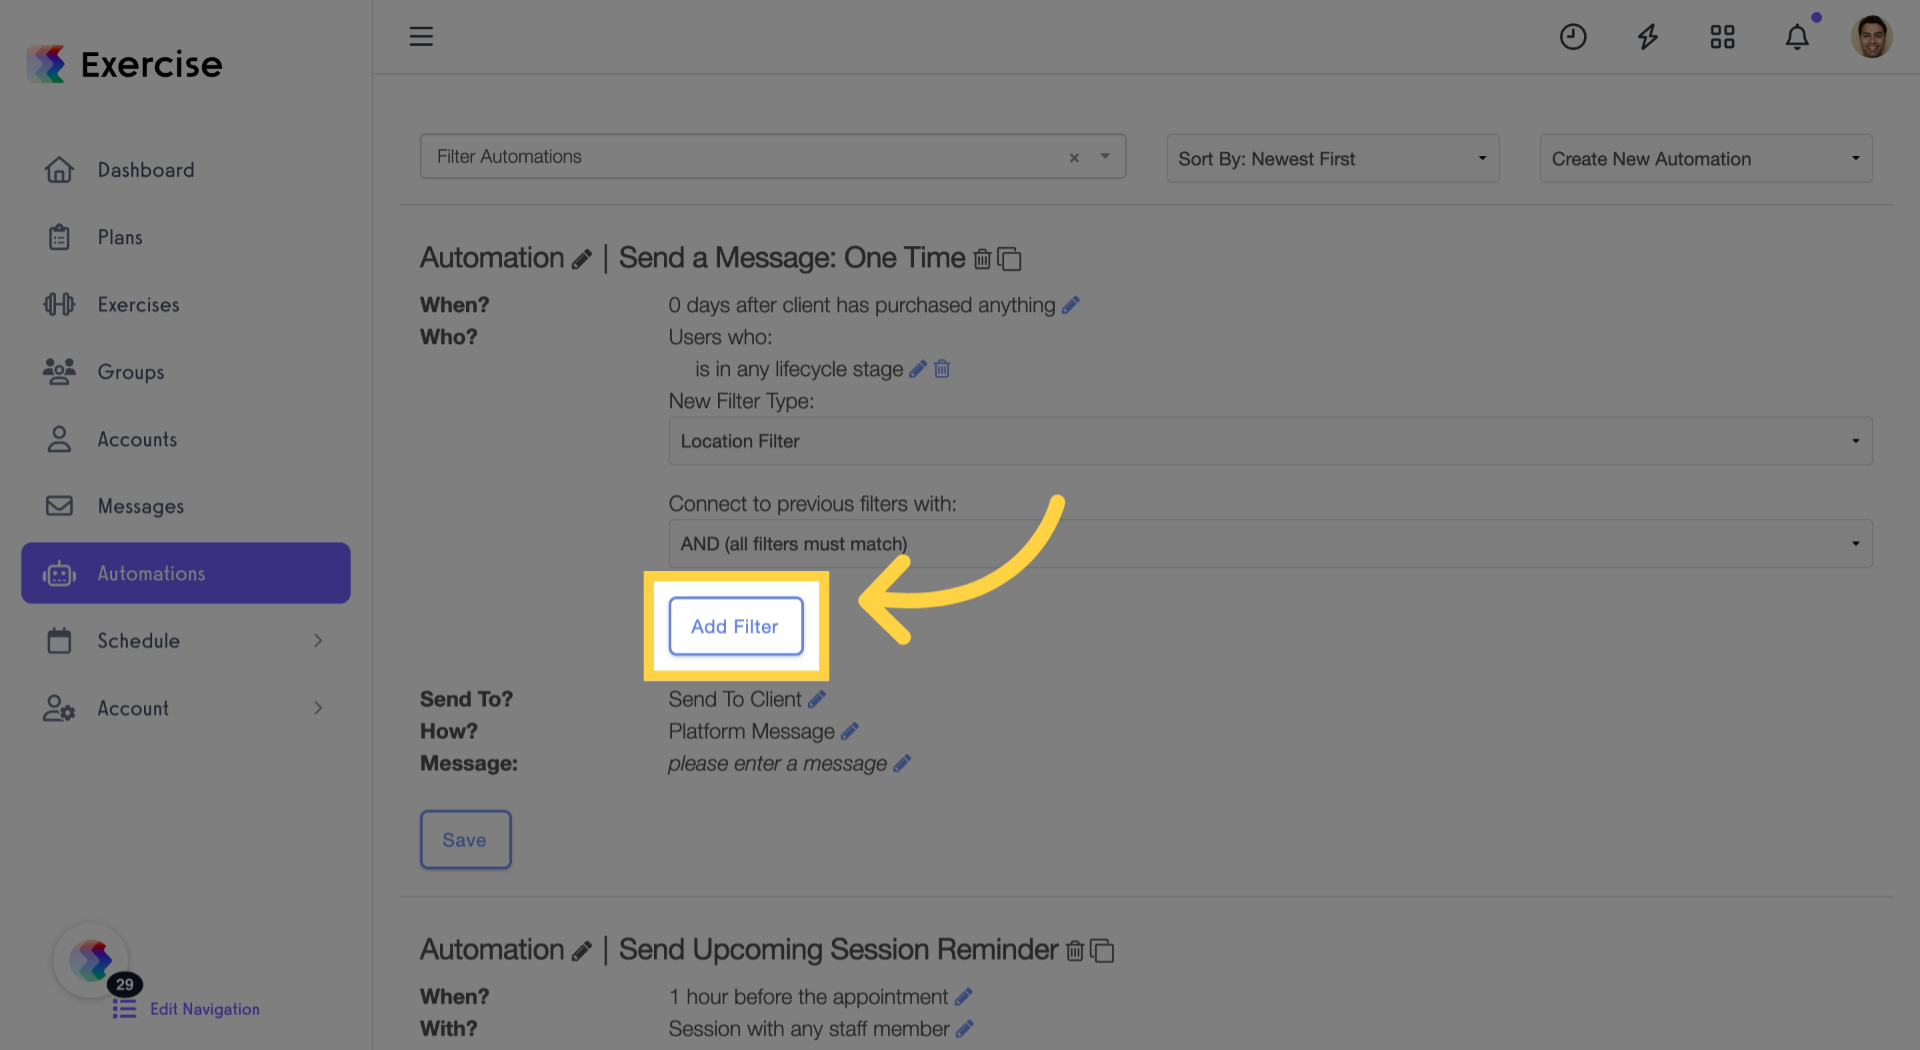
10. Add Another Filter
Add another filter to further refine your automation’s target audience or conditions.
11. Choose Filter Criteria
Select the filter criteria to apply additional segmentation to your automation.
12. Adjust Lifecycle Stage Filter
Adjust the lifecycle stage filter to specify the stage required for this automation setup.
13. Add the Filter
Add the filter to enhance the precision of your automation targeting.

14. Complete Filter Setup
Fill in the necessary details for this filter to ensure accurate audience segmentation.
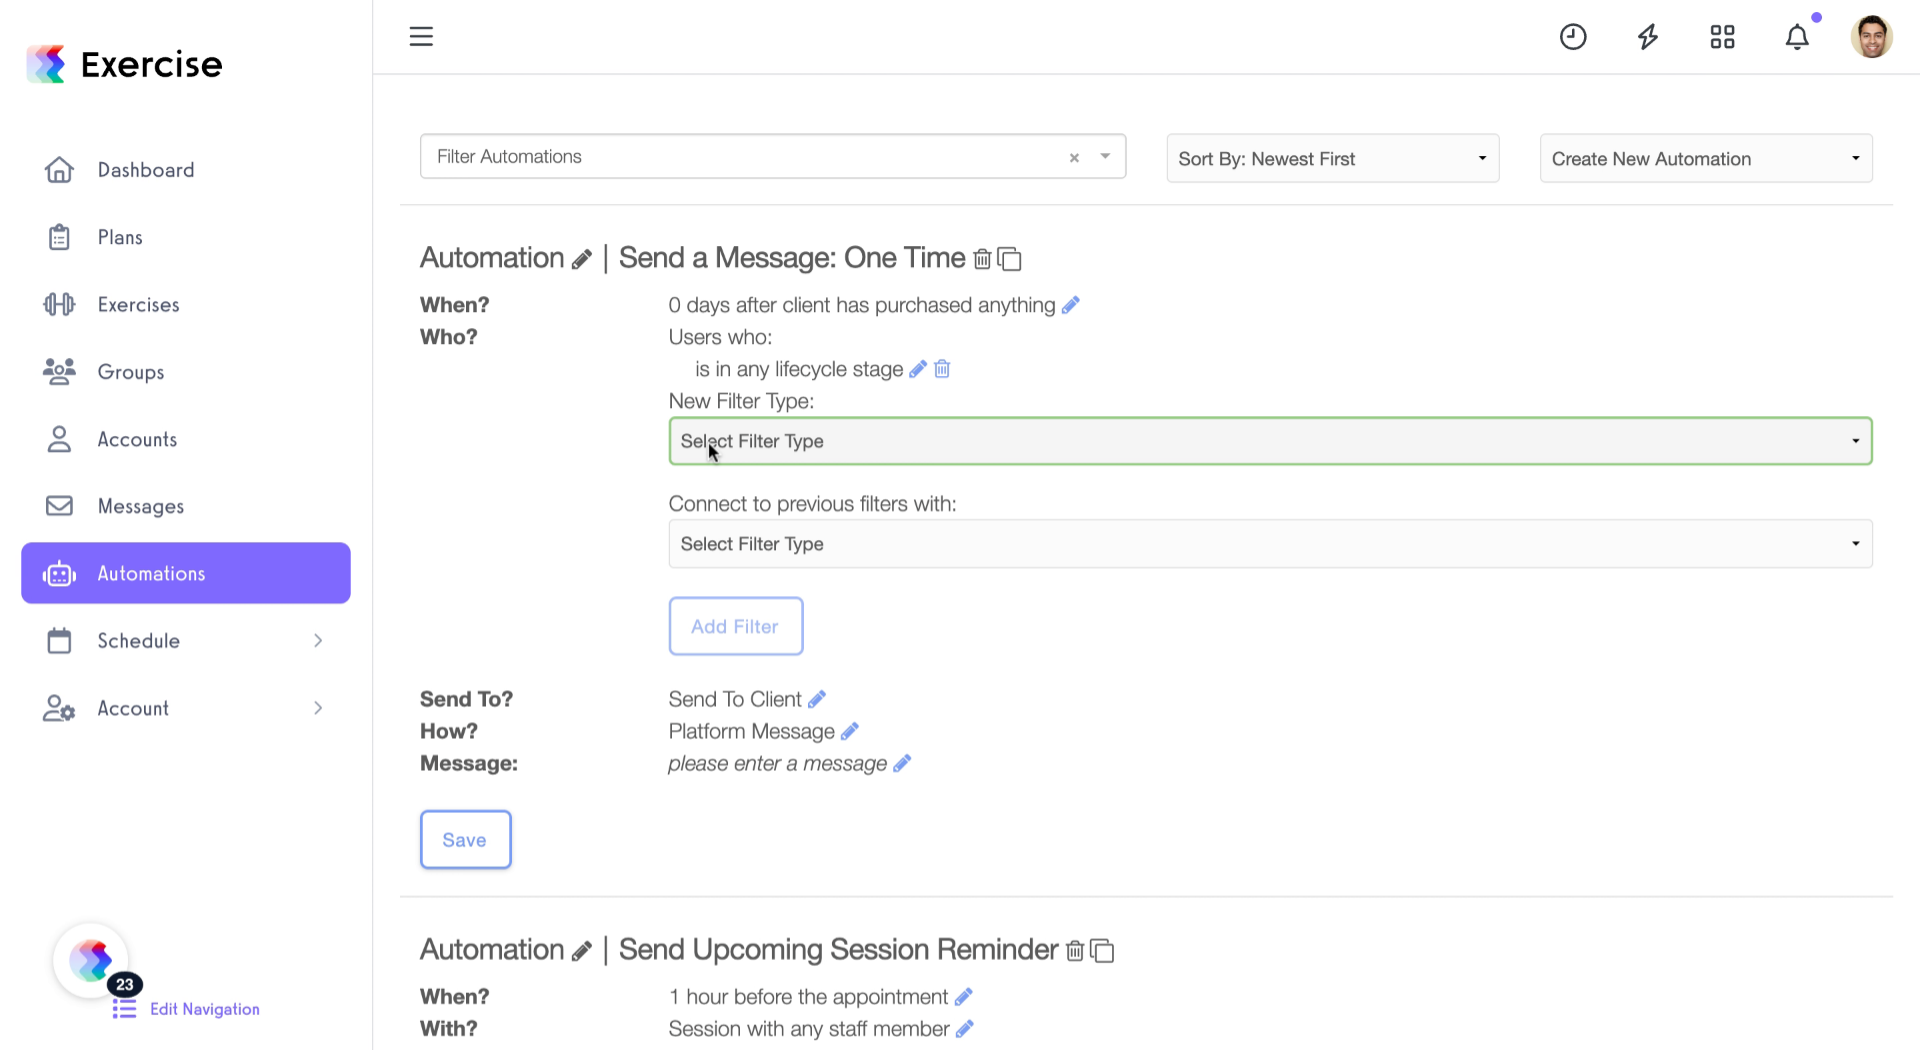
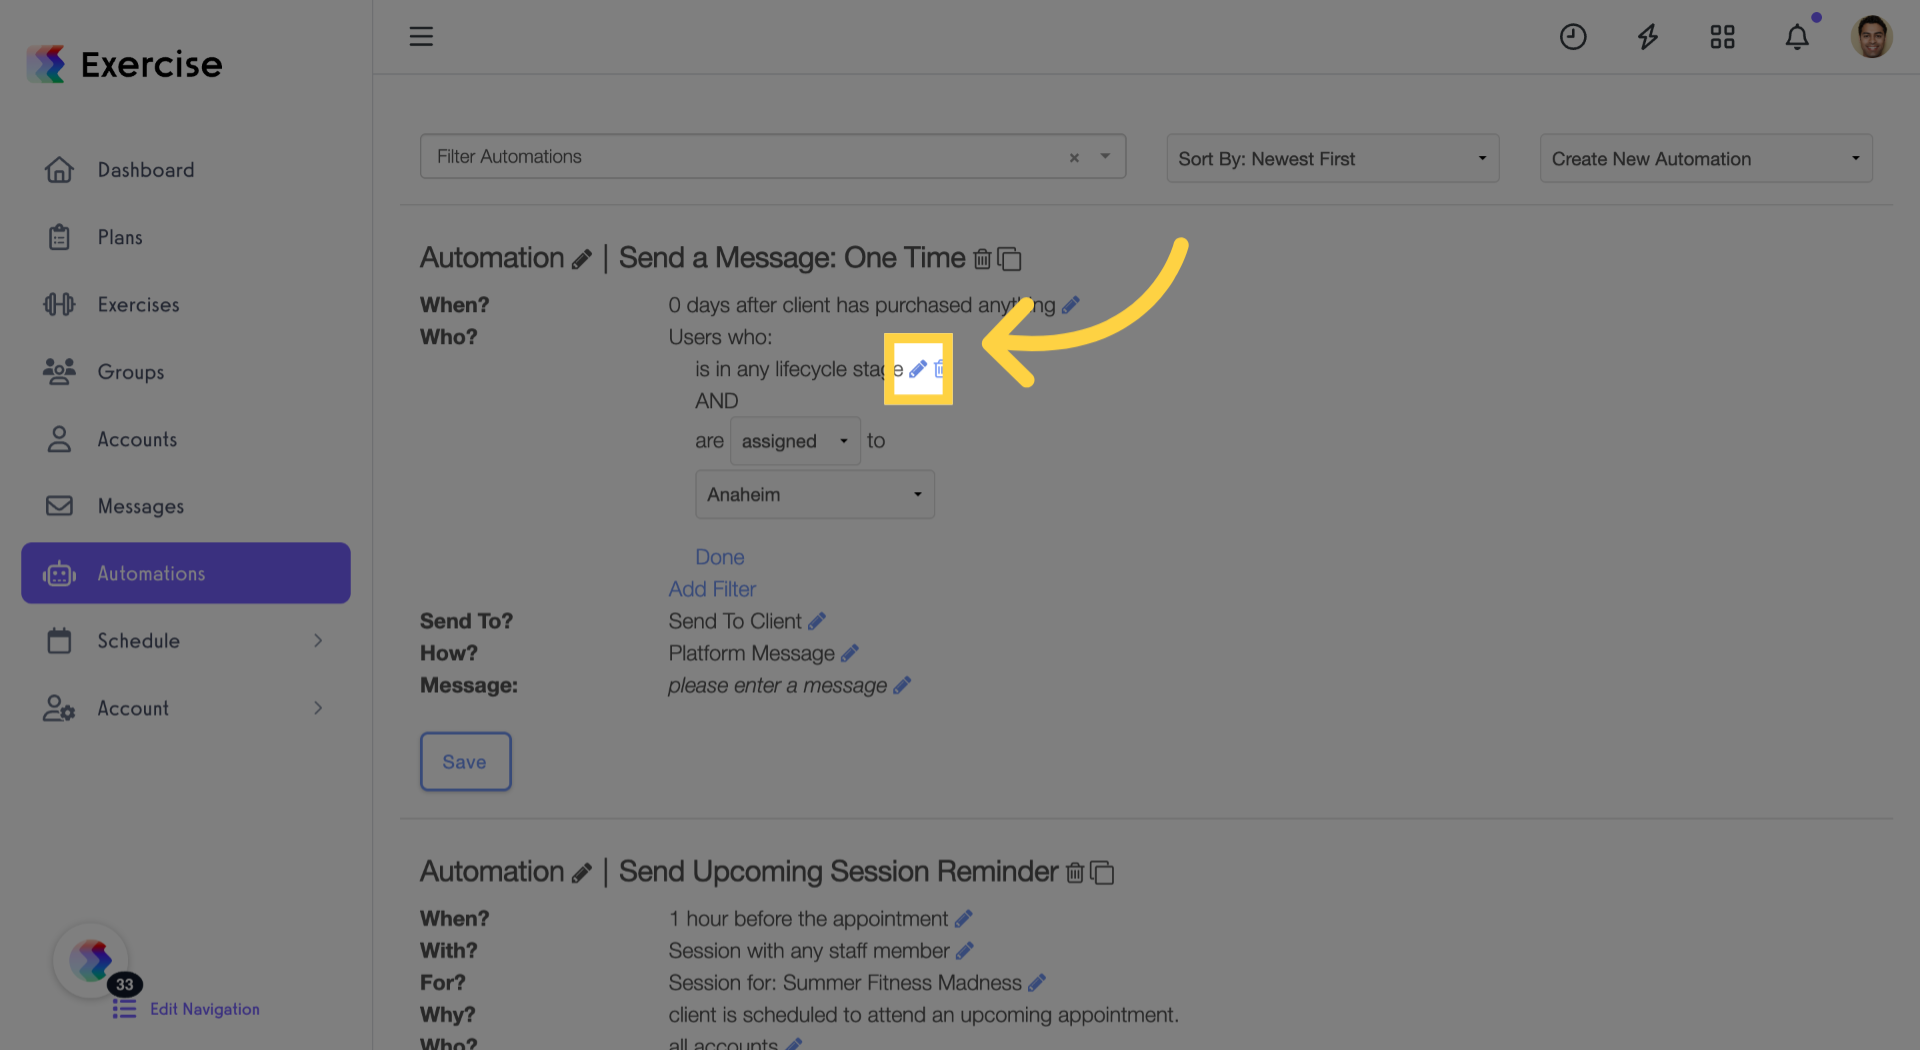
15. Define Filter Relationship
Decide on the logical relationship between filters by selecting ‘AND’ or ‘OR’ conditions.
16. Add One More Filter
Add one more filter to complete your audience segmentation setup.
17. Edit Secondary Filter Options
Edit the filter options to define the secondary criteria for your automation.

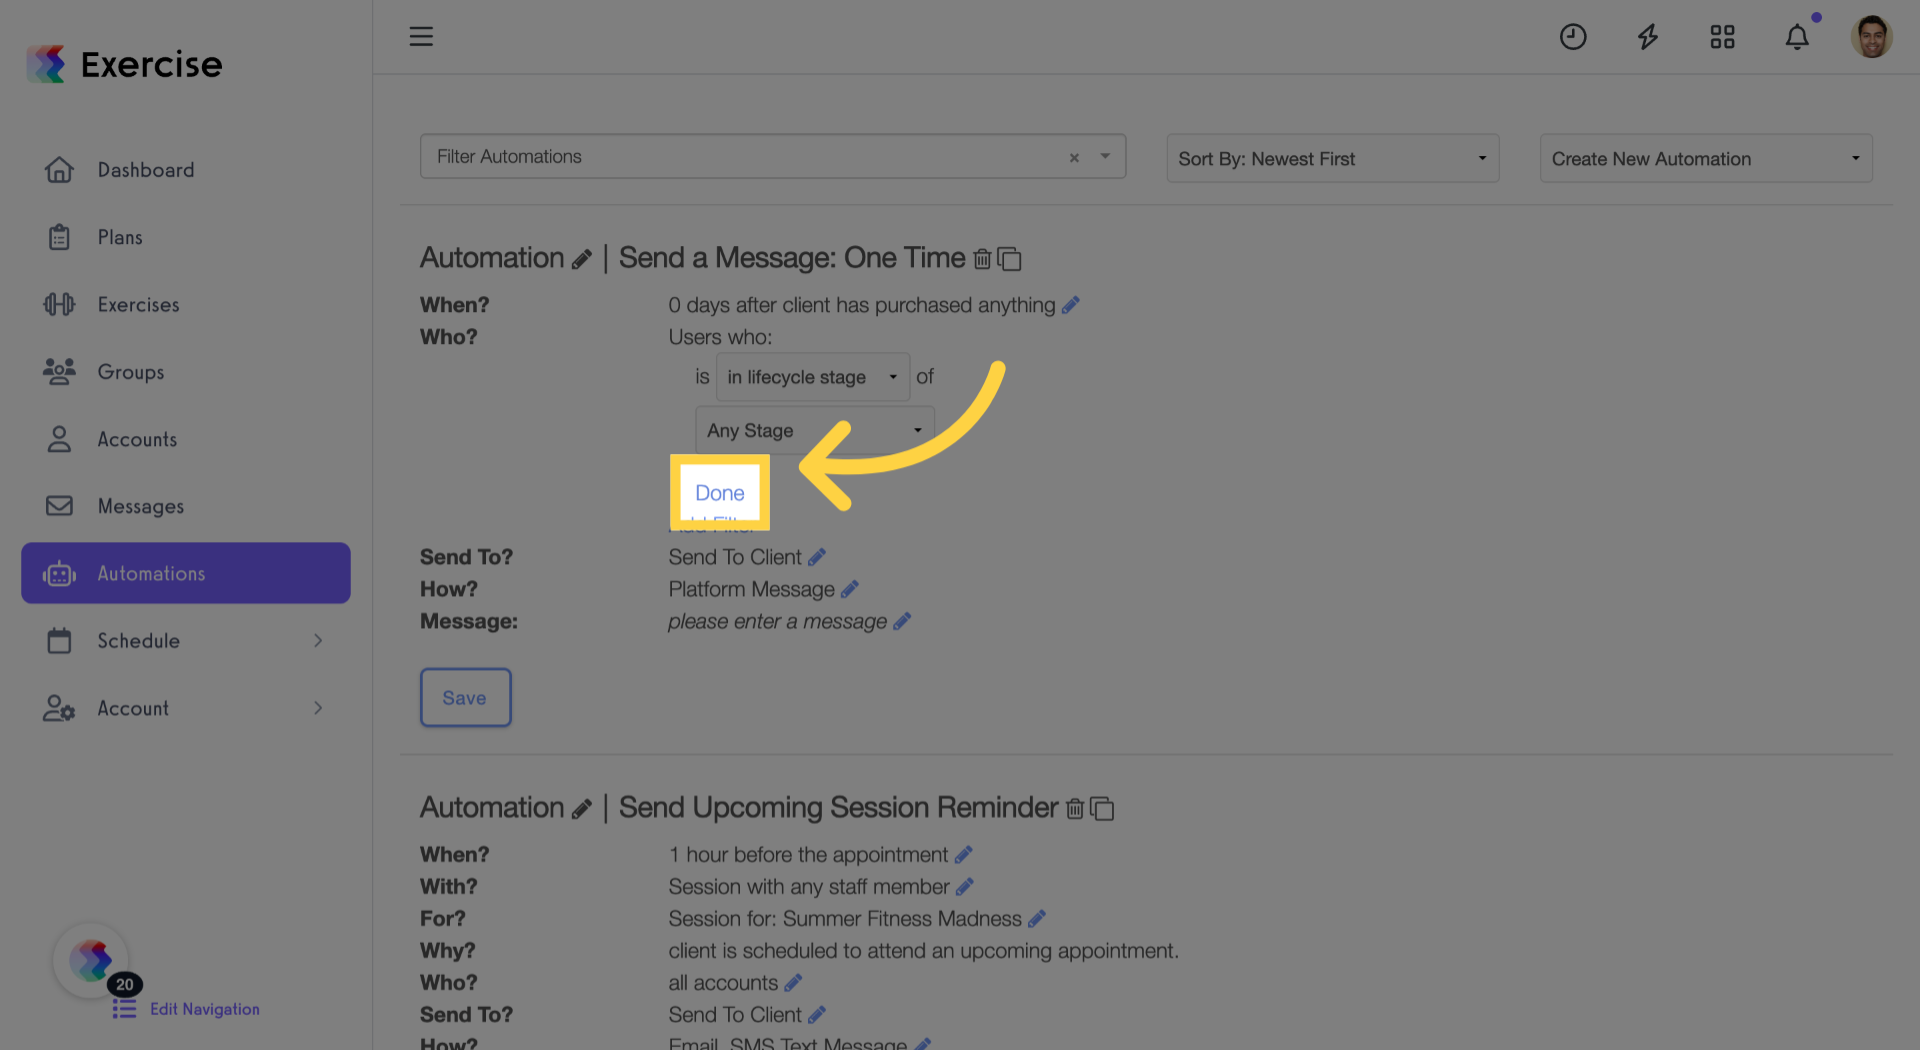
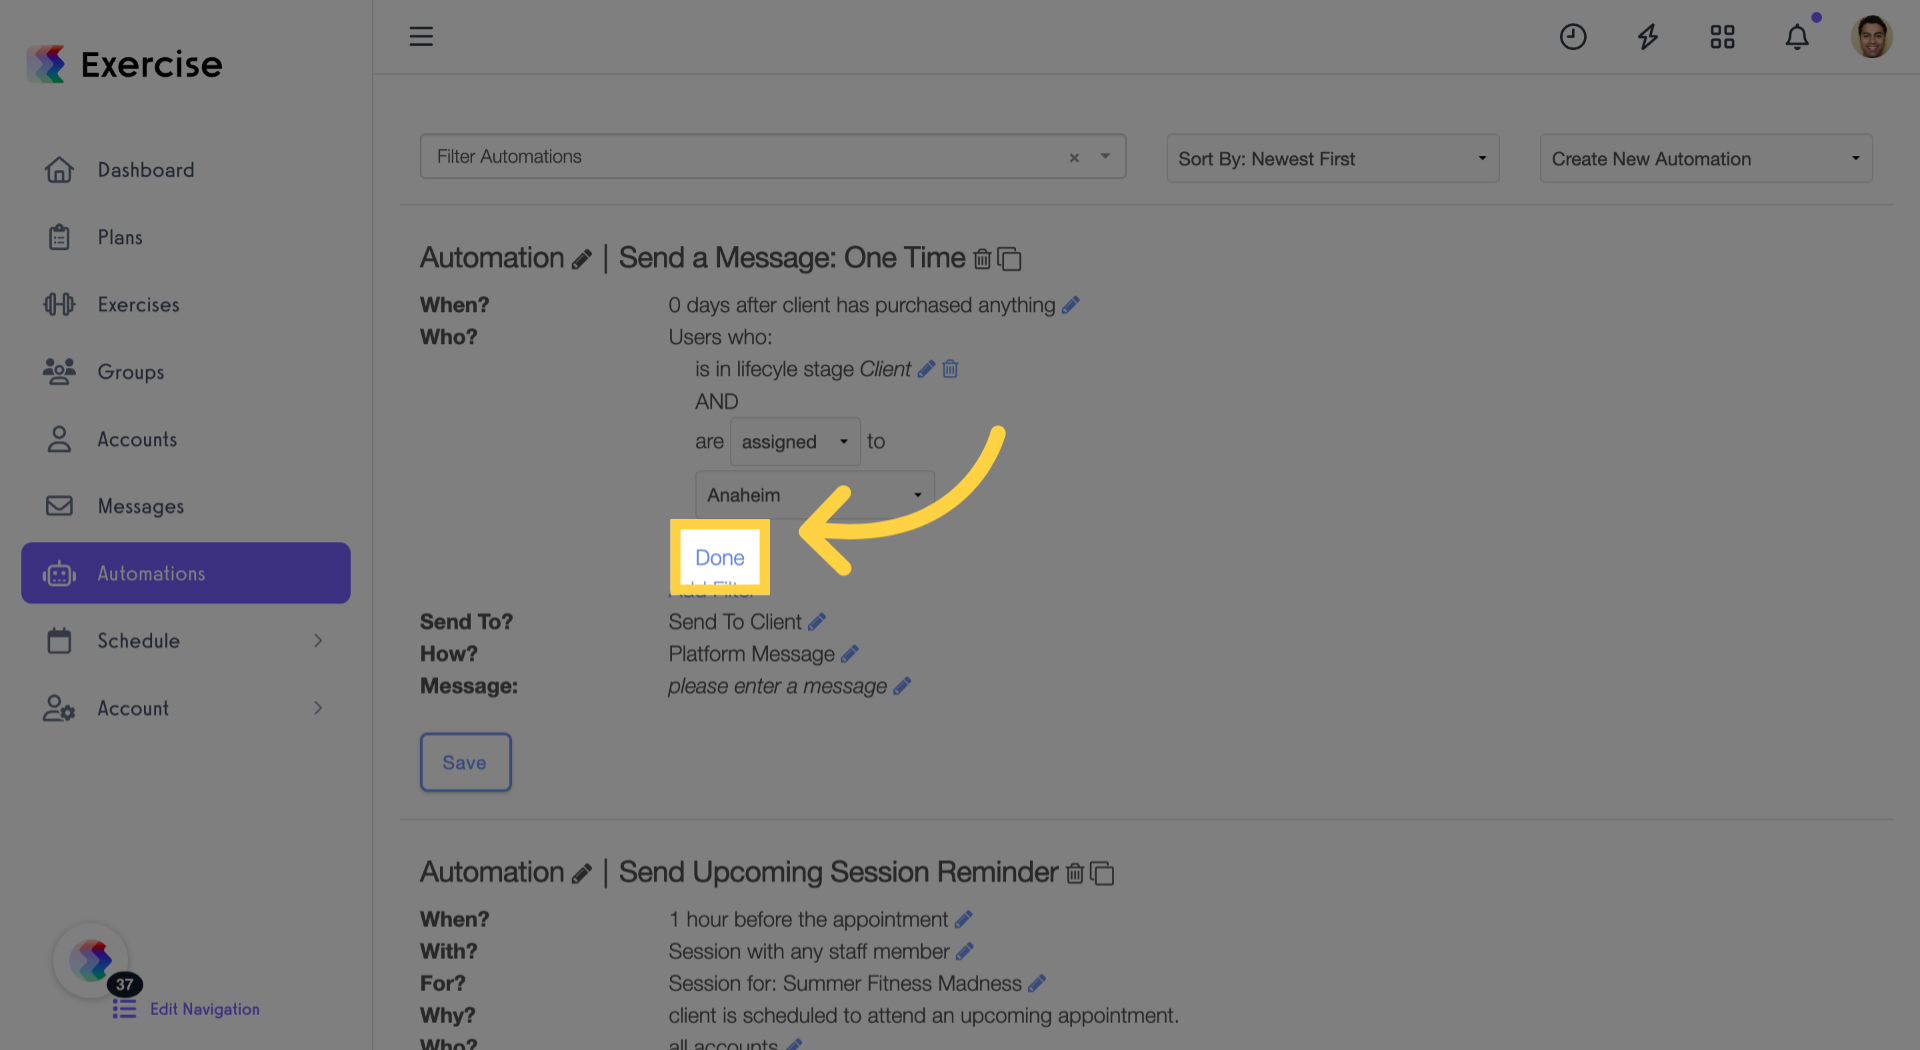
18. Click “Done”
Confirm your filter selections by clicking ‘Done’ to save the settings.
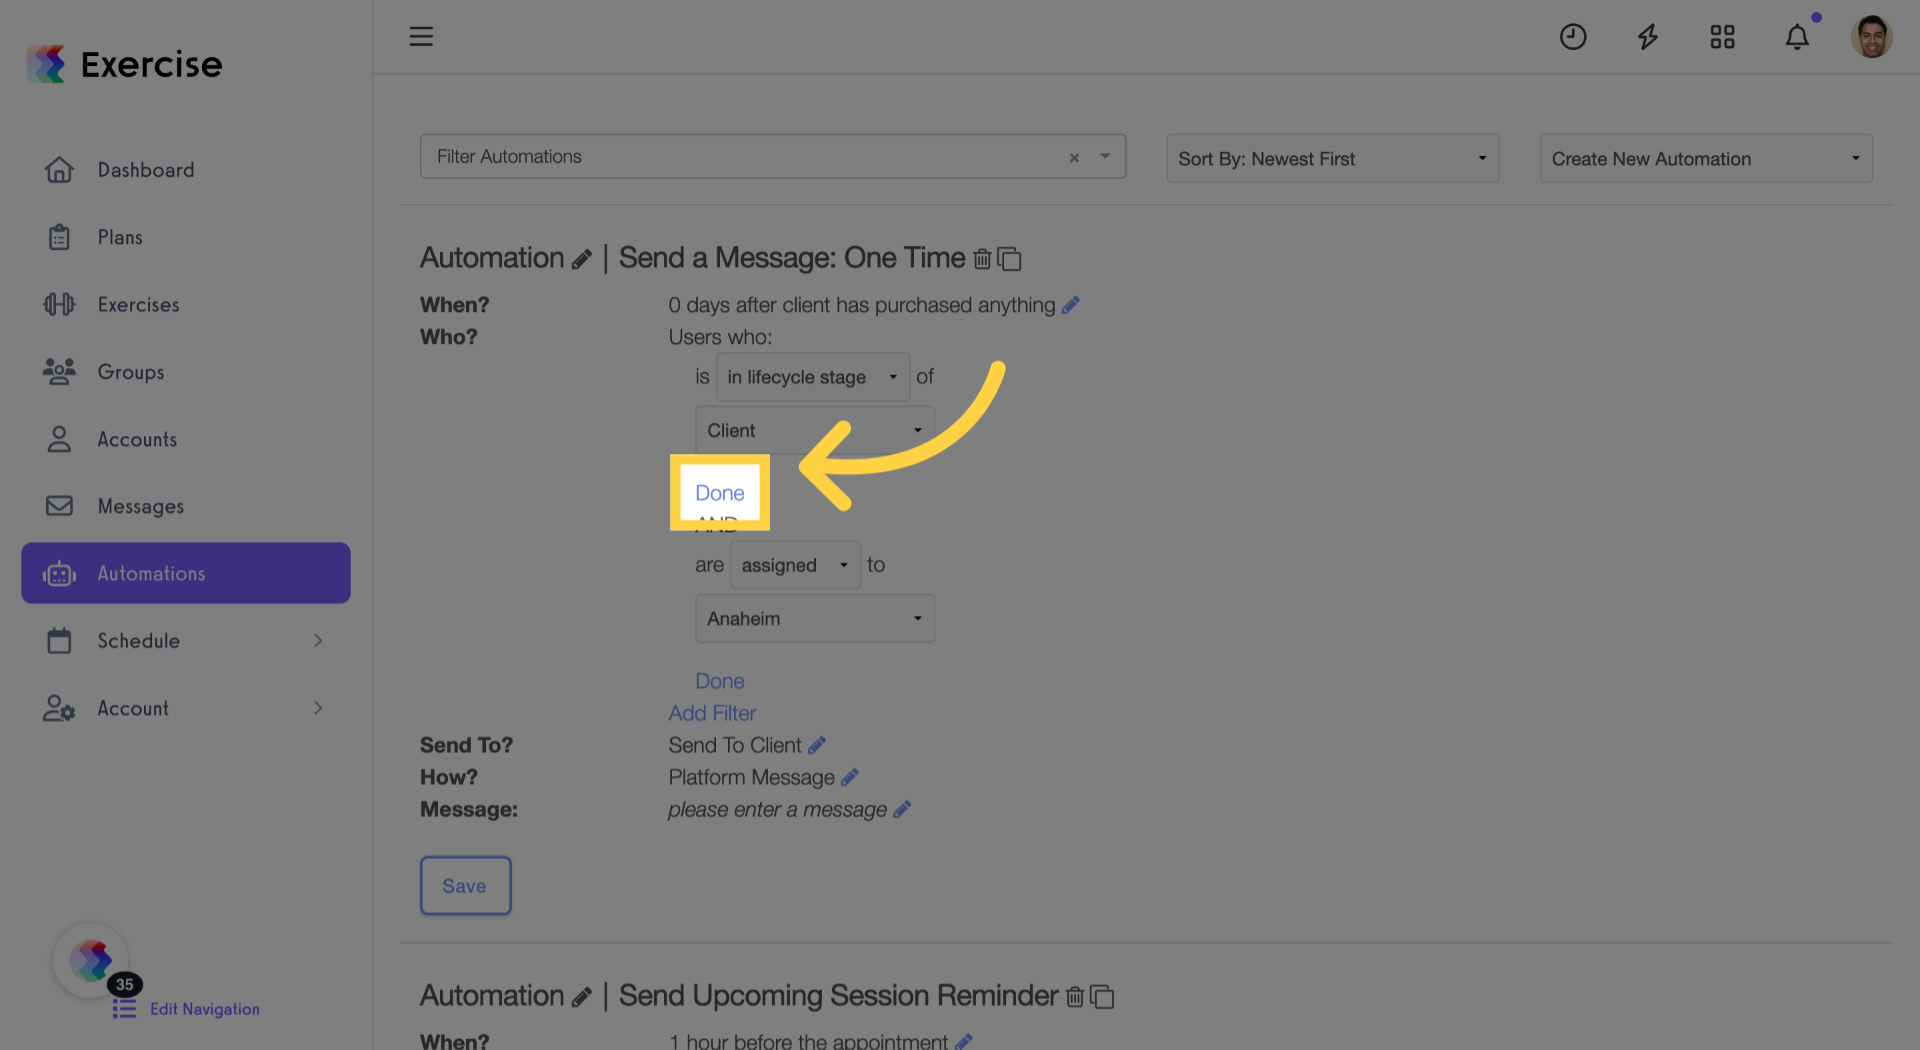
19. Click “Done”
Confirm your filter selections by clicking ‘Done’ to save the settings.
20. Click “Done”
Click ‘Done’ to confirm and save your lifecycle stage filter settings.
21. Click “Done”
Click ‘Done’ again to finalize all filter configurations for your automation.
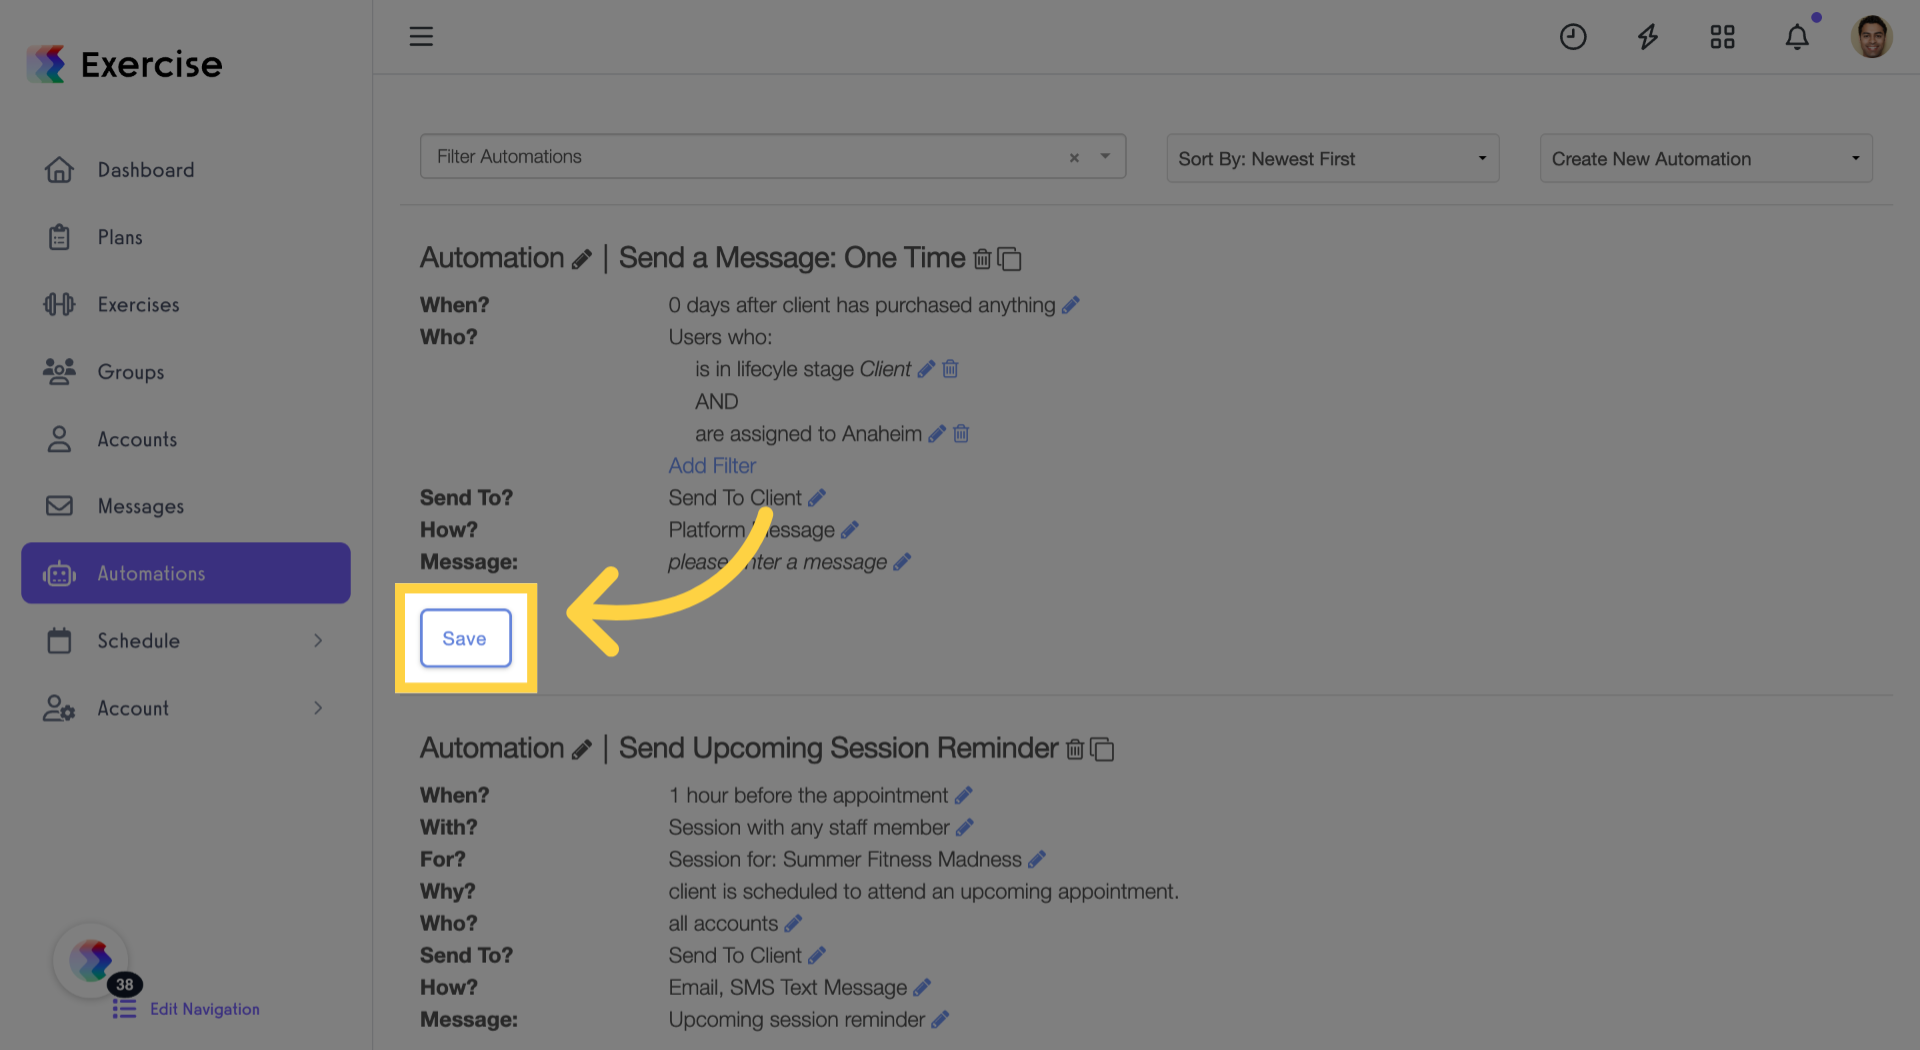
22. Click “Save”
Save your completed automation setup to activate it and begin automating your workflow.
This guide walked you through creating a new automation, focusing on adding and configuring lifecycle stage filters in the ‘Who?’ step. You learned how to set triggers, apply multiple filters, and save your automation for targeted user engagement.


