How to send one-time message based on tag added to client account
In this guide, we will walk you through the steps to How to send one-time message based on tag added to client account using the Exercise applications.
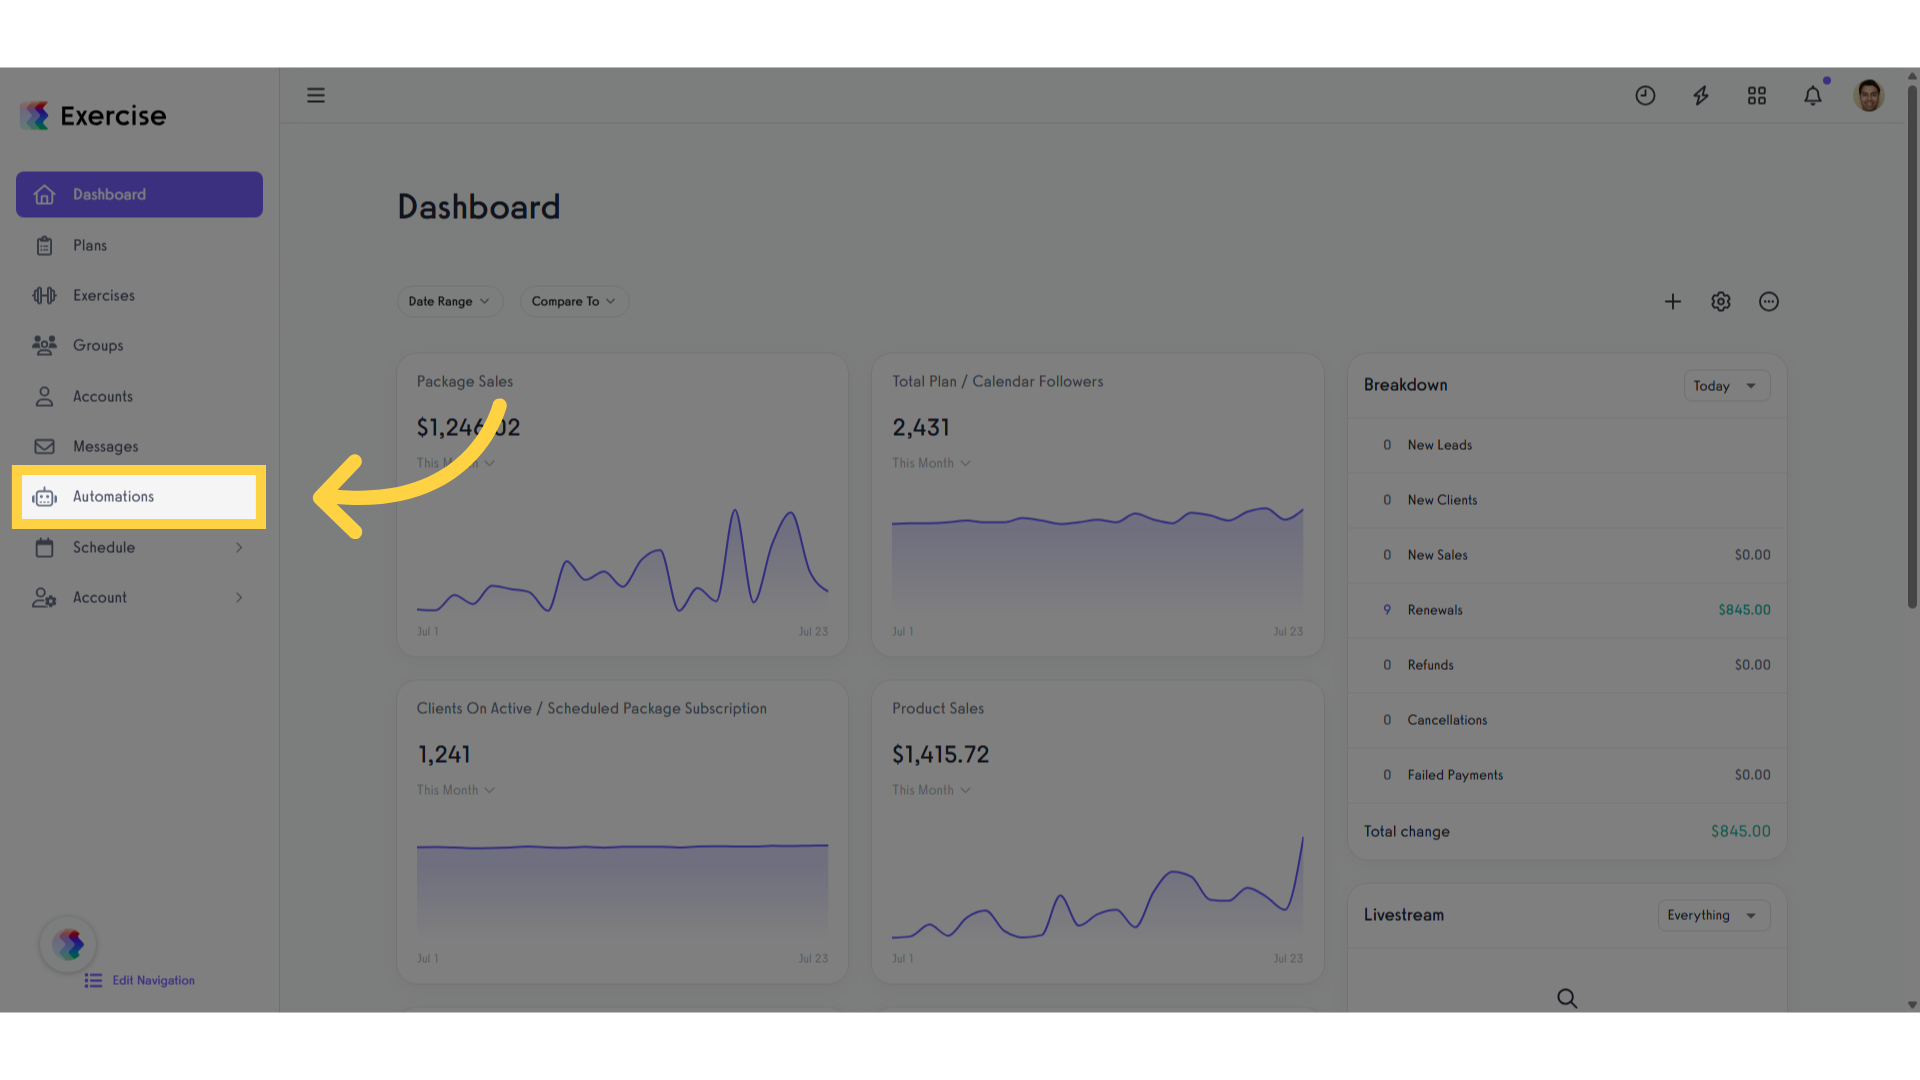
1. Click “Automations”
Click on “Automations”
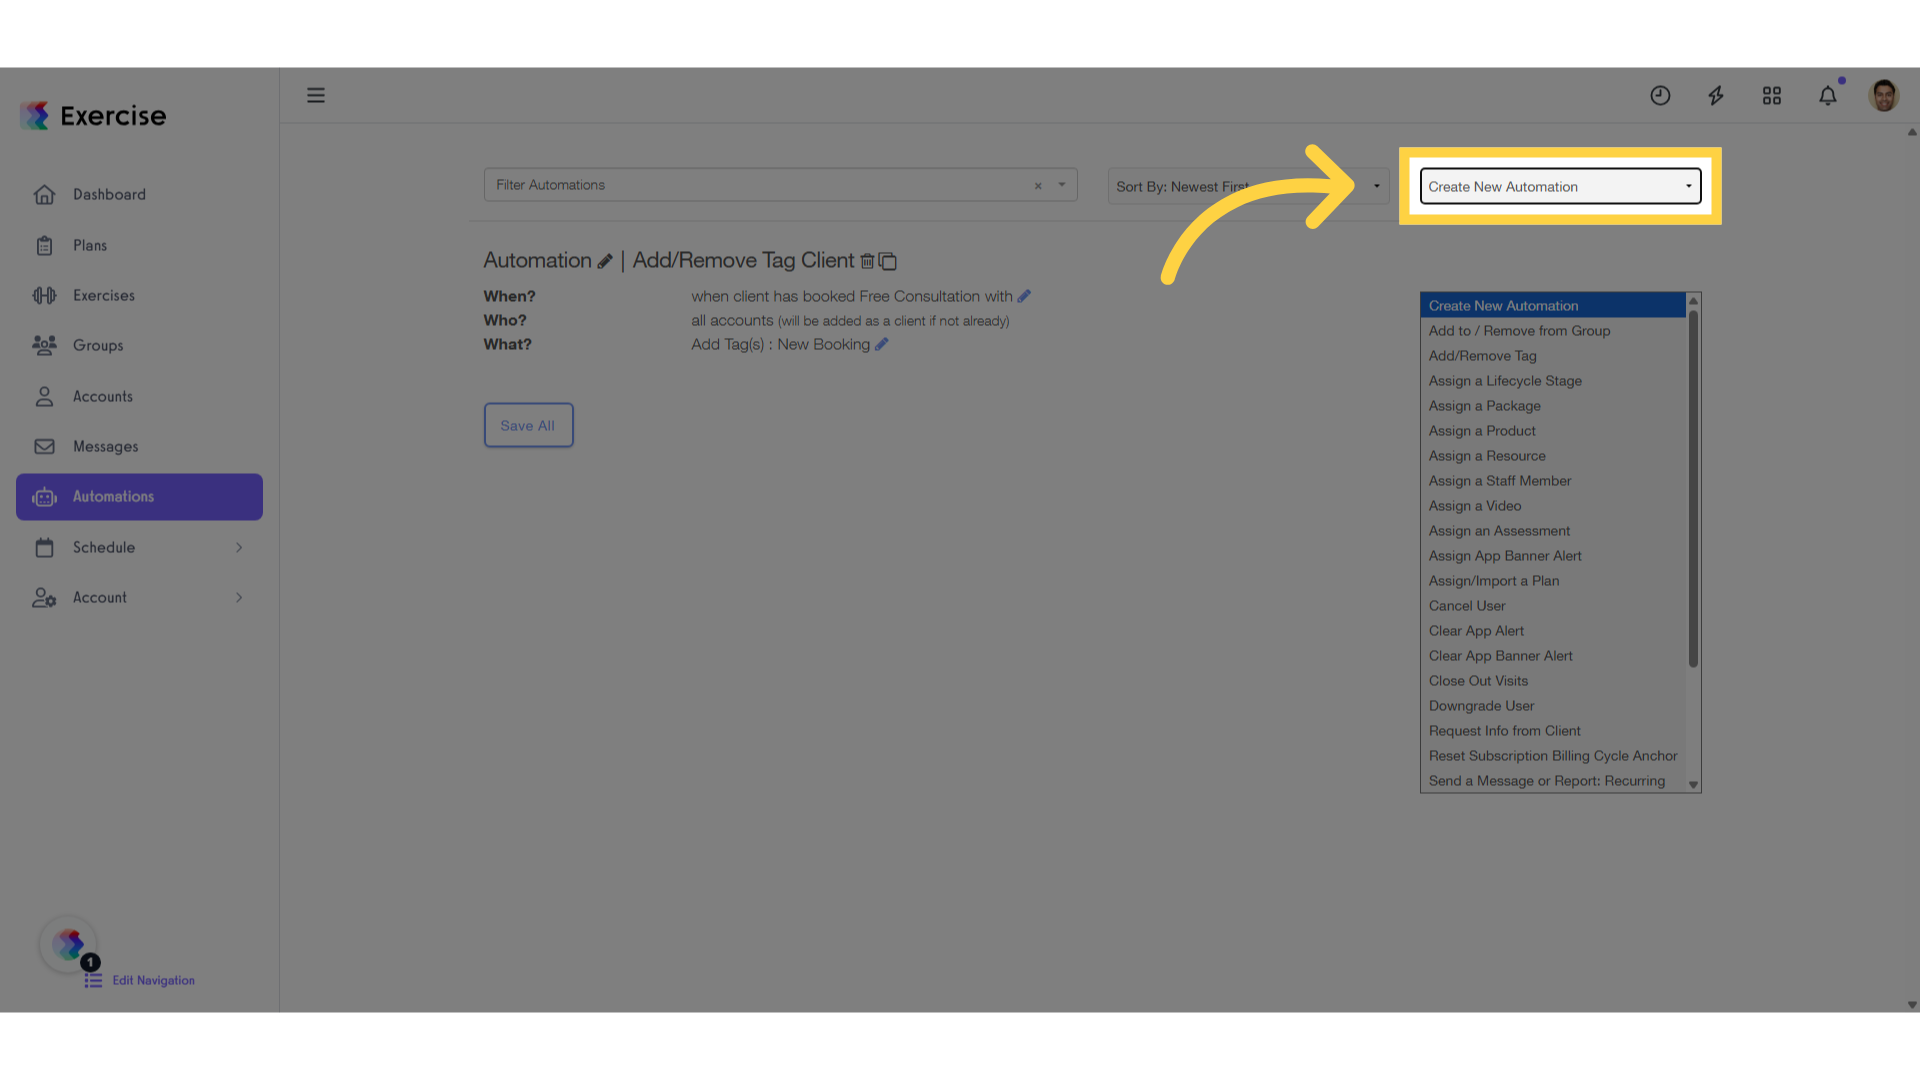
2. Click “Create New Automation”
Navigate to “Create New Automation” and click on “Add/Remove Tag”
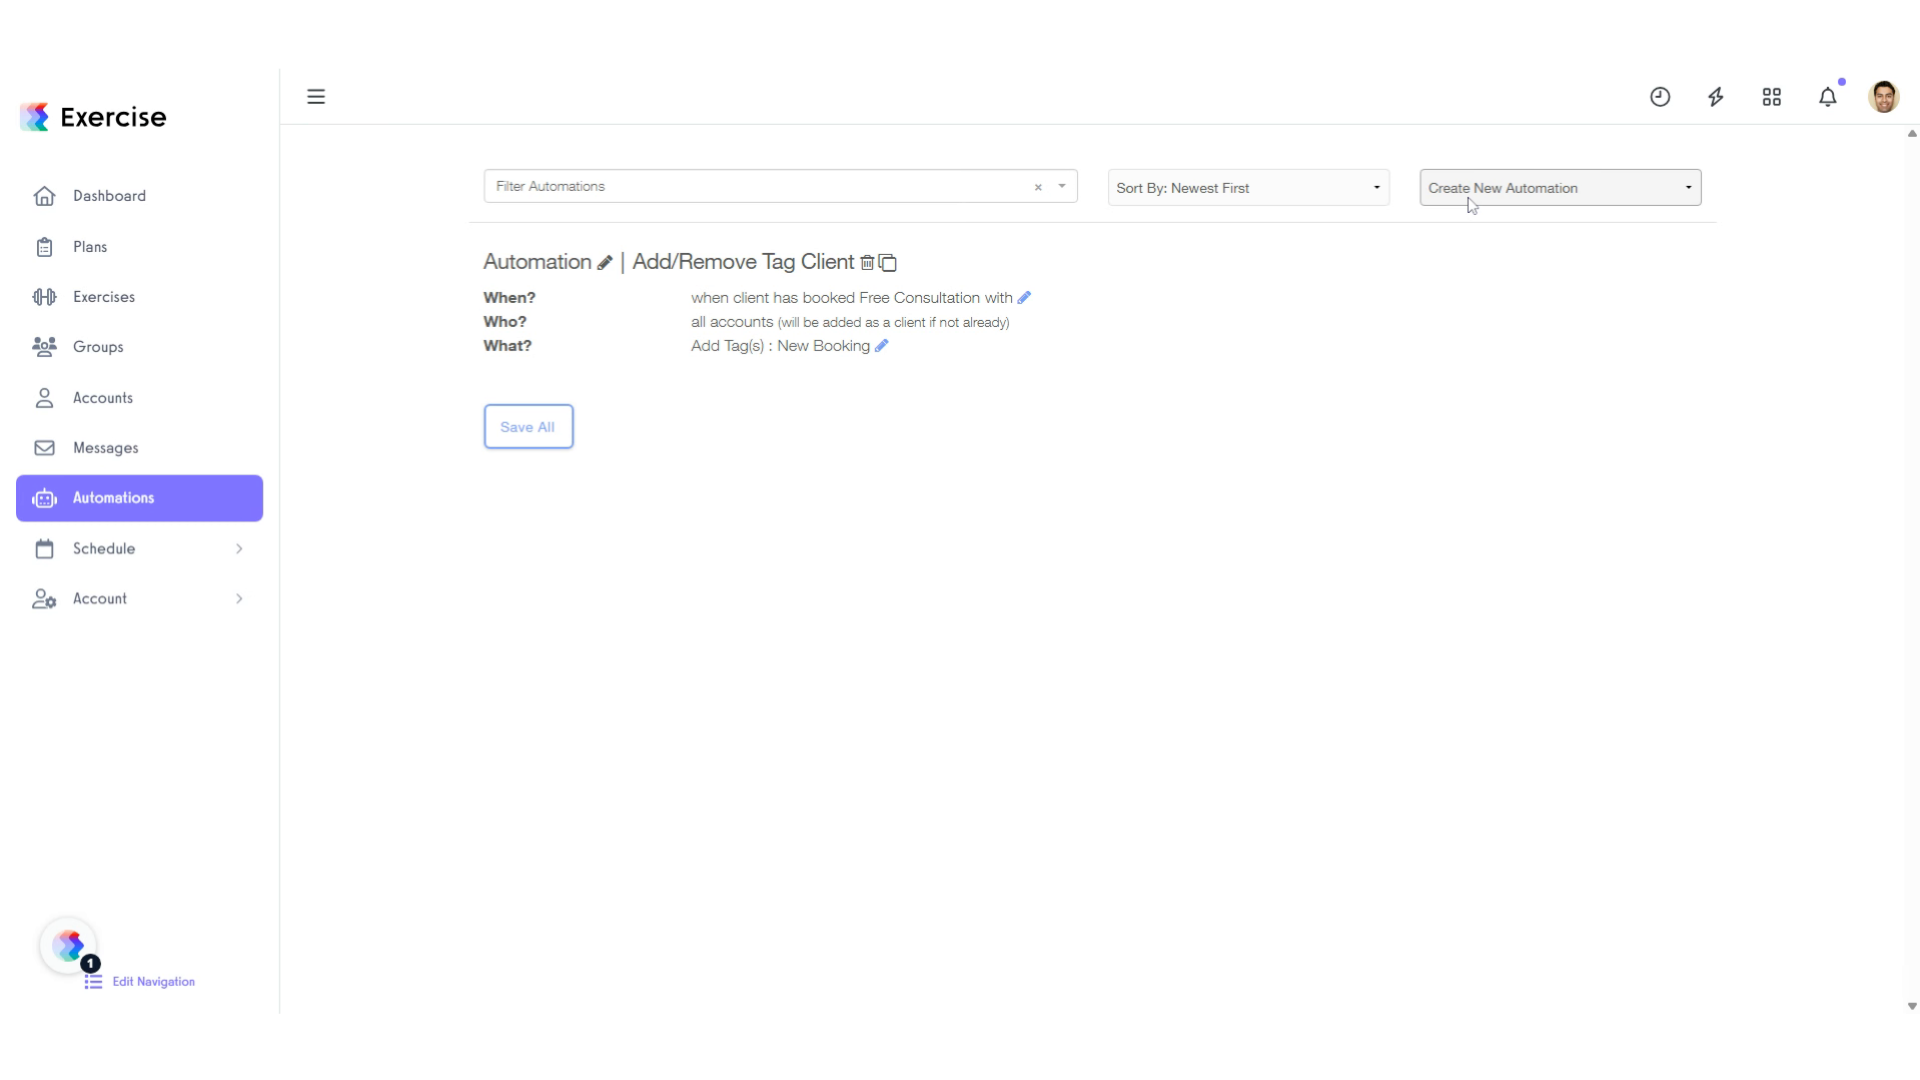
3. Fill the form of the new automation
Fill in the new automation.
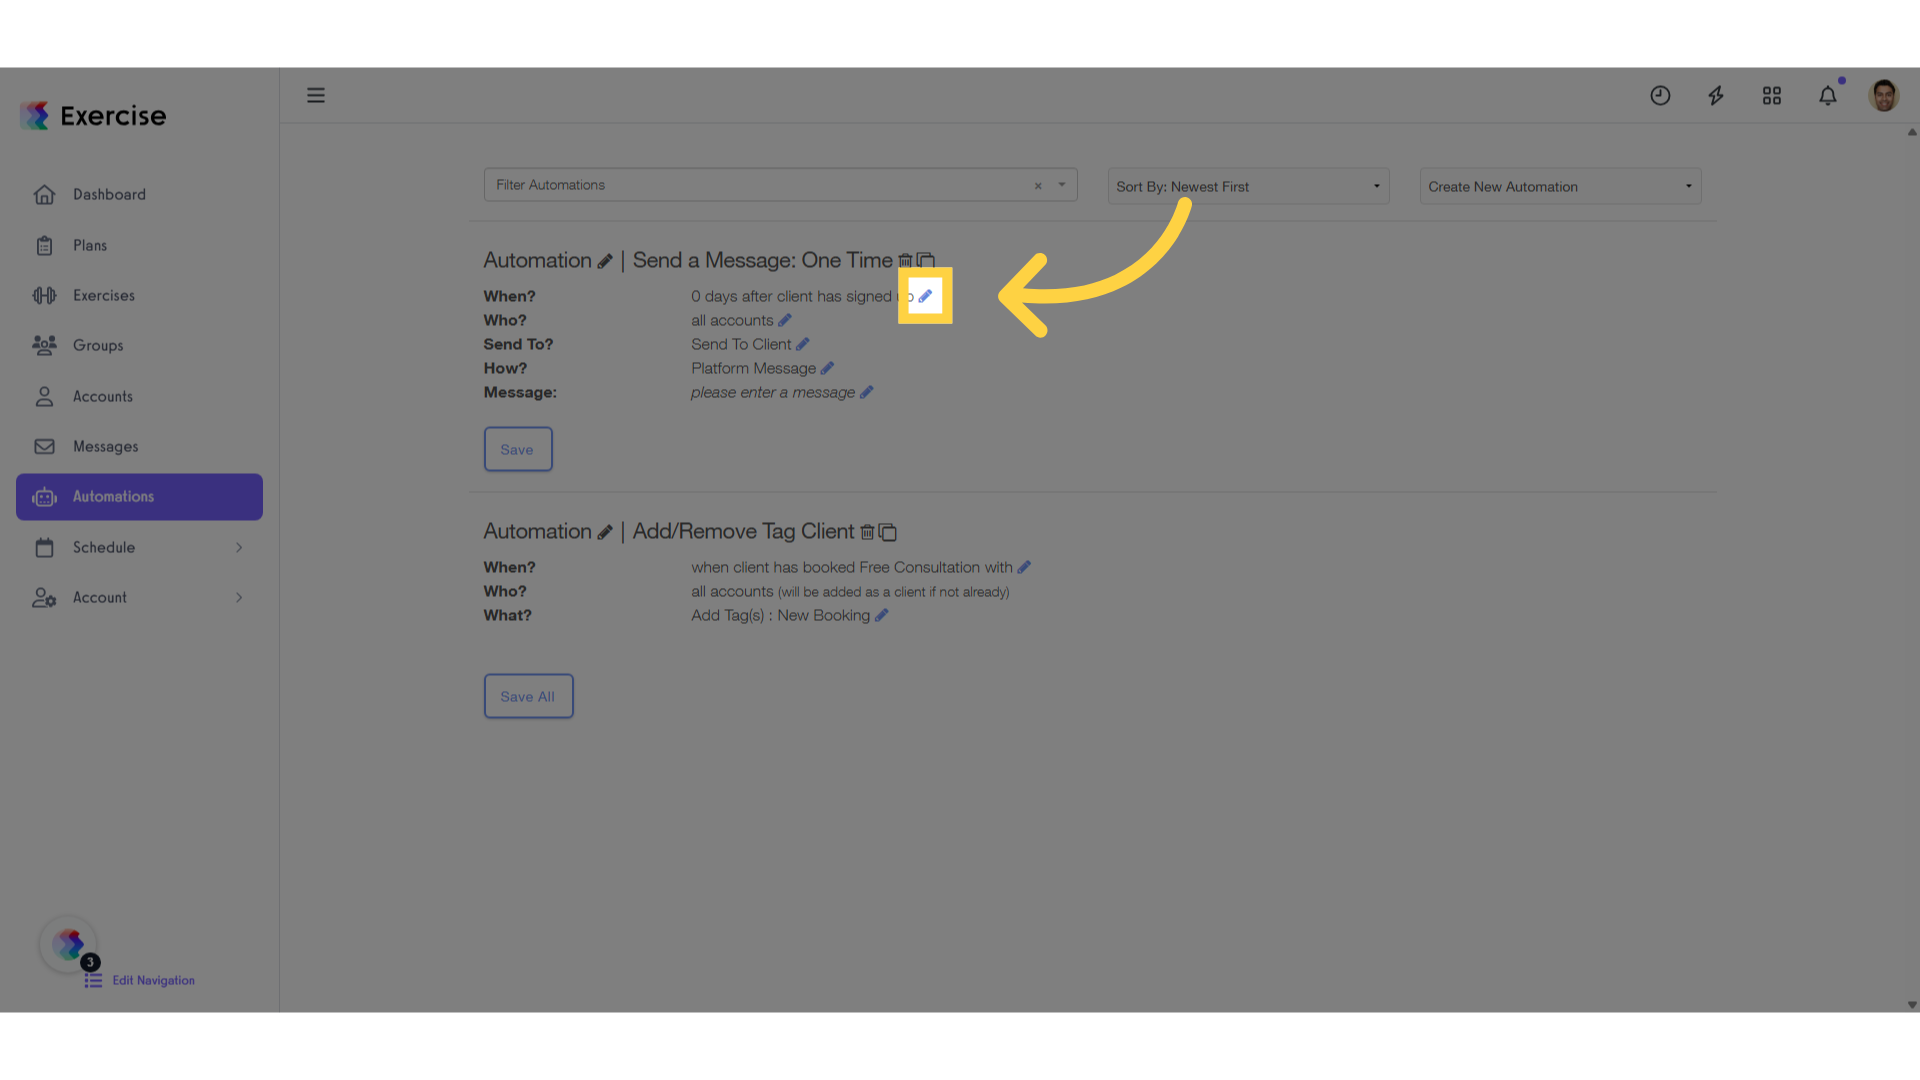
4. Edit the automation
Click here on the edit icon
5. Select the option of the tag added to a client.
Select the option of the tag added to a client.
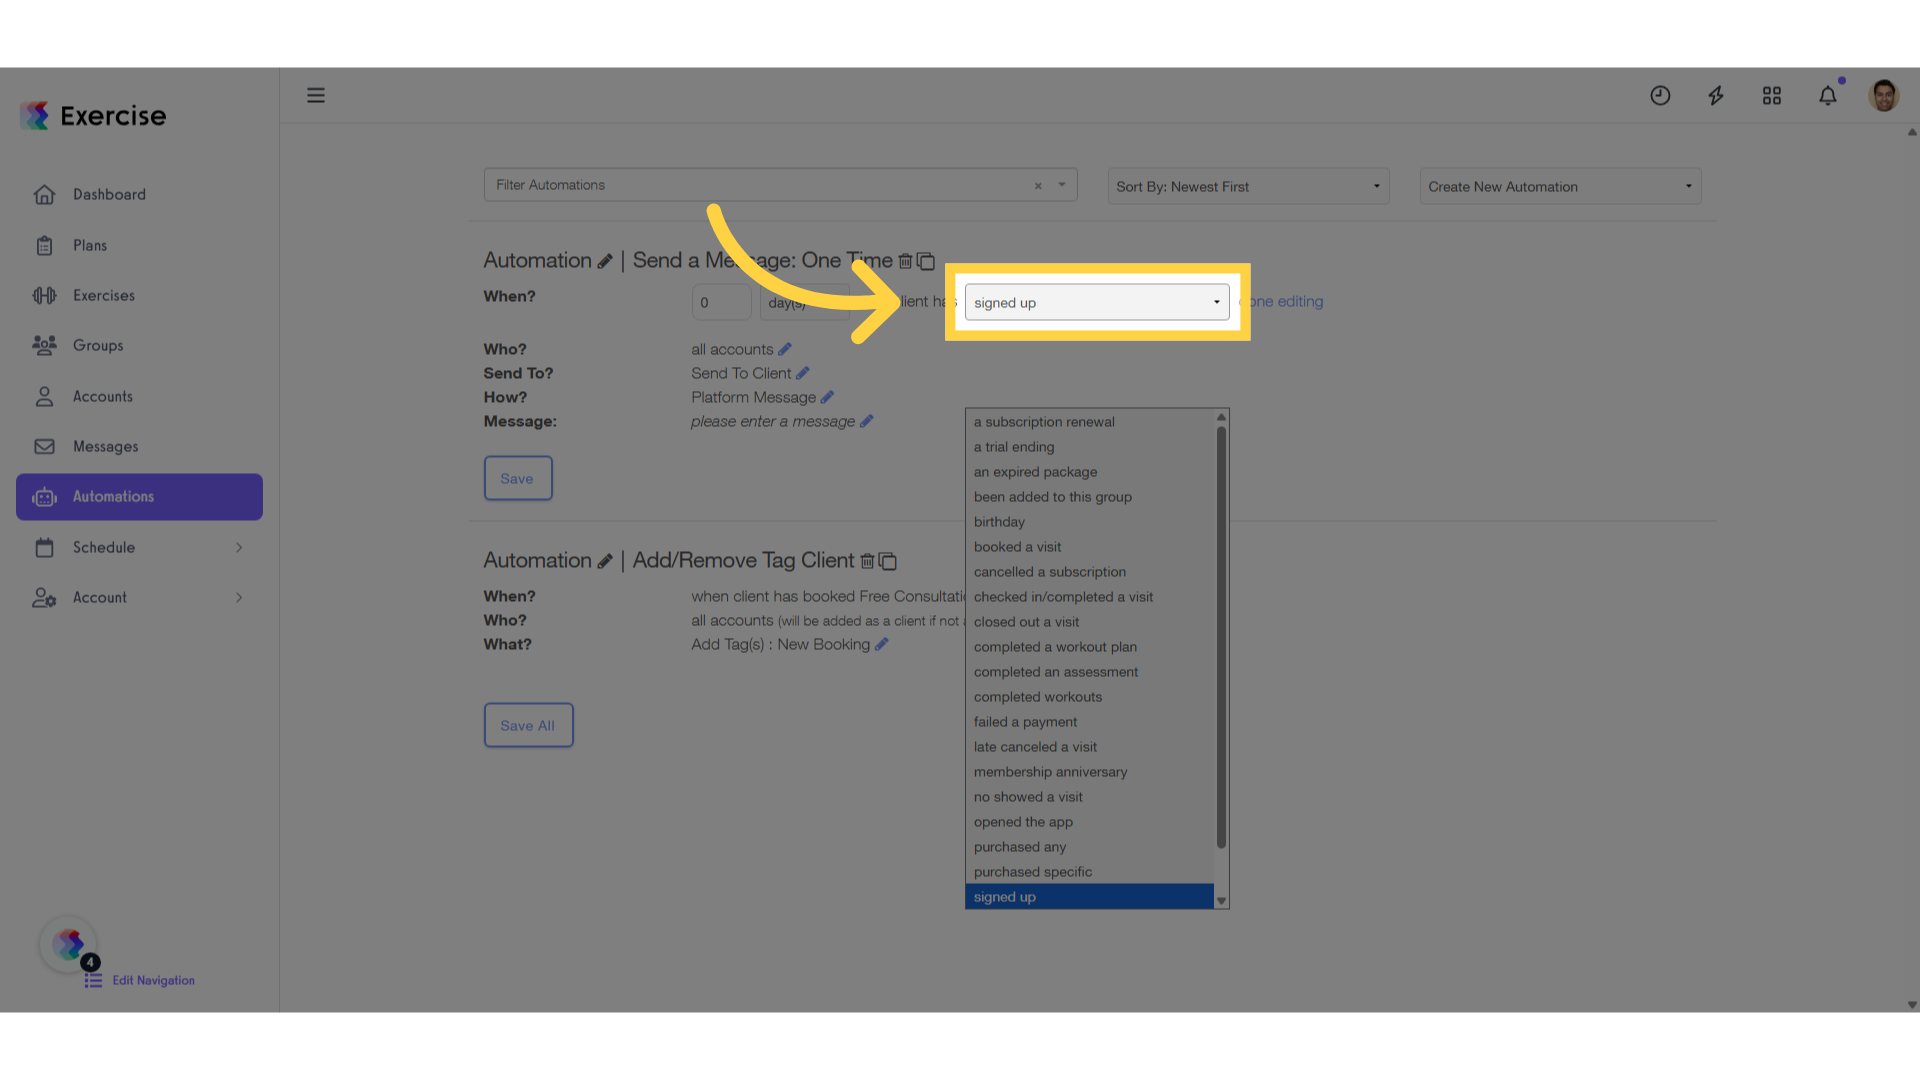
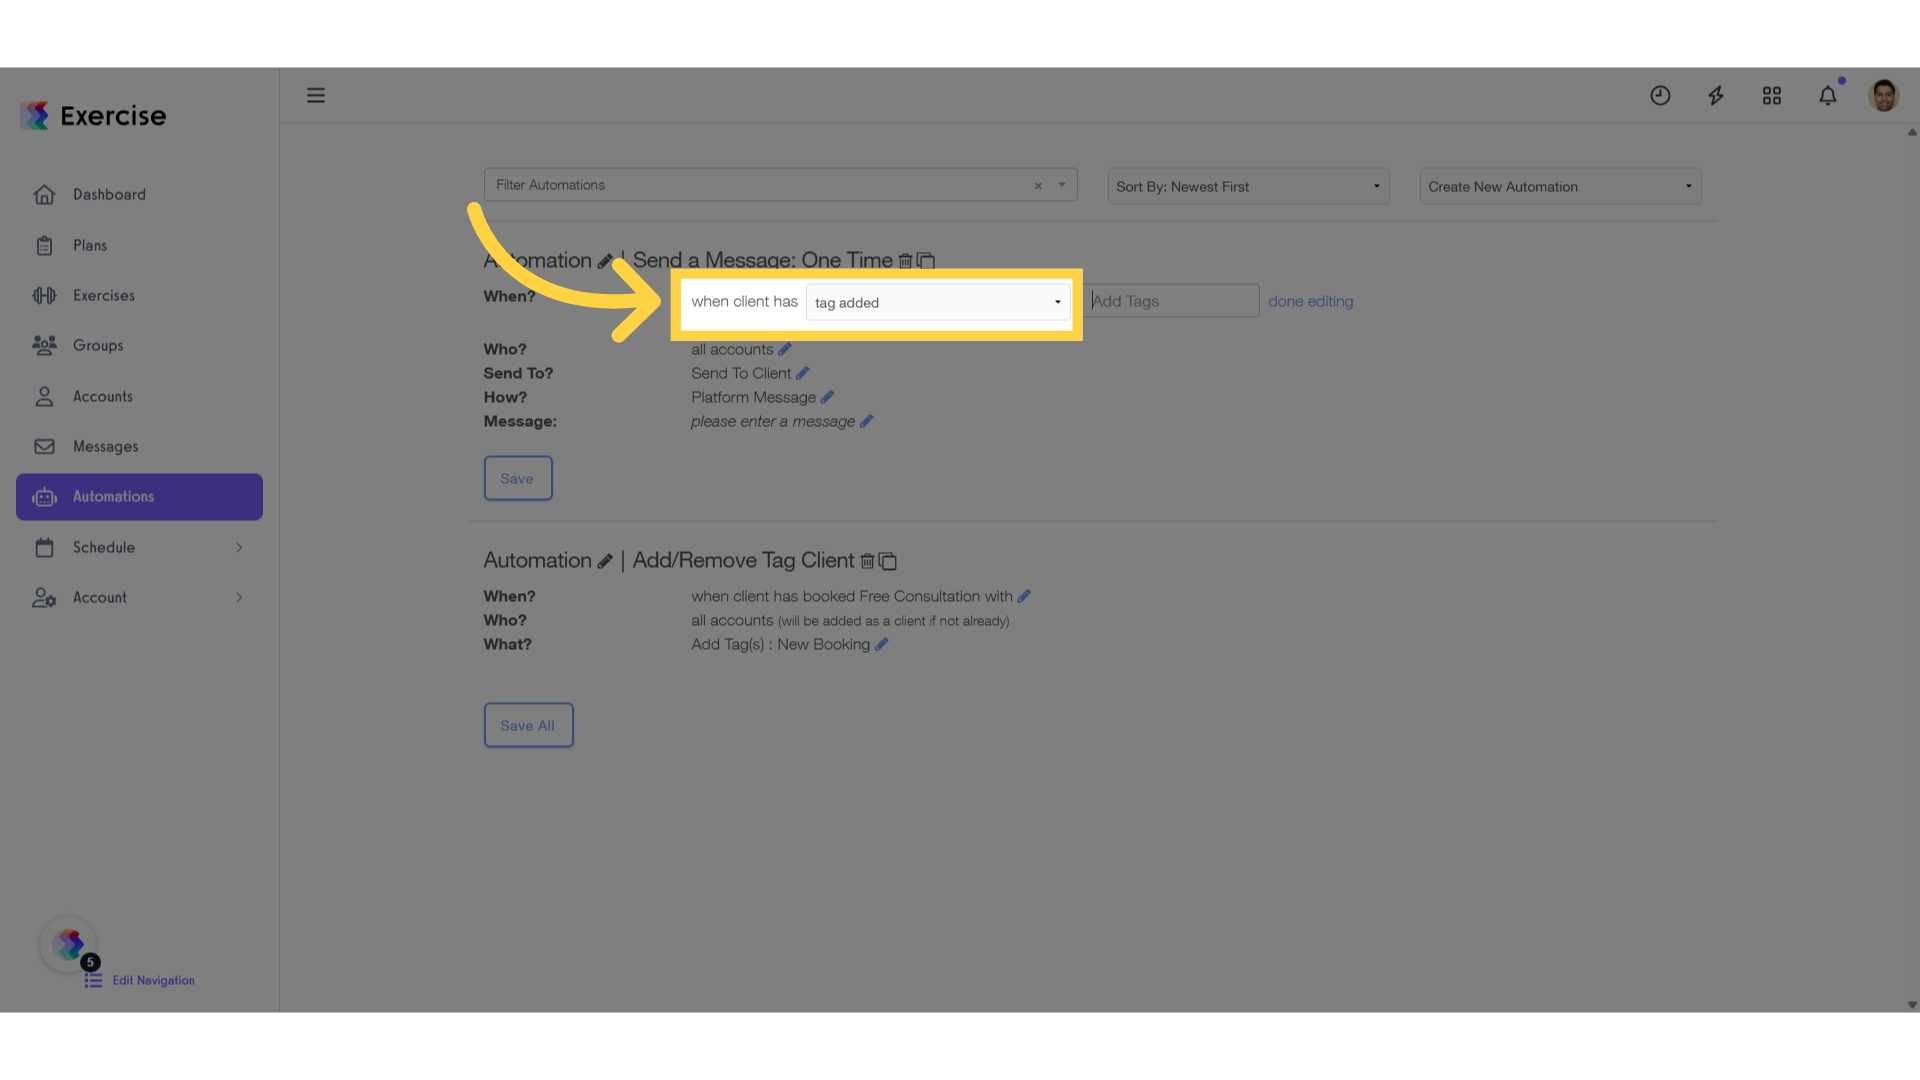
6. Click “tag added”
Choose that the automation is trigger when a tag is added to a client.
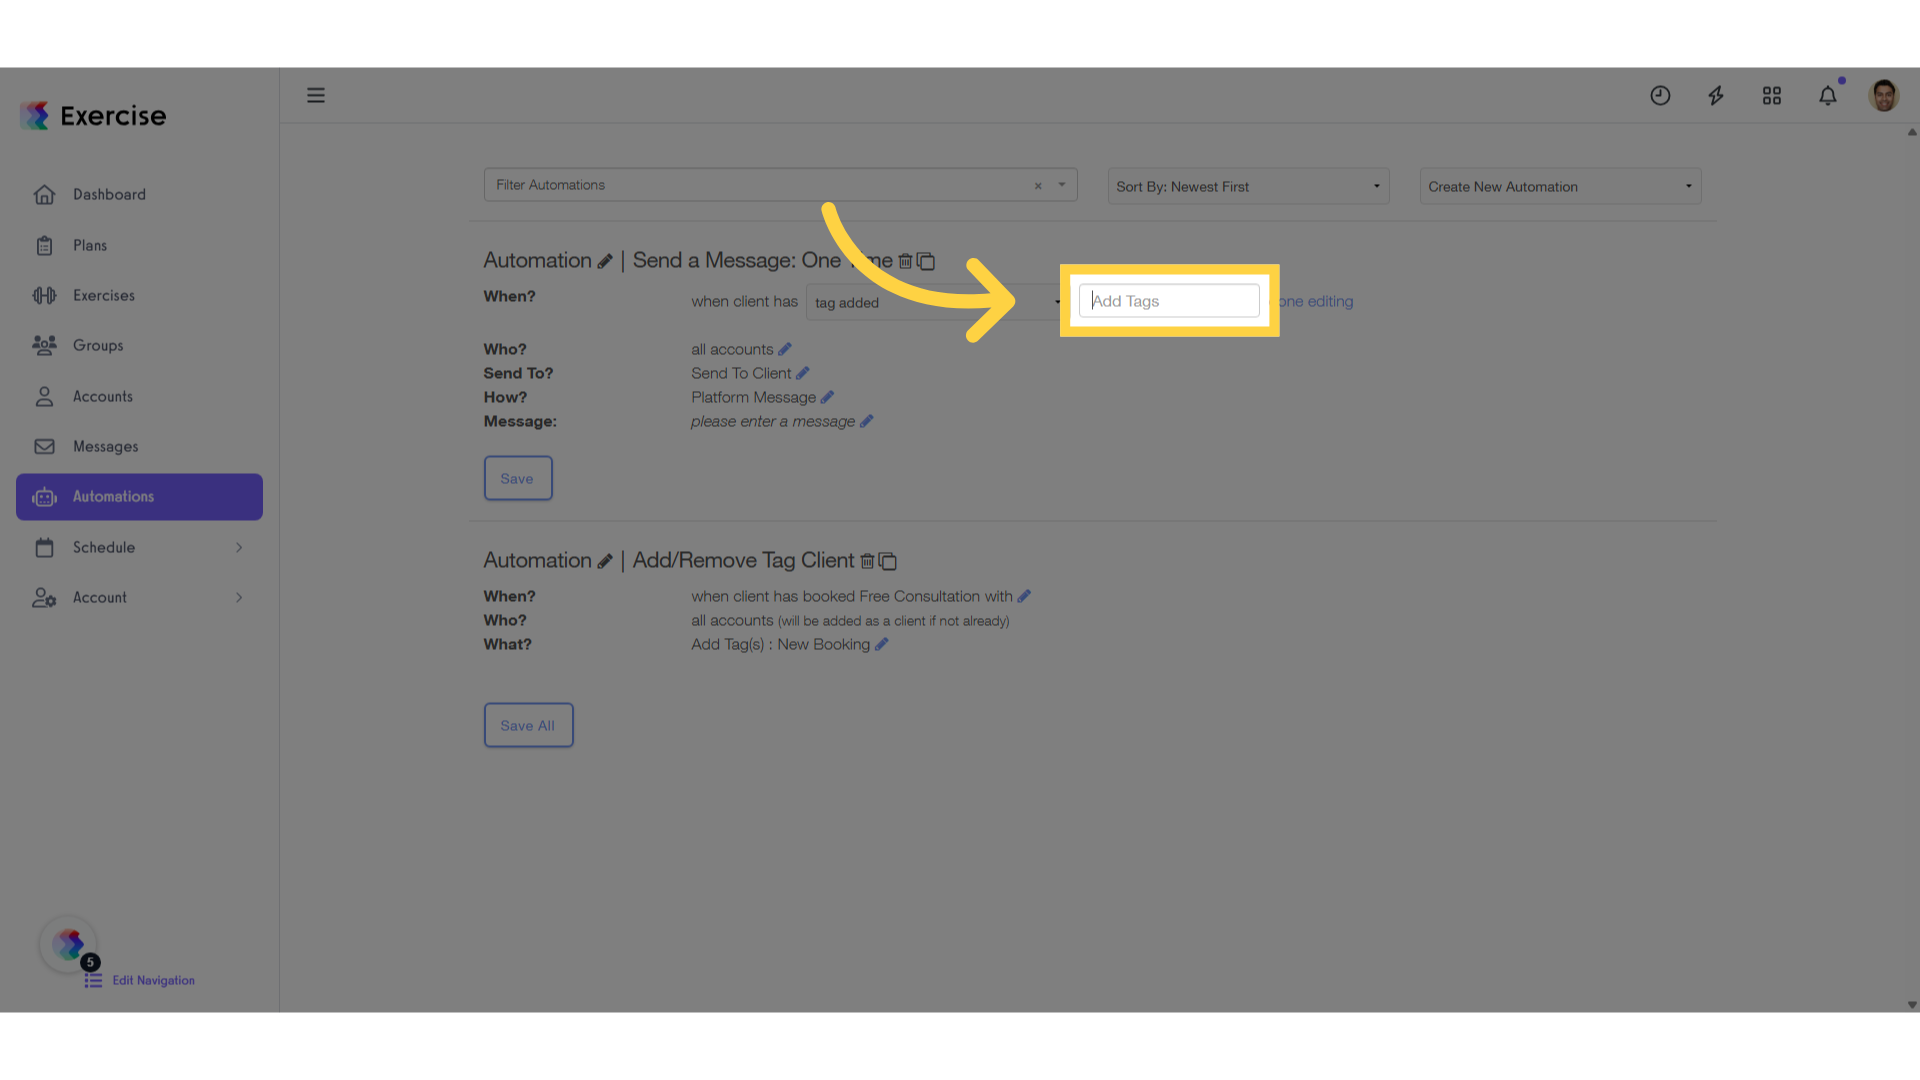
7. Click “Add Tags”
Choose the tags required.
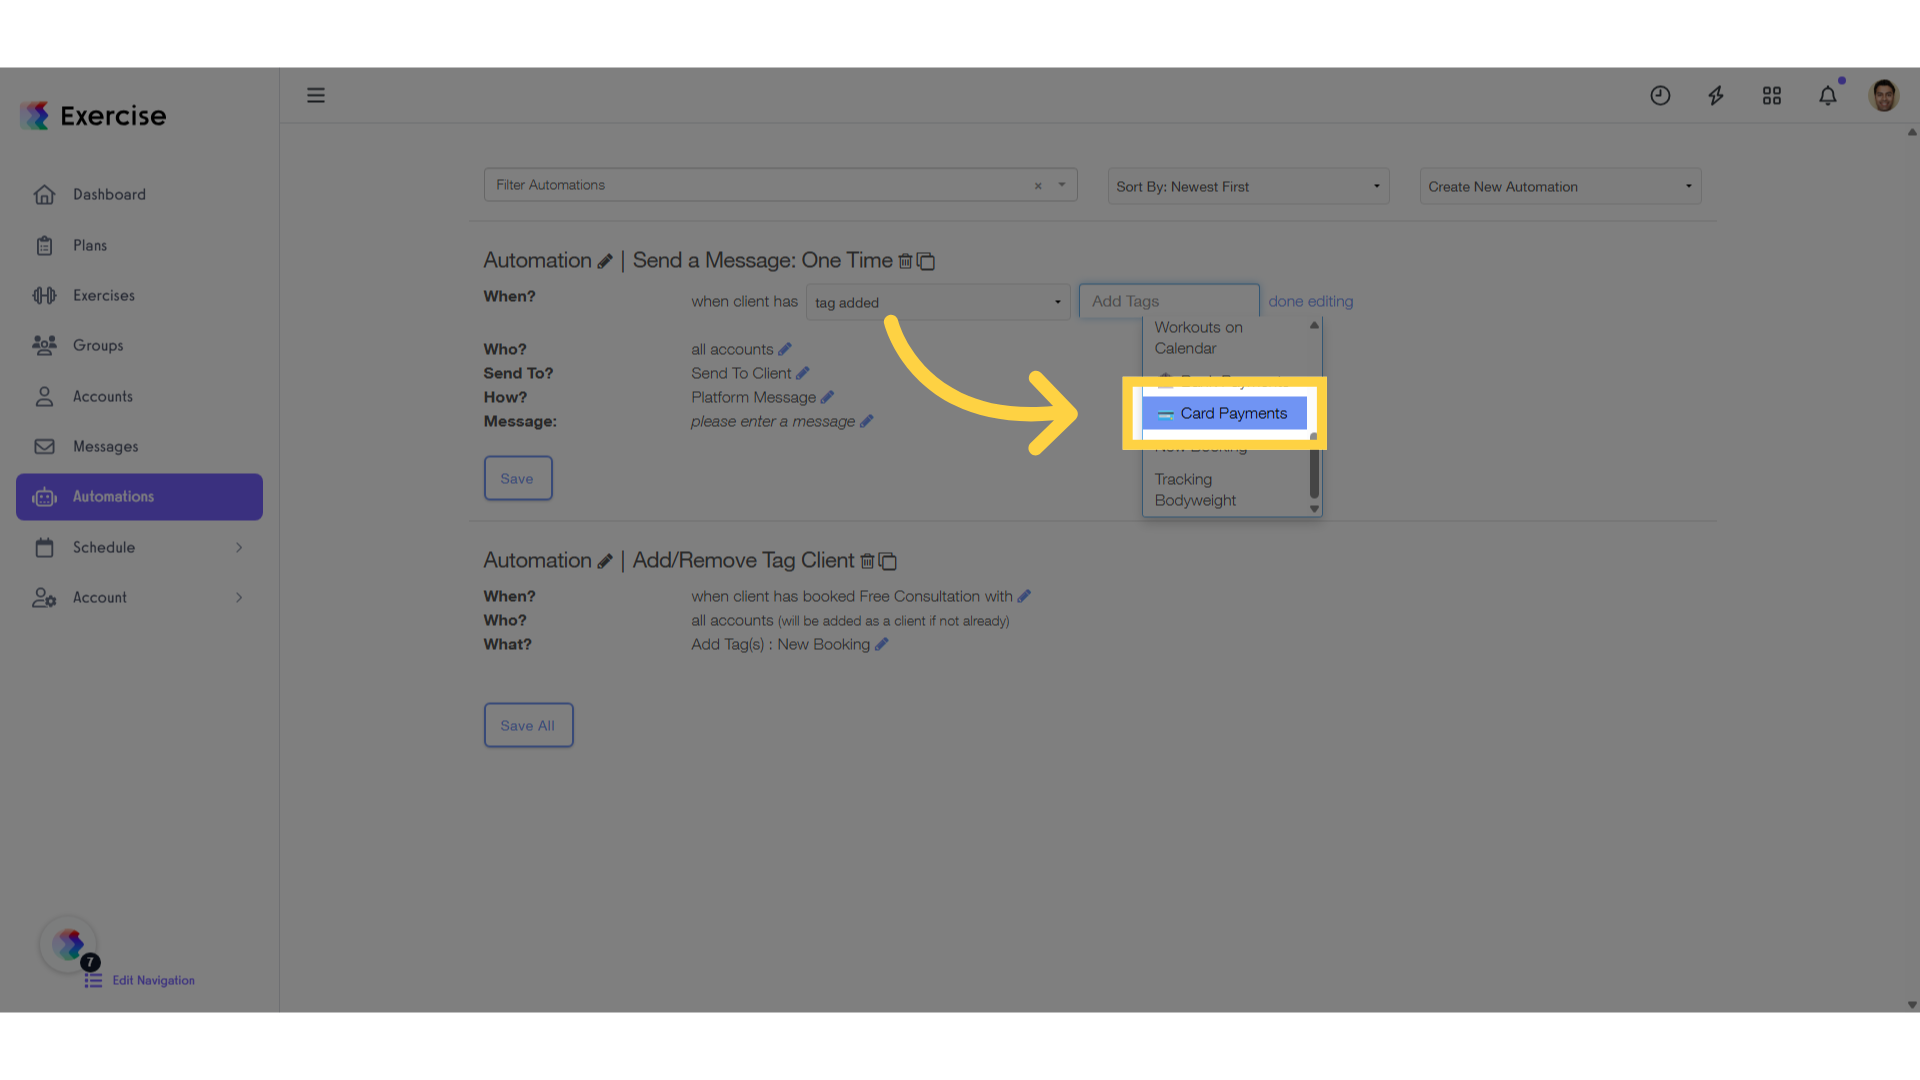
8. Select the tag or tags
For this example, click on the “💳 Card Payments” tag.
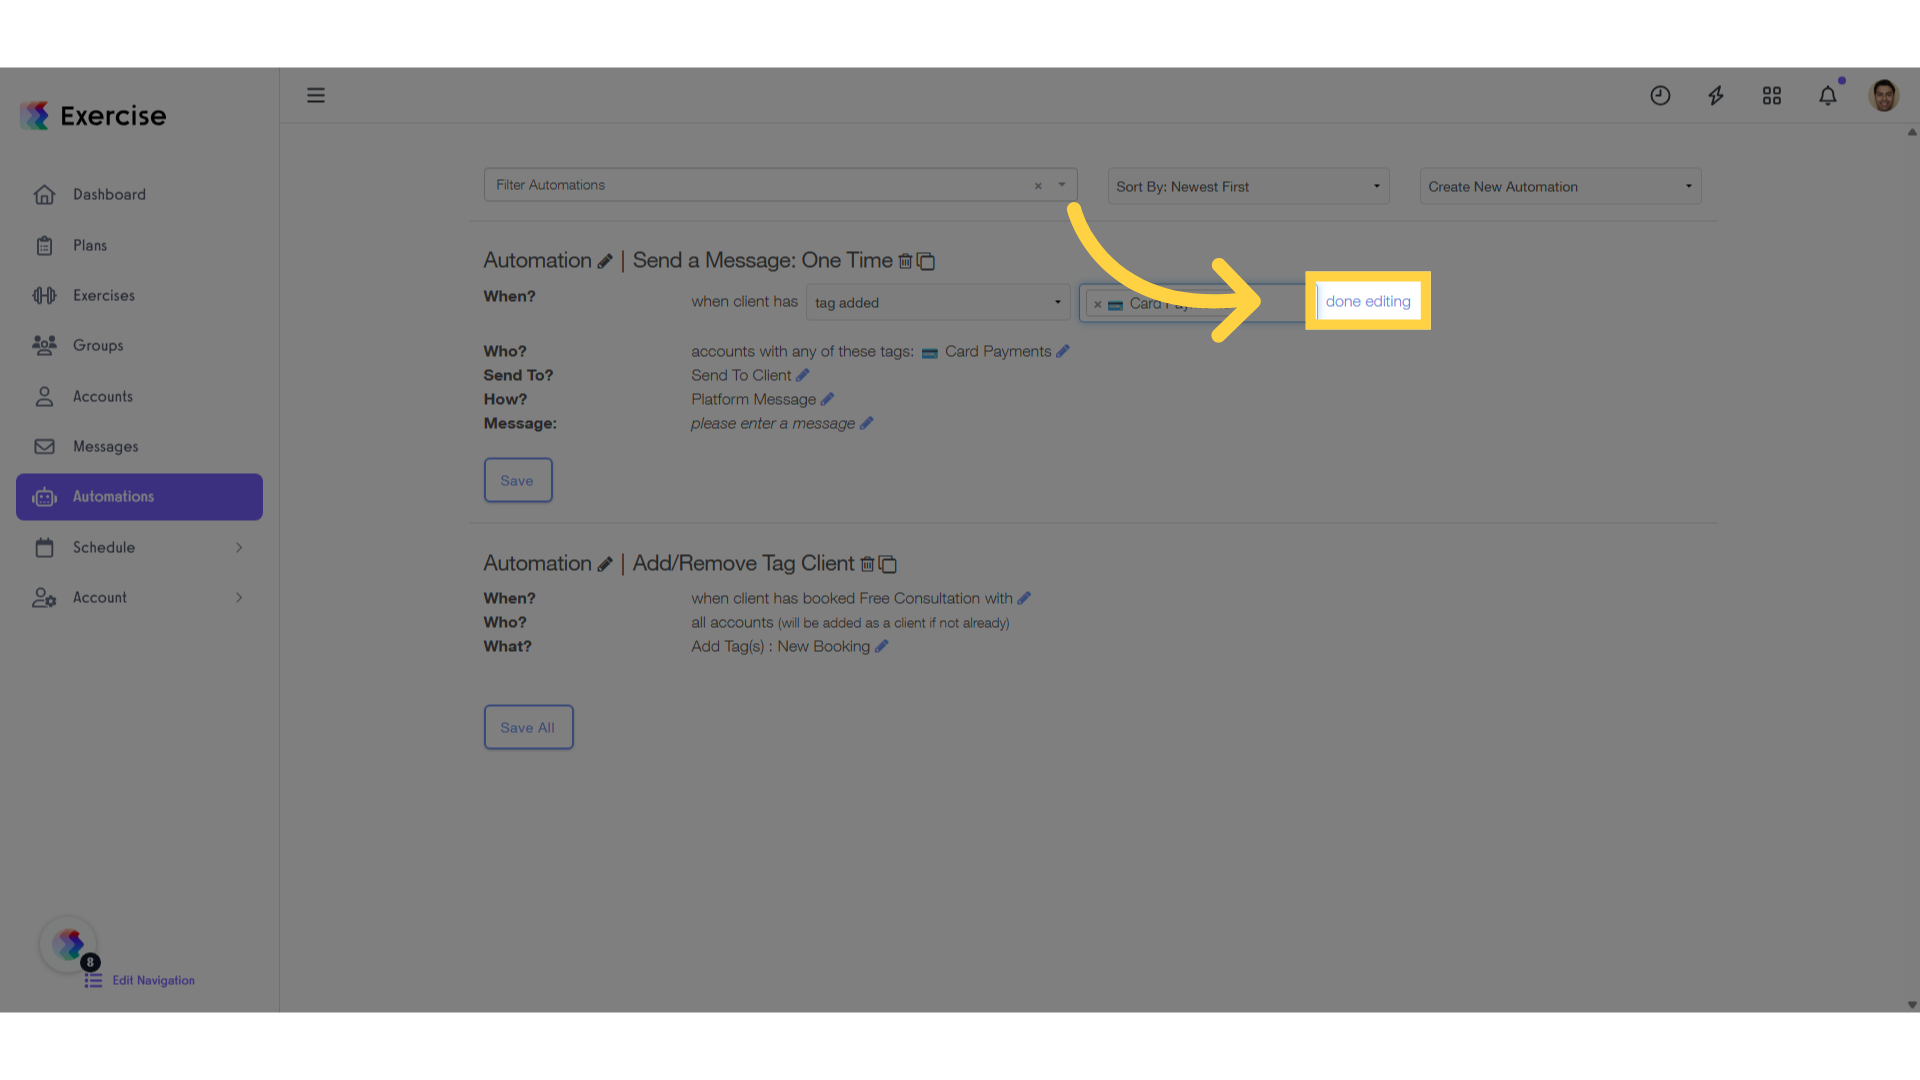
9. Click “done editing”
Select the option to “done editing”
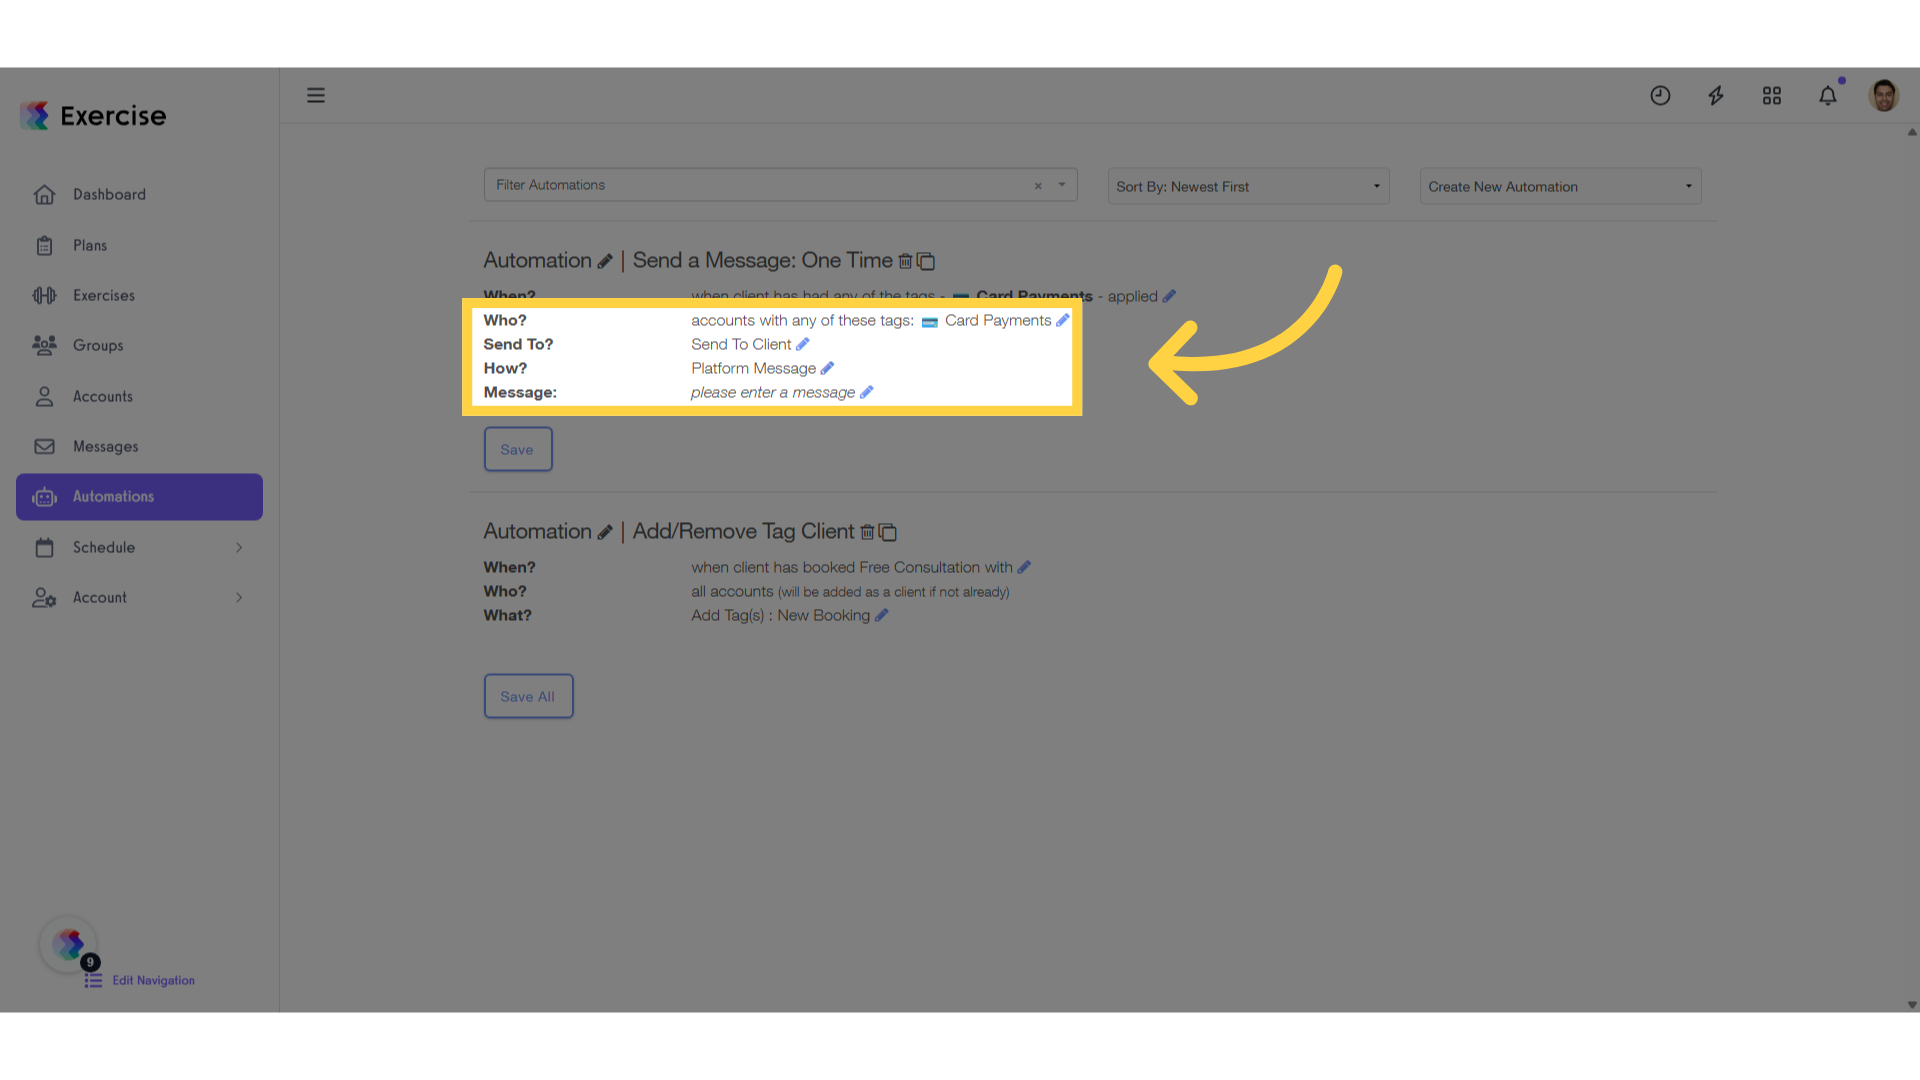
10. Complete the automation
Please complete the automation form according to your needs.
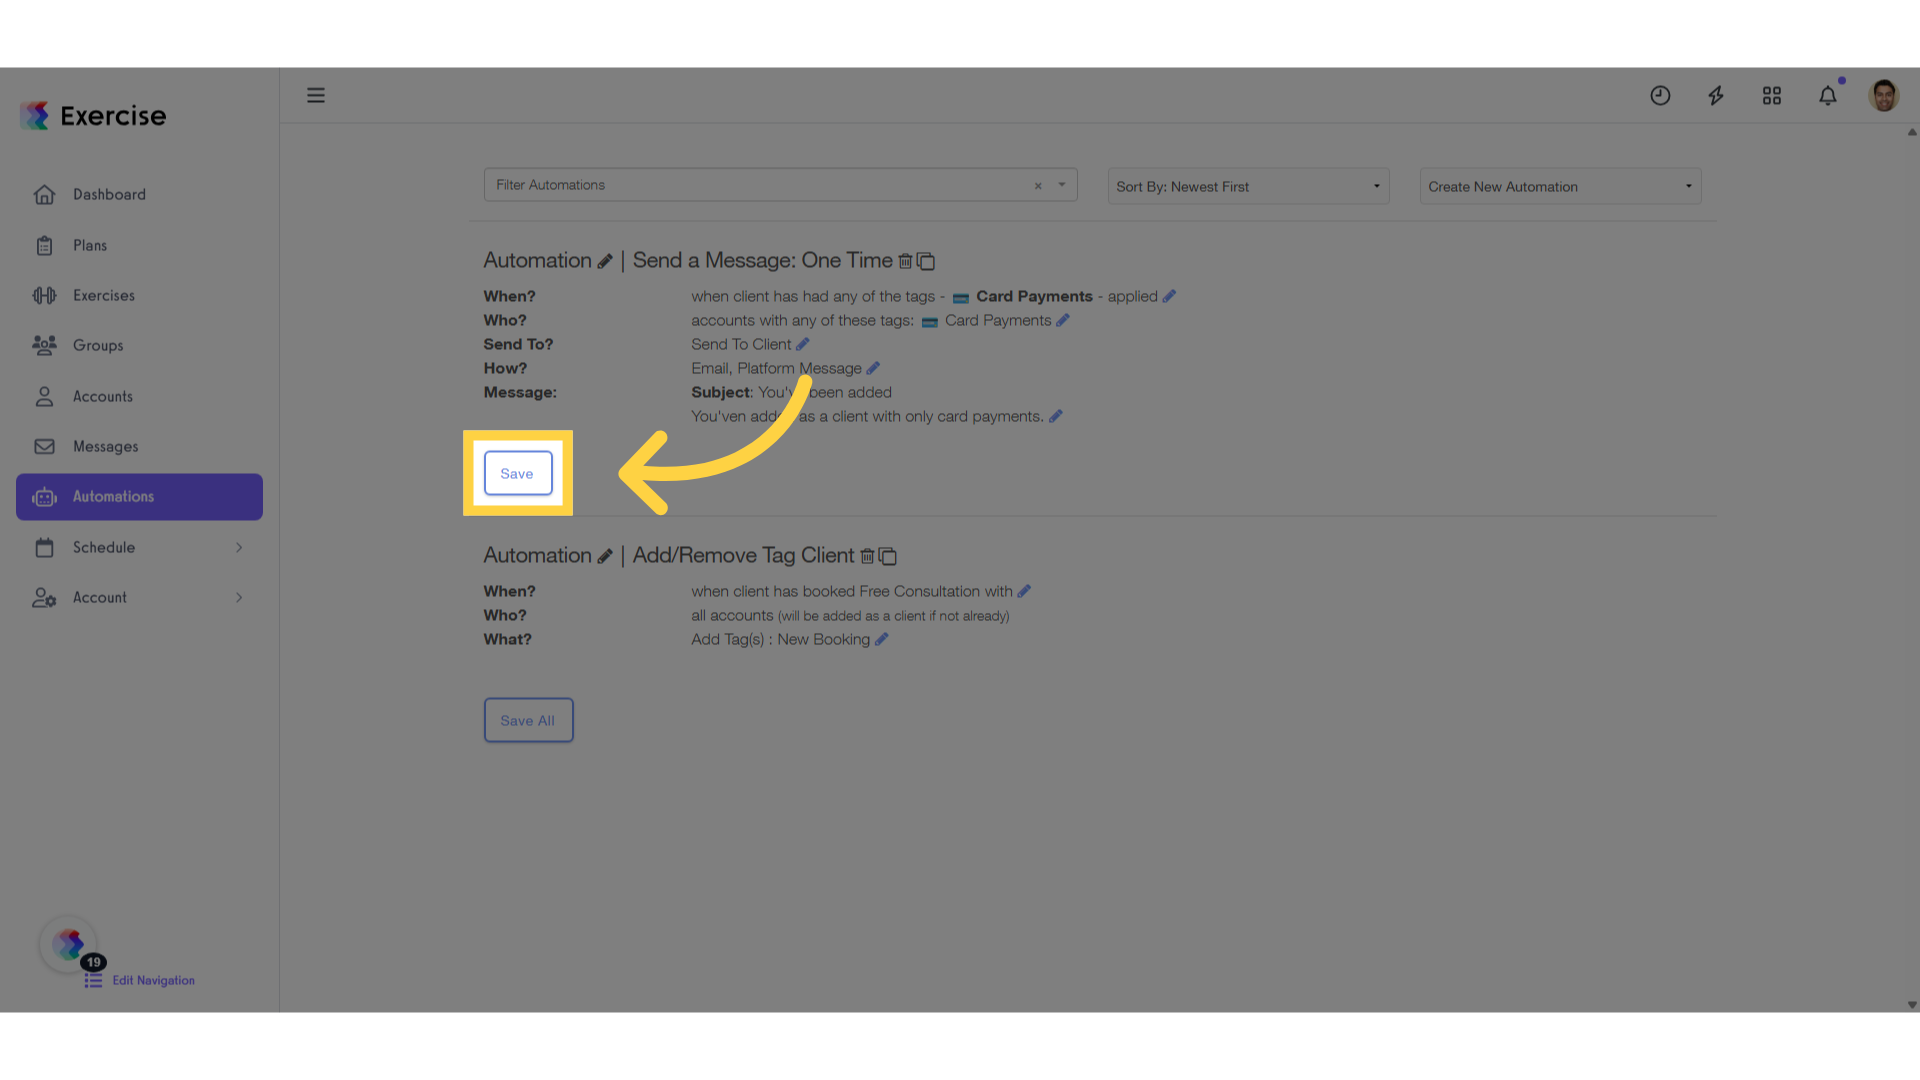
11. Click “Save”
Choose the “Save” option
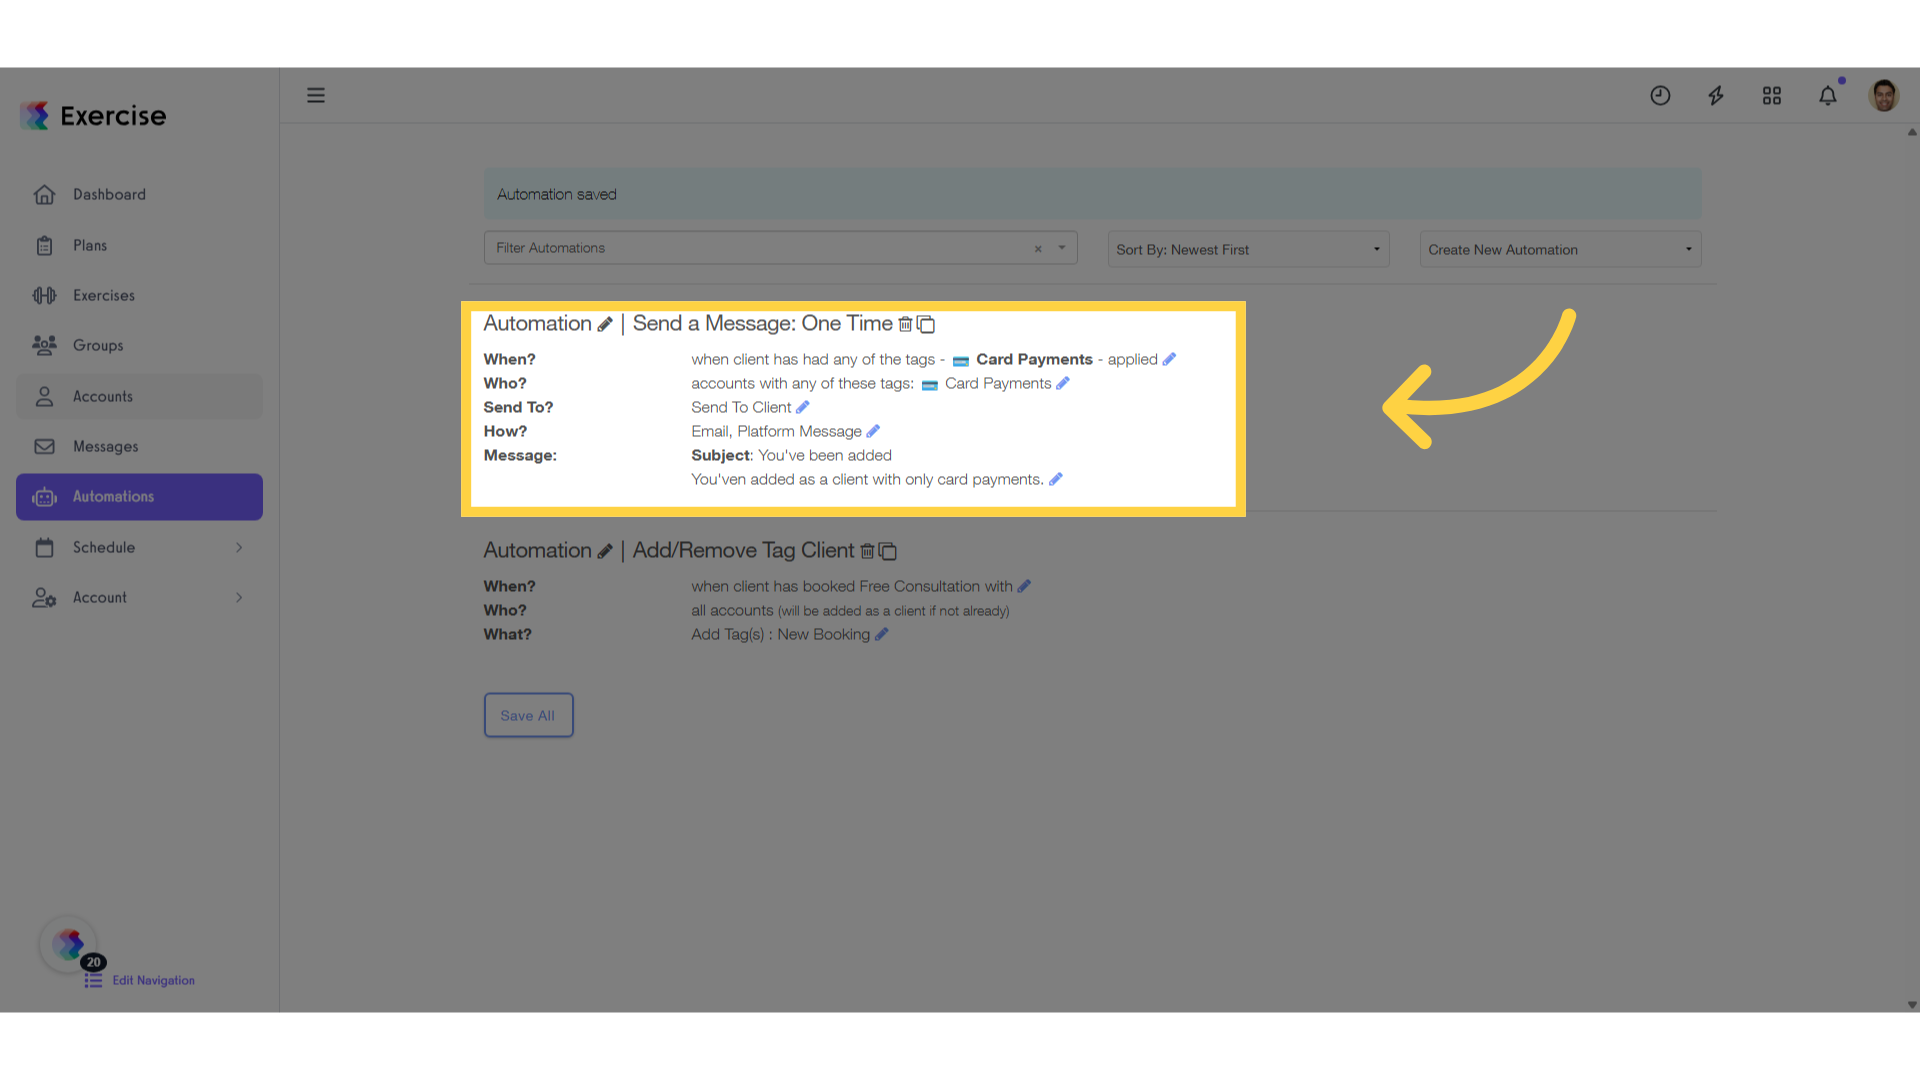
12. Validate the automation.
Ensure that the automation is properly configured before proceeding.
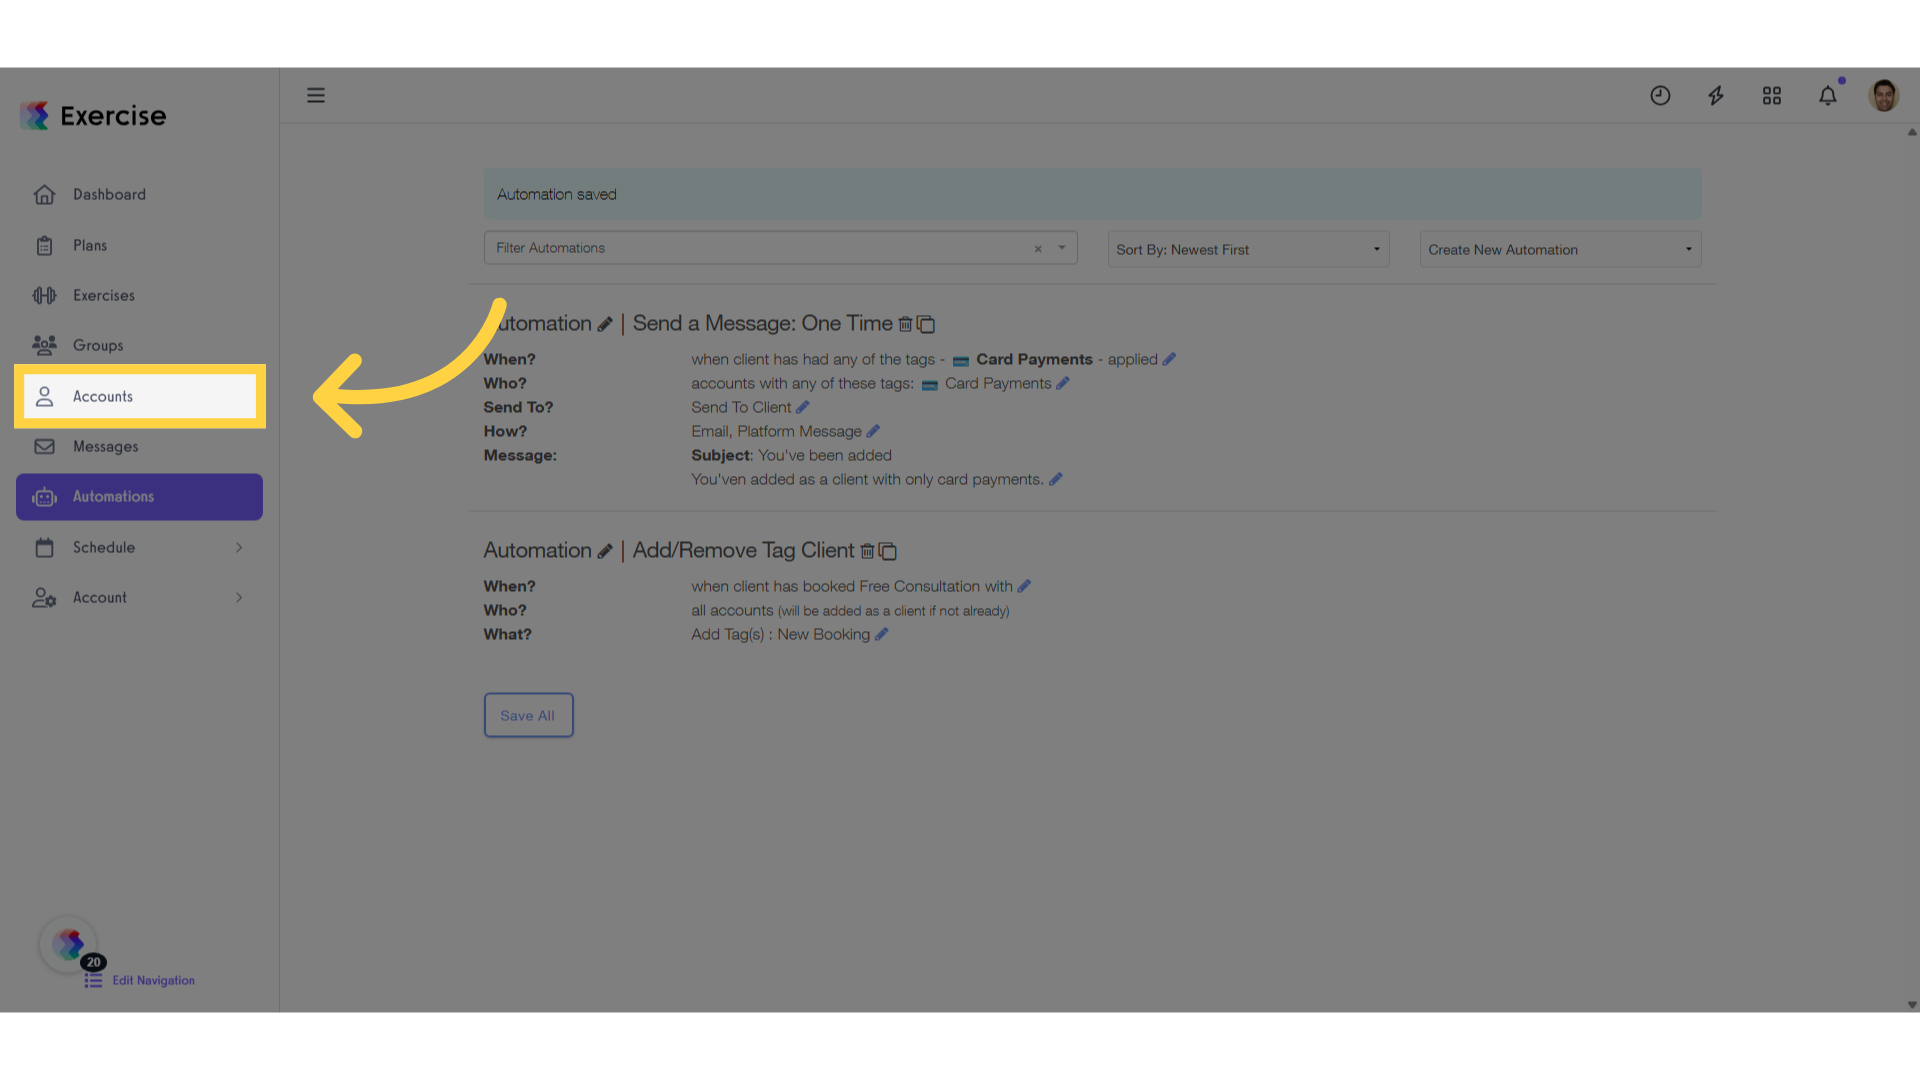
13. Click “Accounts”
Click on the “Accounts” tab.
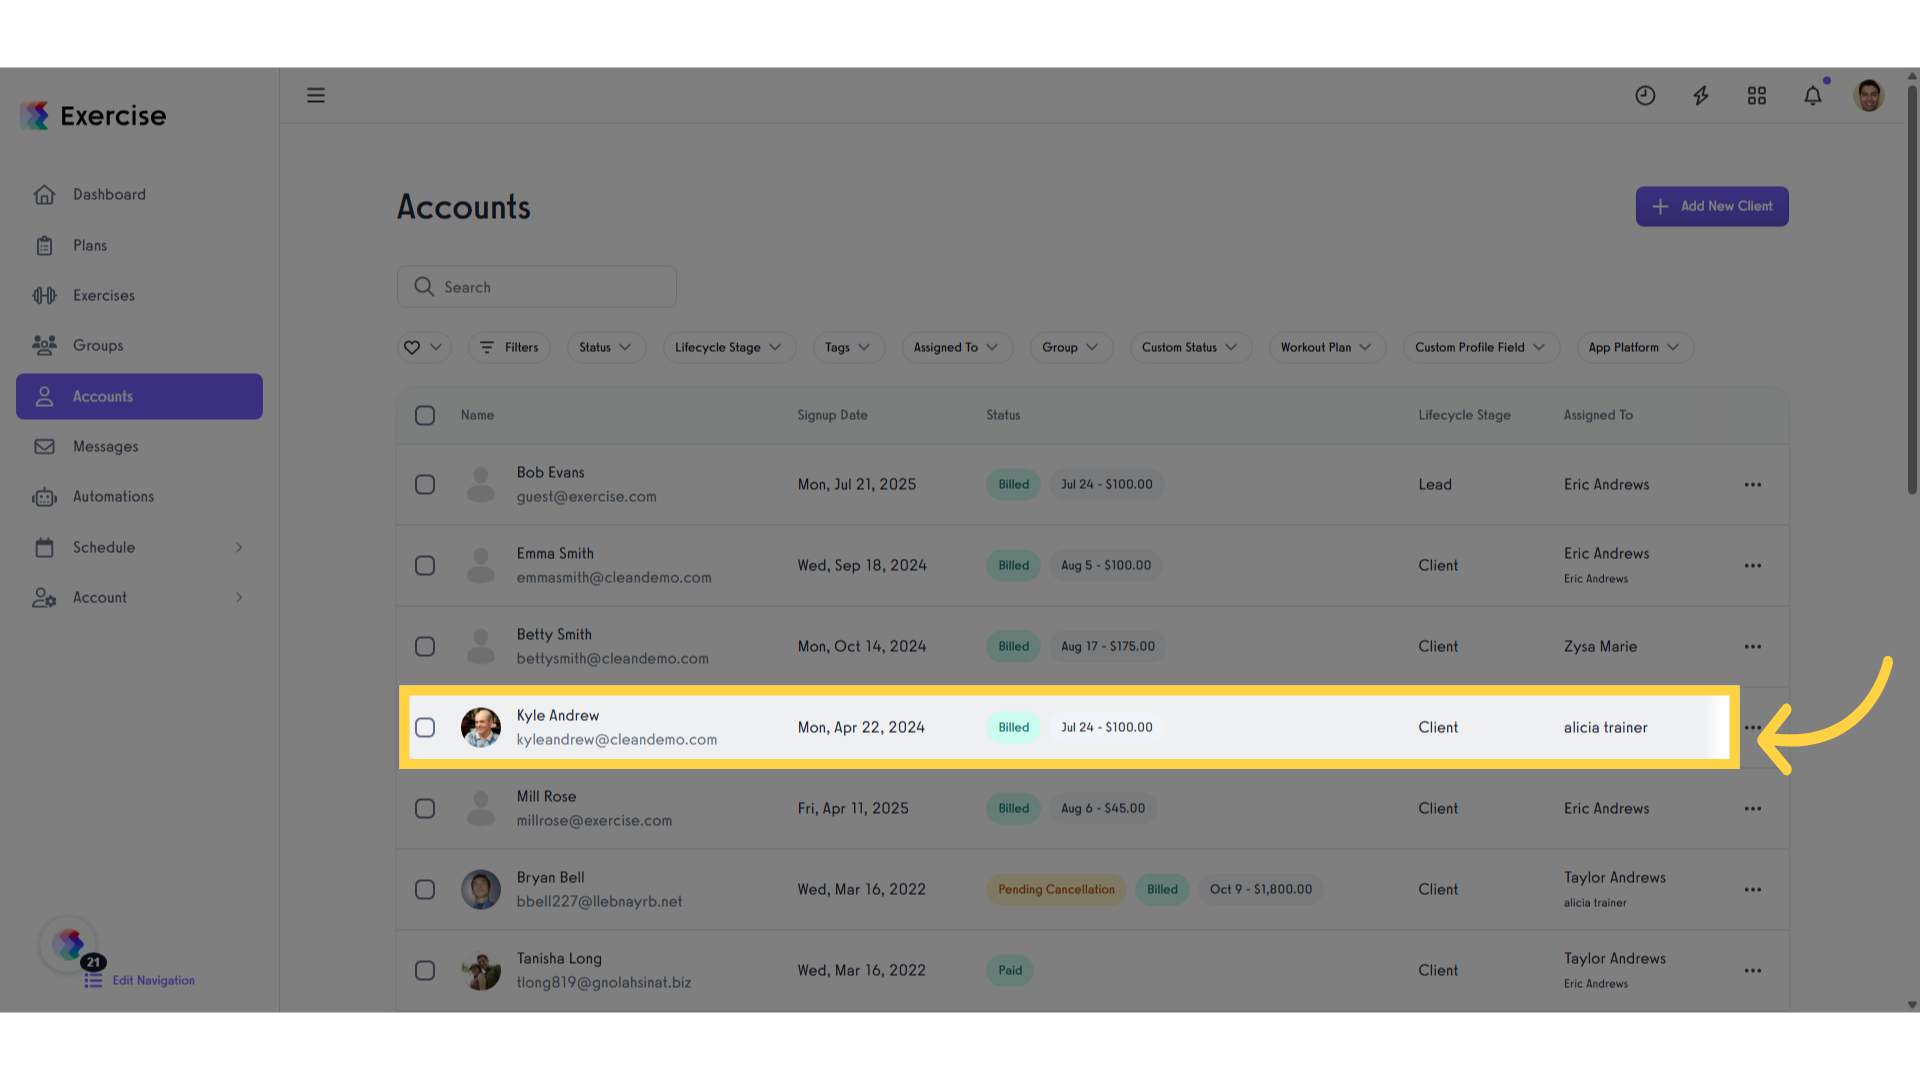
14. Select a client.
Select a client.
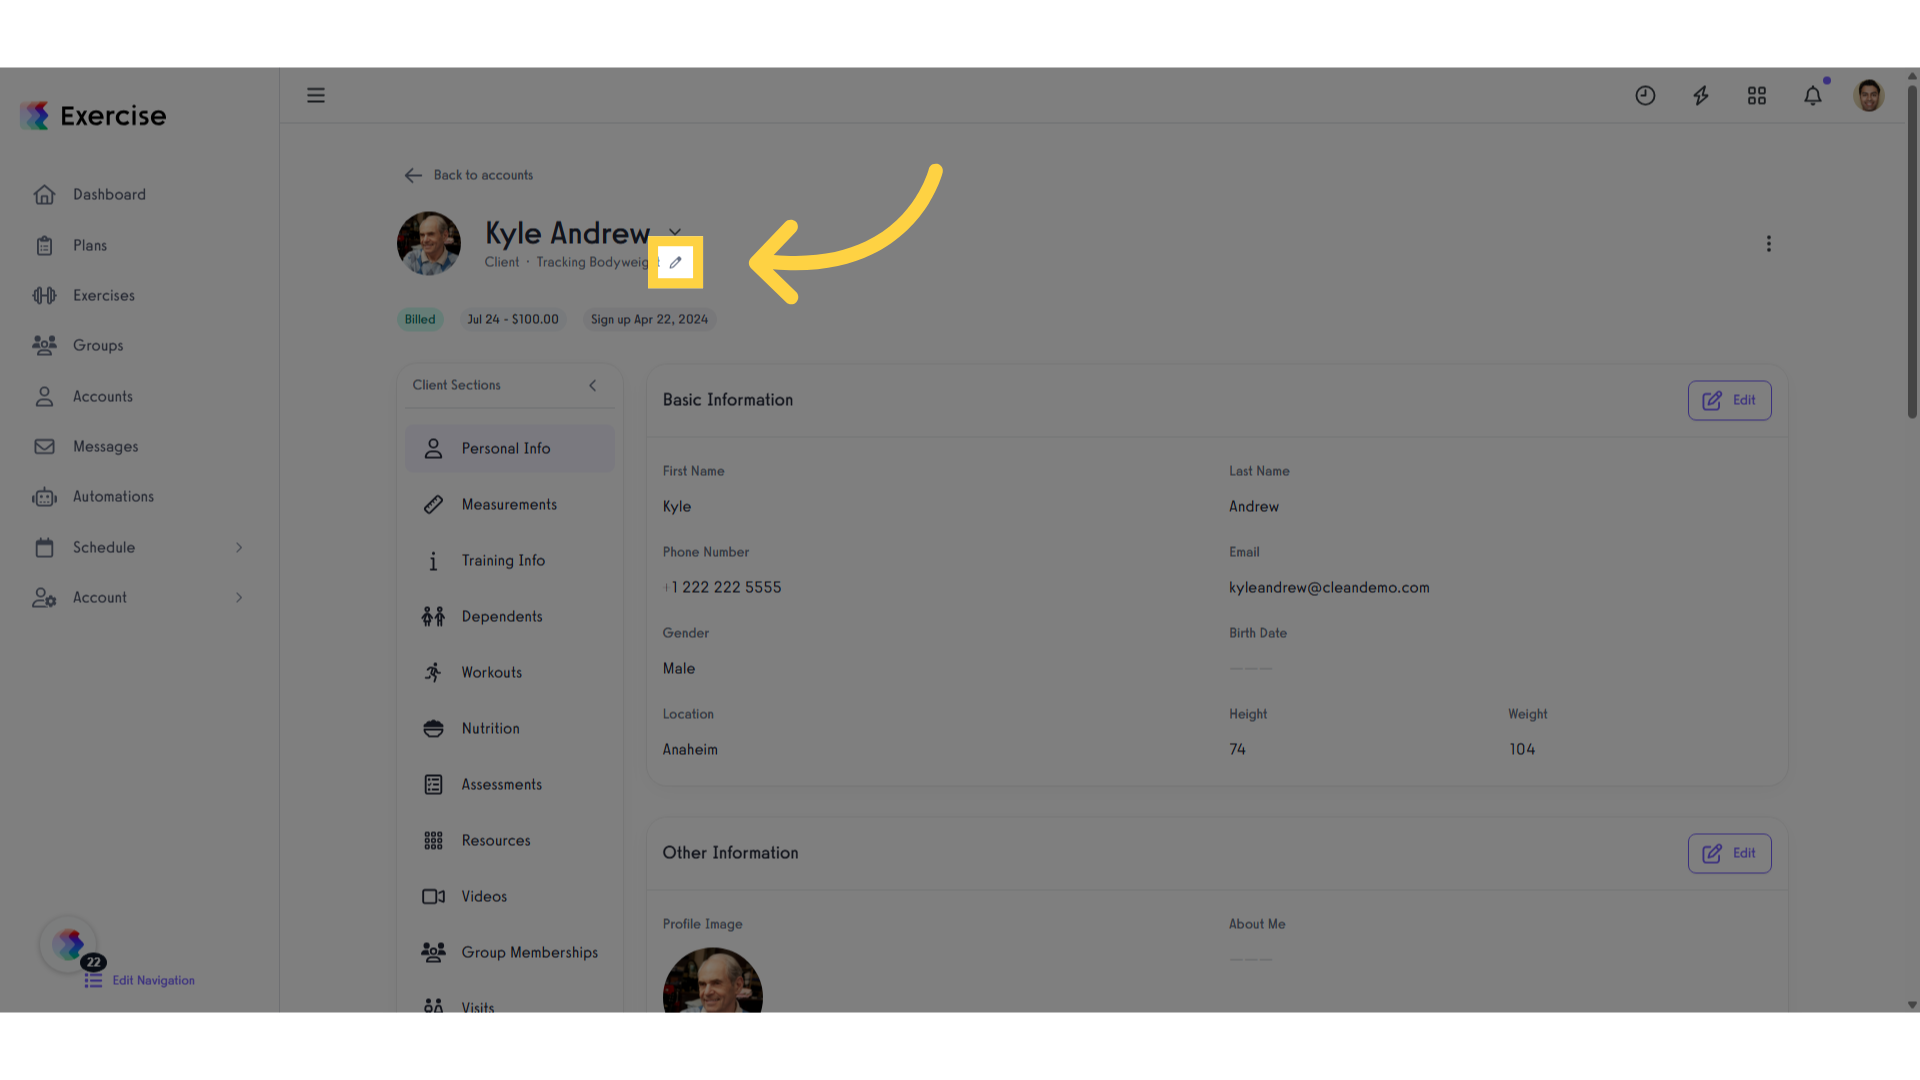
15. Click here
Navigate to this edit icon
16. Click “Client Tags”
Navigate to the “Client Tags” section
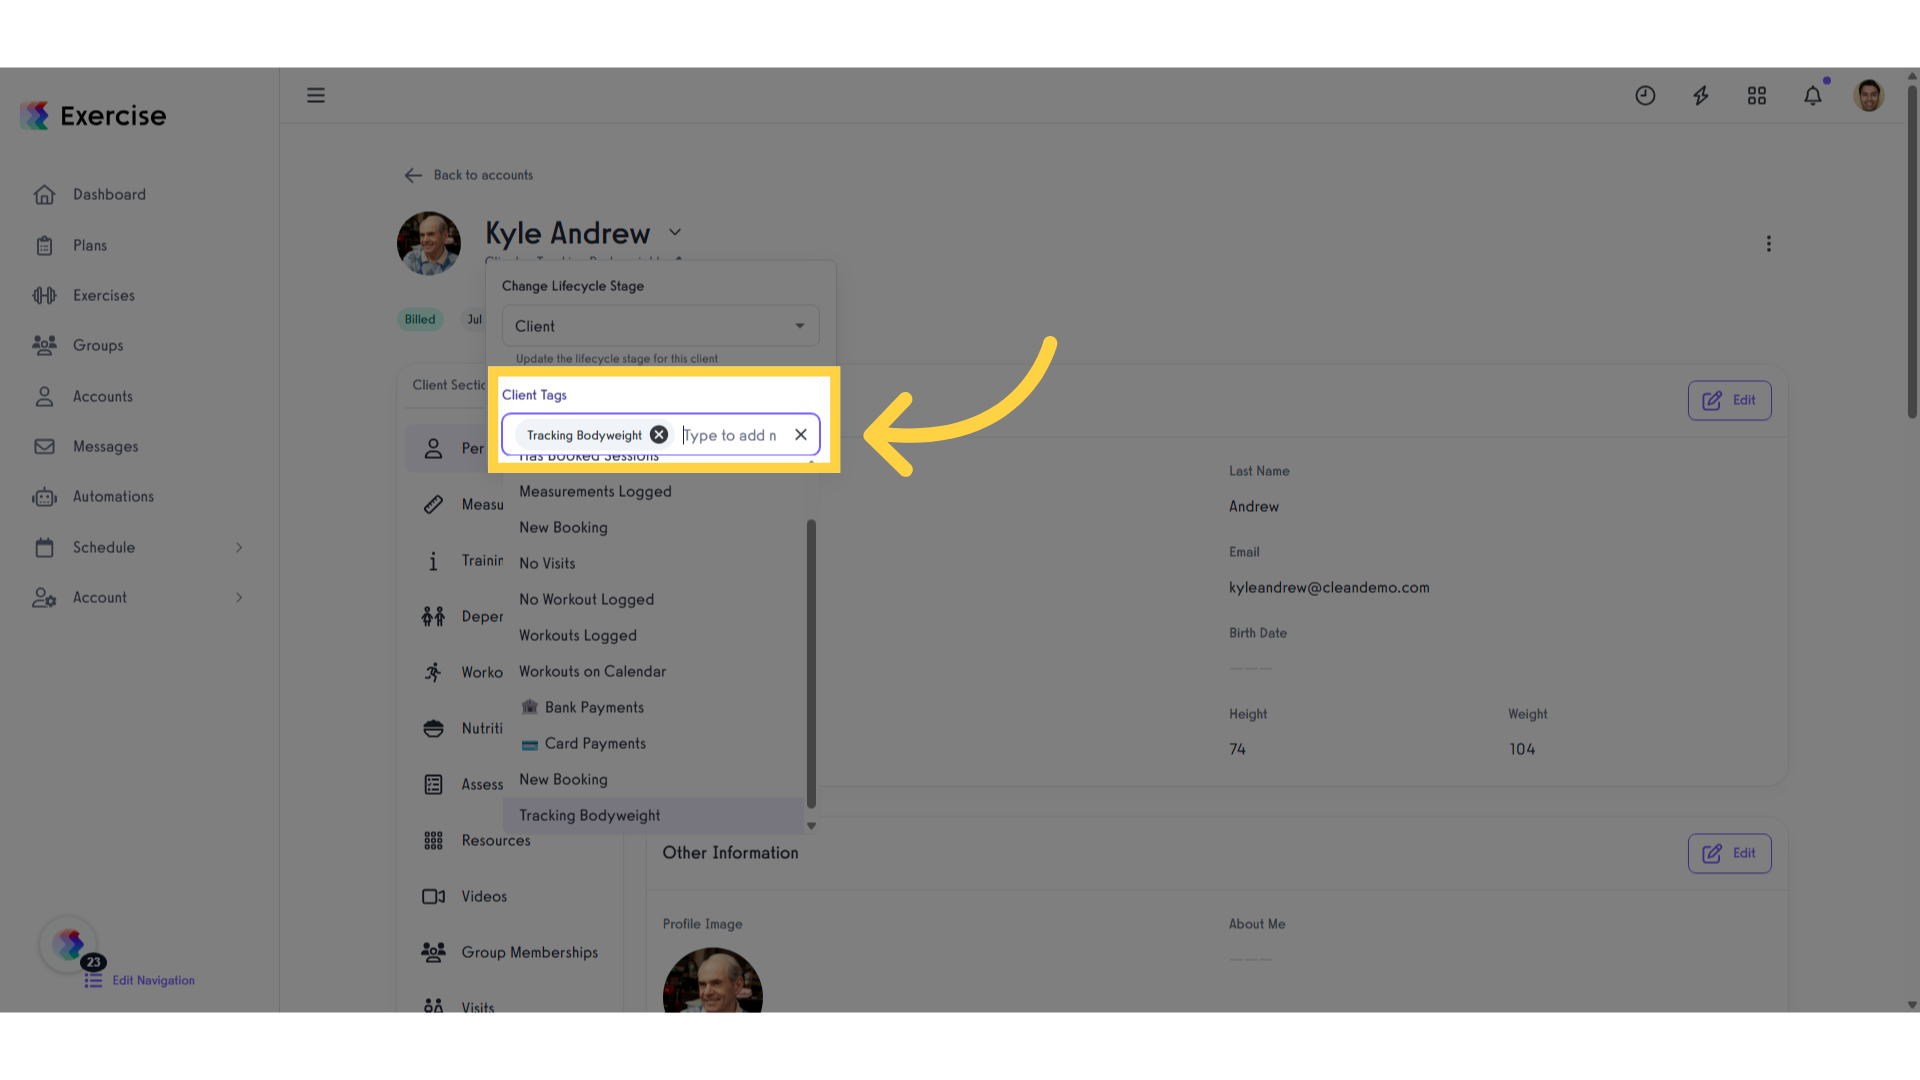
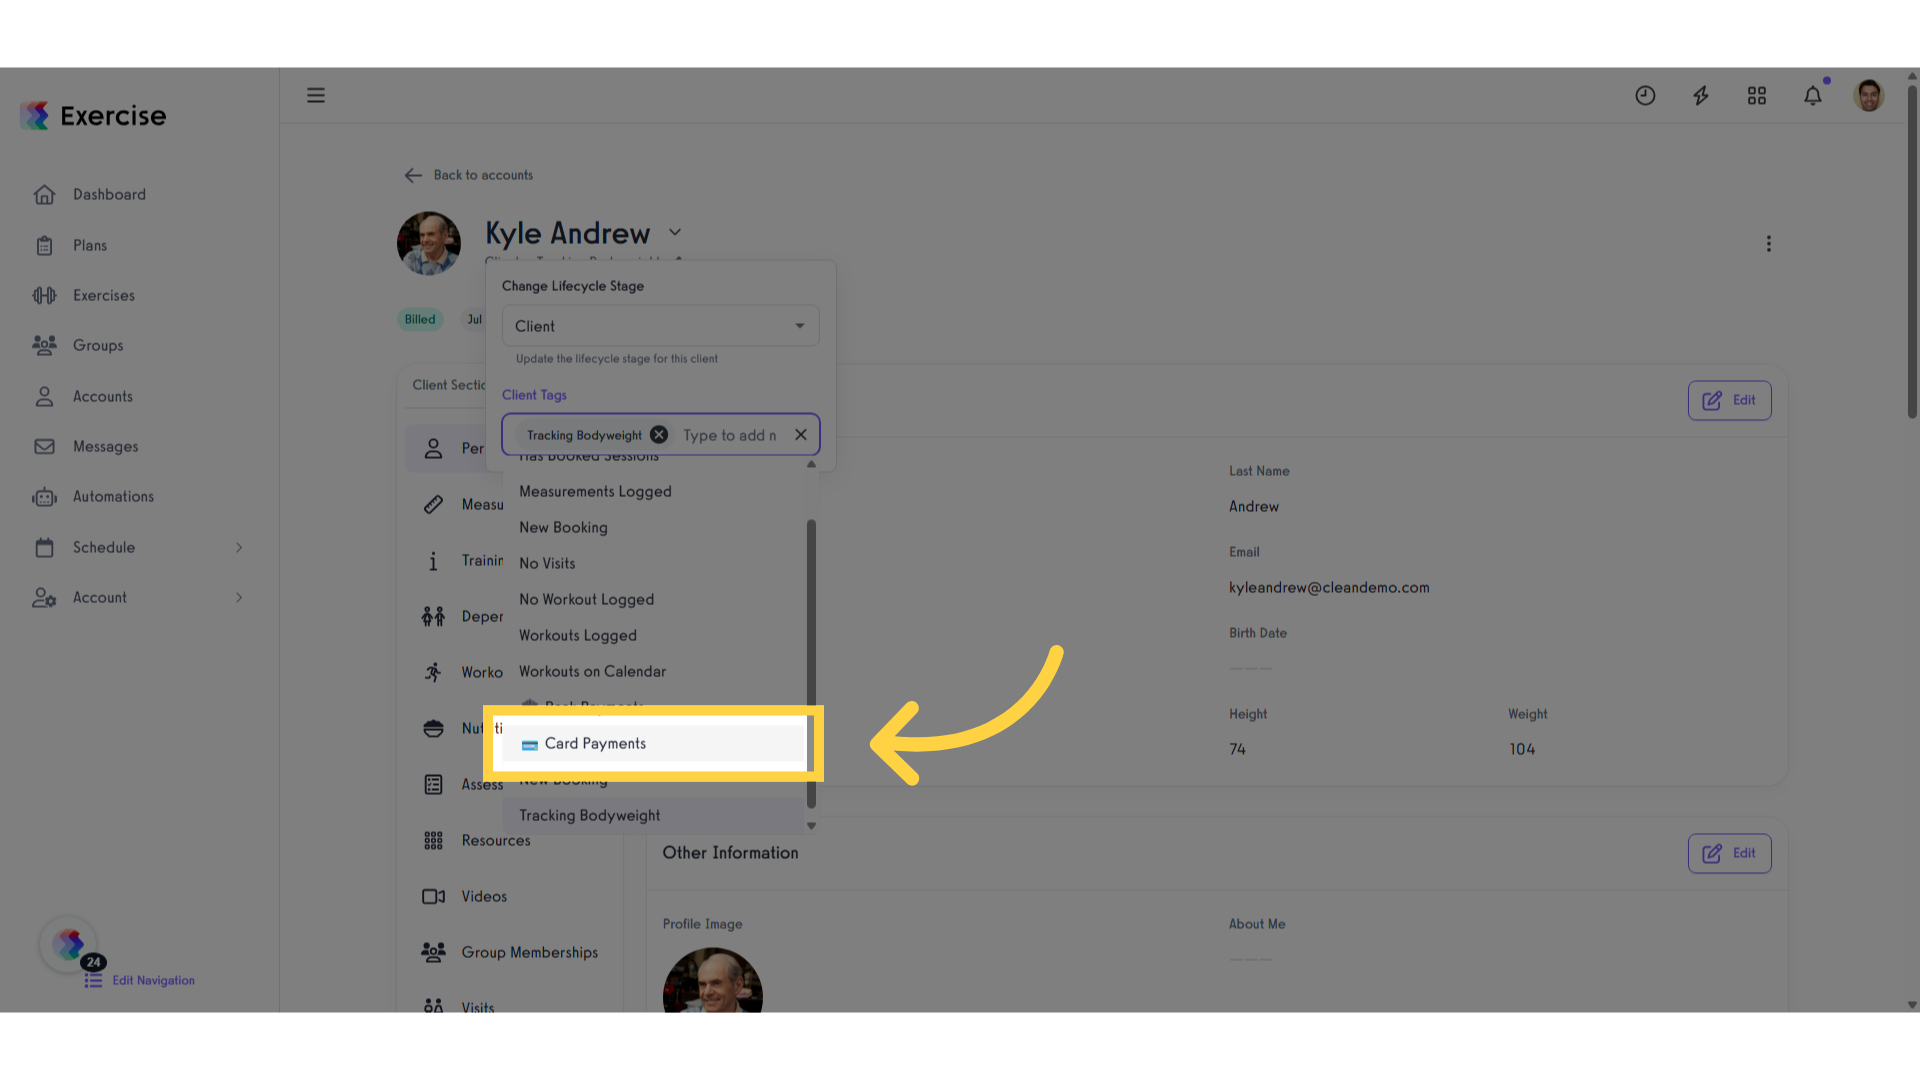
17. Select the tag.
Select the appropriate tag to start the automation process.
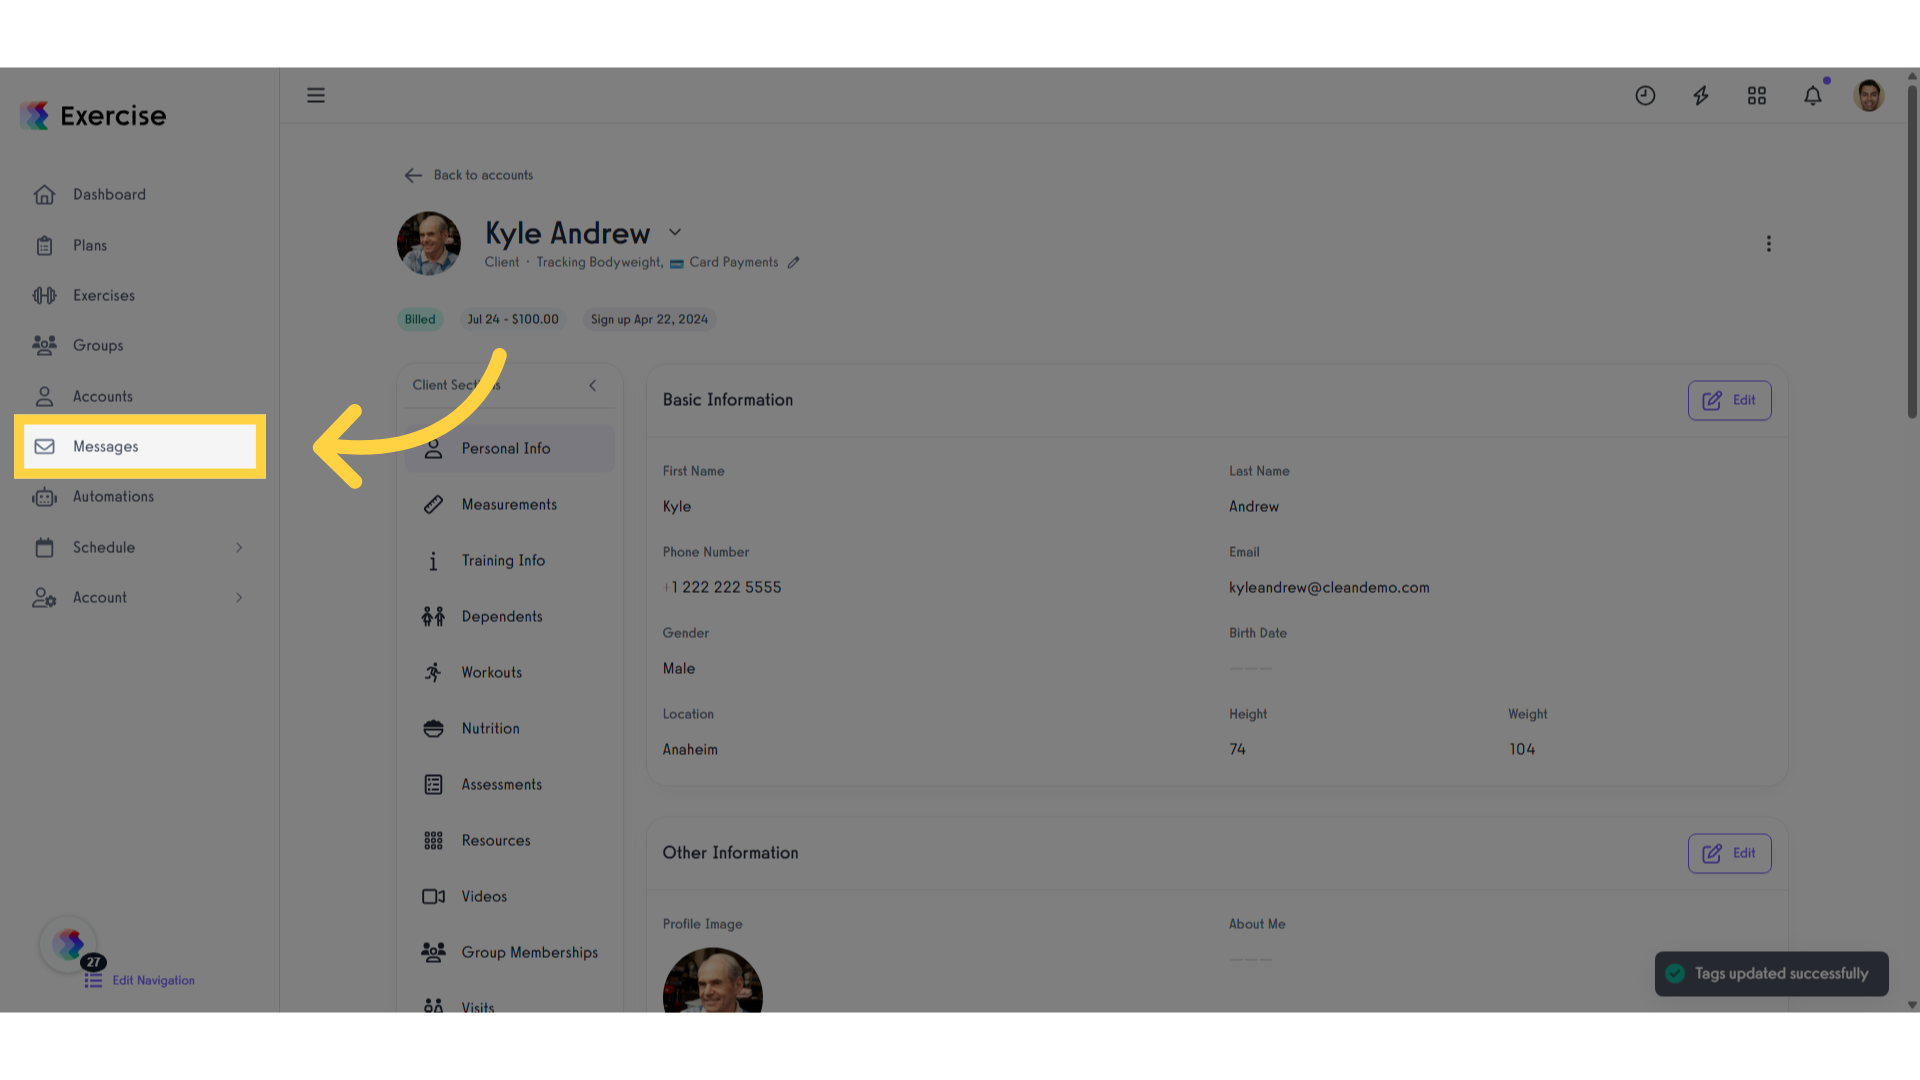
18. Click “Messages”
If your automation setup incorporates messaging features, please head to the ‘Messages’ section. Here, you can search for the client and verify the message. If messaging is not included in your setup, feel free to skip this step.
This guide covered the steps required to How to send one-time message based on tag added to client account in Exercise.


