How to Create Sessions with no Staff Member
Posted by
Support Team
on
December 8, 2024
— Updated on
December 10, 2024
To create a session with no staff member within your fitness business management software platform, follow the instructions below.
Learn how to create sessions without assigning a staff member.
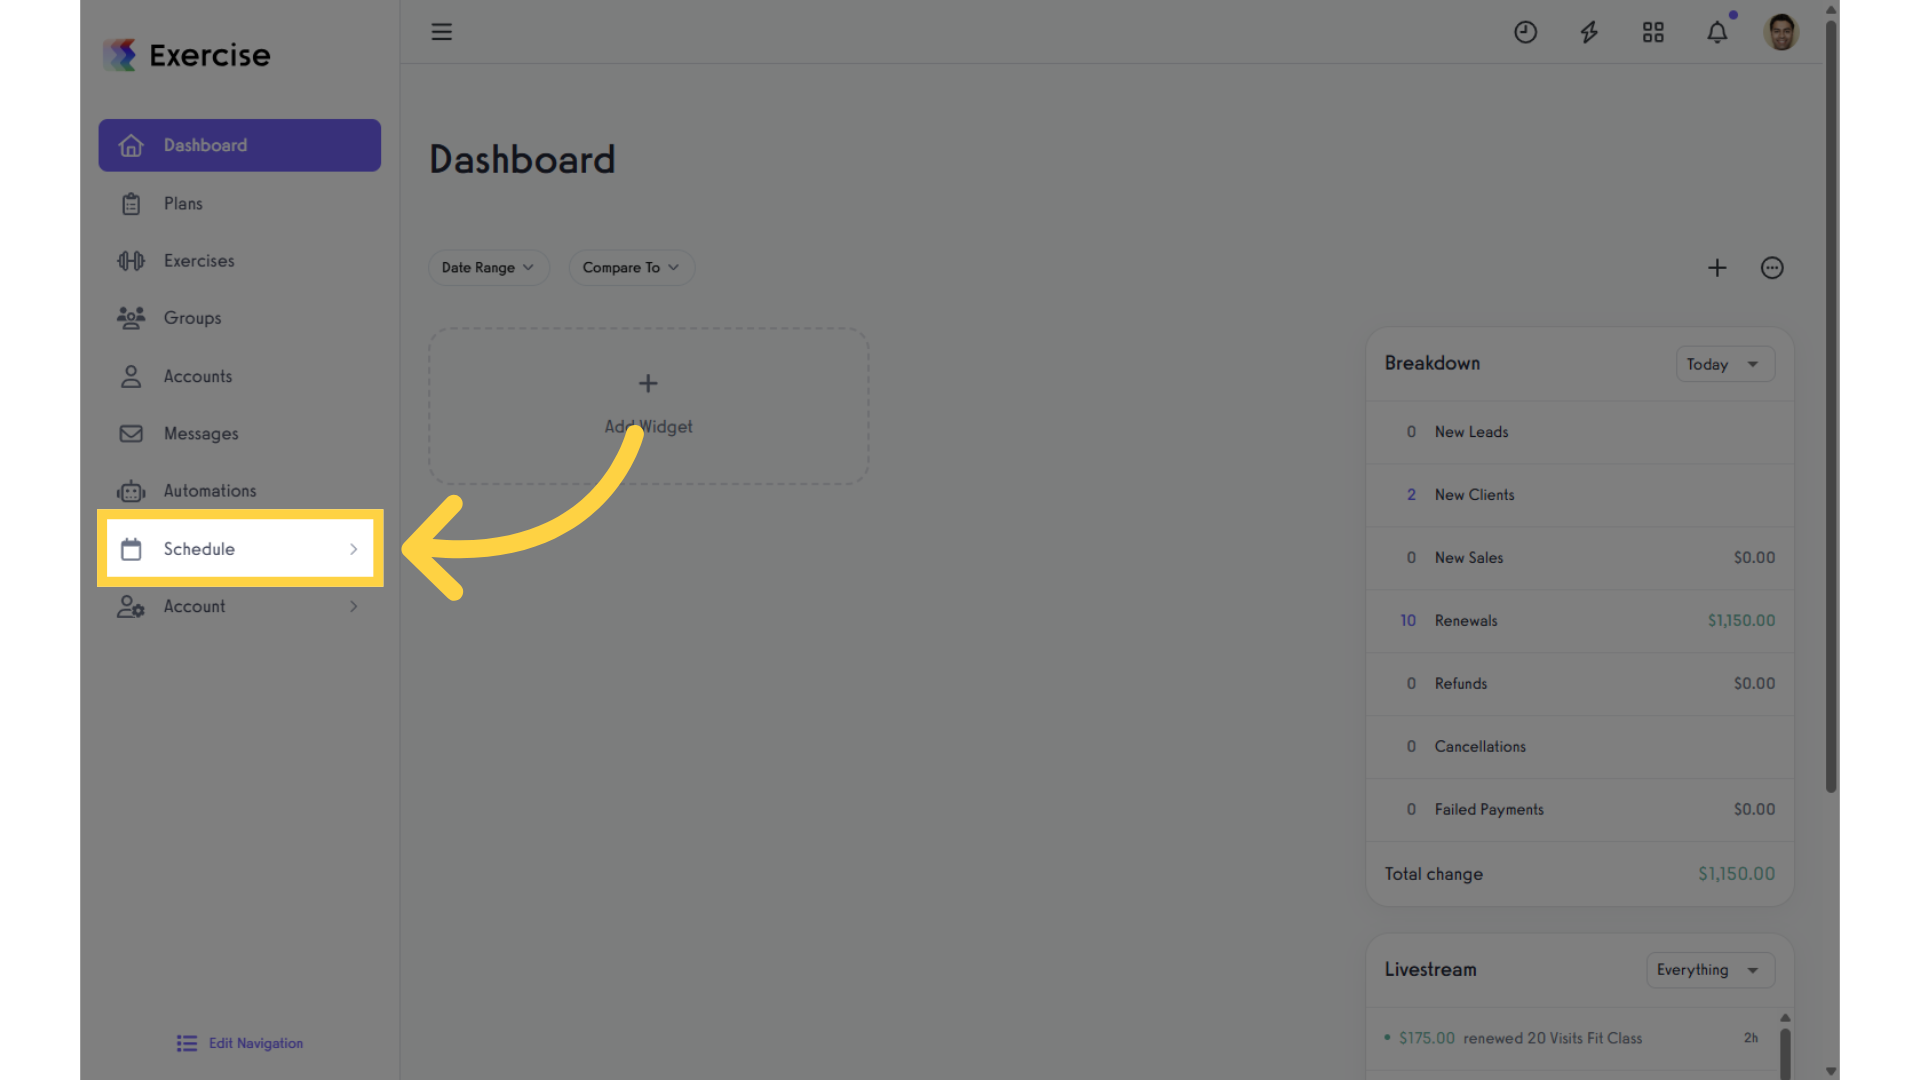
1. Schedule
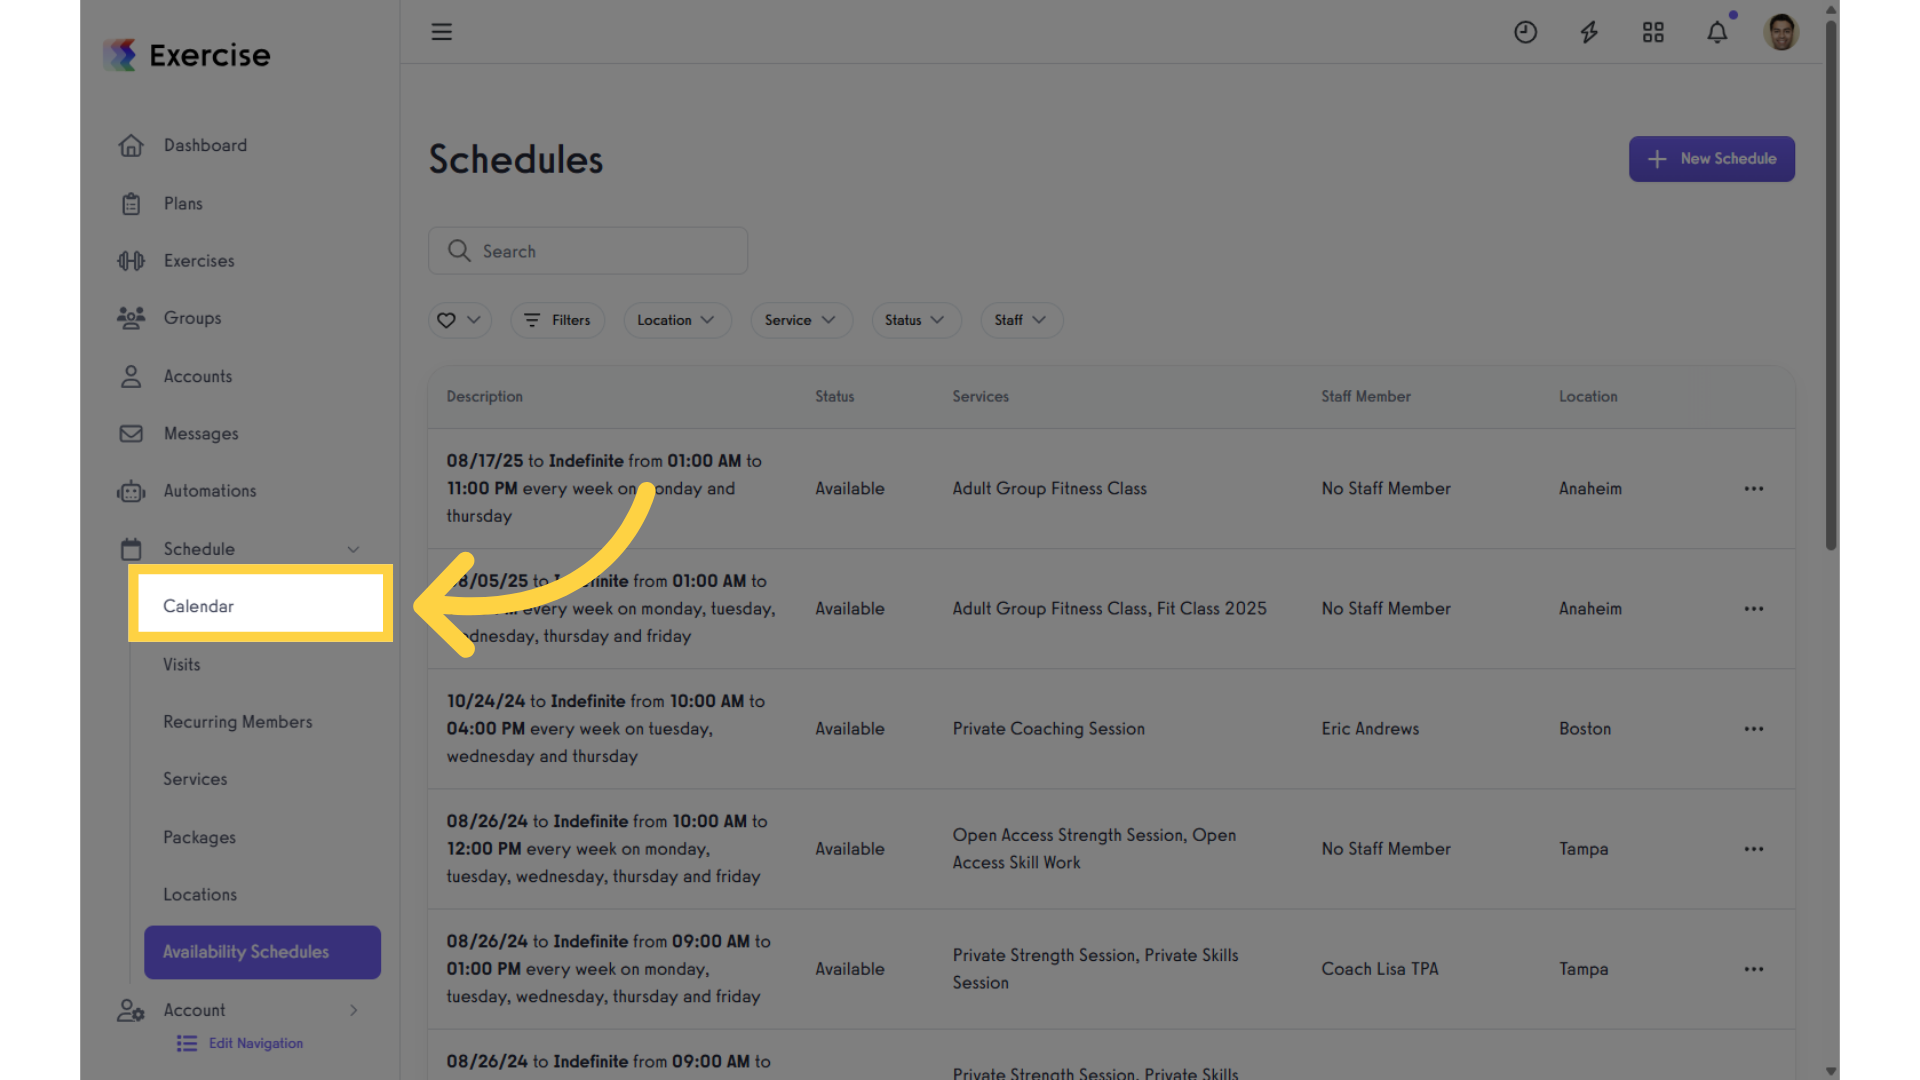
Navigate to the Schedule.
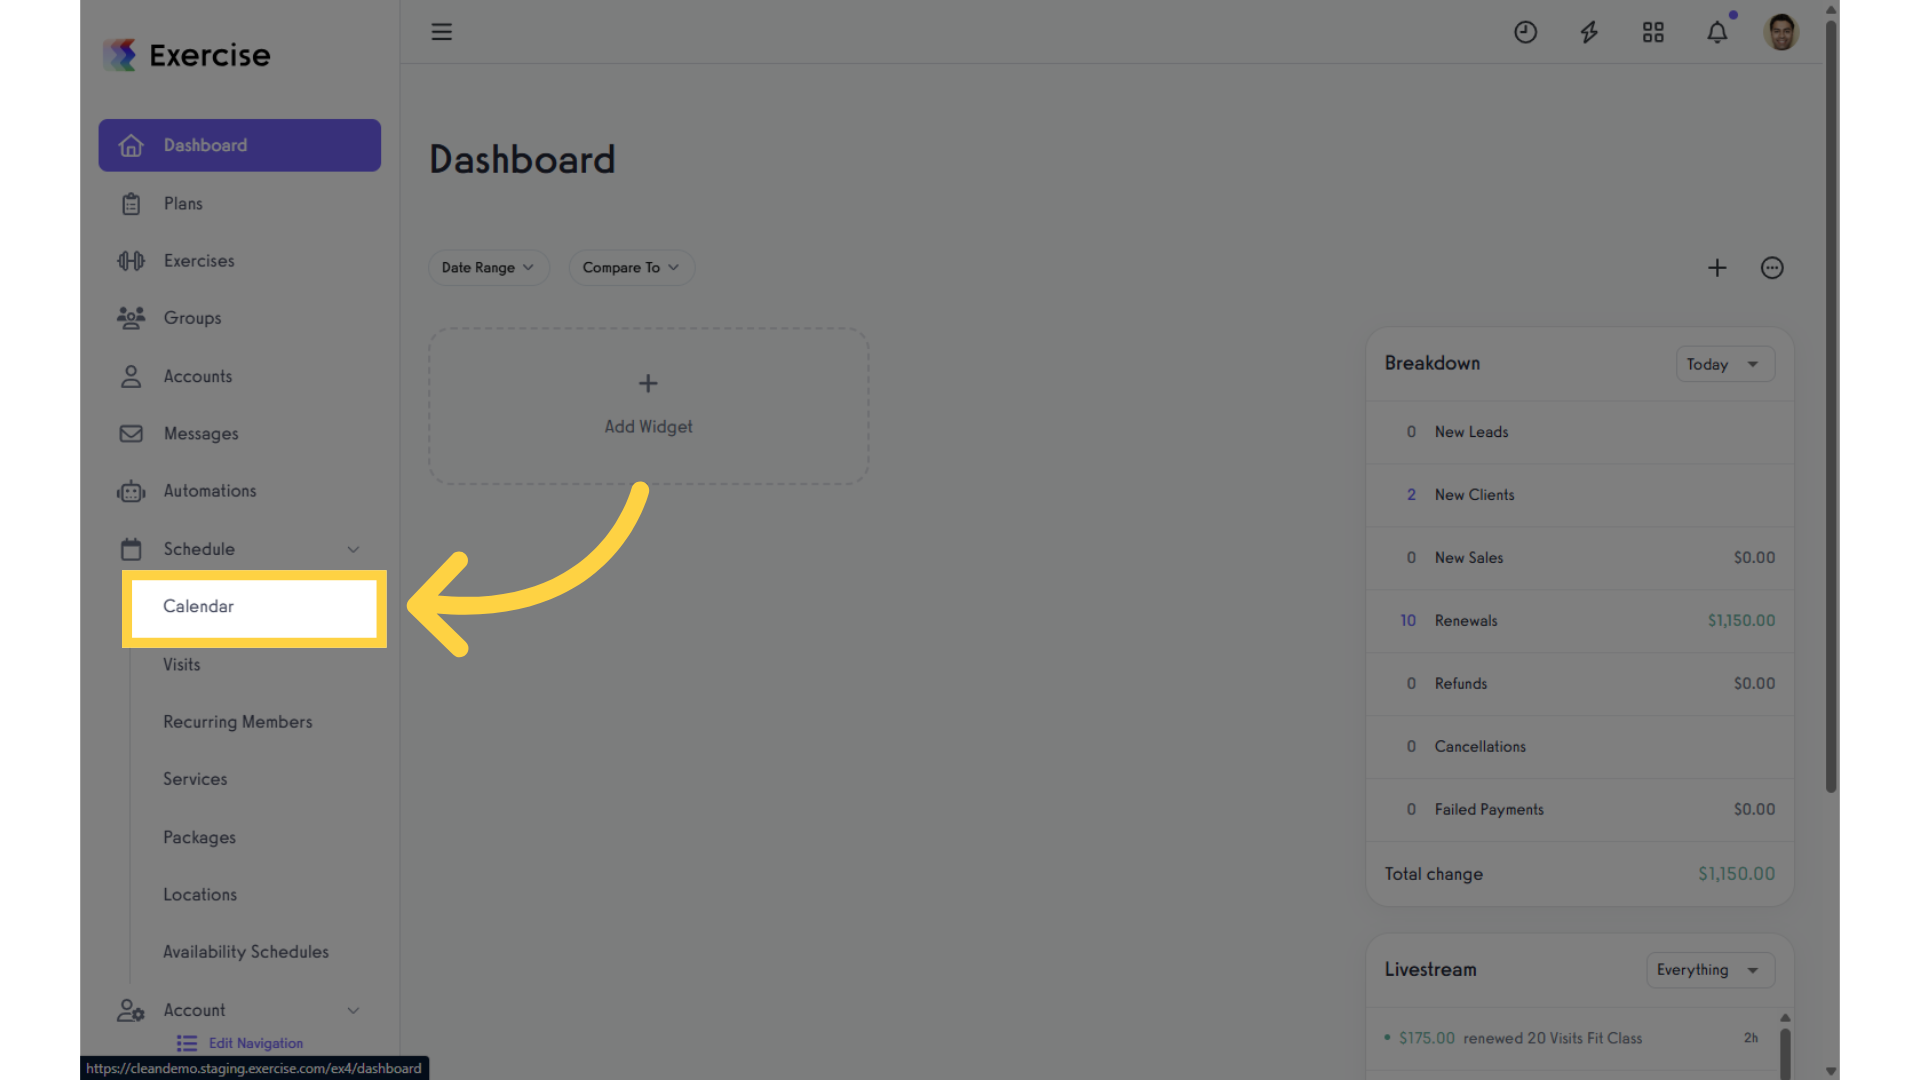
2. Calendar
Under “Schedule”, click on the “Calendar” section.
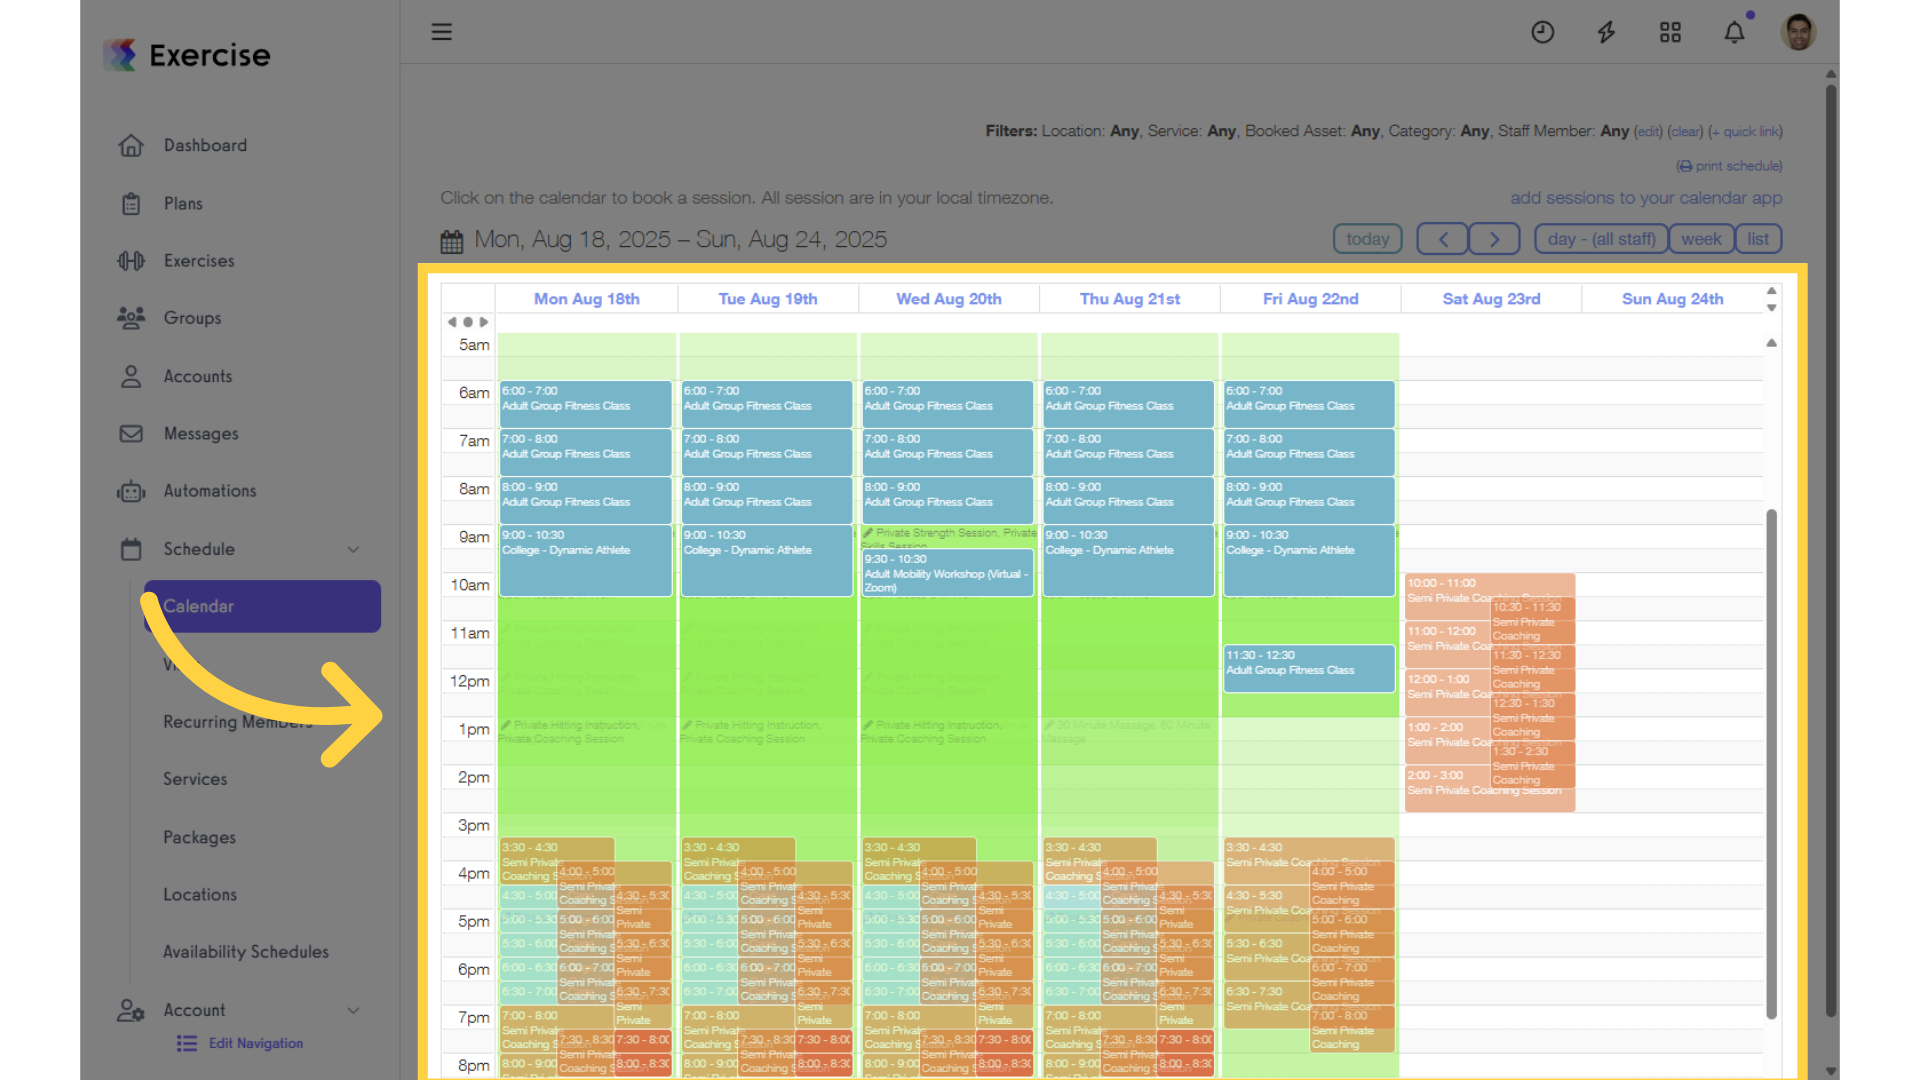
3. Create an Event
Click on the schedule to add a new event.
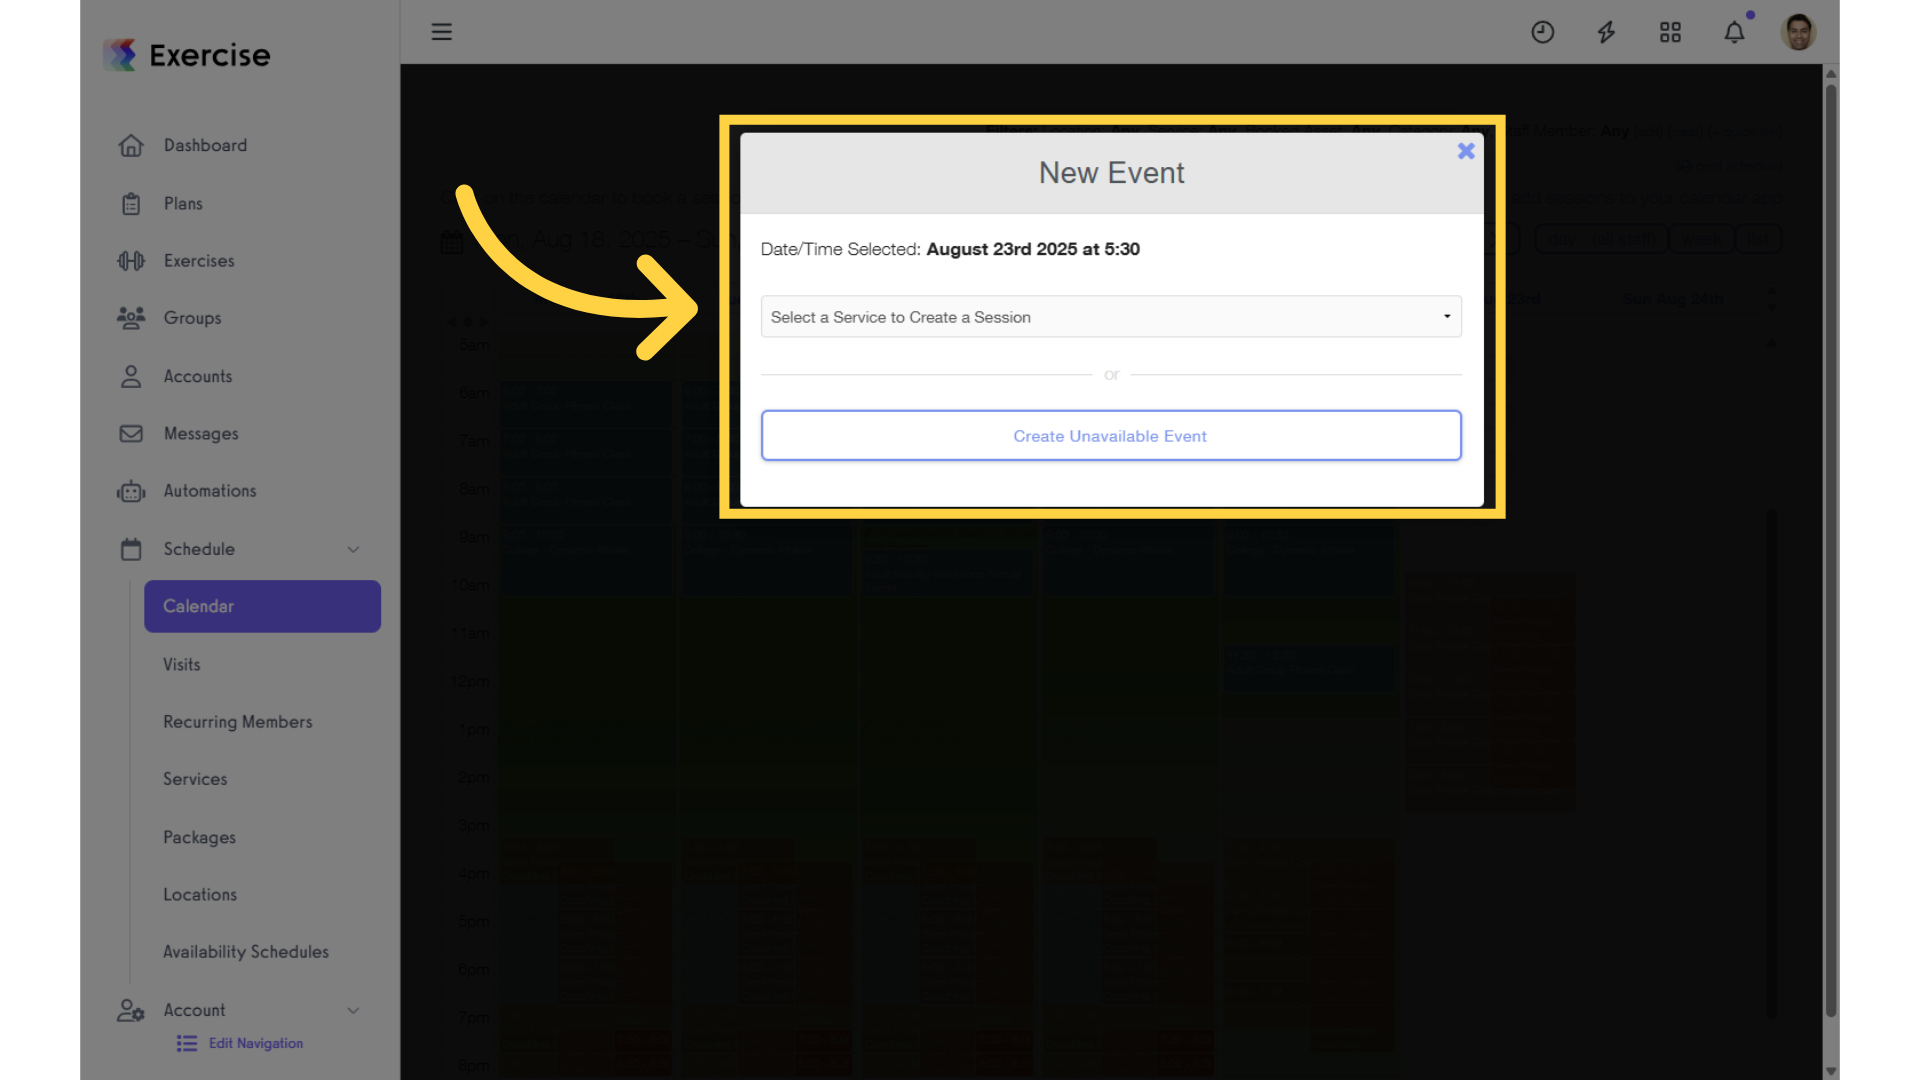
4. Select a Service
Select a service from the dropdown to create a session.
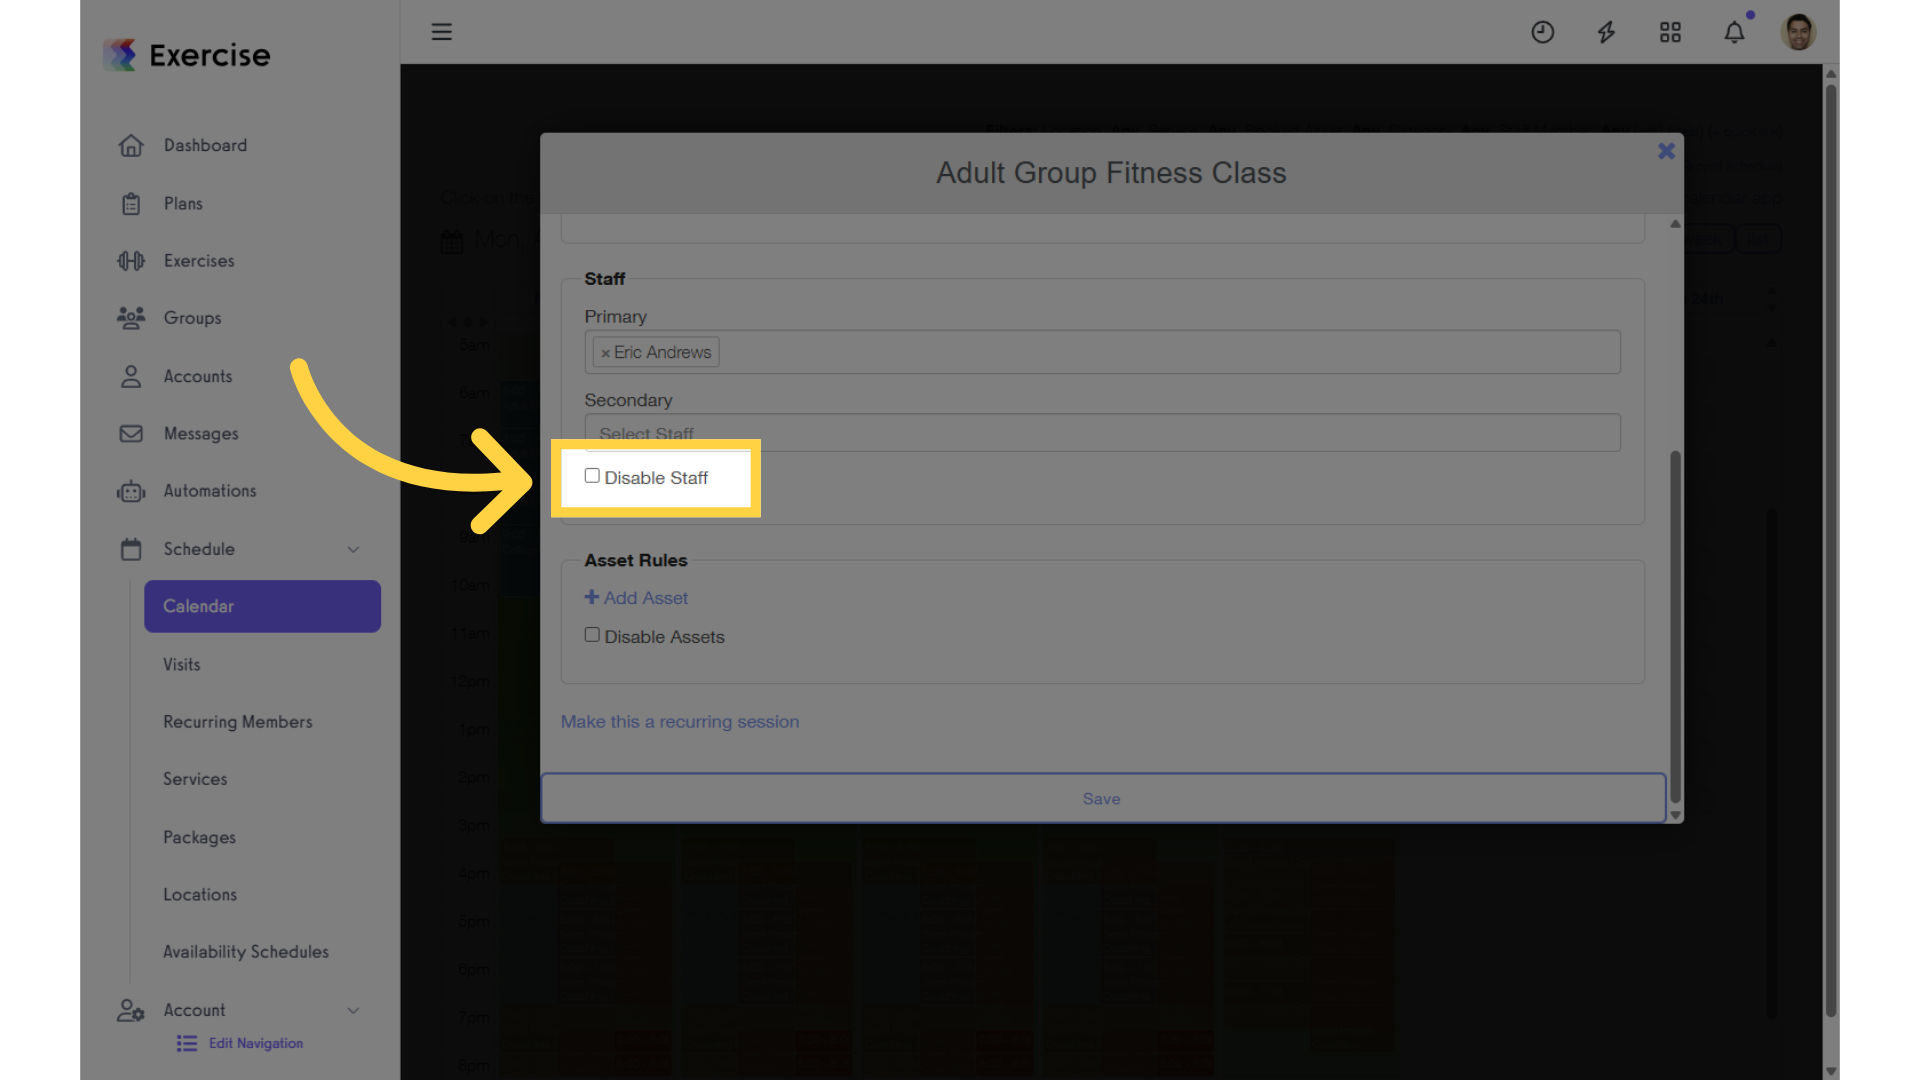
5. Disable Staff
Enter session details such as location and description then enable the “Disable Staff” checkbox.
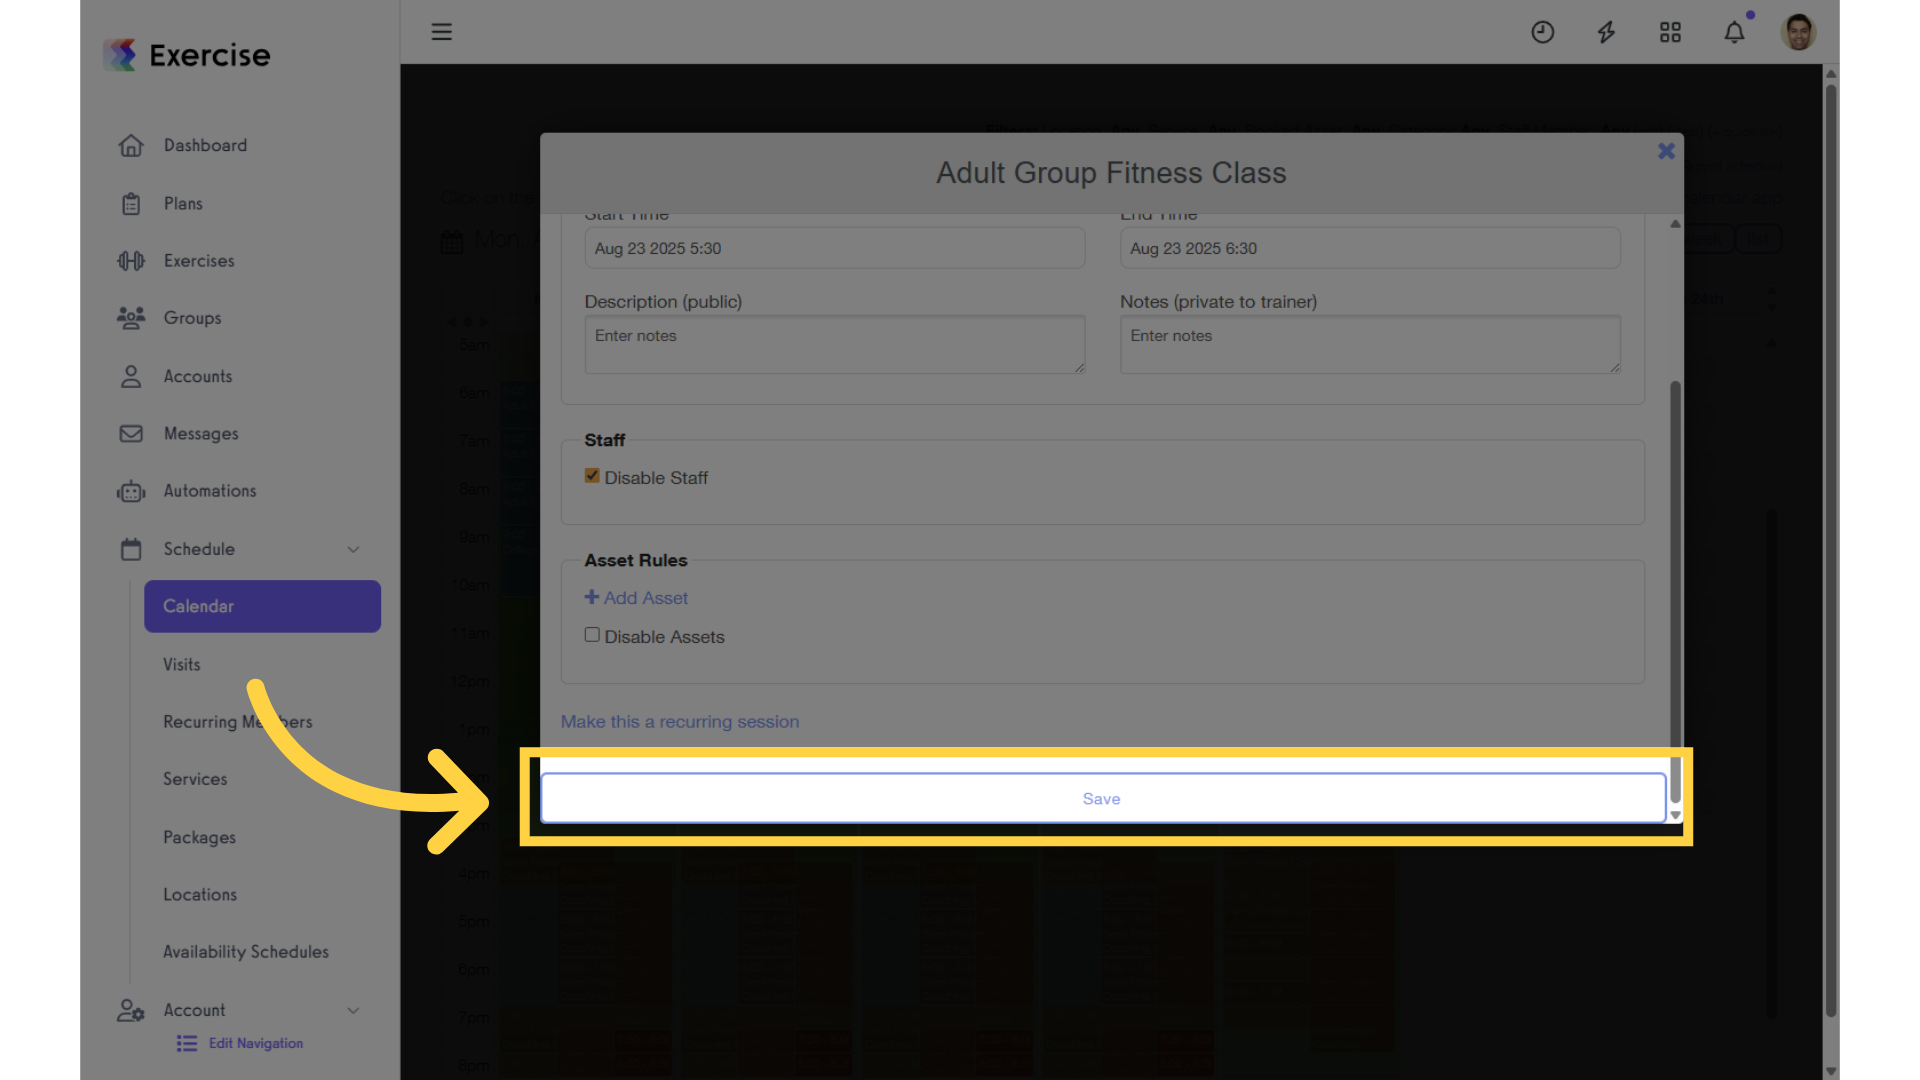
6. Save Session
Save the session.
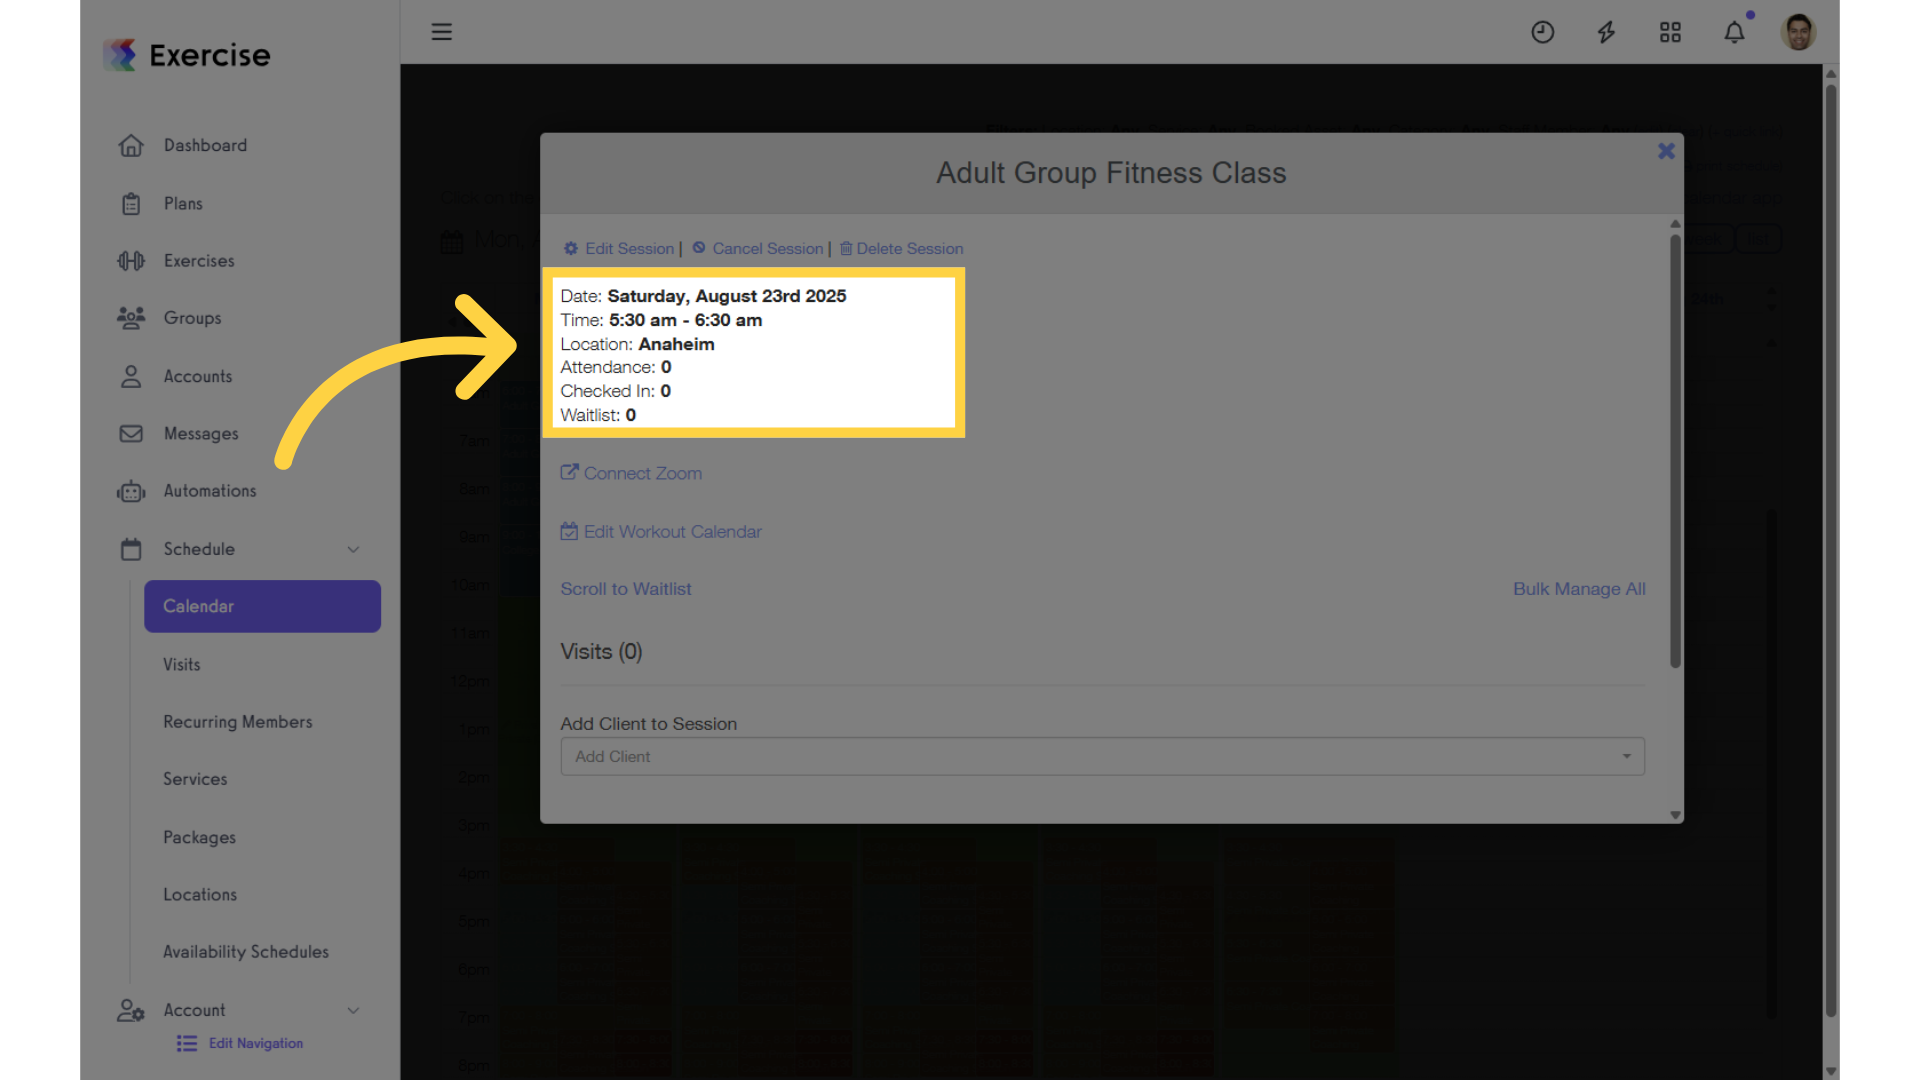
7. View New Session
View the newly created session. Notice there is no staff member displayed.
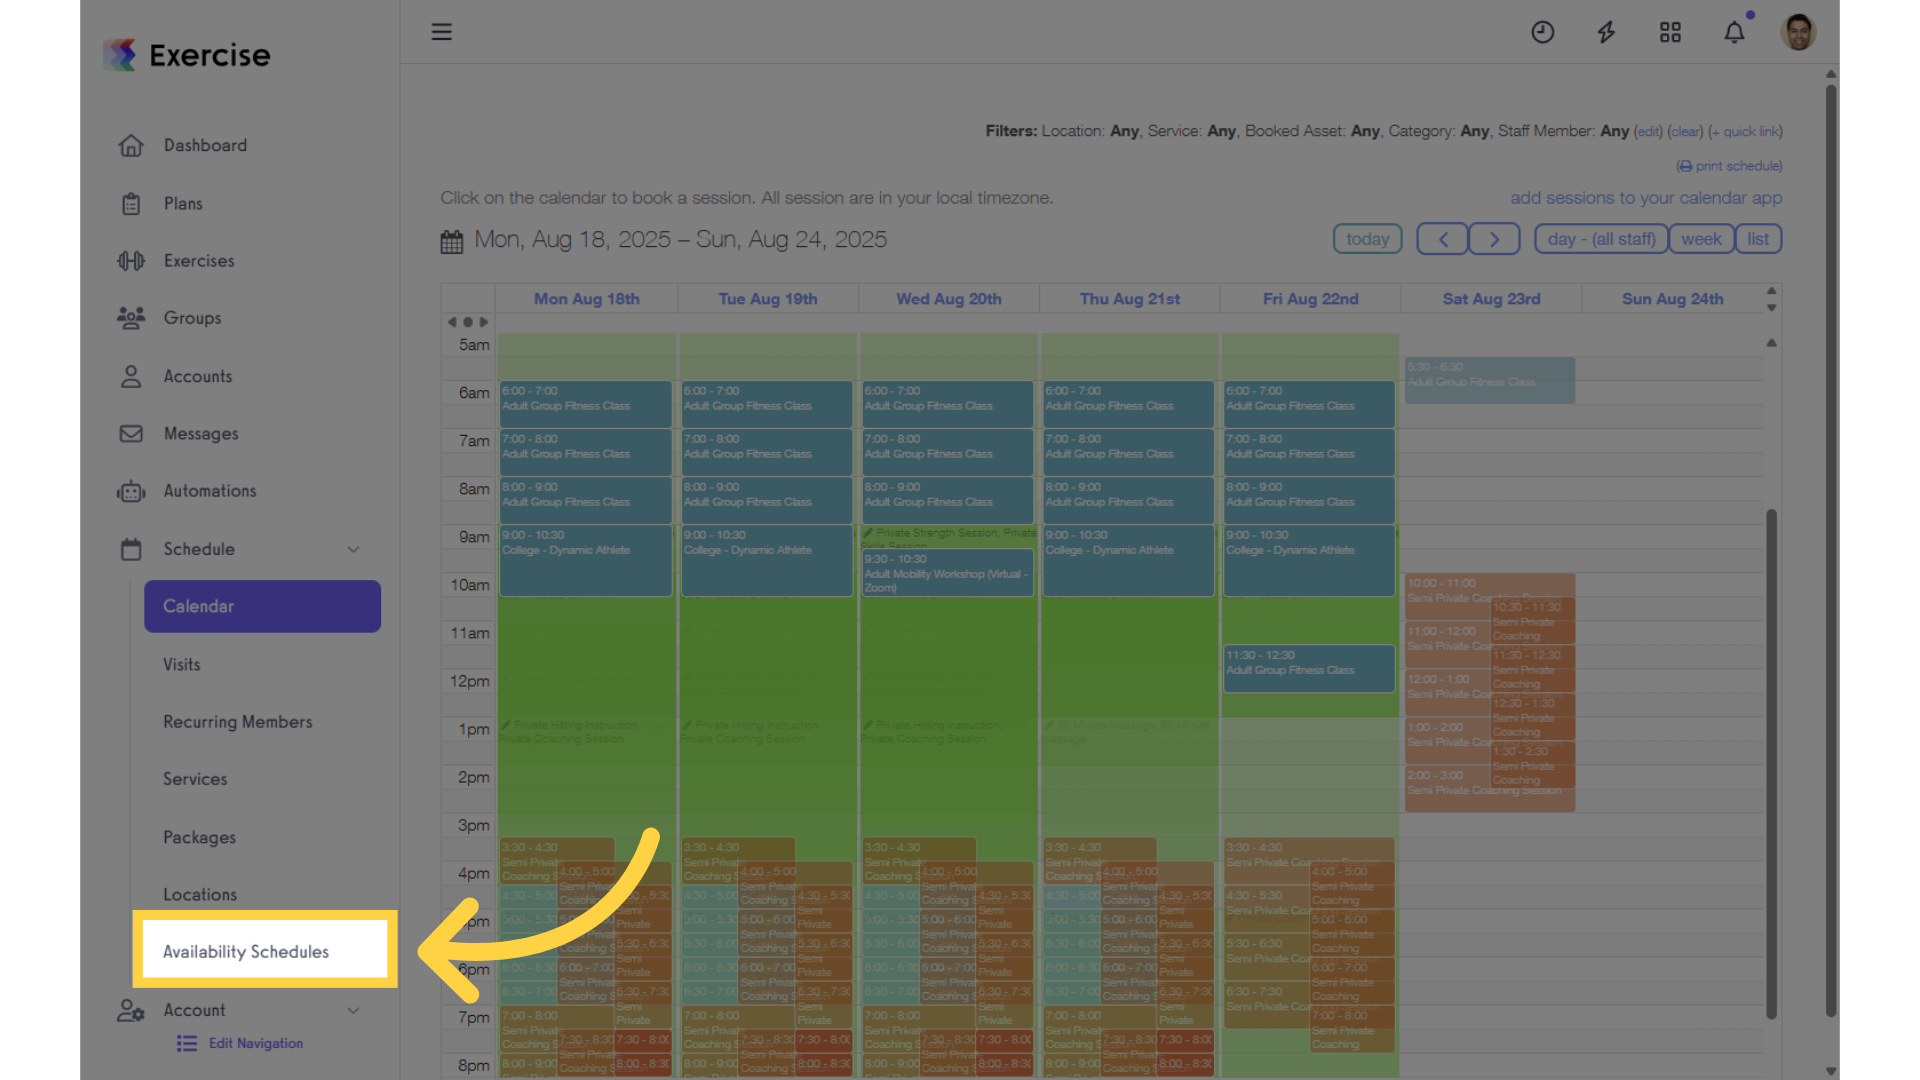
8. Availability Schedules
Under “Schedule”, click on the “Availability Schedules” section.
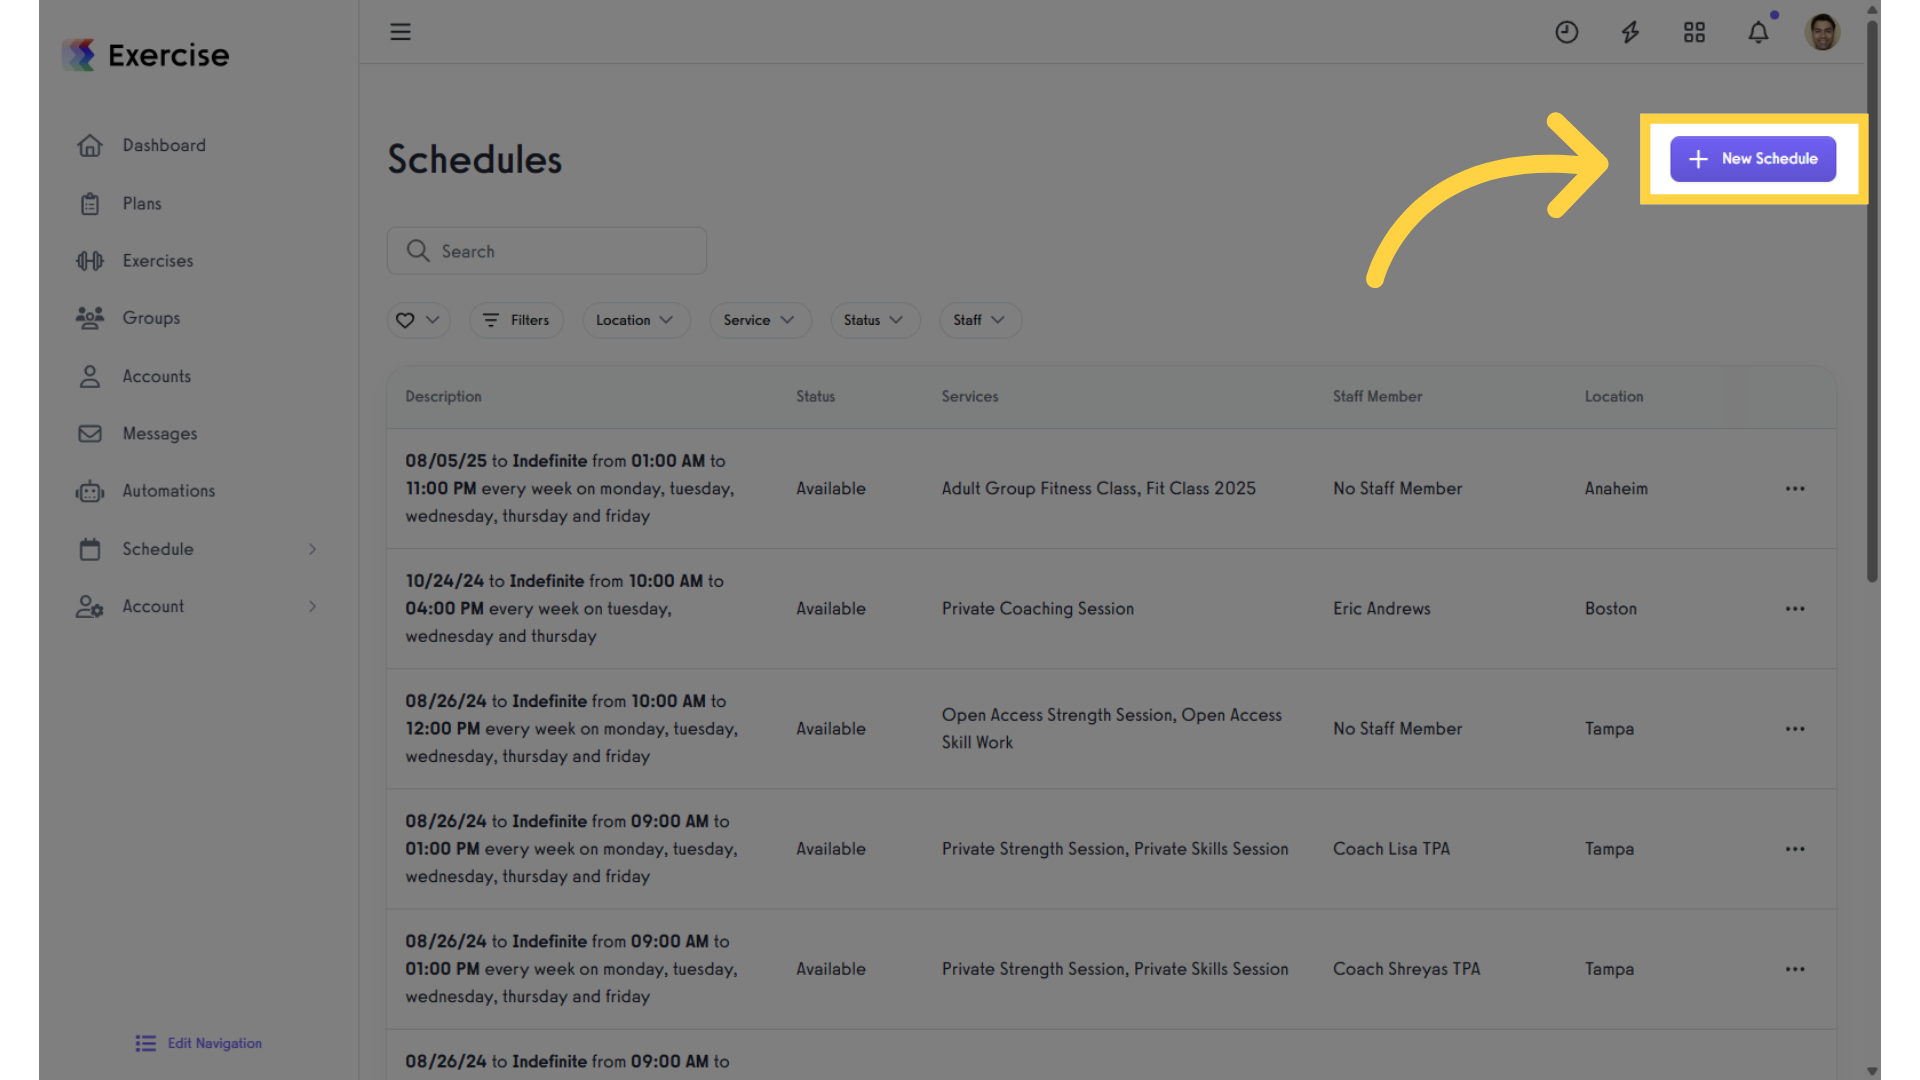
9. Create New Schedule
Create a new schedule.
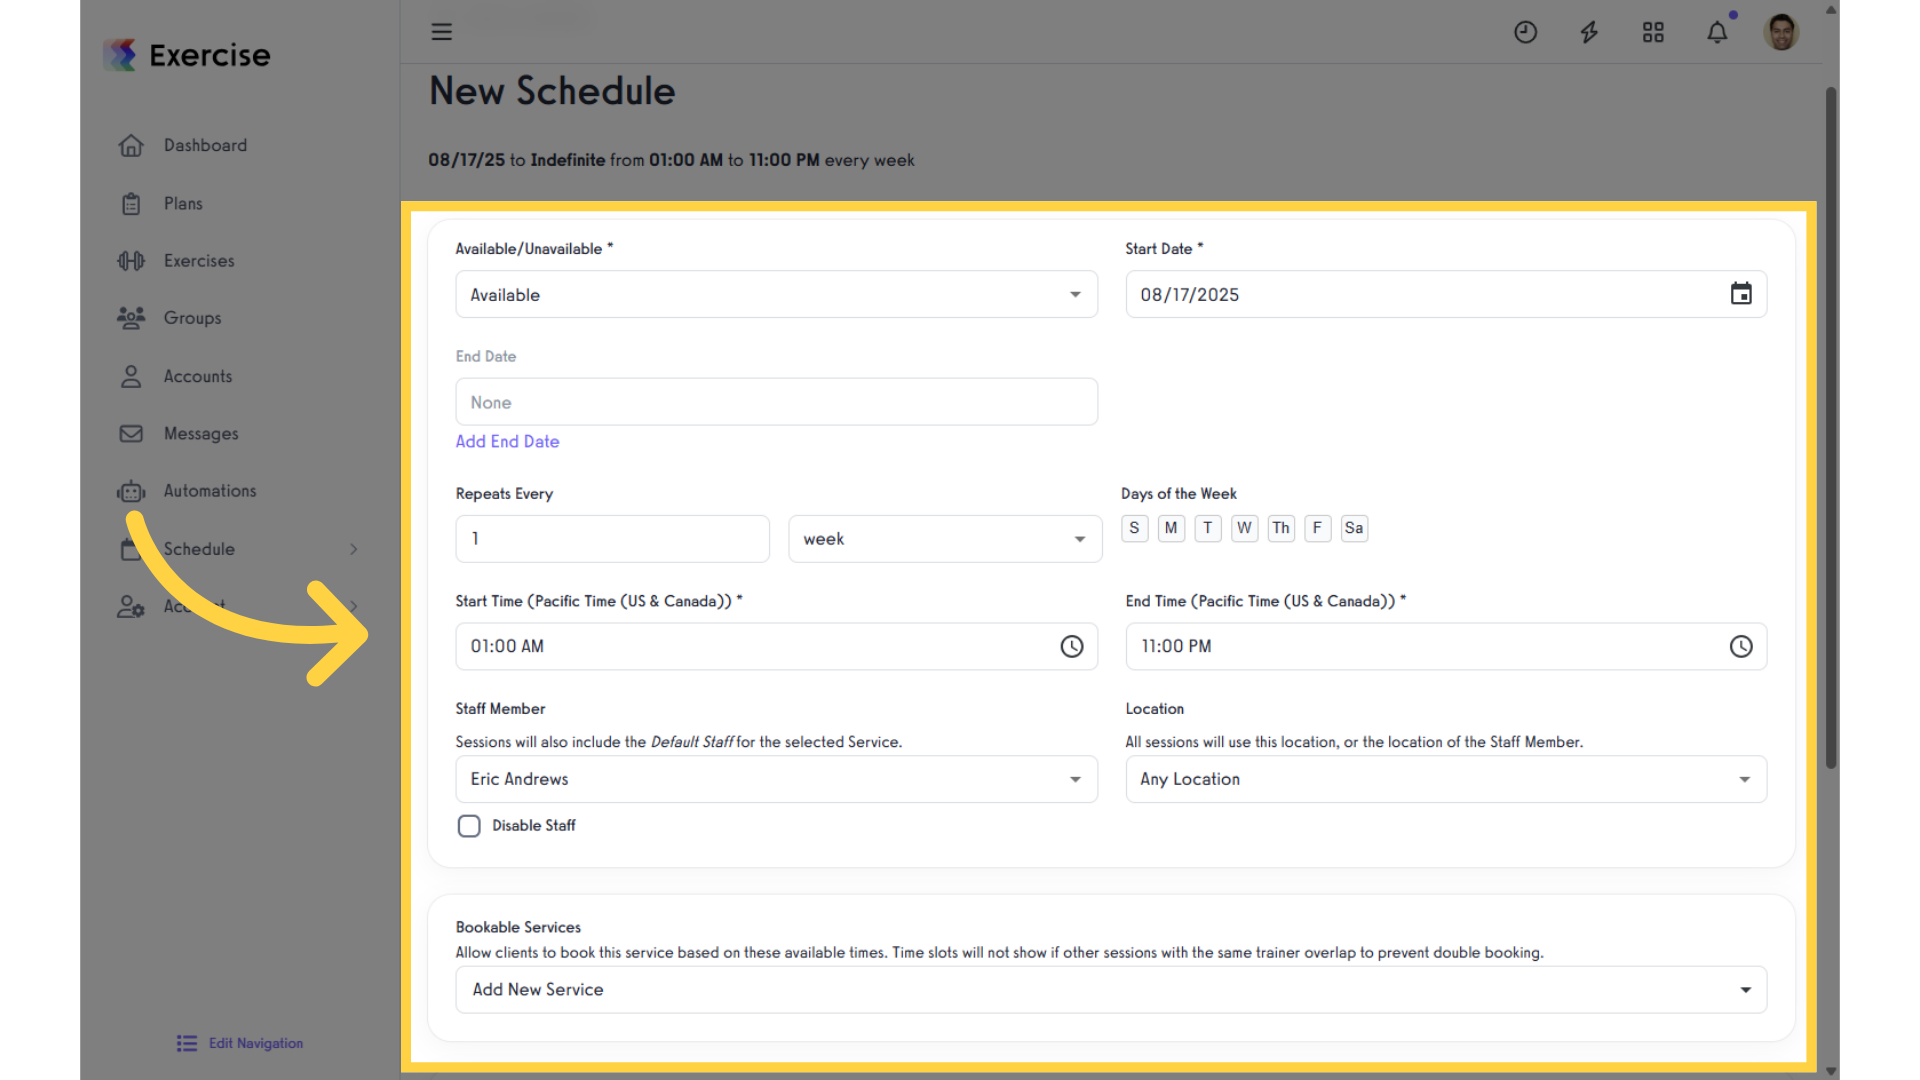
10. Enter Details
Fill in the new availability schedule details.
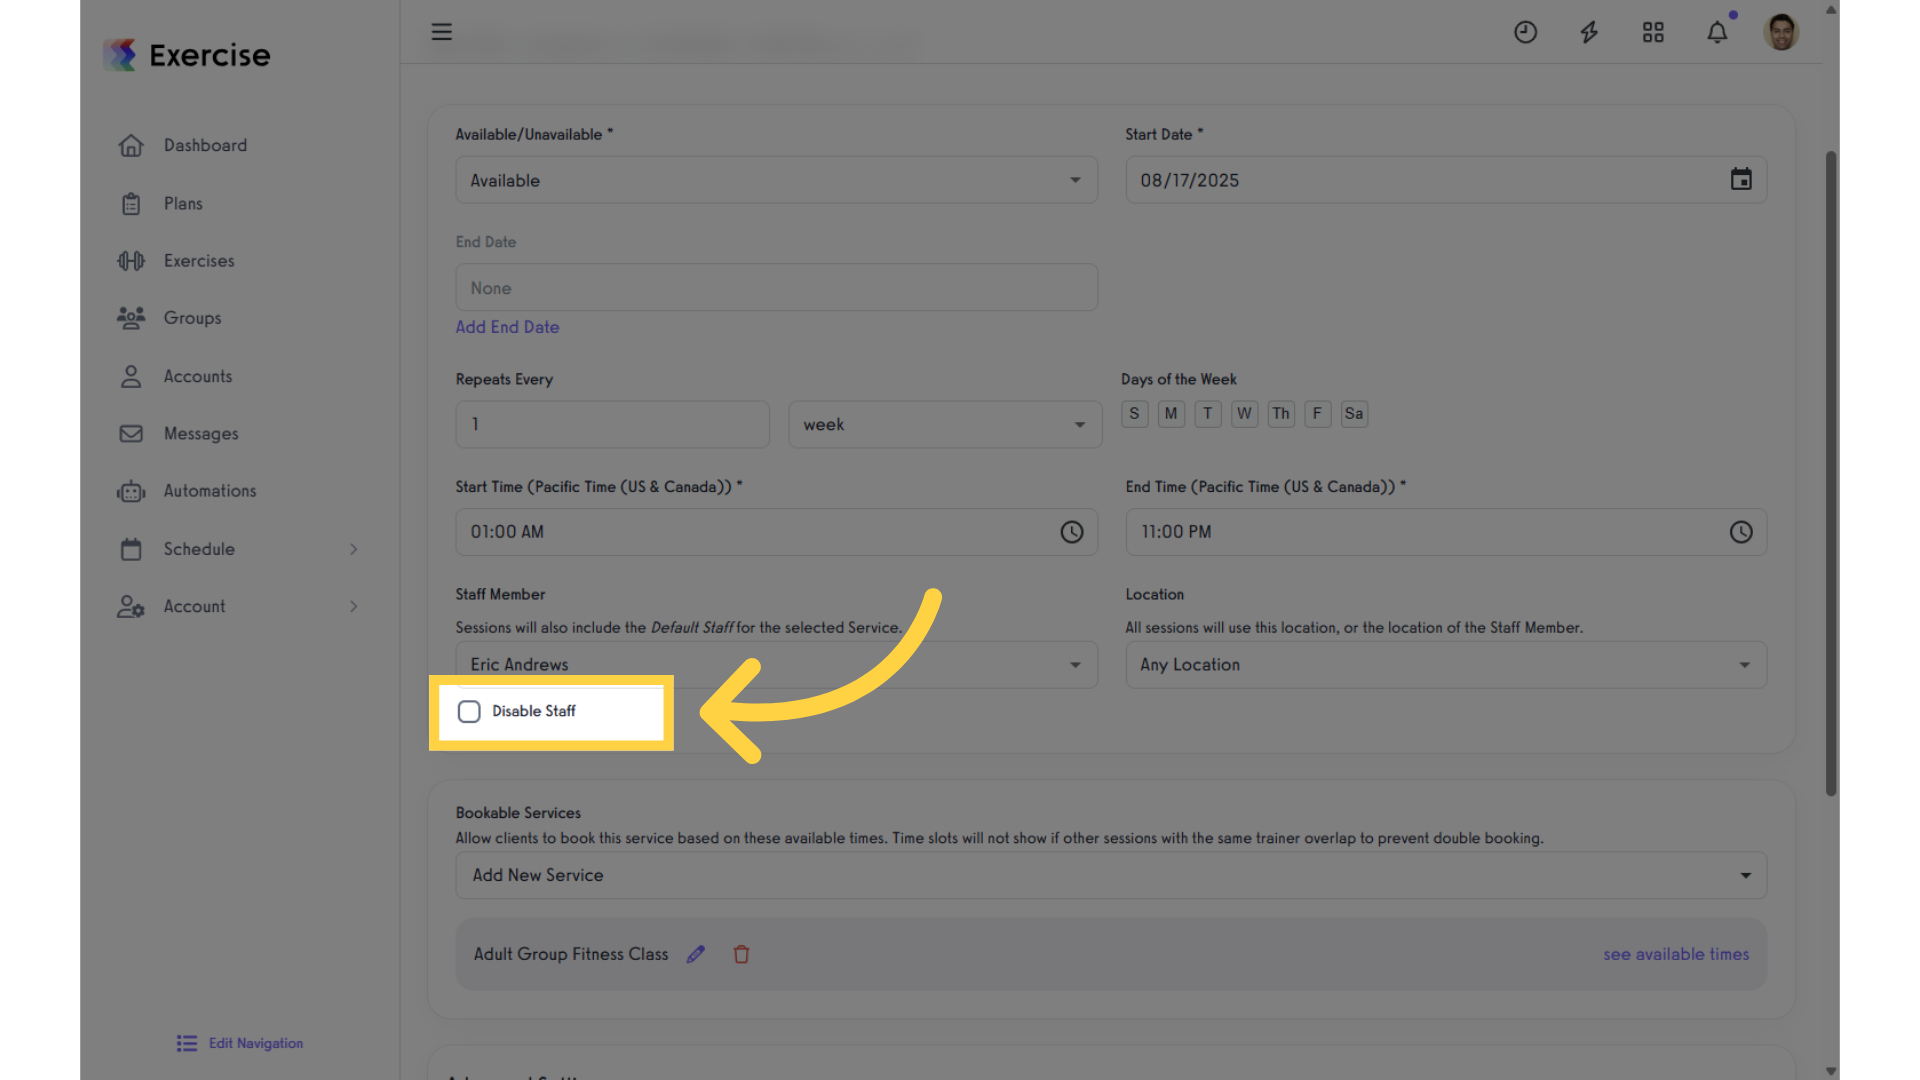
11. Disable Staff
Enable the “Disable Staff” checkbox.
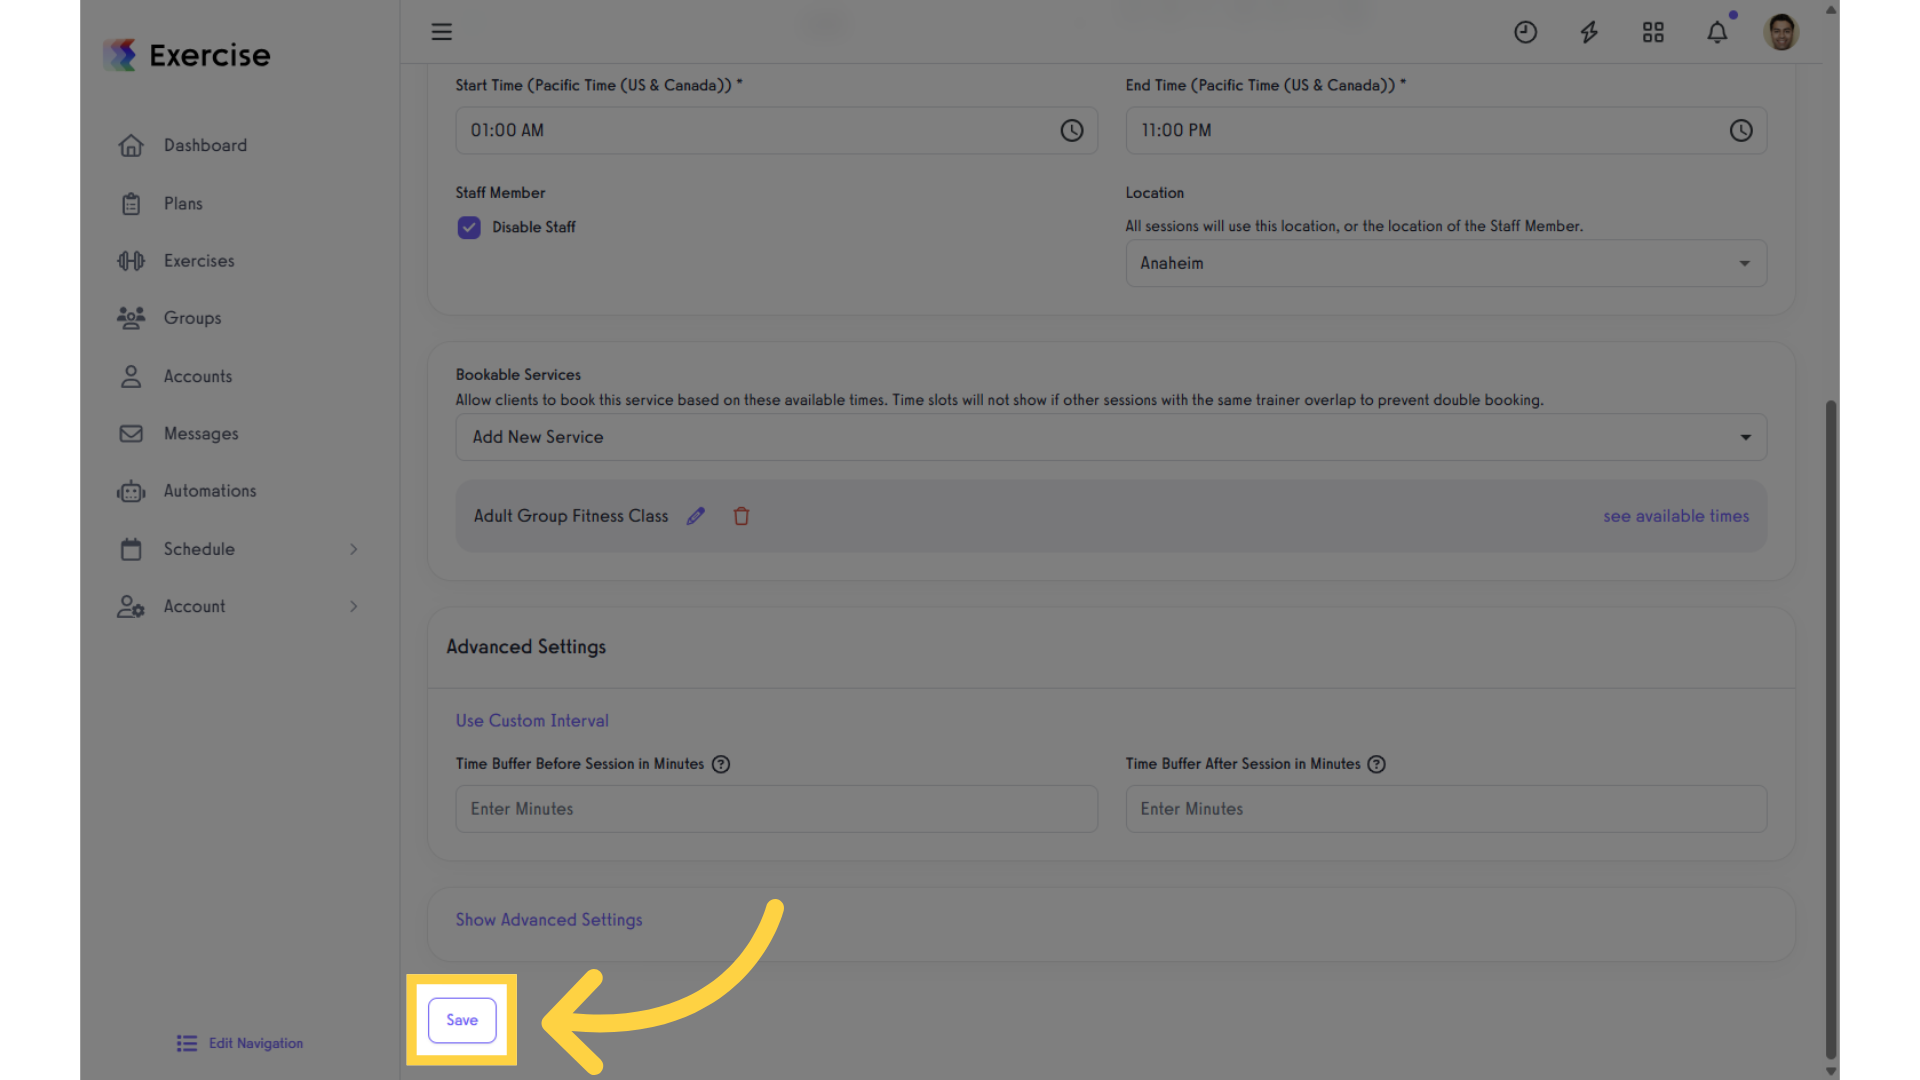
12. Save Schedule
Save the new schedule.
13. Calendar
Navigate to the calendar view.
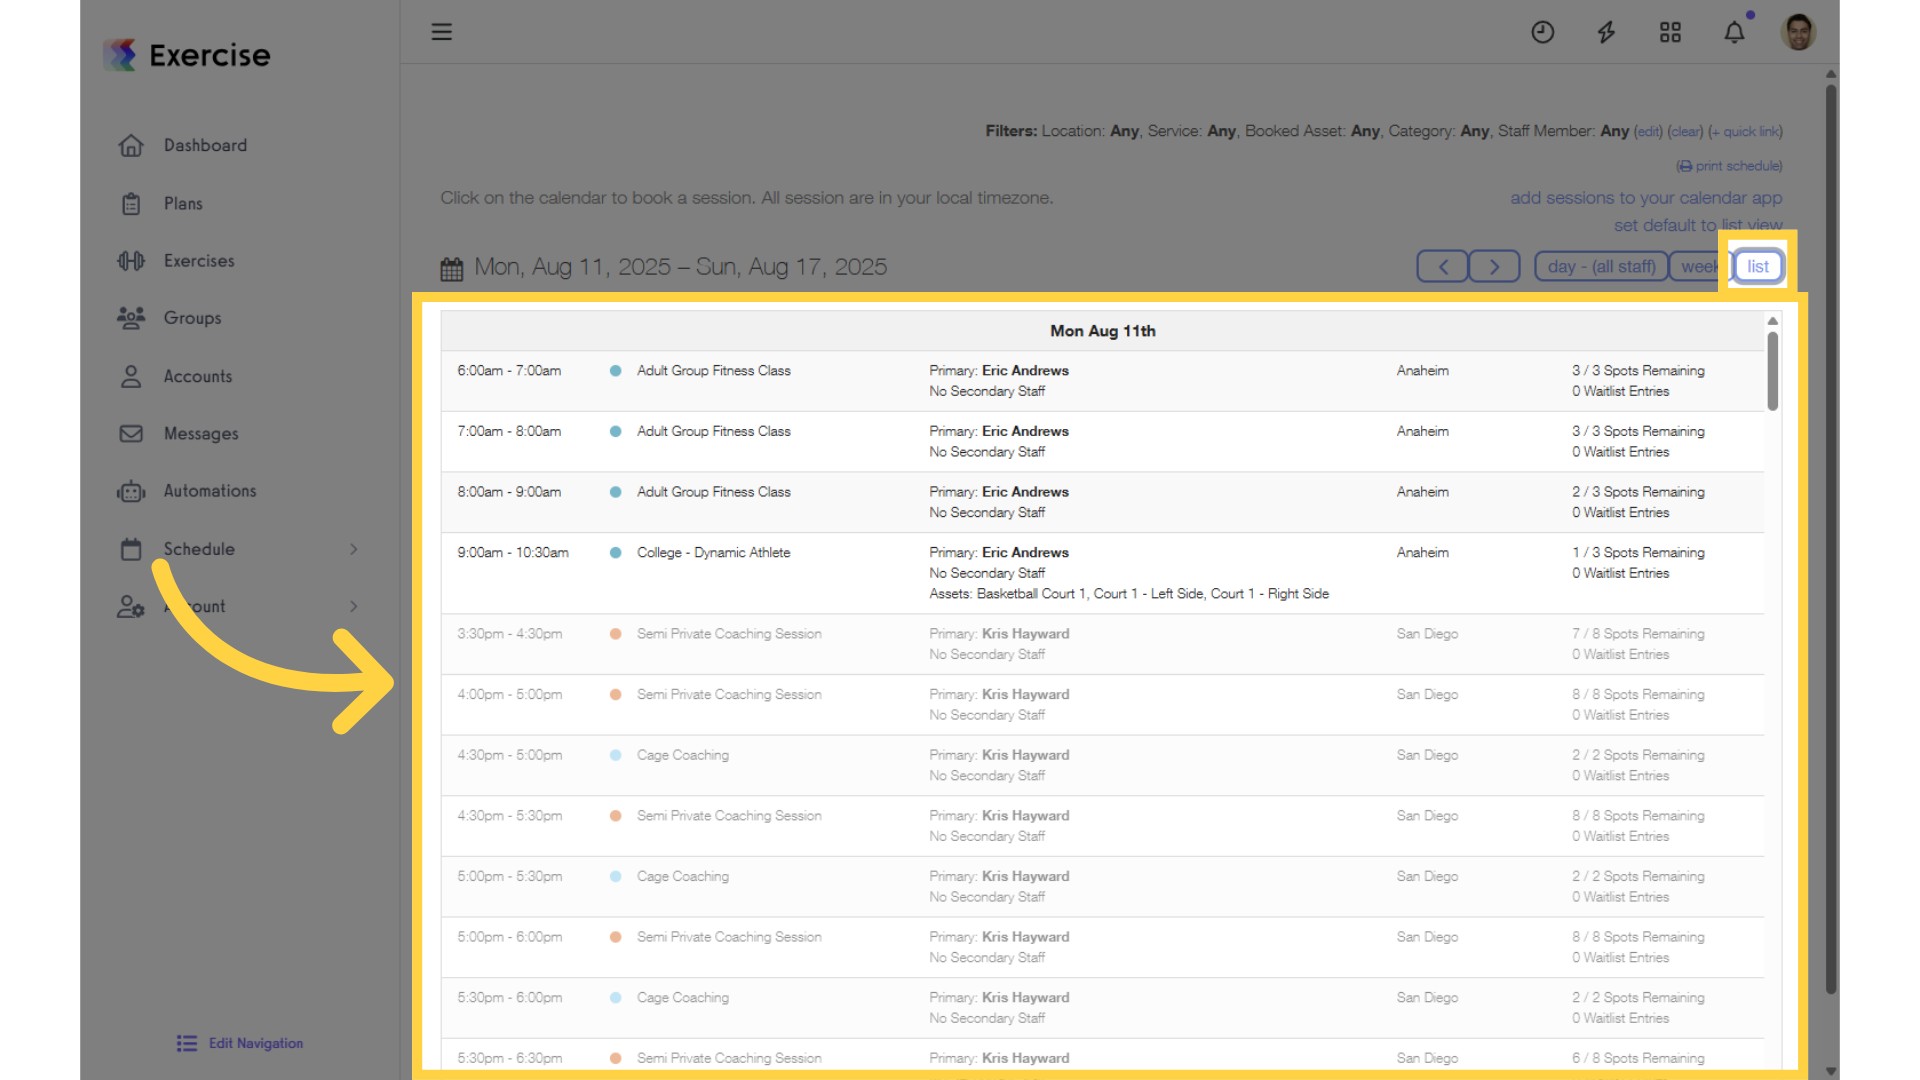
14. List View
On the list view, sessions with no staff members will display.
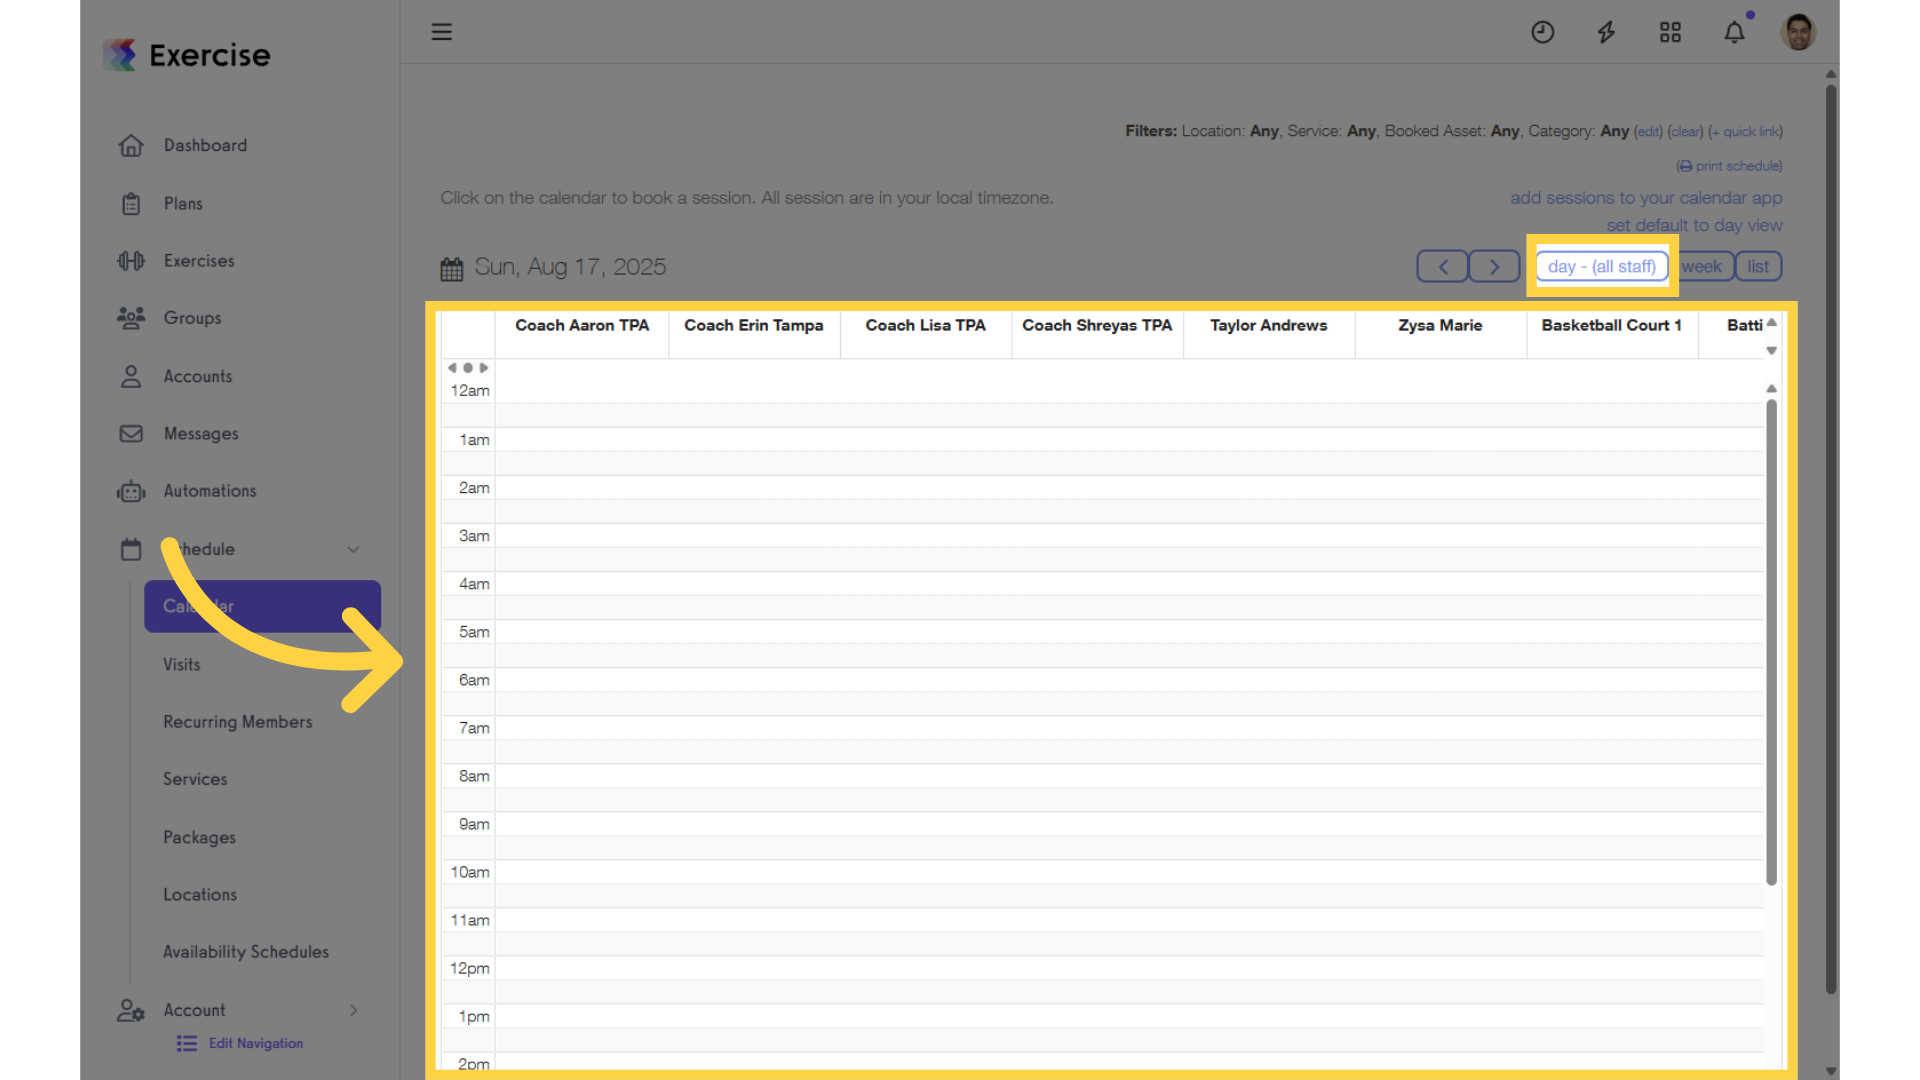
15. Day View
On the day view, sessions with no resources and no staff members will not display.
This guide demonstrated how to create sessions with no staff members.


