Support
Business Account Connected Apps
How to Stop an Infusionsoft Campaign Once a Non-Billed Client Invitation is Accepted
How to Stop an Infusionsoft Campaign Once a Non-Billed Client Invitation is Accepted
Posted by
Support Team
on
September 10, 2020
— Updated on
June 13, 2024
Here’s how to stop an Infusionsoft campaign once a non-billed client invitation is accepted. (Only applicable to White Labeled Platforms.)
*Note – You may want to change the quality of the video below to 1080p by clicking the gear icon and selecting the “1080p HD” option.
Step-by-Step Guide:
Step 1: Choose Exercise.com.

Step 2: Click the radio button for “New Client” then click “Continue.”

Step 3: Either choose an existing Exercise.com account or connect a new one then click “Save + Continue.”

Step 4: Zapier will confirm you have at least one new client created then click “Continue.” 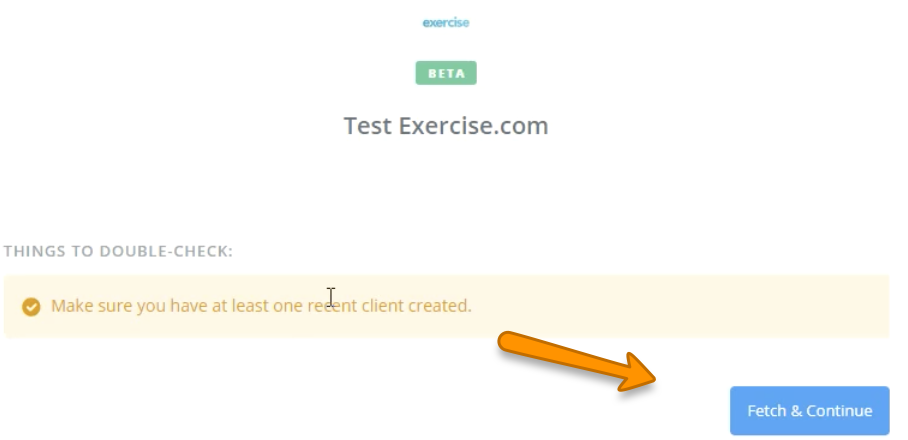
Step 5: Once you confirm test is successful, then click “Continue.”

Step 6: Now choose Infusionsoft.

Step 7: Choose the radio button for “Tag Existing Contacts” then click “Save + Continue.”

Step 8: Choose an existing account or connect a new one then click “Continue.”

Step 9: Fill in the required information then click “Continue.”

Step 10: Verify the information then click “Send Test to Infusionsoft.”

Step 11: Click “Finish” to finalize this trigger.

Step 12: Now you can name your Zap, choose the folder, and most importantly toggle it “On.”

Now that you can stop an Infusionsoft campaign once a non-billed client invitation is accepted, you can skillfully and easily manage your clients.


