How do I add a default trainer image?
Posted by
Support Team
on
September 10, 2020
— Updated on
May 18, 2025
A custom image is a great way to brand your membership options or plans and really make them your stand out! You save some time by setting a default image to be used by following a few simple steps.
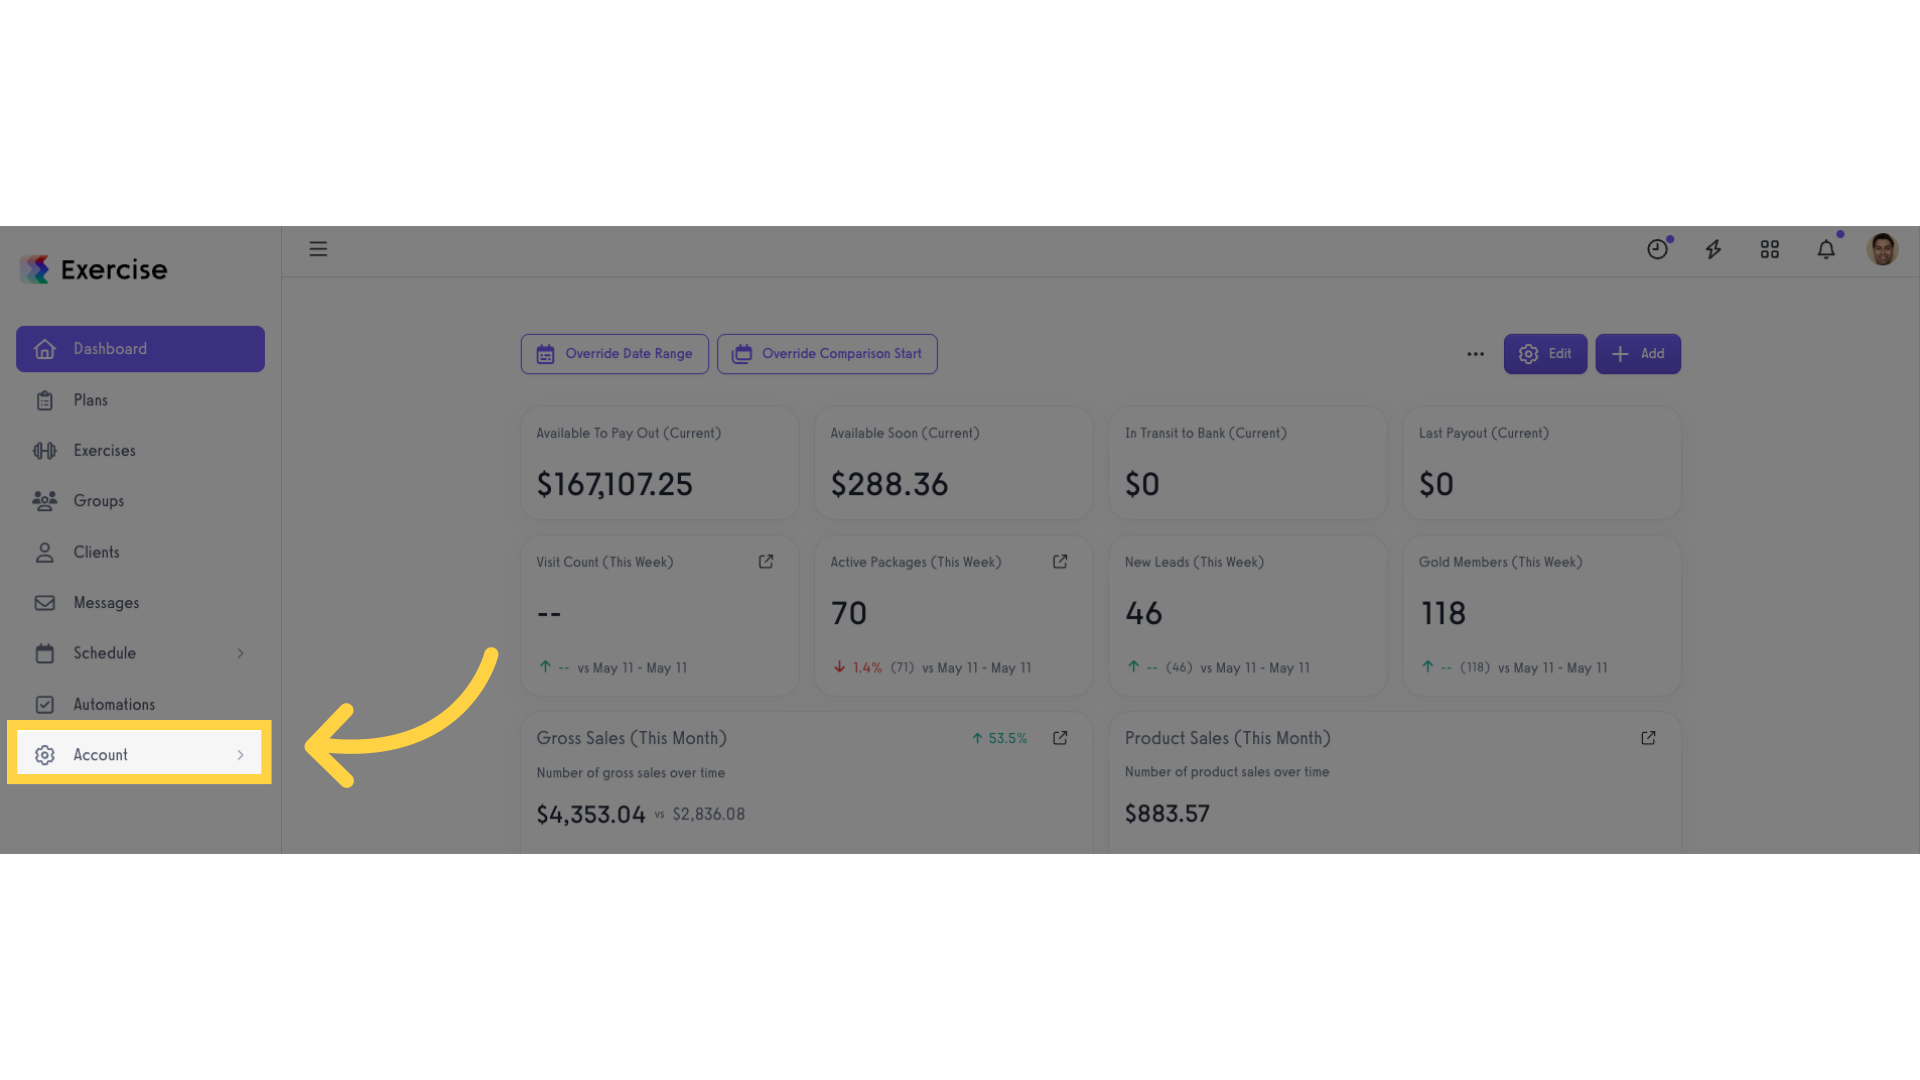
1. Click “Account”.
Click “Account”.
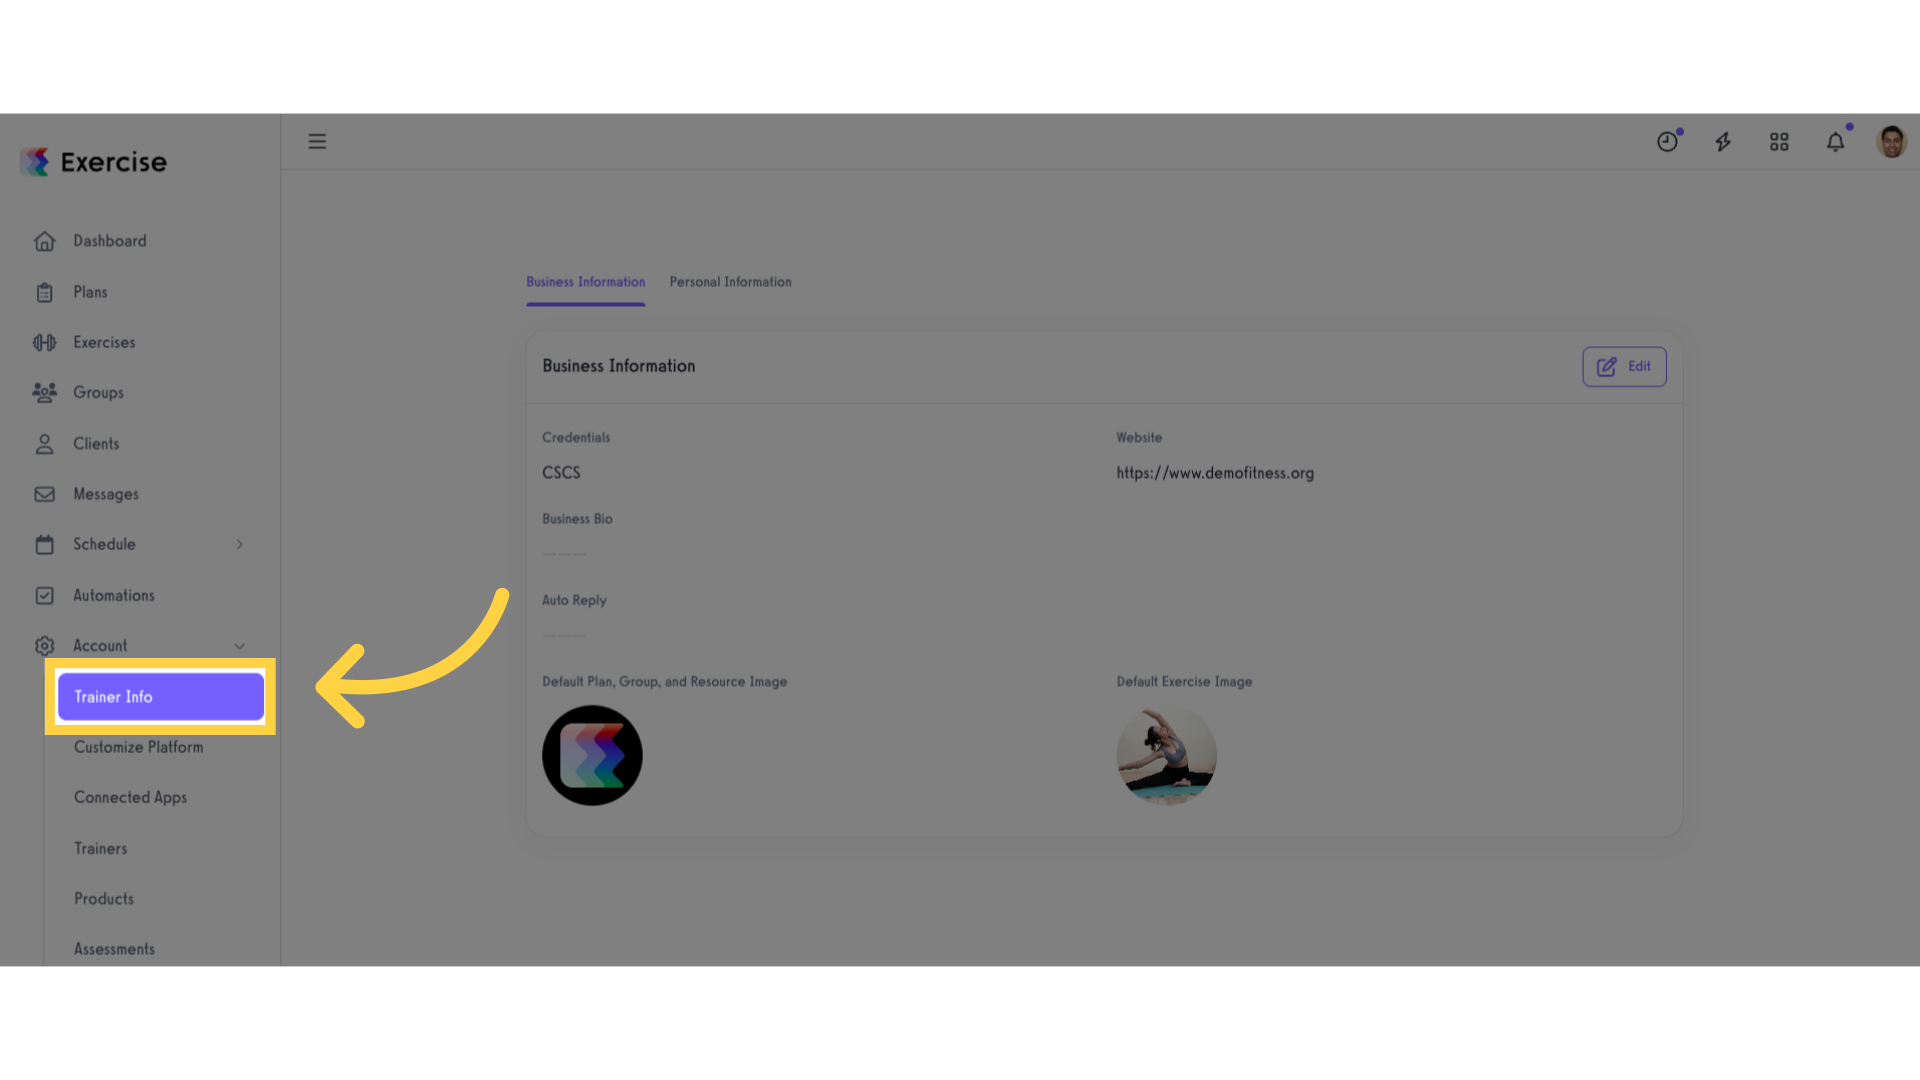
2. Click “Trainer Info”.
Navigate to your trainer information section.
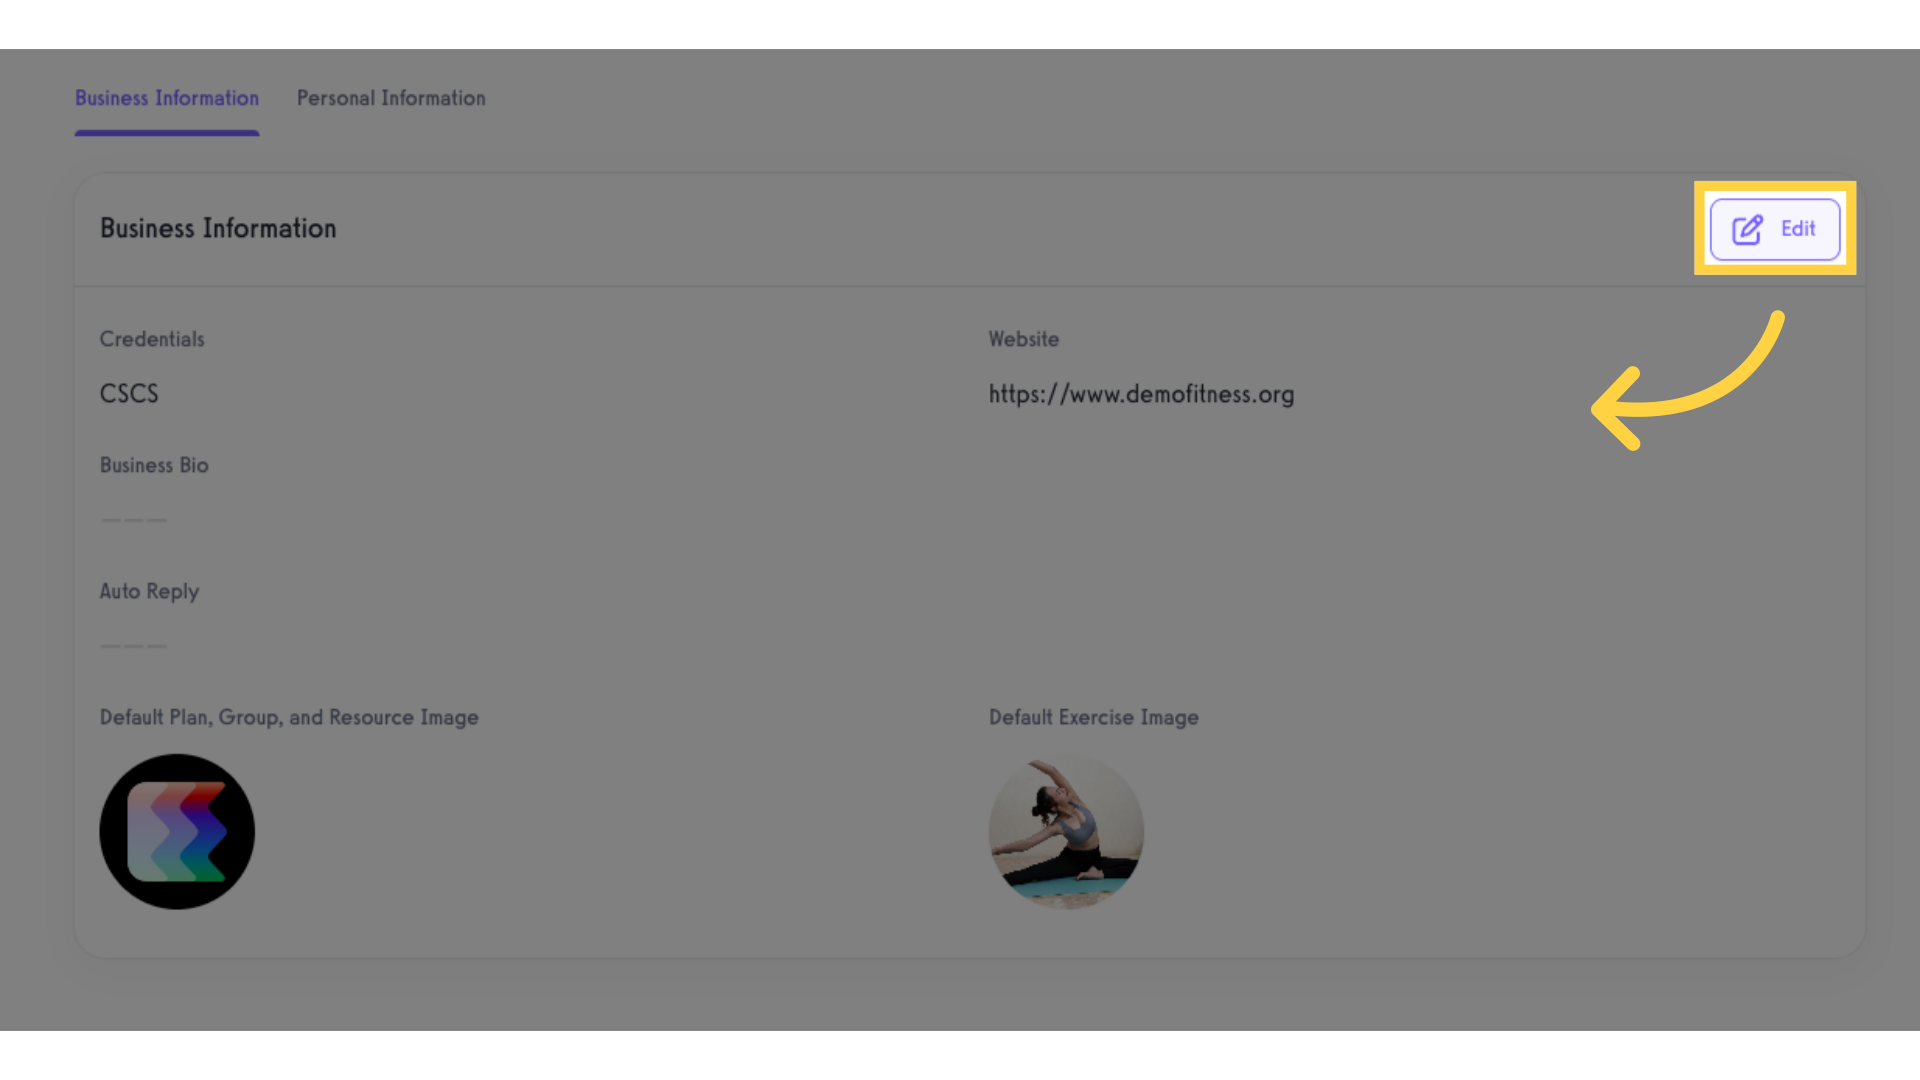
3. Click “Edit”.
Click the “Edit” button.
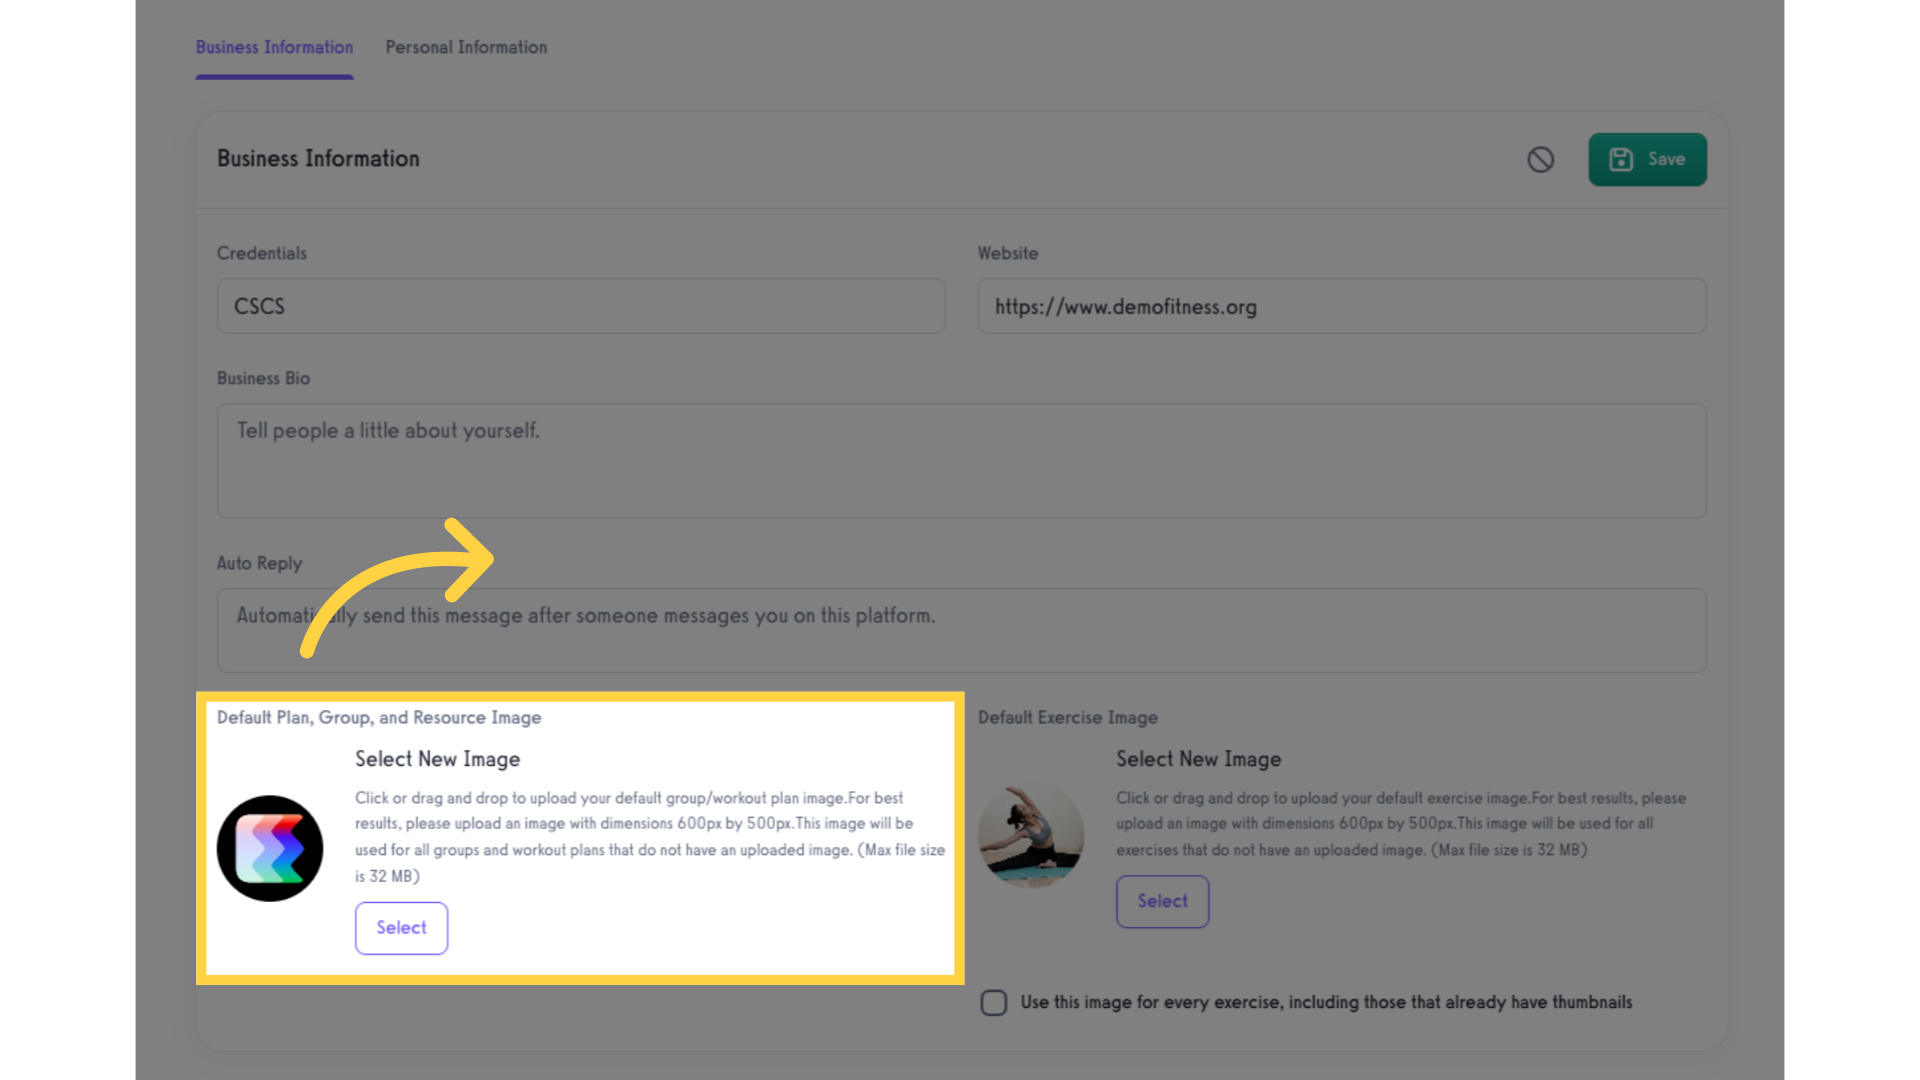
4. Upload image on “Default Plan, Group, and Resource Image” section.
Upload image on “Default Plan, Group, and Resource Image” section (the ideal dimensions are 600px by 500px).
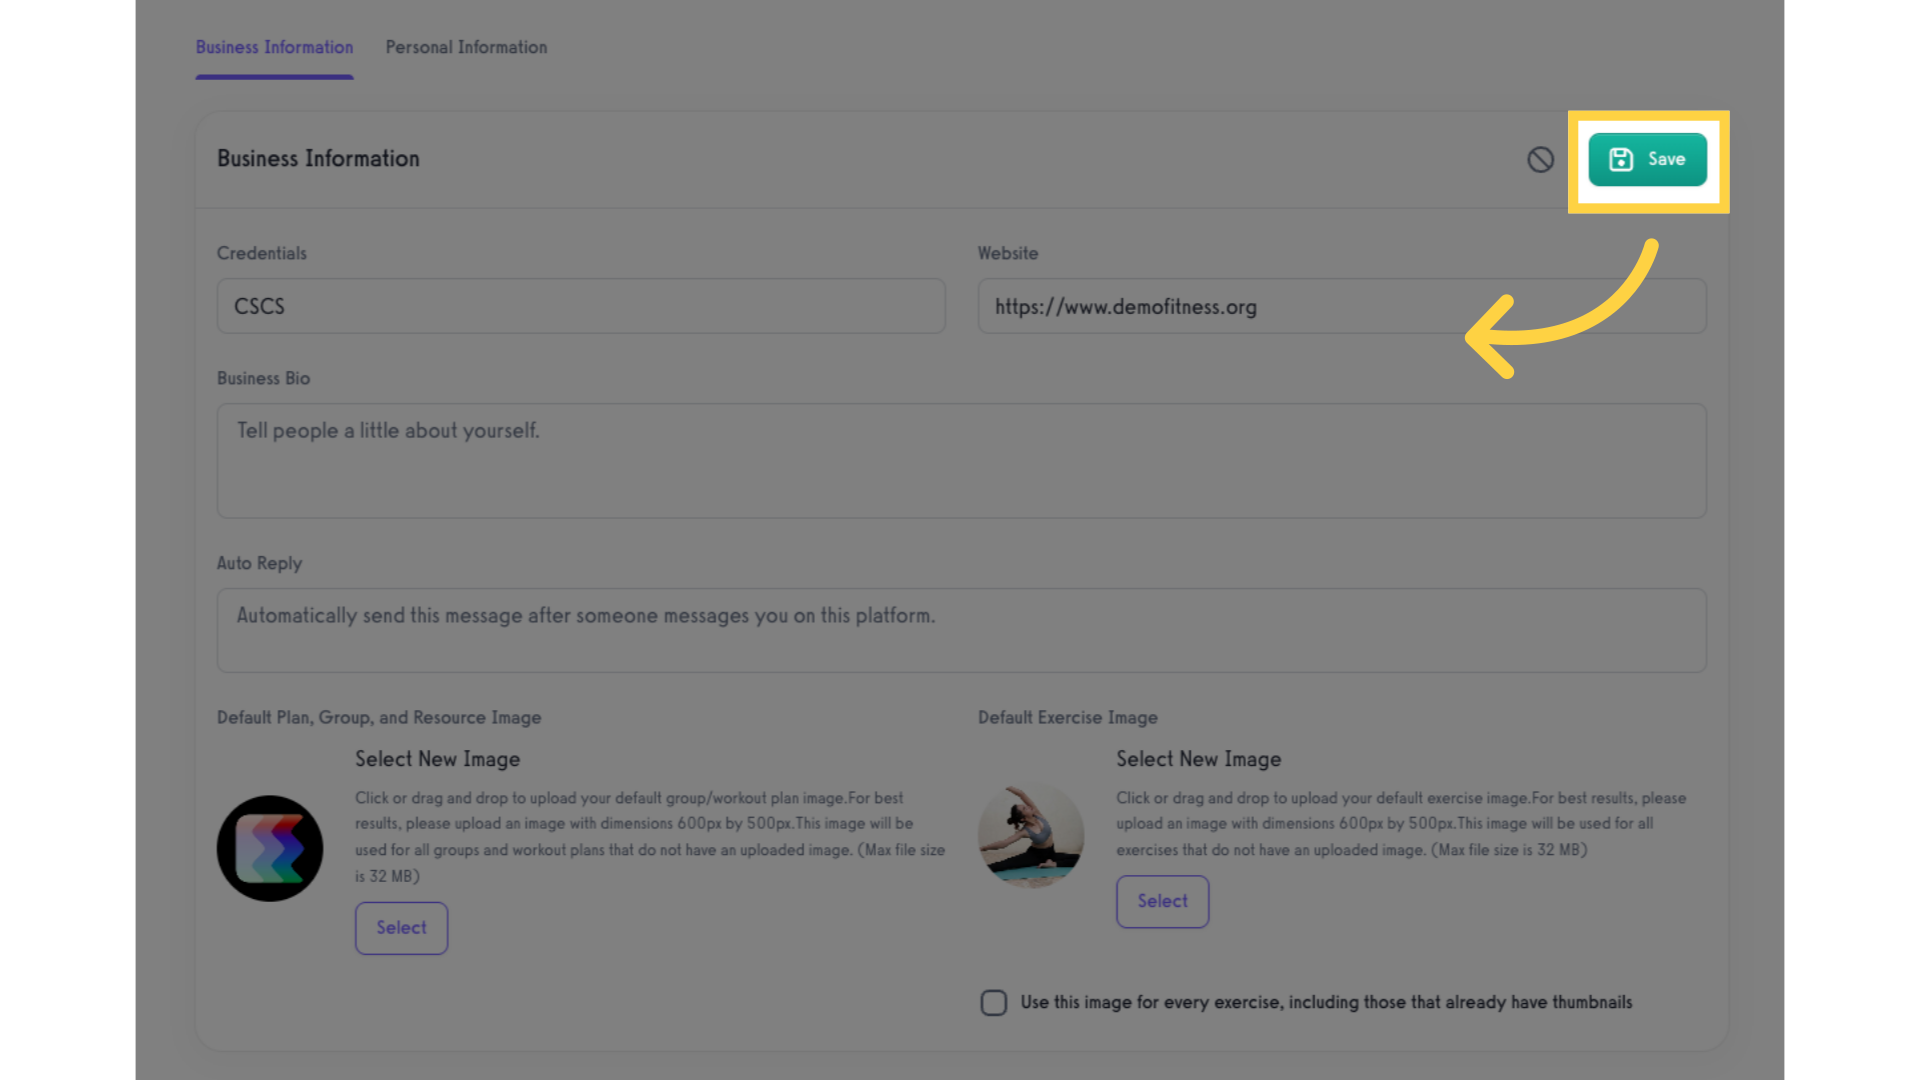
5. Click “Save”.
Once the image is uploaded, click the “Save” button to save the changes.
Please note that it will take some time for the site to update, but after a successful upload, new plans and groups that you create will display your new default image.


