How do I automatically send messages to specific trainers?
Within our Gym Management Software, you have the ability to automatically send messages to specific trainers.
In this guide, you will learn how to automate message sending to specific trainers after a trigger has been met.
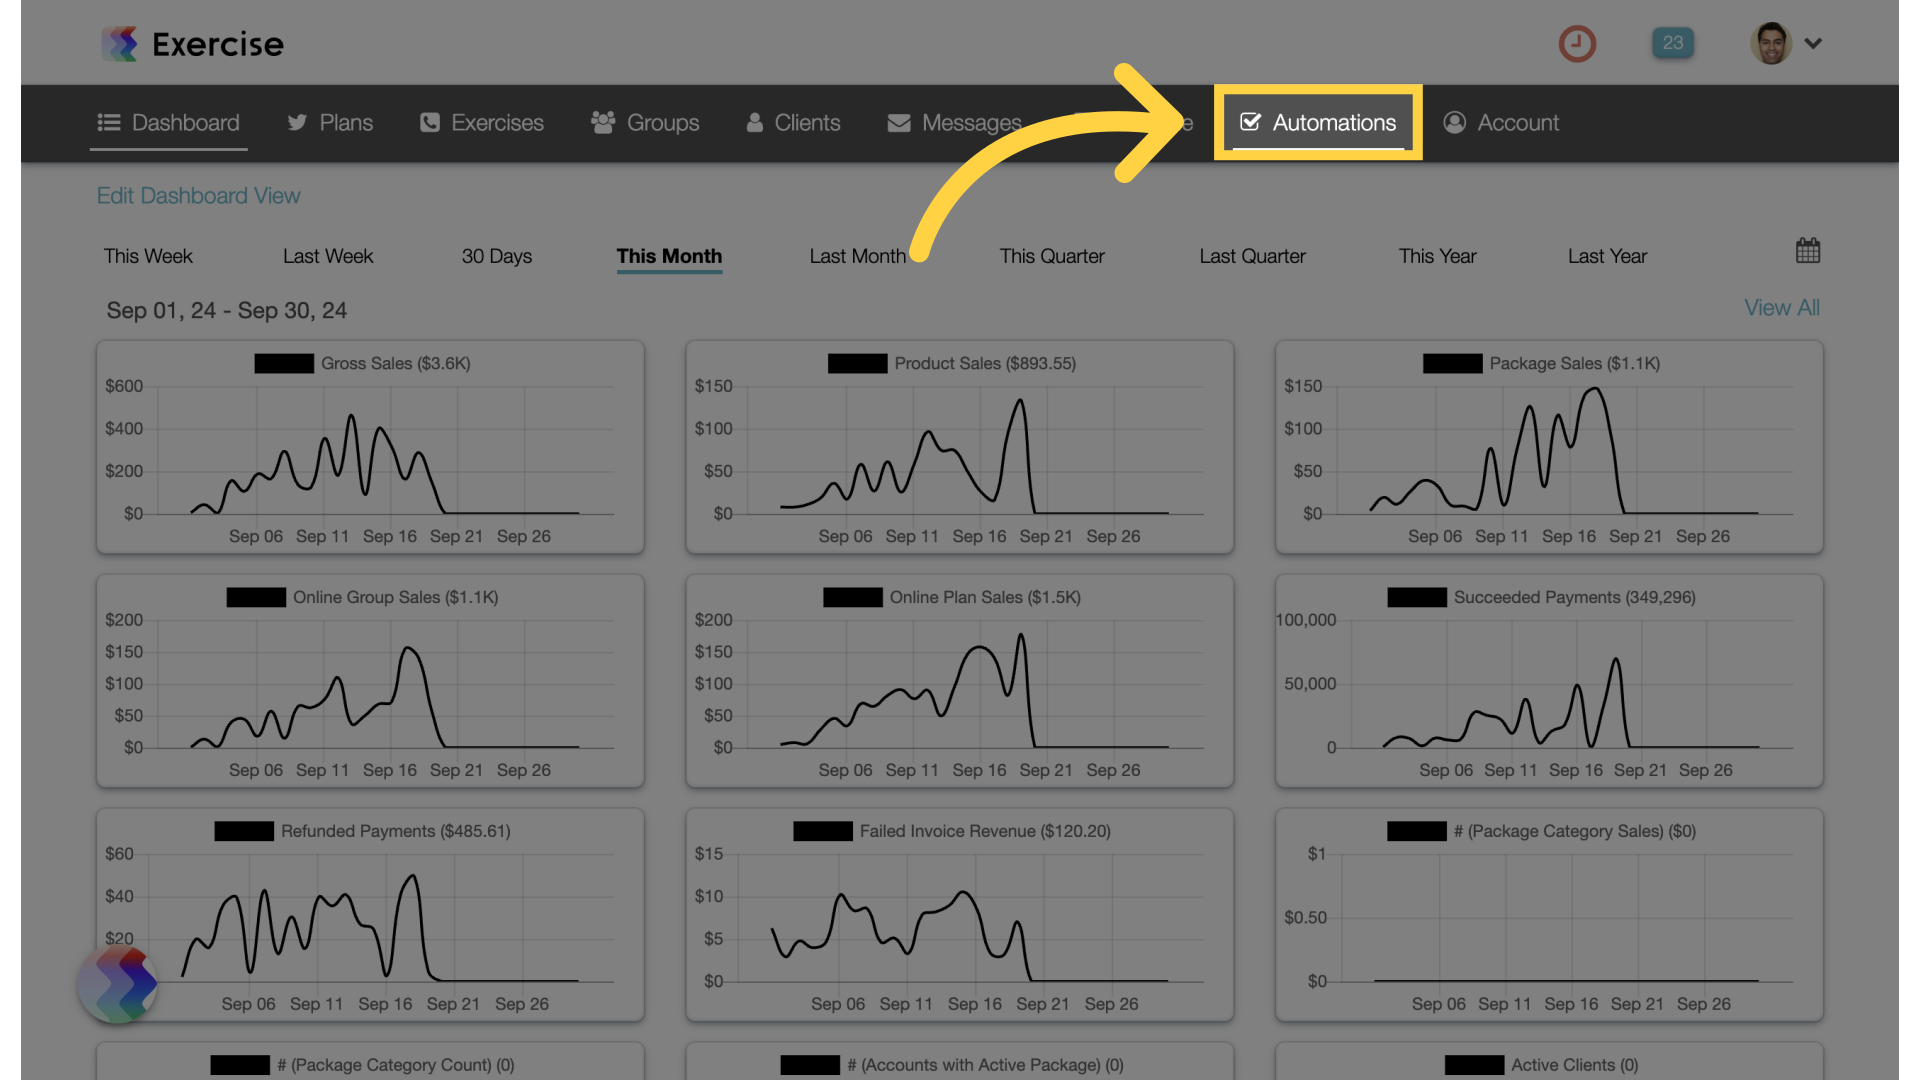
1. Automations
Access the Automations feature.
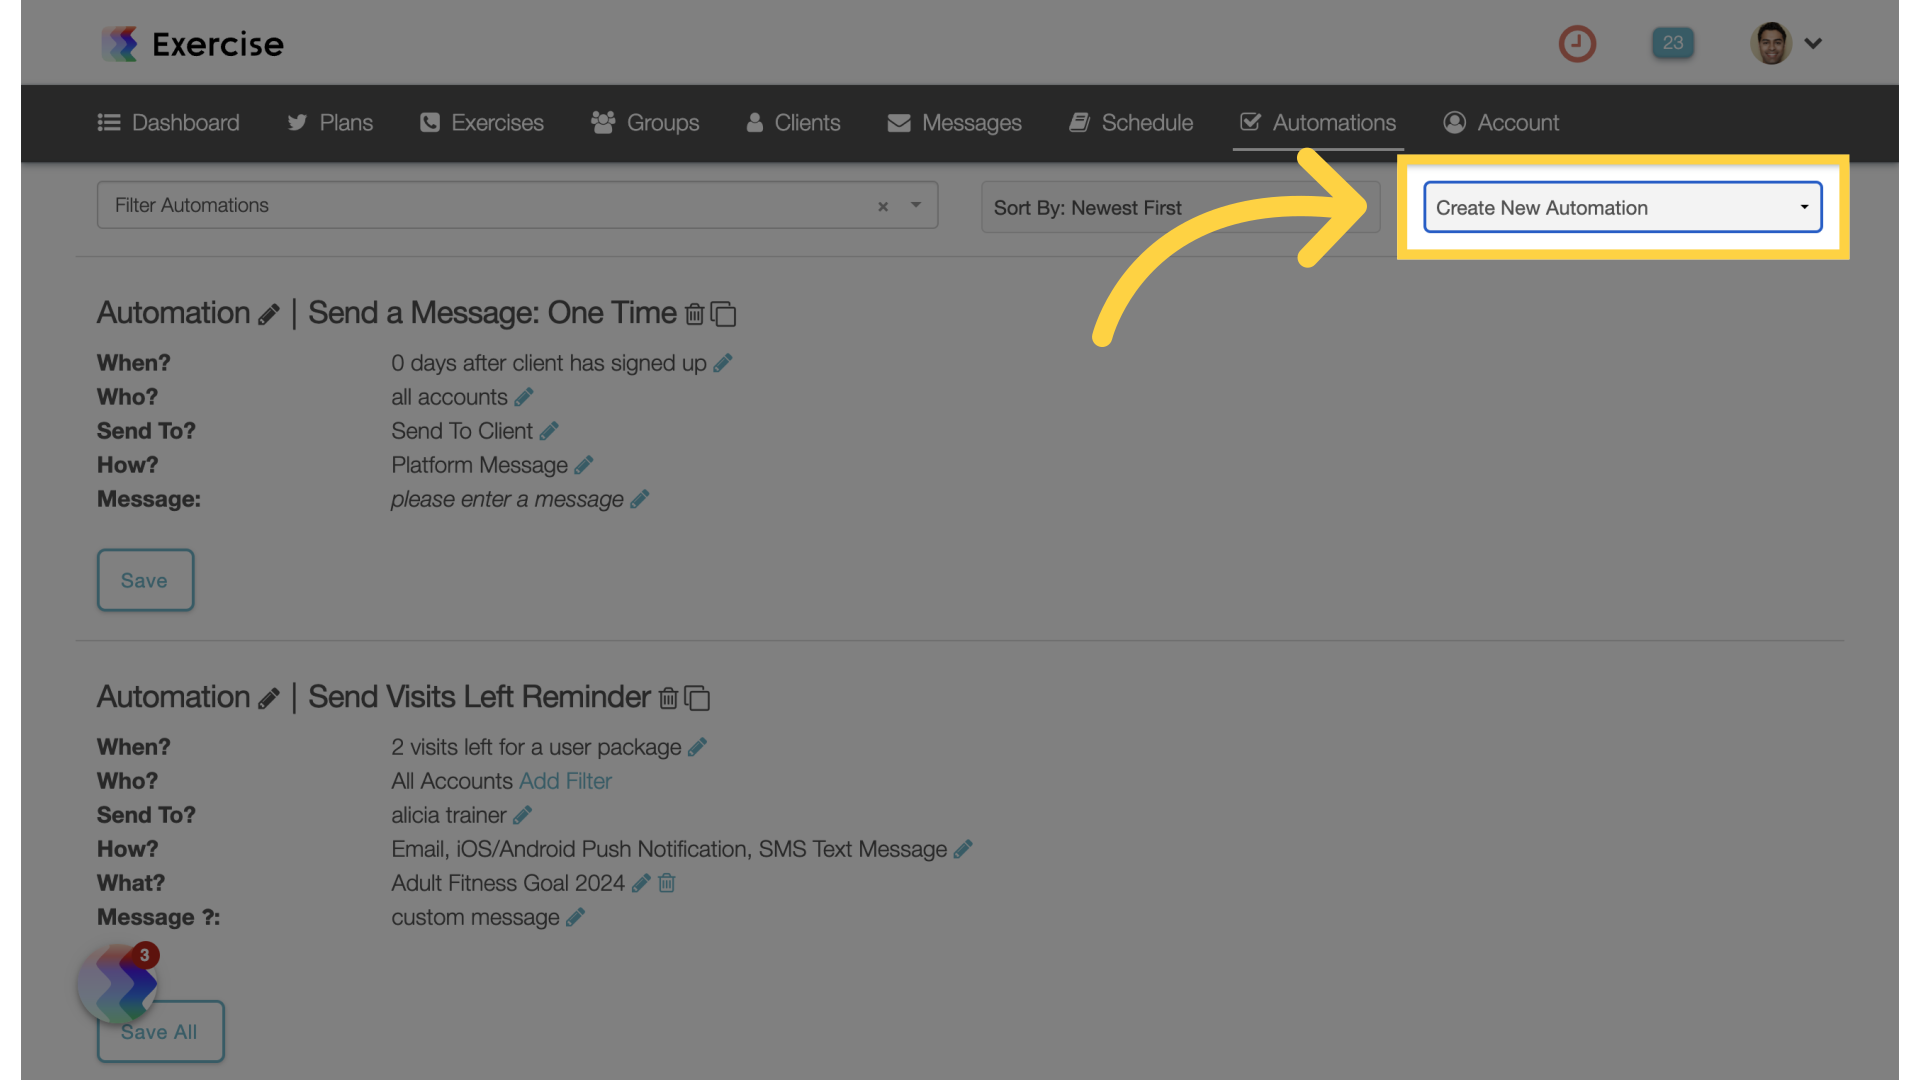
2. Create New Automation
Click on the “Create New Automation” drop down and select “Send a Message” from the list.
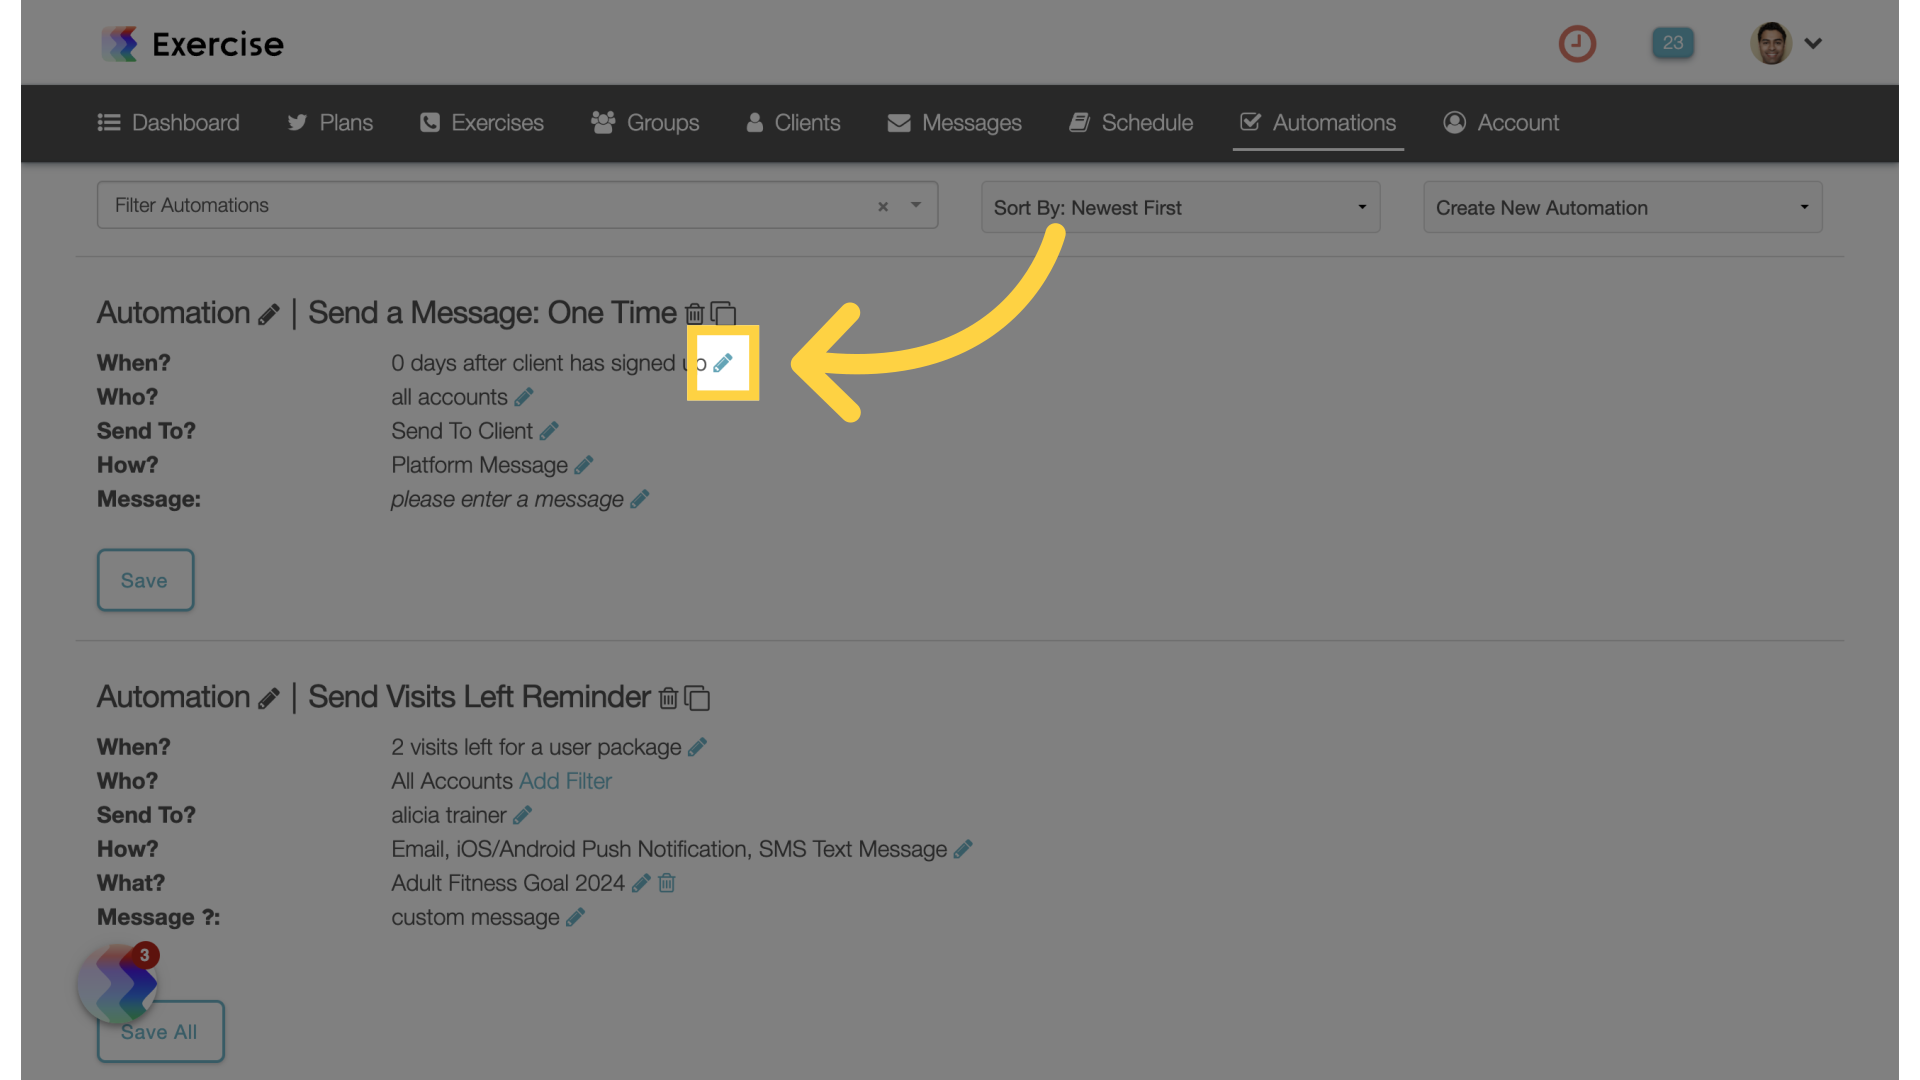
3. Customize the “When?” Settings
Click on the edit icon to customize the settings for “When”.
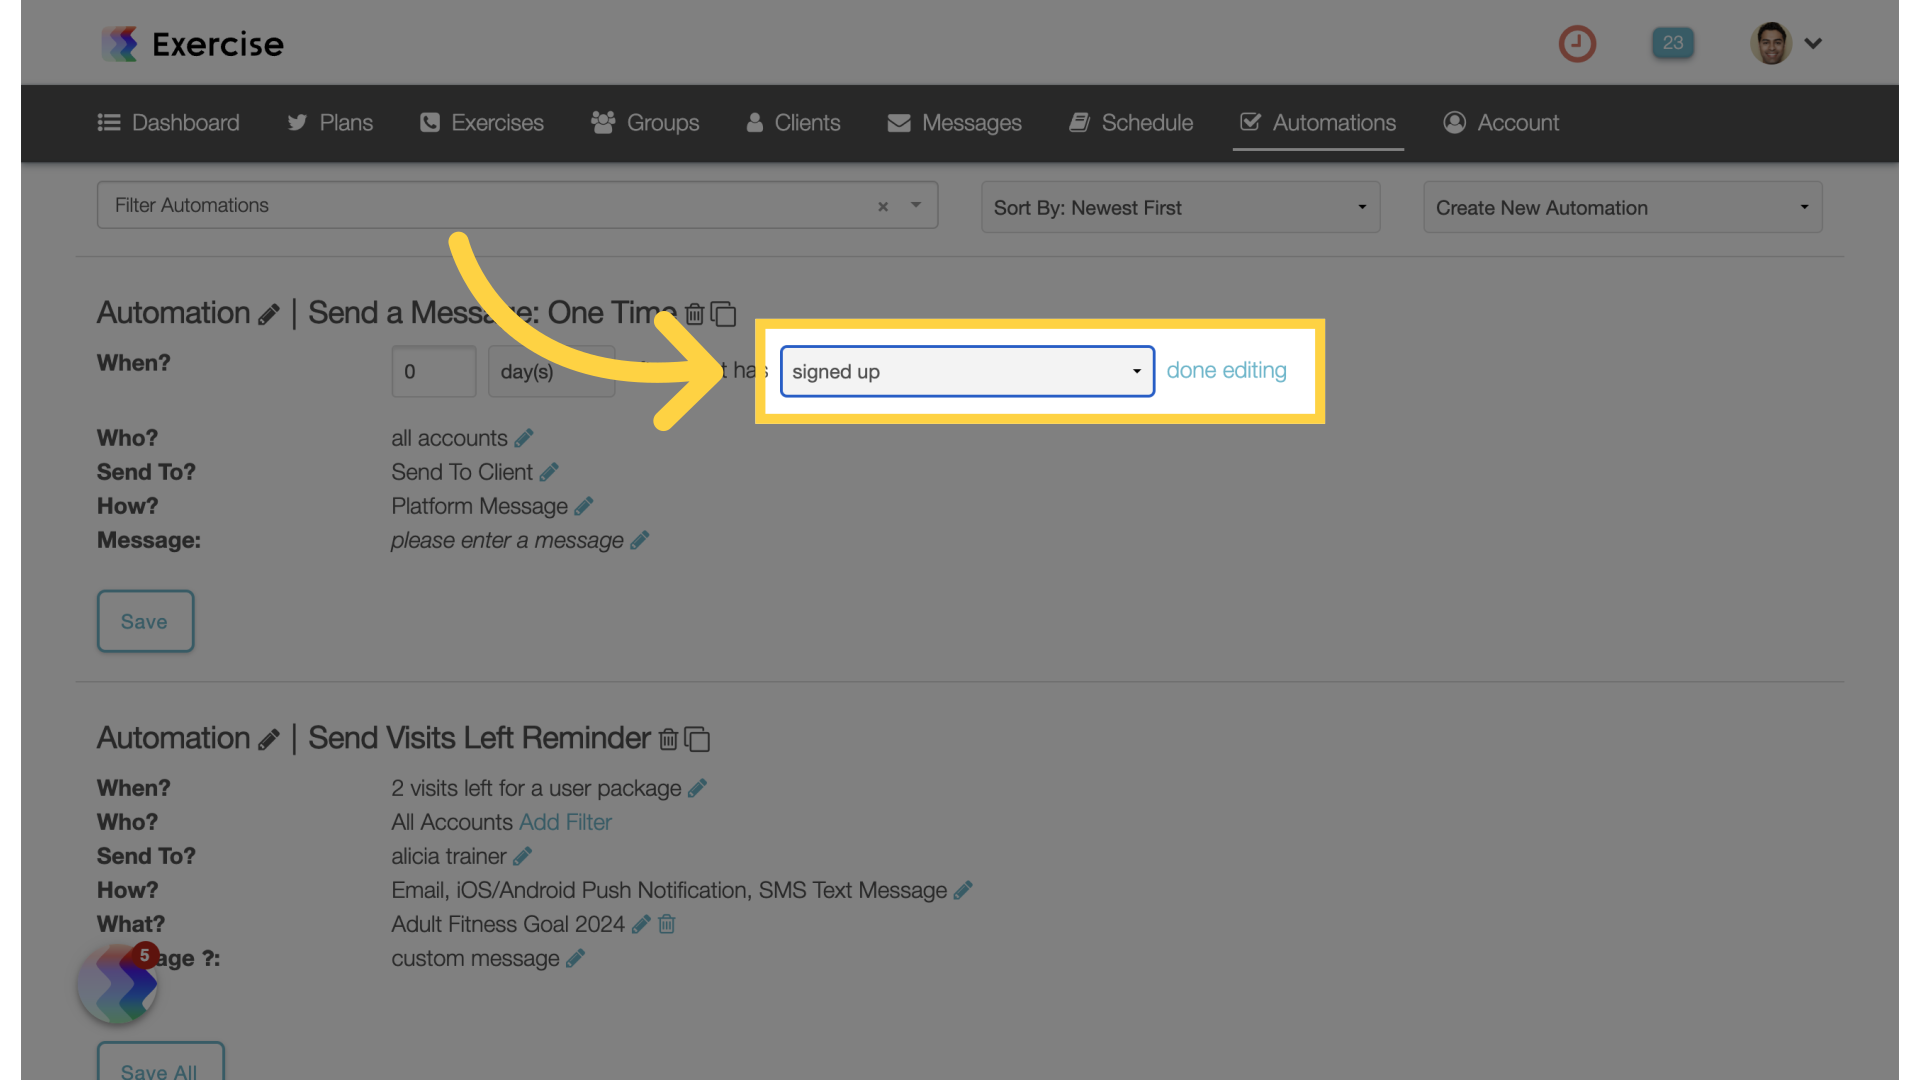
4. Select Action
Select the trigger for the automation. Each action item will have additional settings.
- A Subscription renewal – any/specific payment plan
- A trial ending
- An expired package – any/specific package
- Been added to this group – any/specific group
- Birthday
- Booked a visit – any/specific service
- Canceled a subscription – any/specific subscription
- Checked in/completed a visit – any/specific service
- Completed a workout plan – any/specific workout plan
- Completed an assessment – any/specific assessment
- Closed out a visit – any/specific service
- Completed workouts – specific number of workouts completed
- Failed a payment
- Late canceled a visit – any/specific service
- Membership Anniversary
- No showed a visit – any/specific service
- Opened the app
- Purchased any – any/no payment plan
- Purchased client training – any/no payment plan
- Purchased plan(s) – any/specific plan
- Purchased product(s) – any/specific product
- Purchased group(s) – any/specific group – any/no payment plan
- Purchased package(s) – any/specific package – any/no payment plan
- Signed up
Click on the done editing links to continue to the next step.
5. Customize the “Who?” Settings
Edit the settings for “Who”. You can select by group, location, clients with or without specific tags. All accounts is the default.

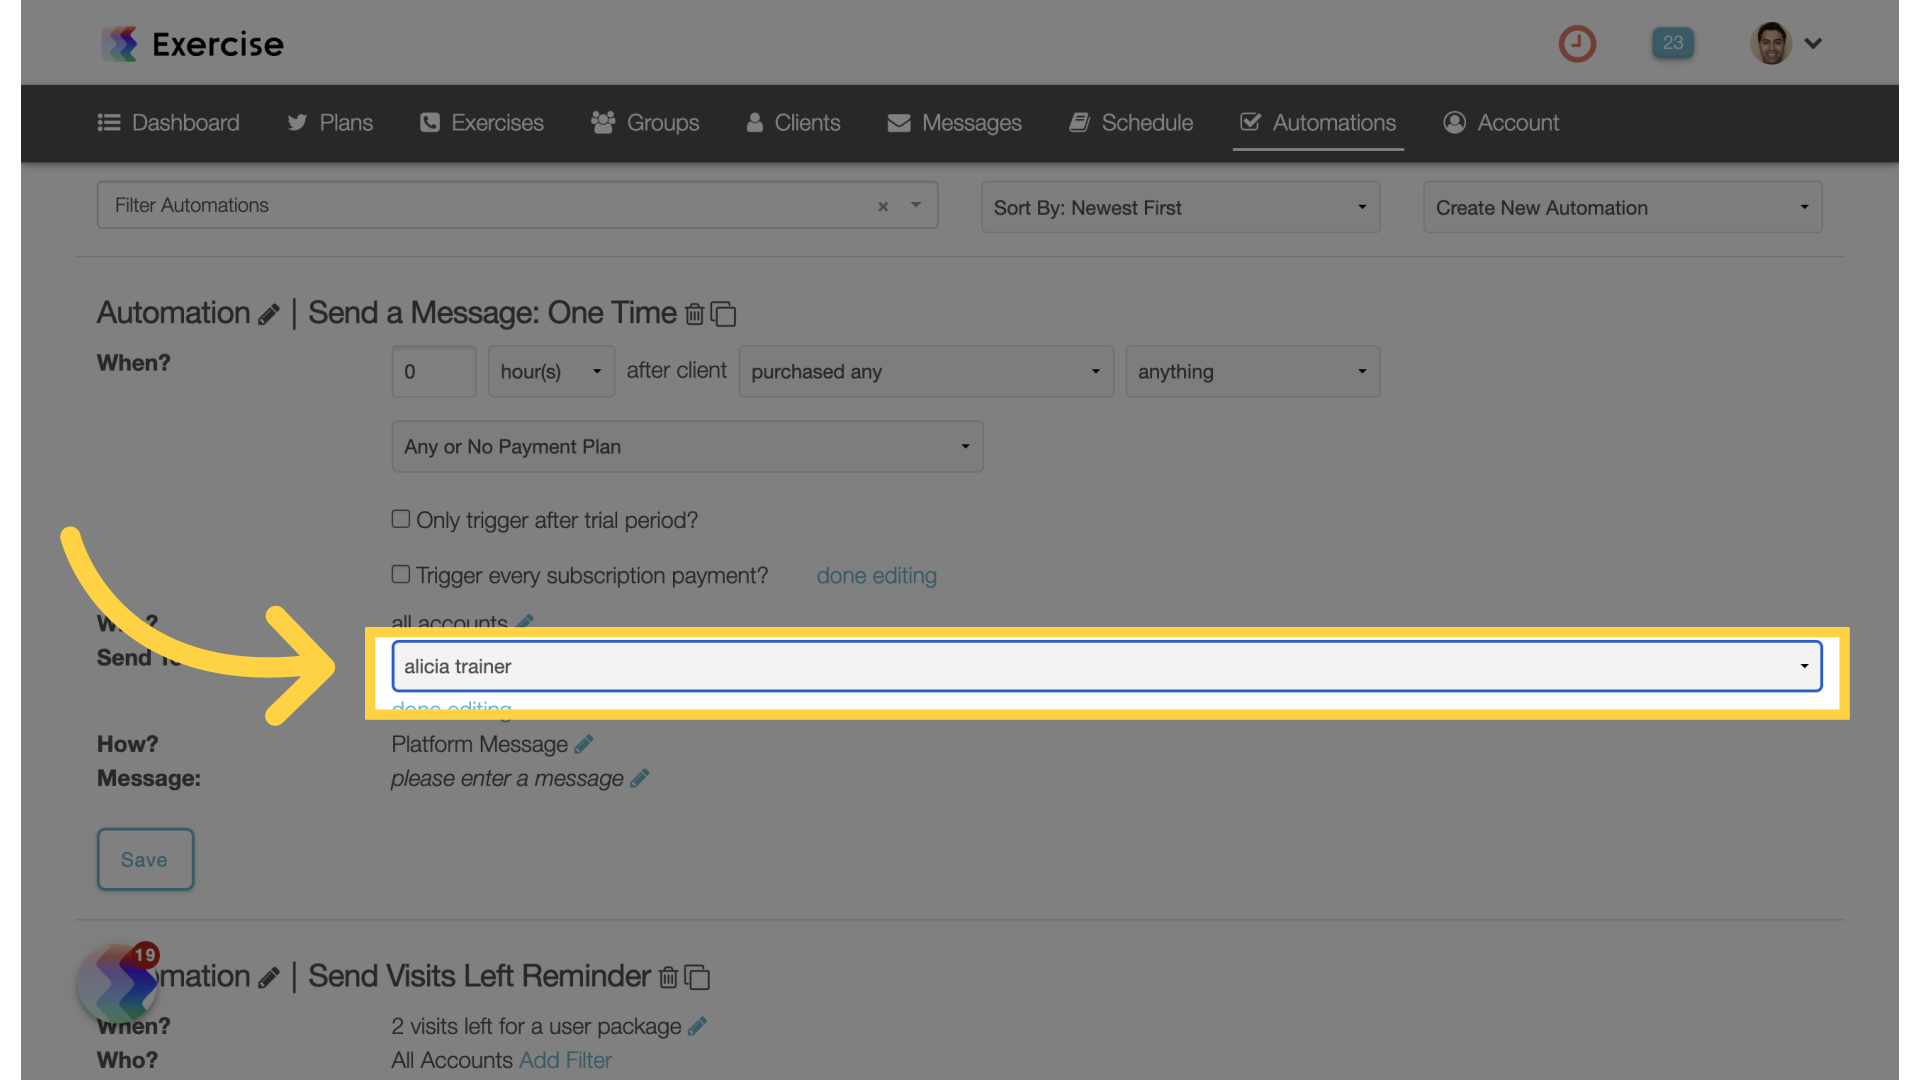
6. Customize the “Send To?” Settings
For the recipient of the message, select a trainer from the drop-down list.
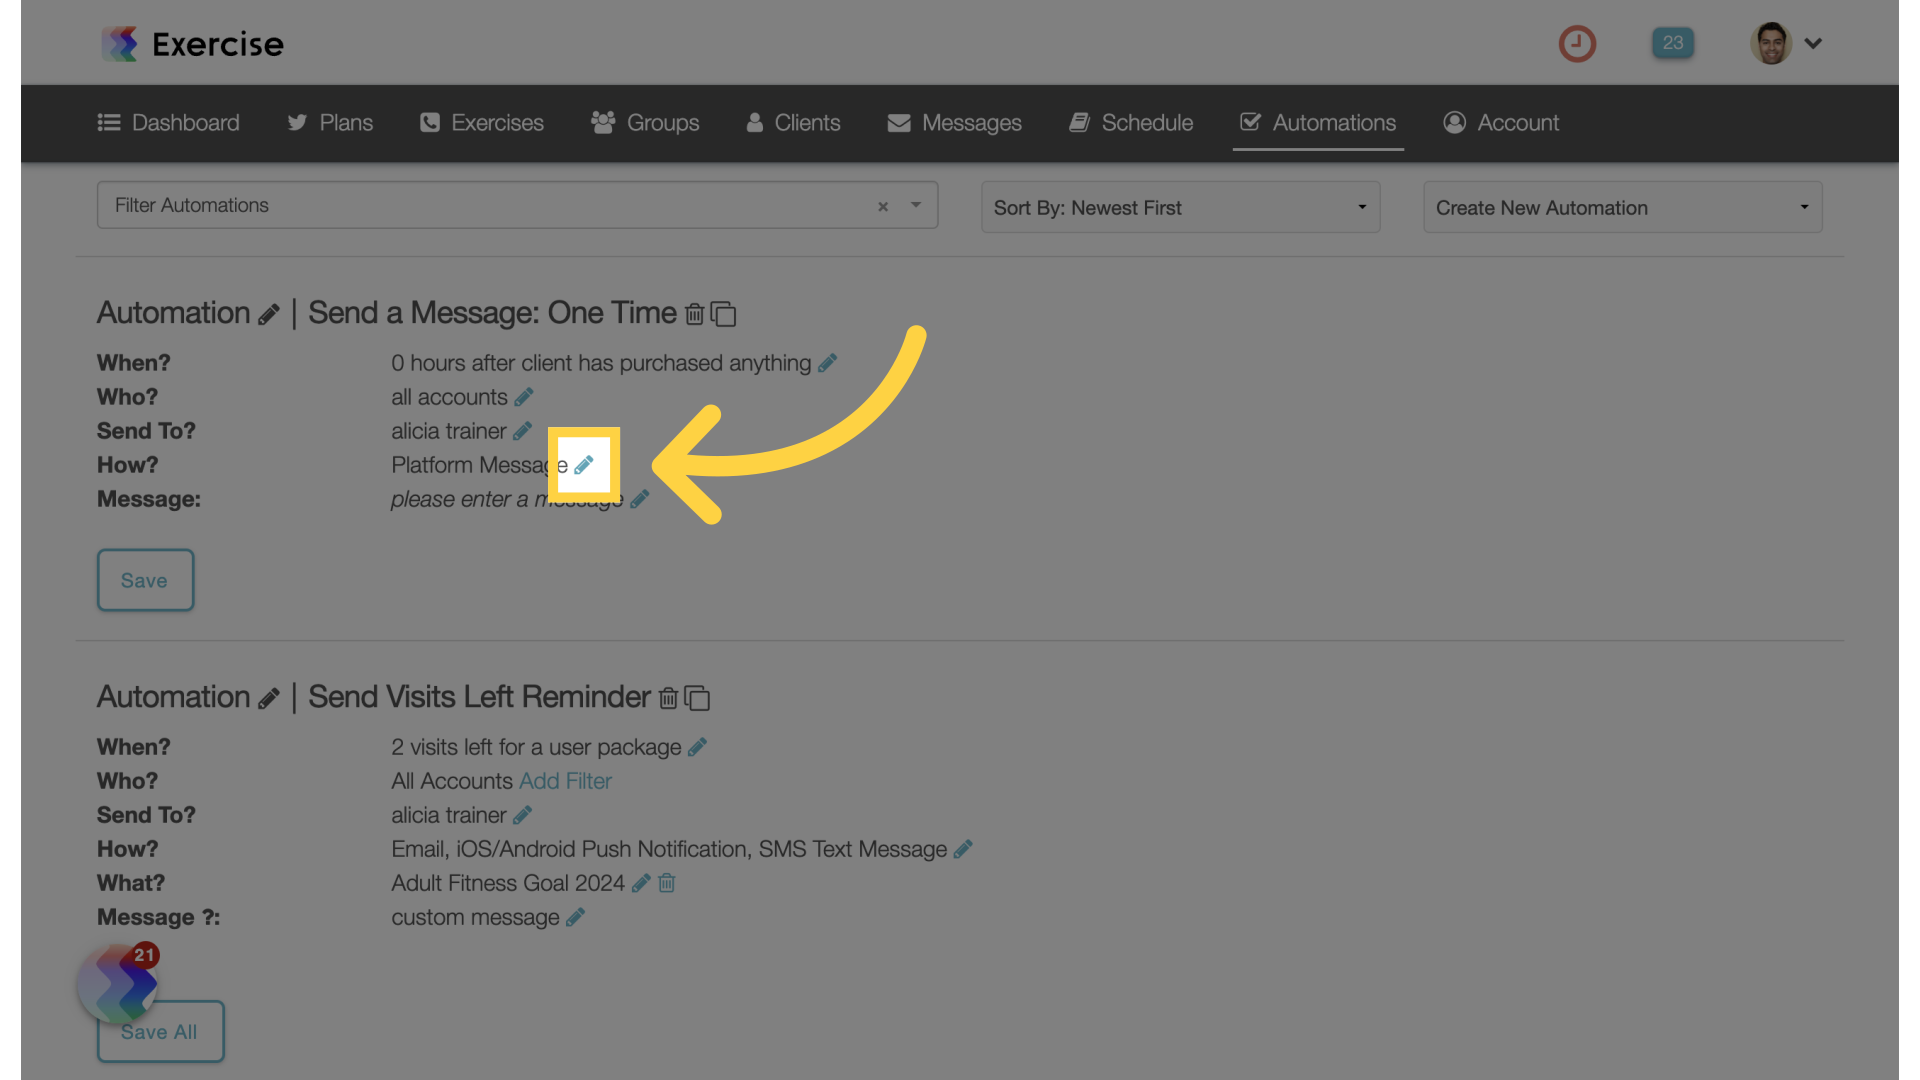
7. Customize the “How?” Settings
Edit the settings for “How”.
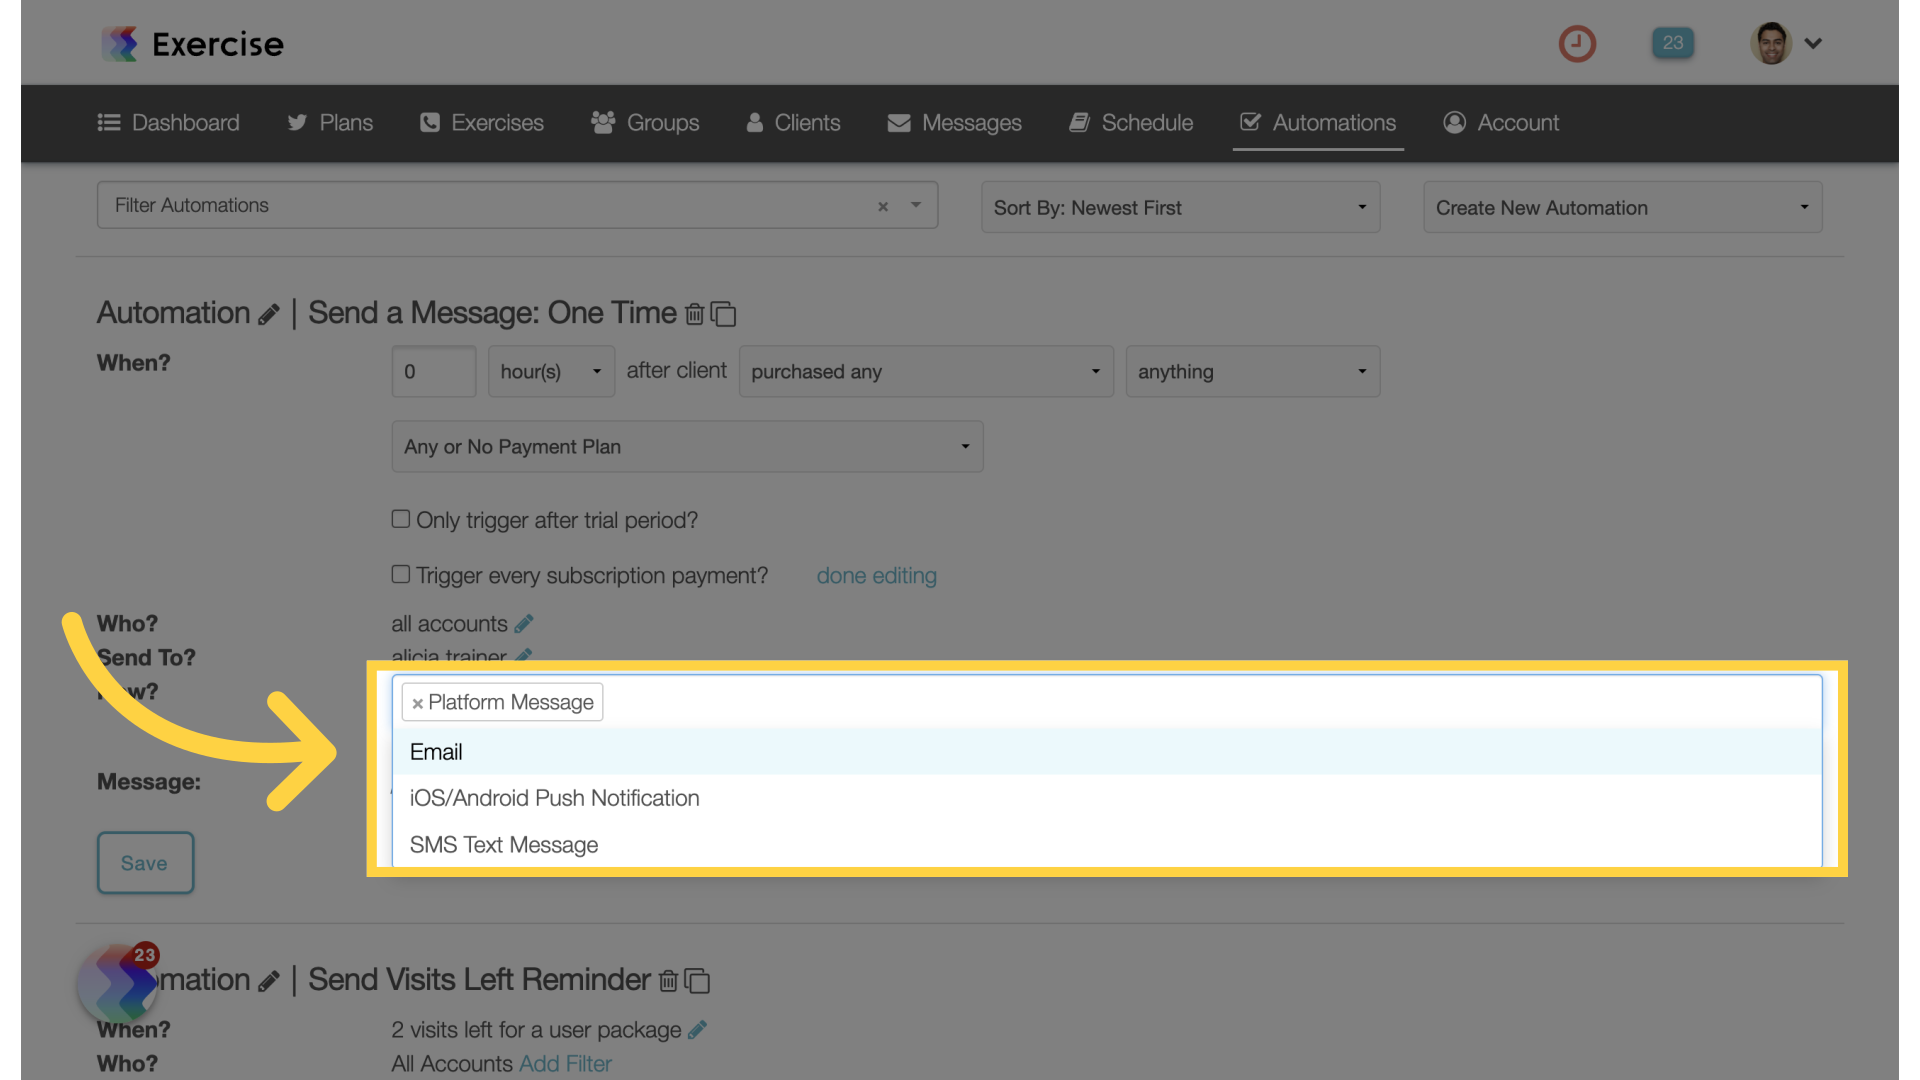
8. Select Message Delivery
Select the message delivery from the list. You can choose from platform message, email, push notification or sms.
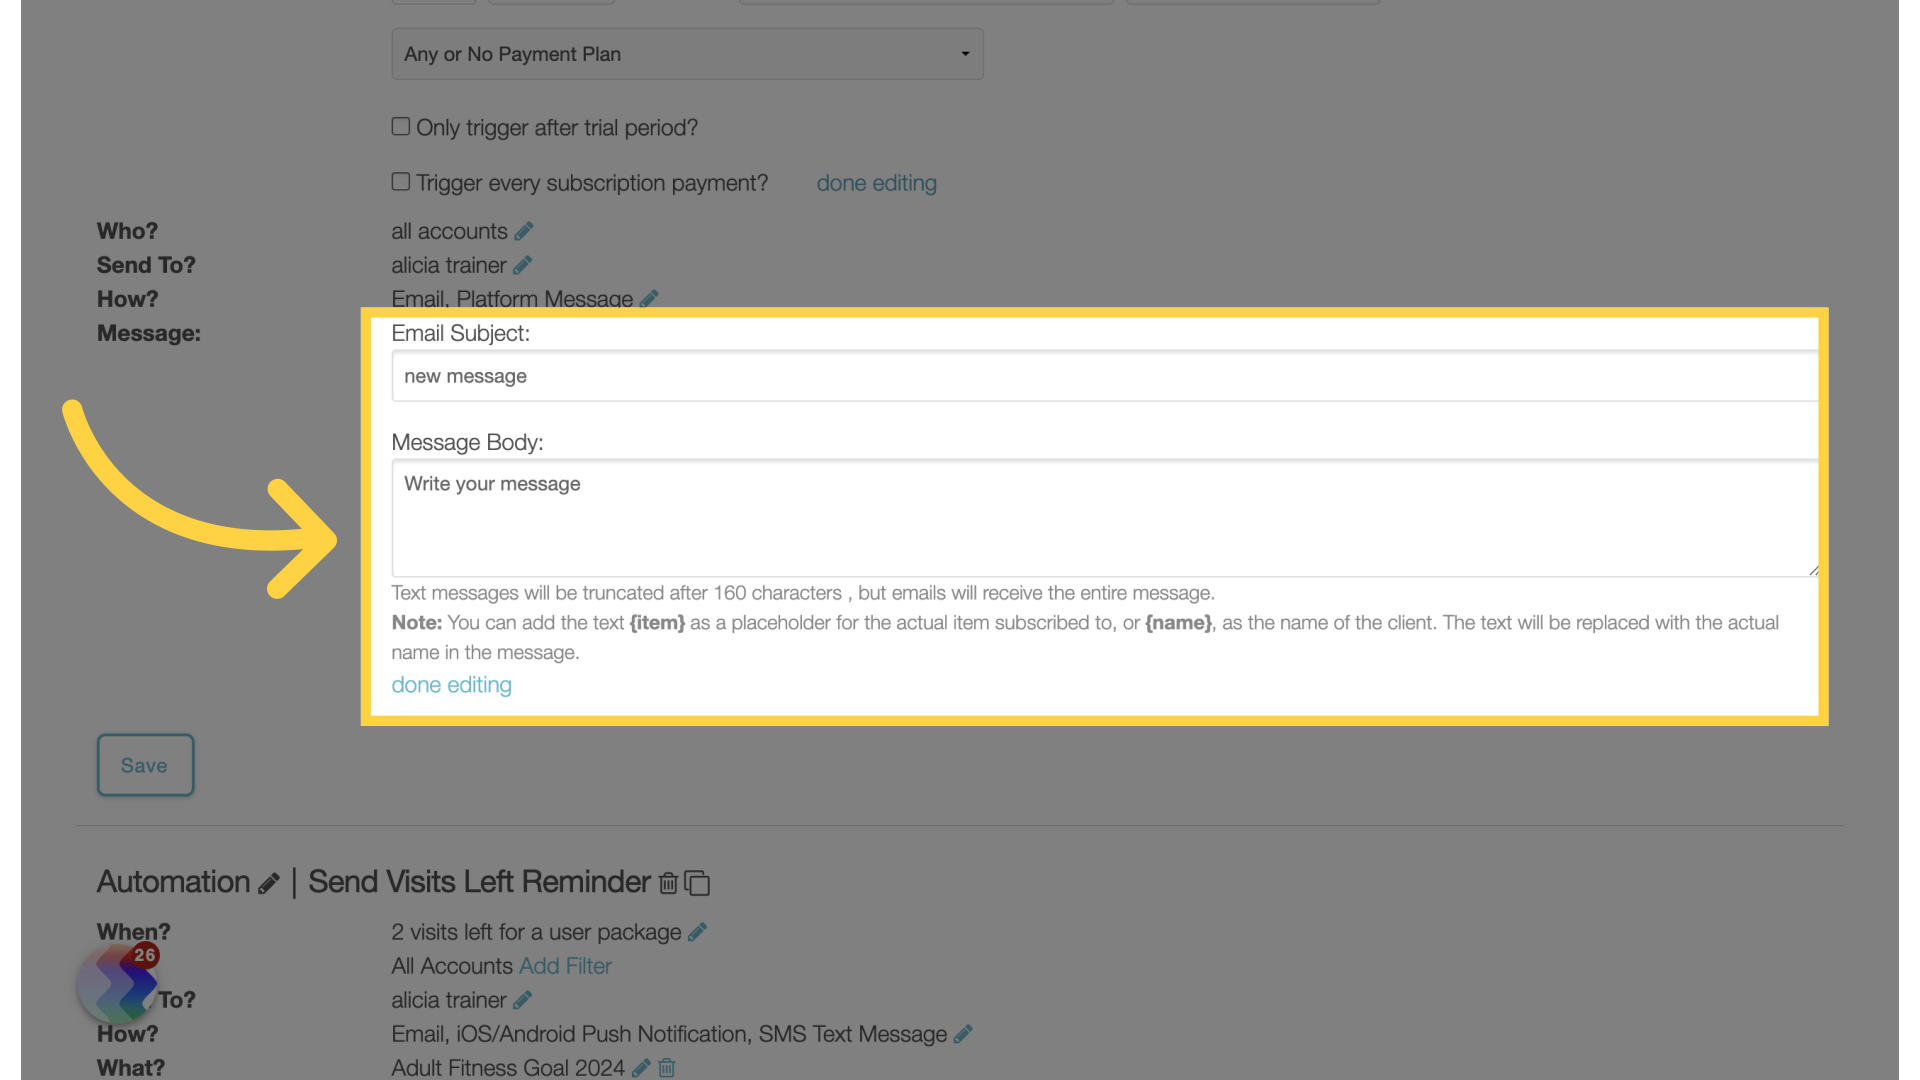
9. Custom Message
Click on the edit icon for “Message” and type out a custom message.
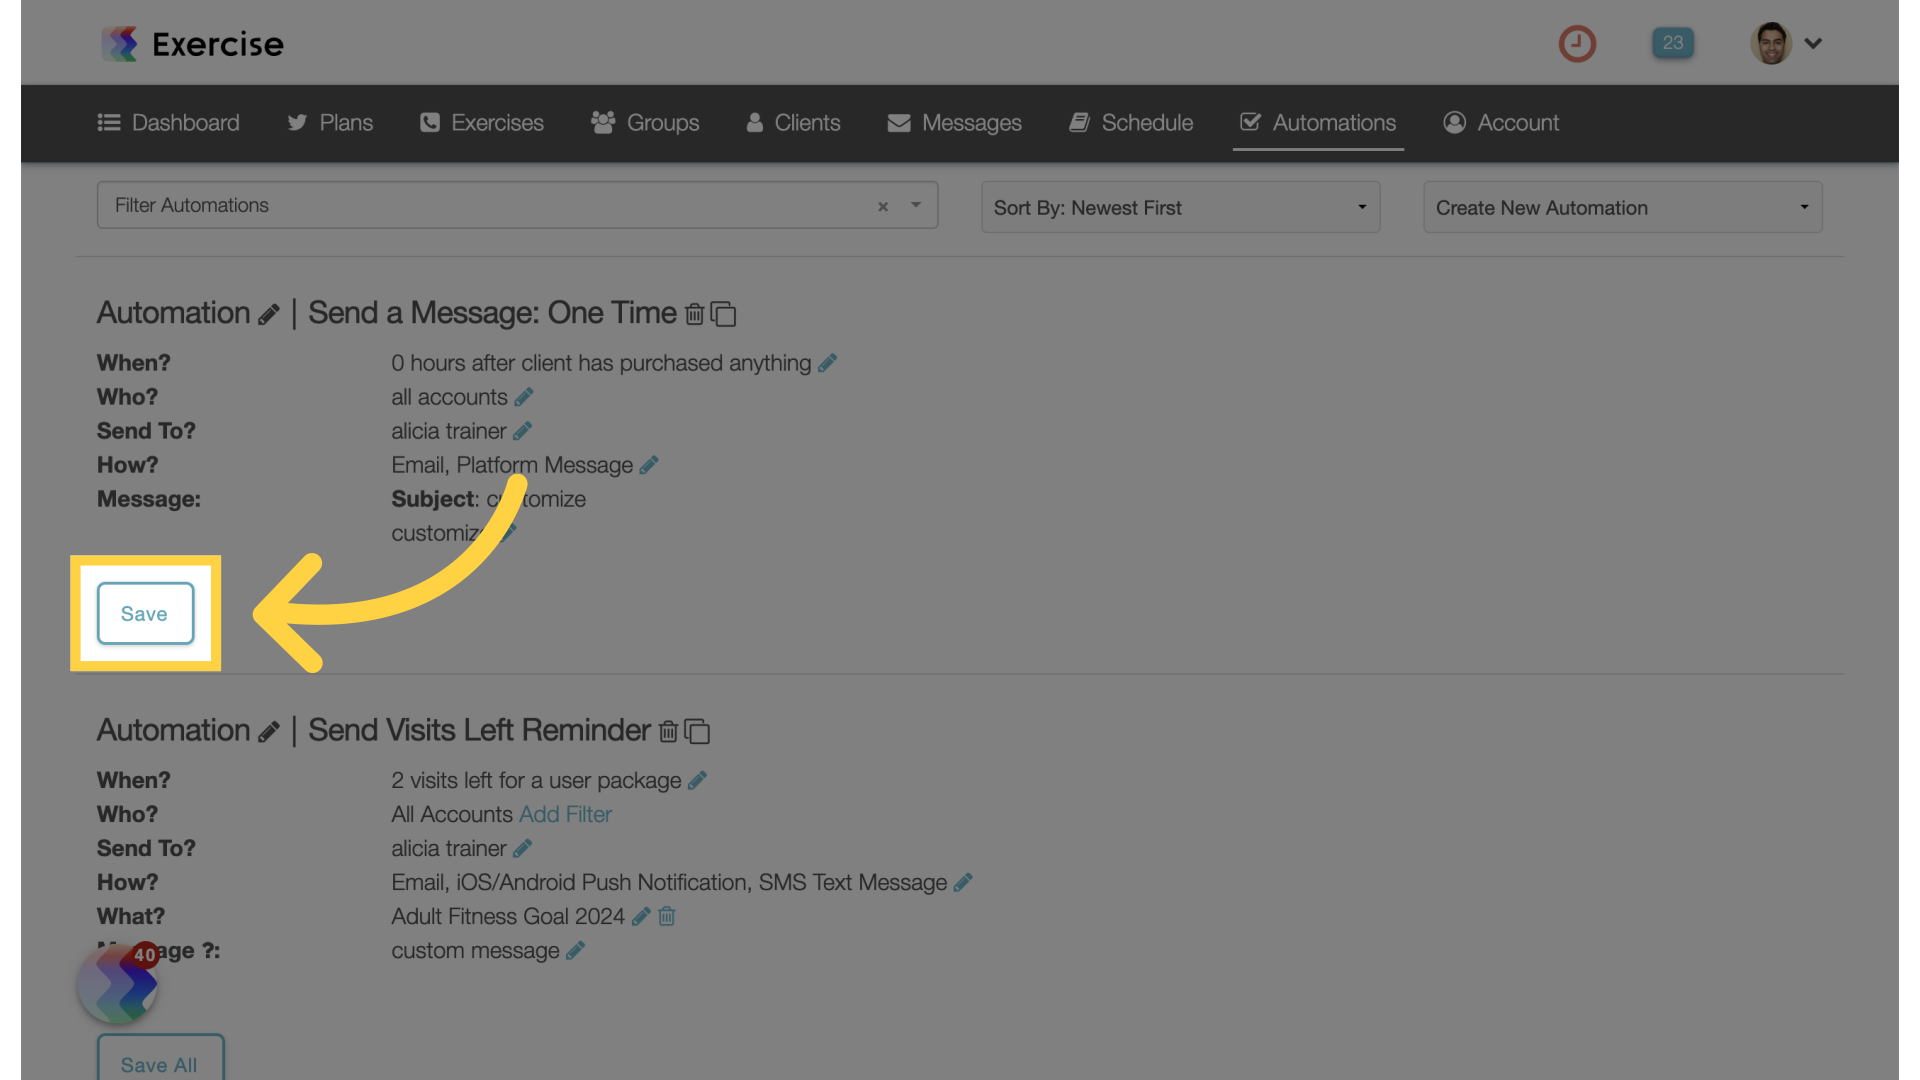
10. Save
Save the automation settings.
This guide covered setting up automated messages to be sent to trainers after specific criteria have been met.


