Creating and Validating a Webhook
Learn how to set up and validate a Webhook for employee training purposes
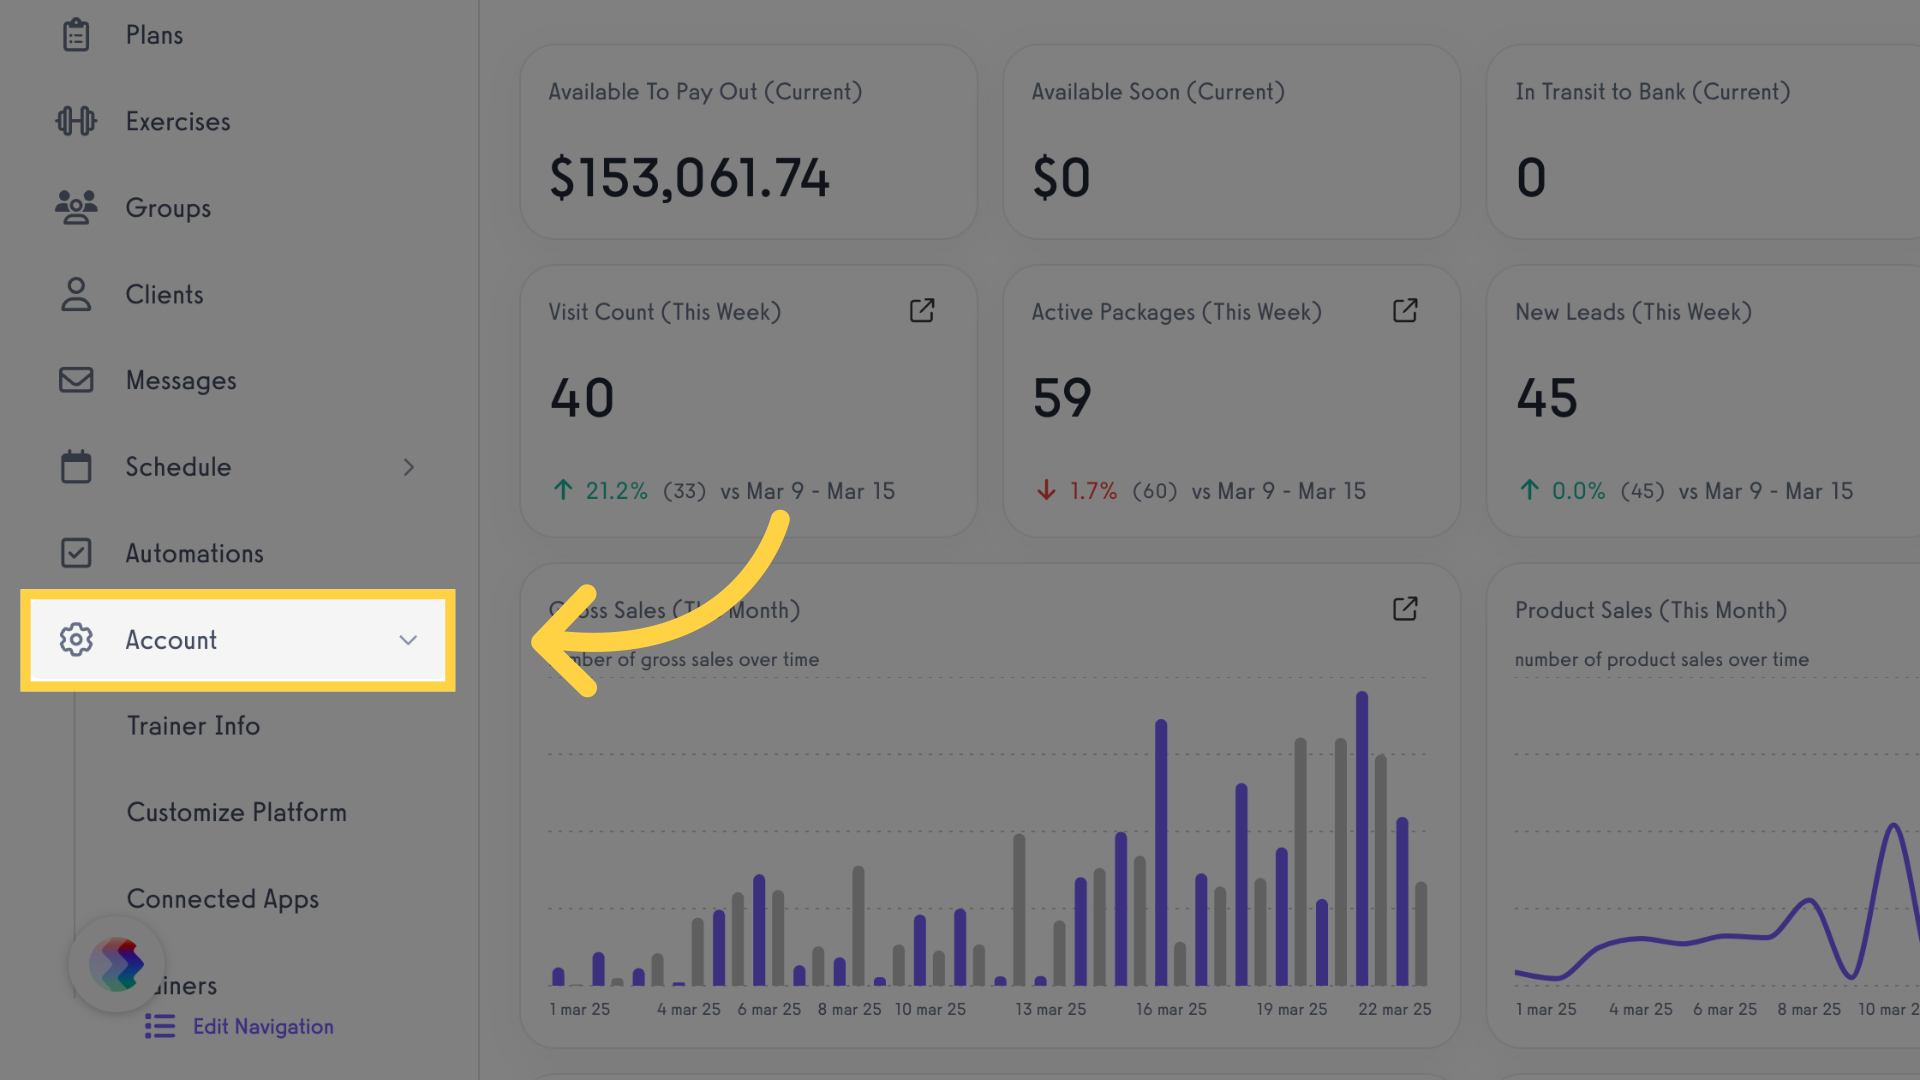
1. Click “Account”
Navigate to your account settings.
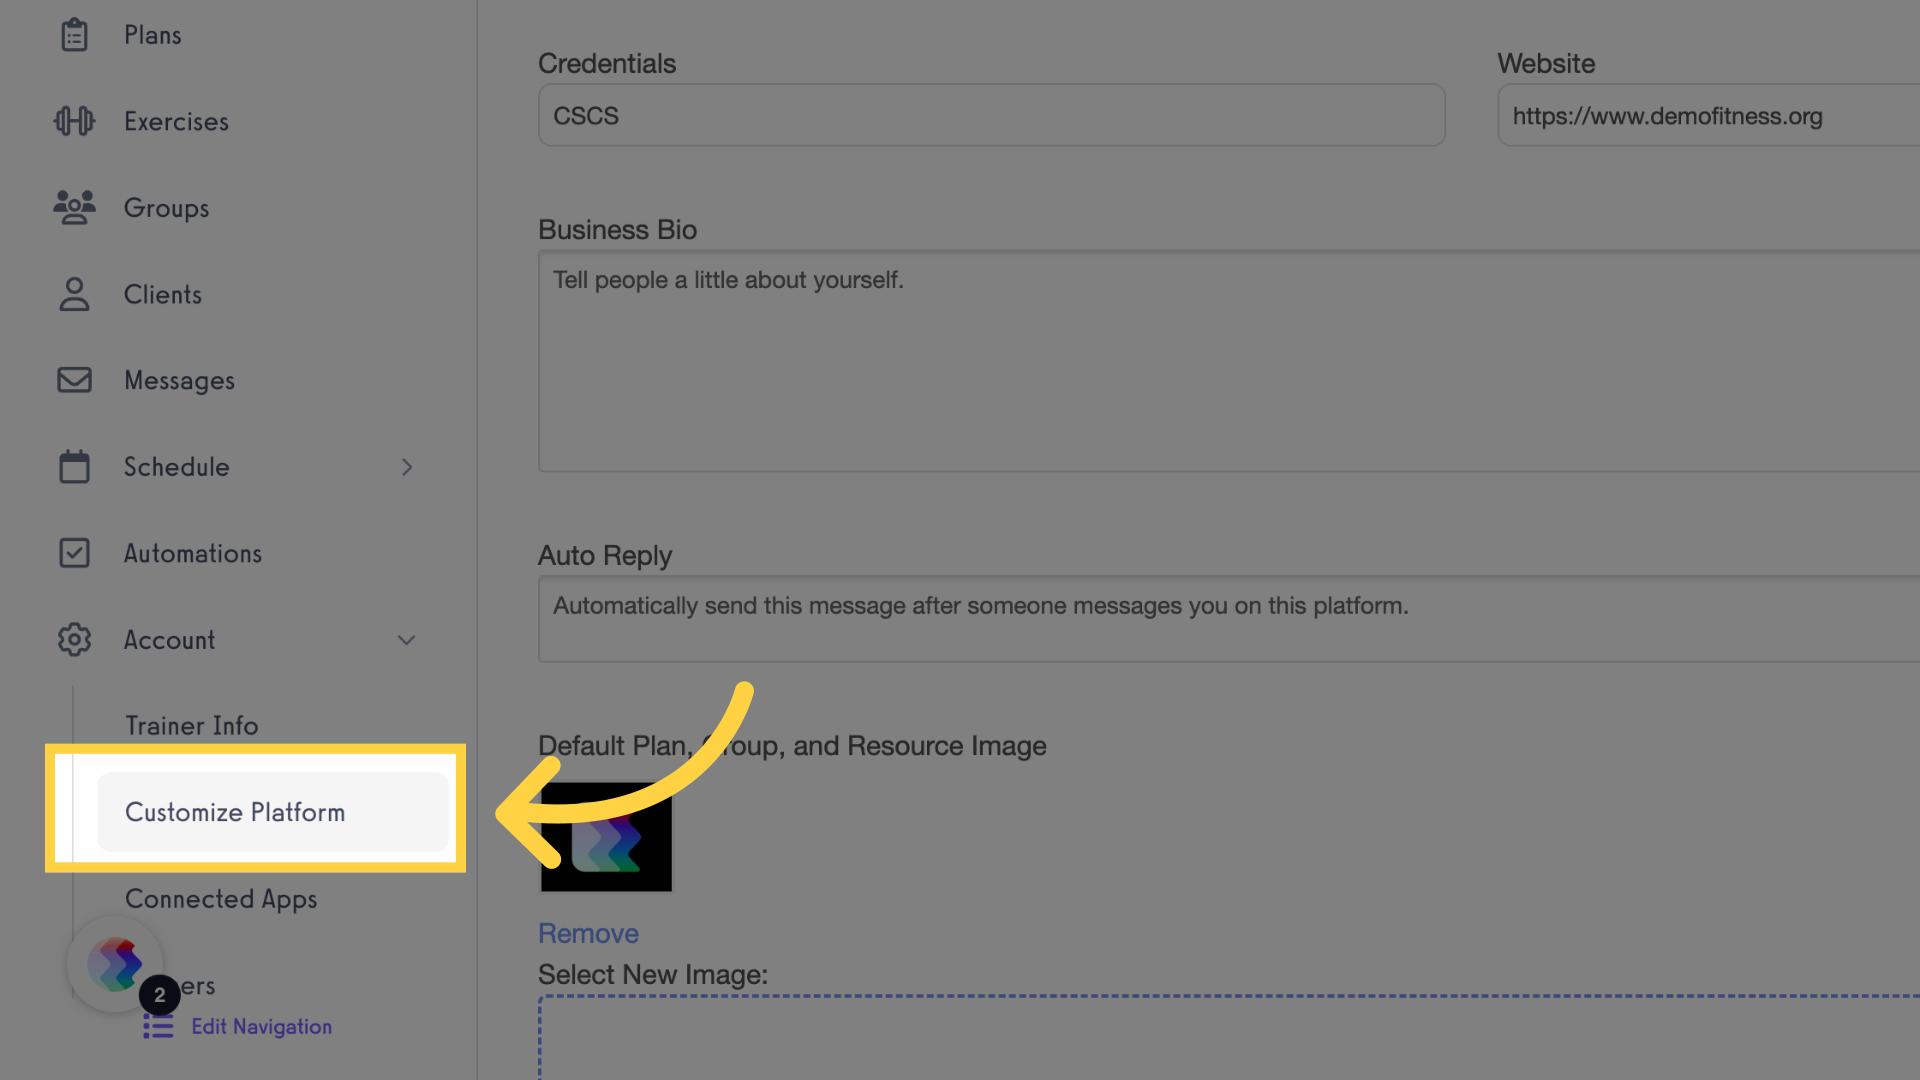
2. Click “Customize Platform”
Personalize the platform settings.
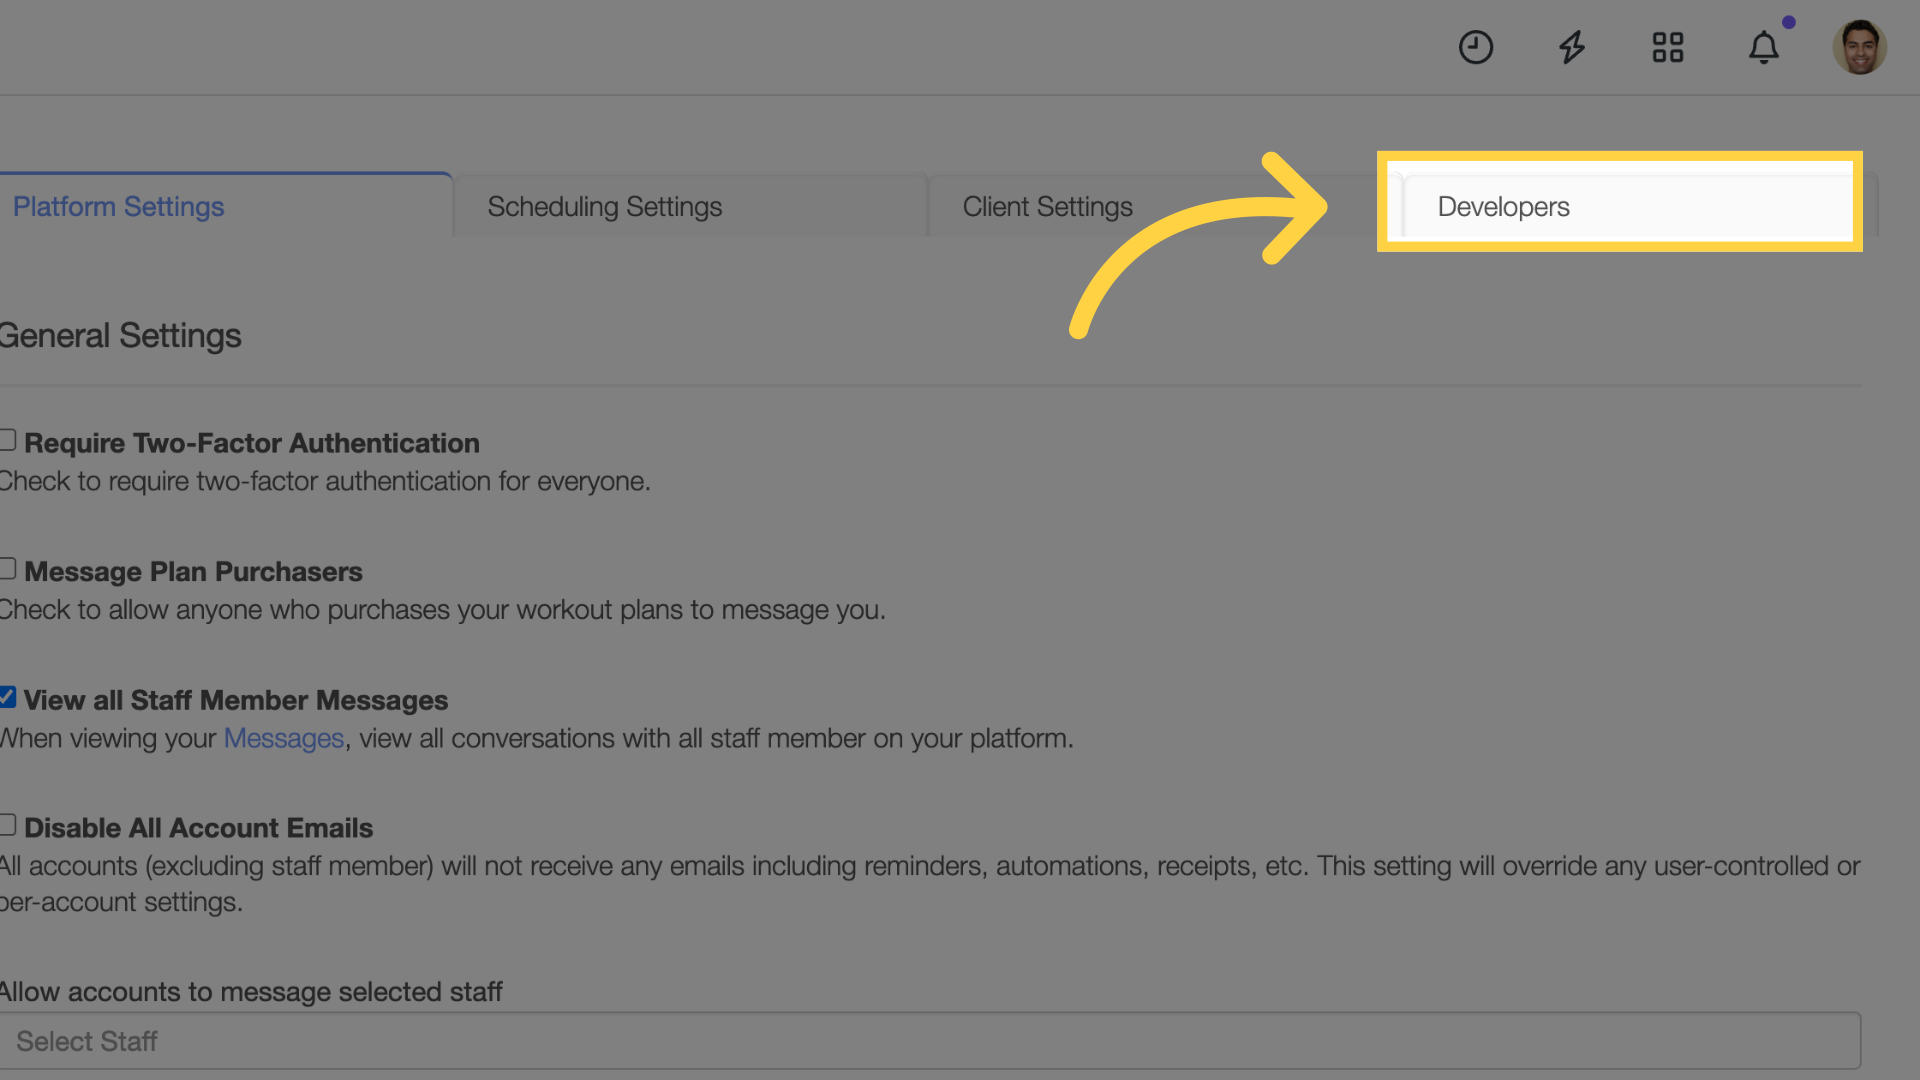
3. Click “Developers”
Proceed to the Developers section.
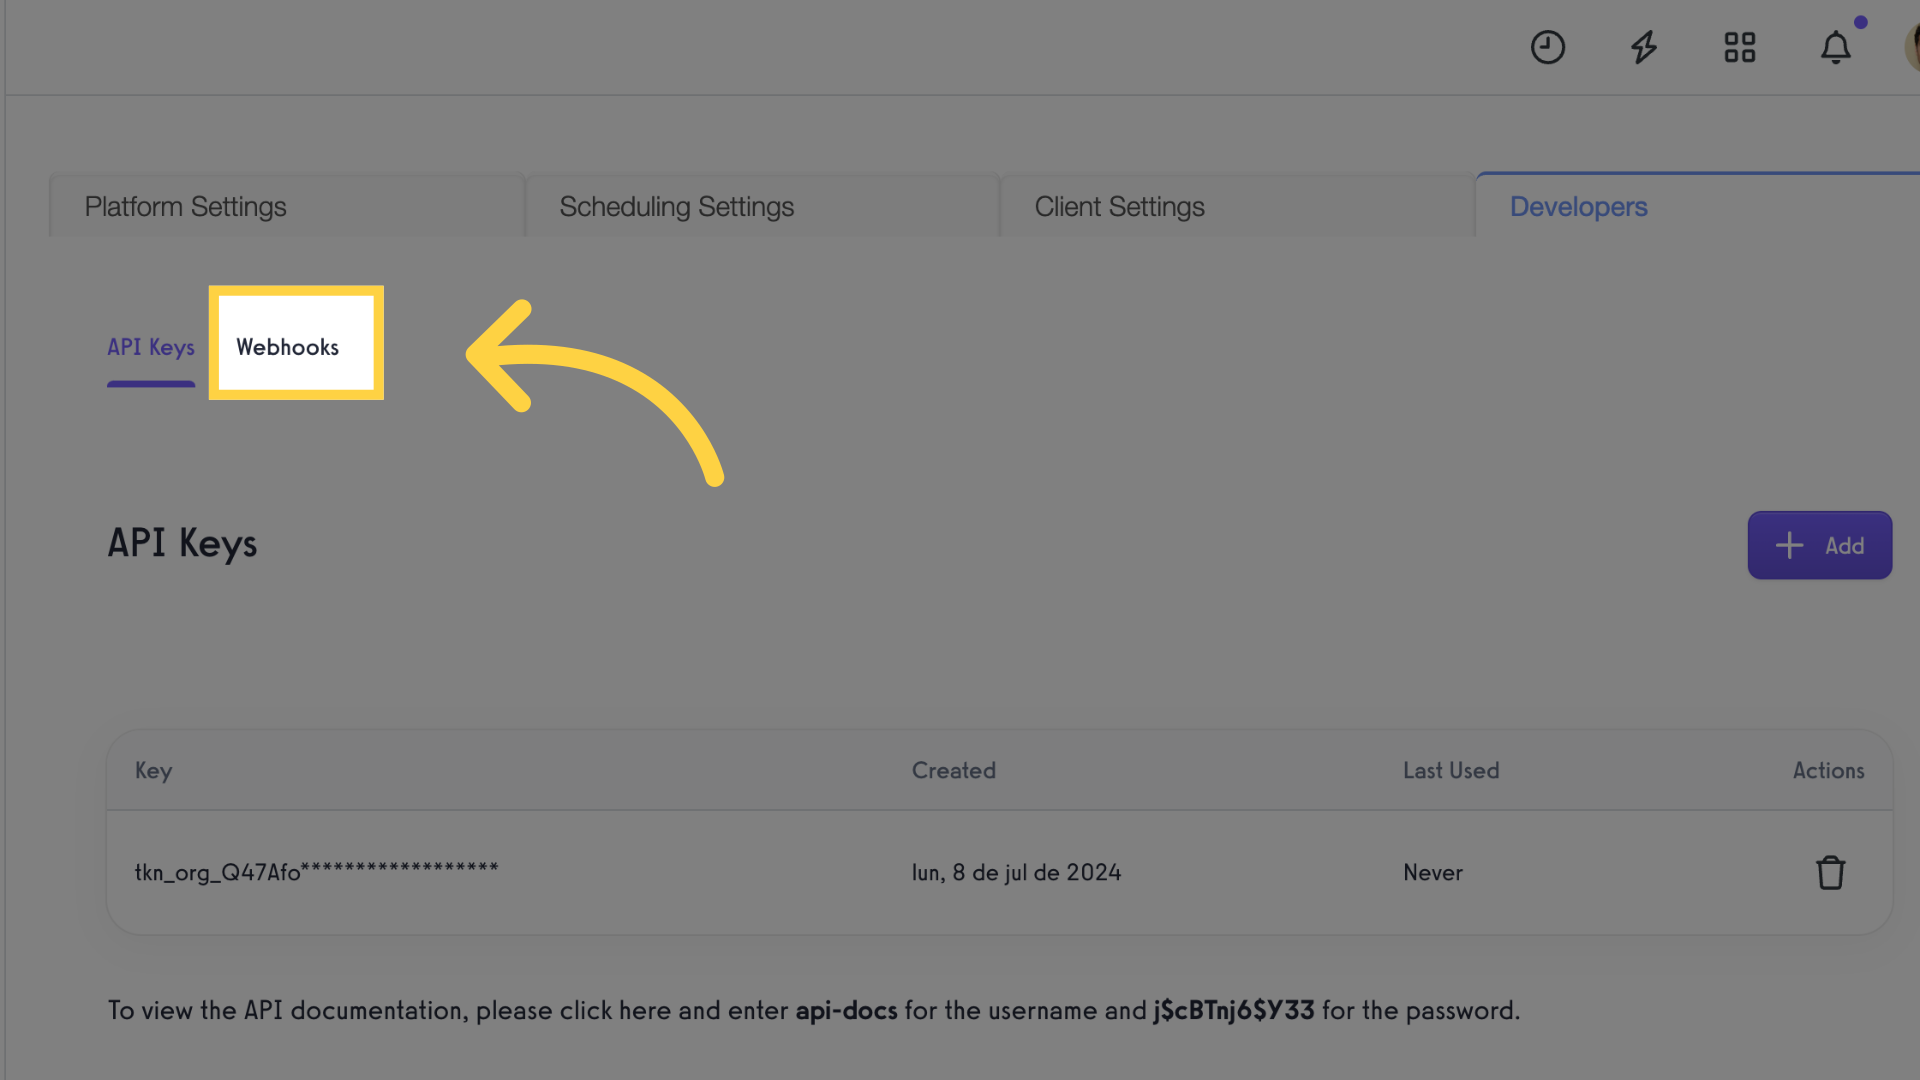
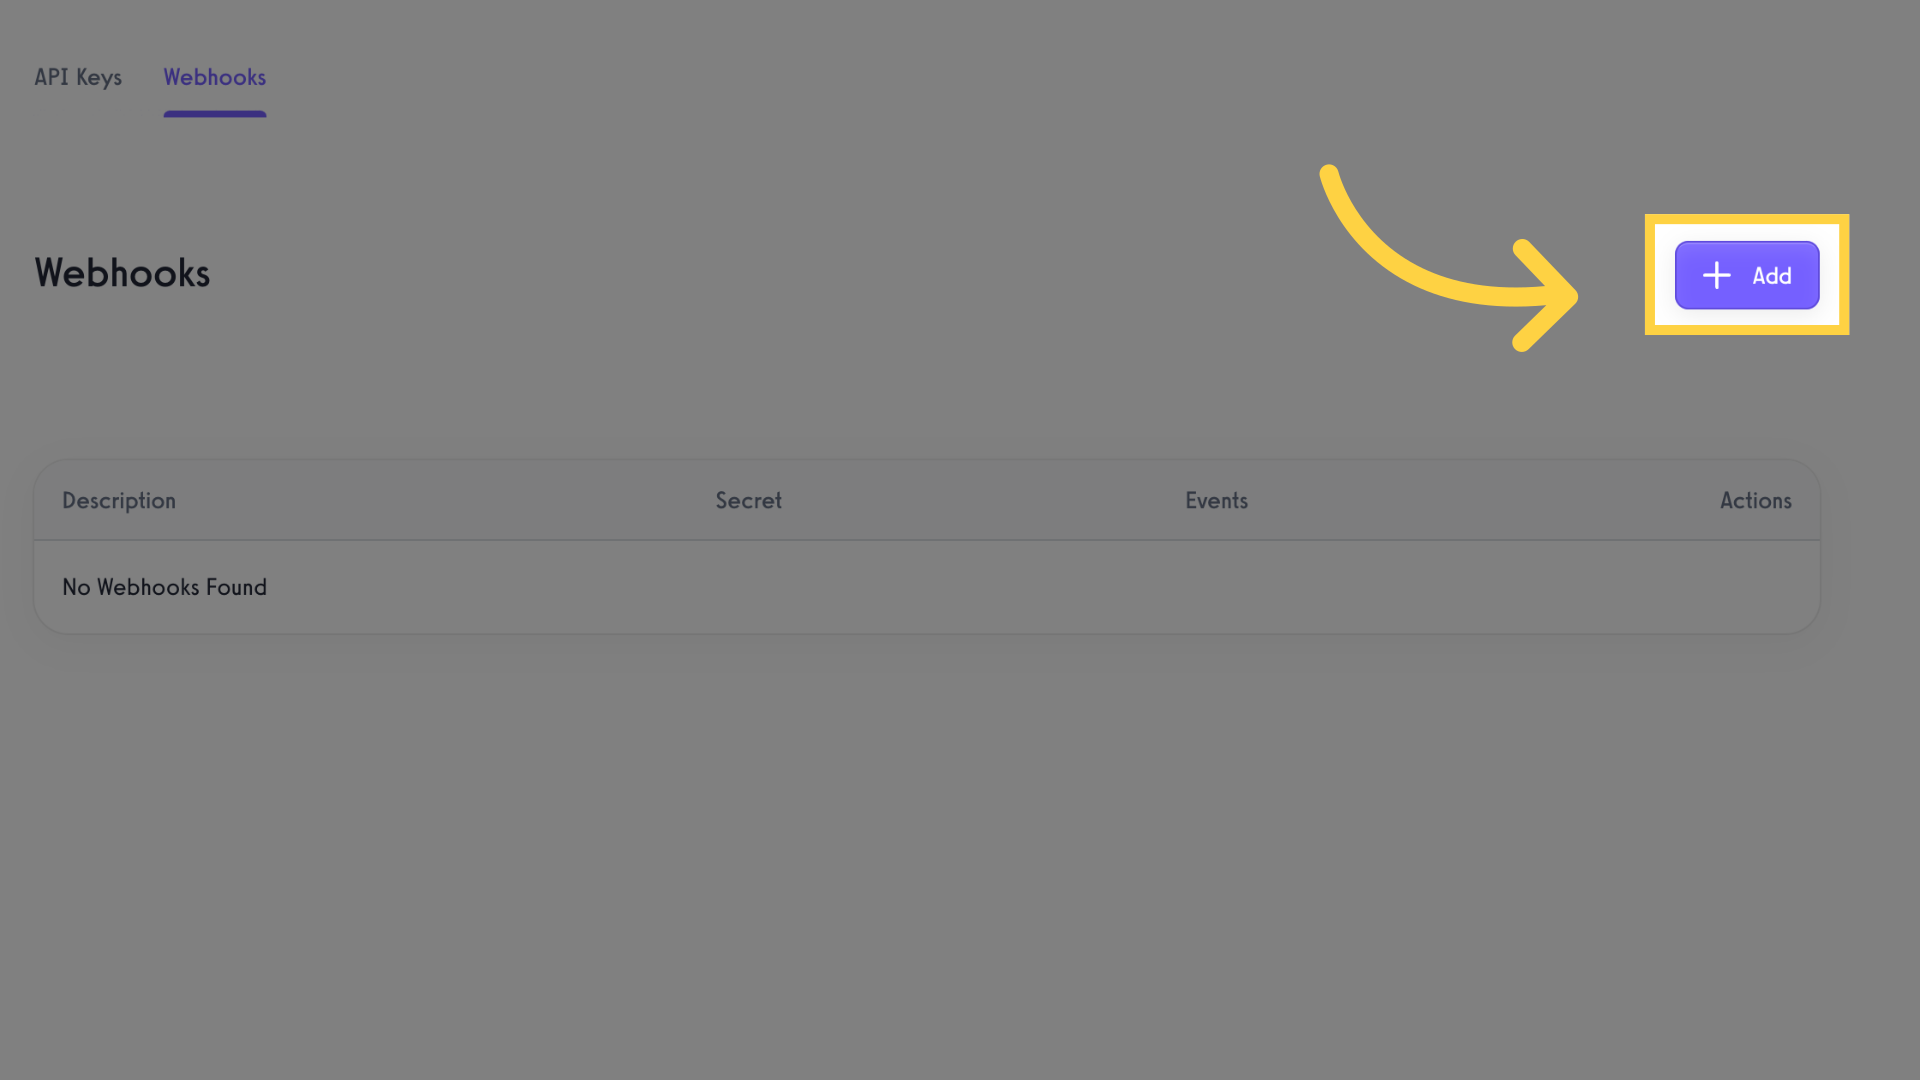
4. Click “Webhooks”
Open the Webhooks settings.
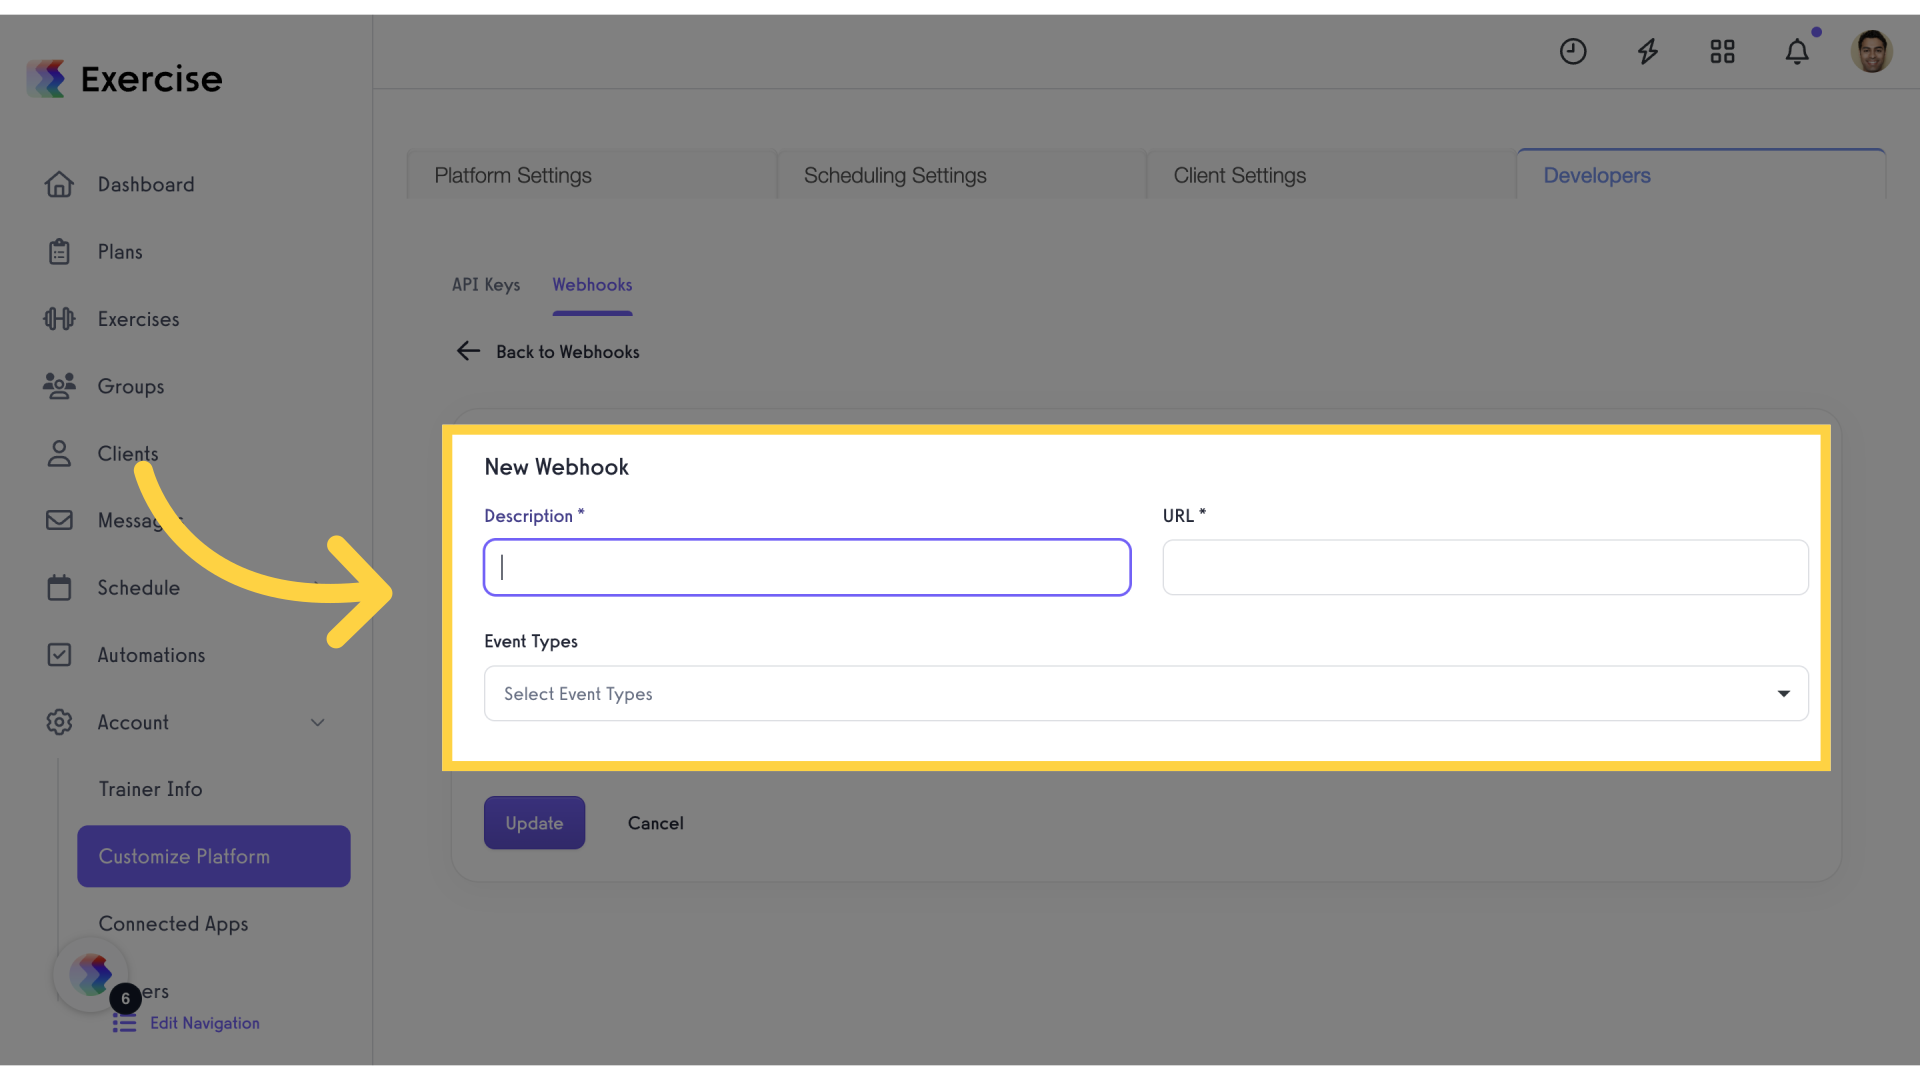
5. Click “Add”
Create a new Webhook entry.
6. Fill the form
Provide a description for the Webhook.
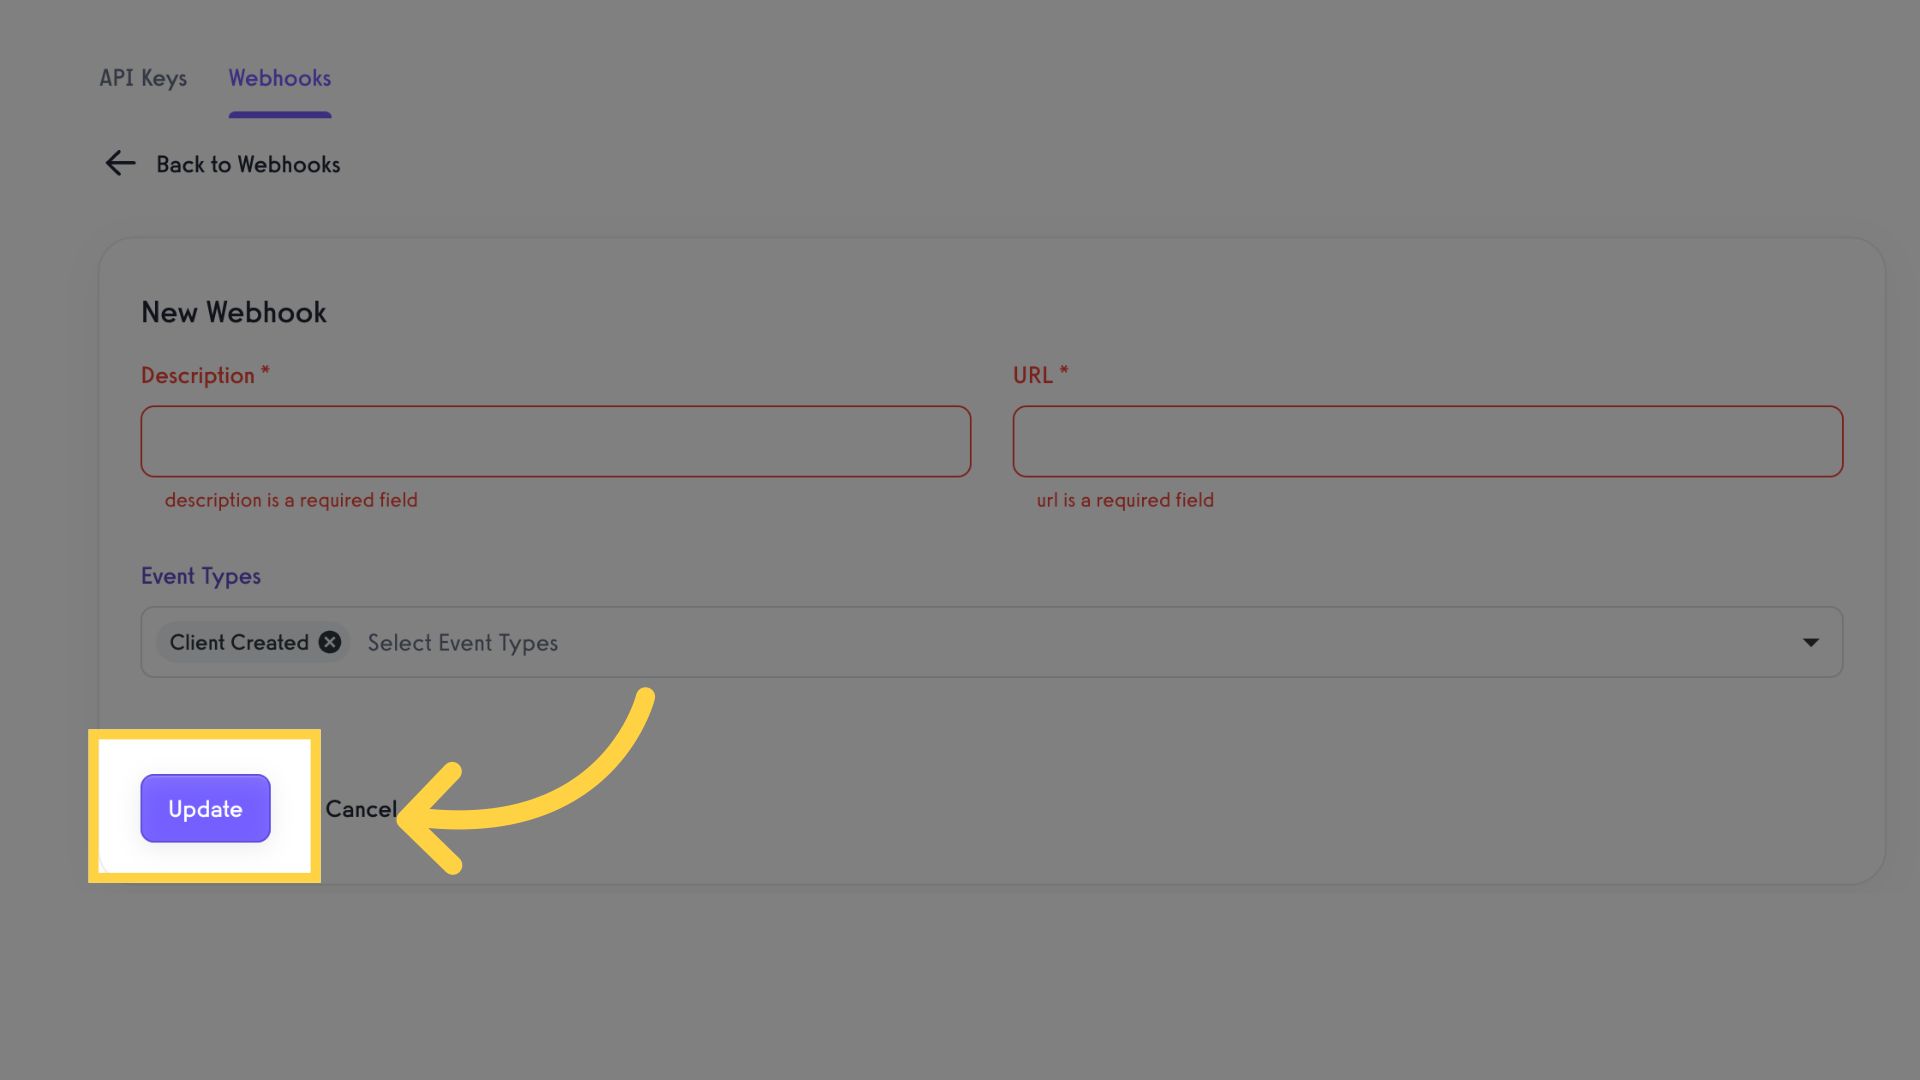
7. Click “Update”
Save the changes made. And you will see the newly created webhook in the list.
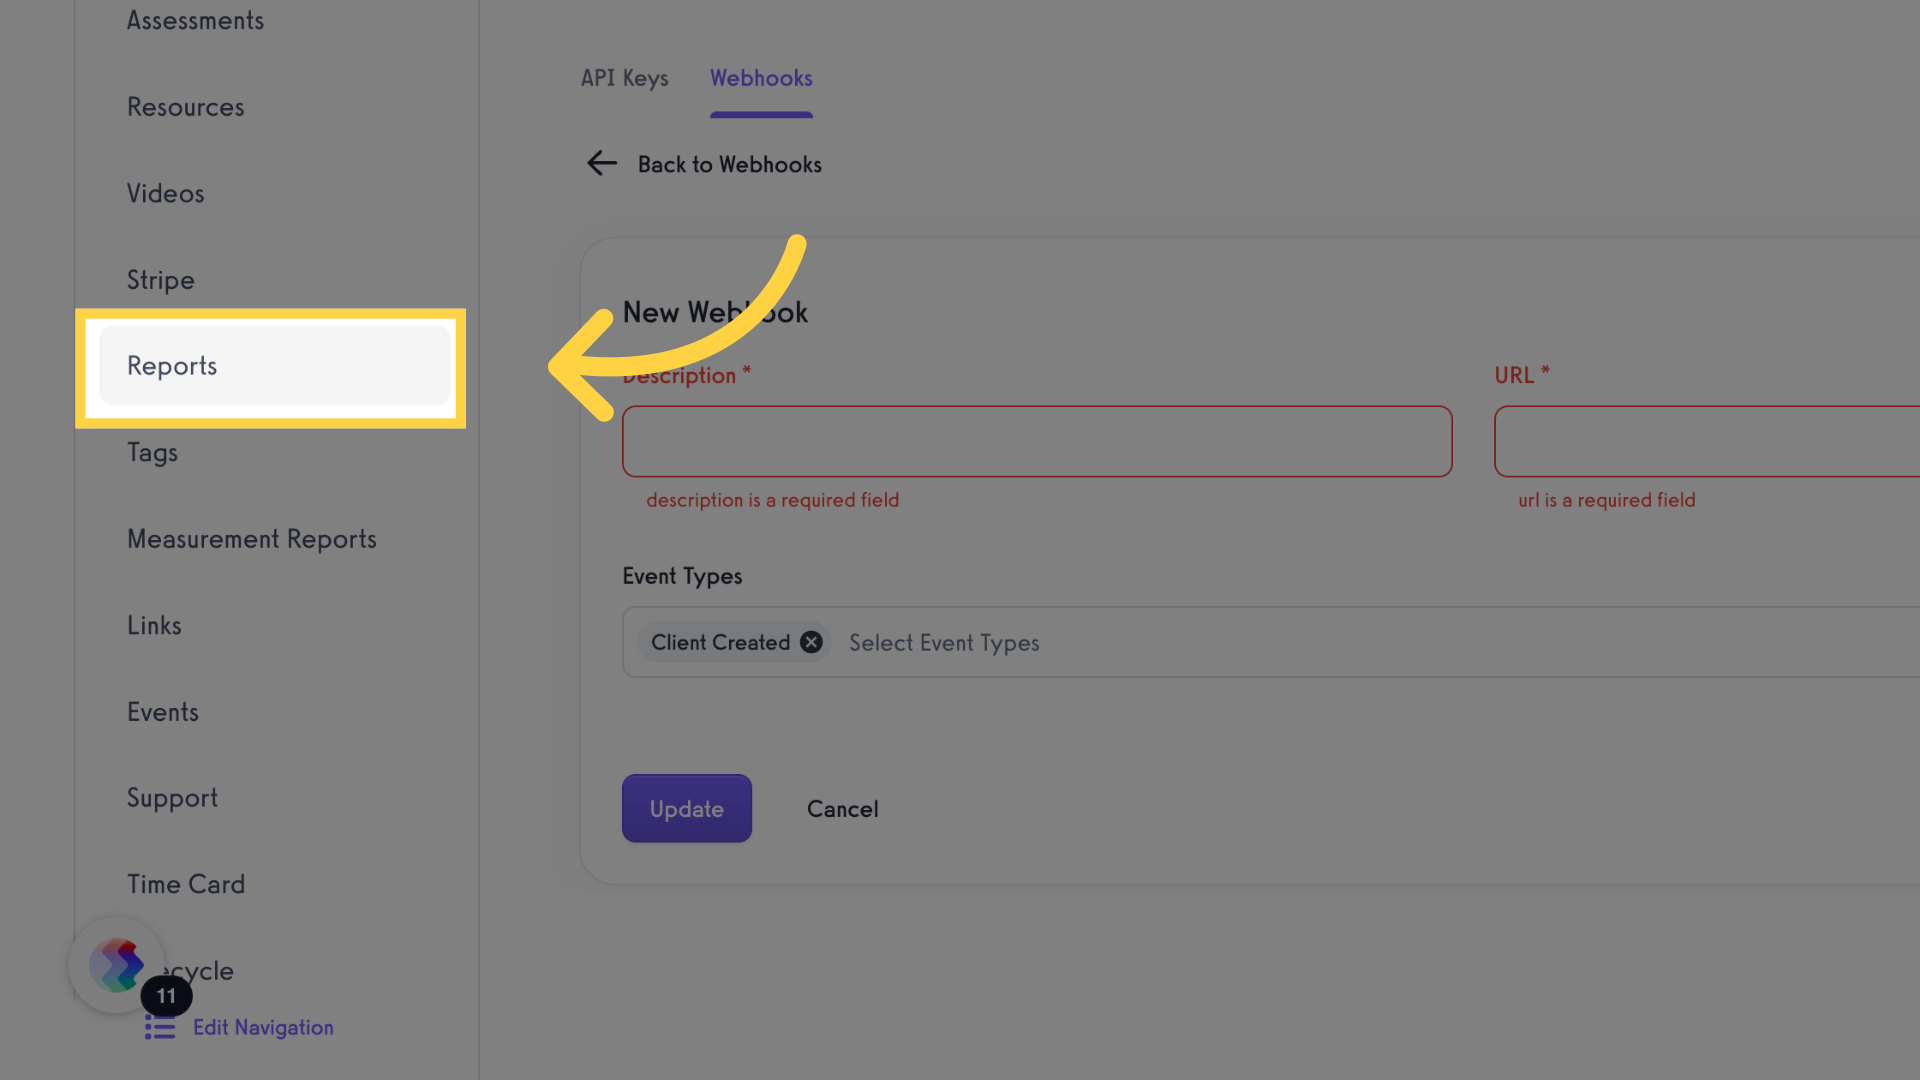
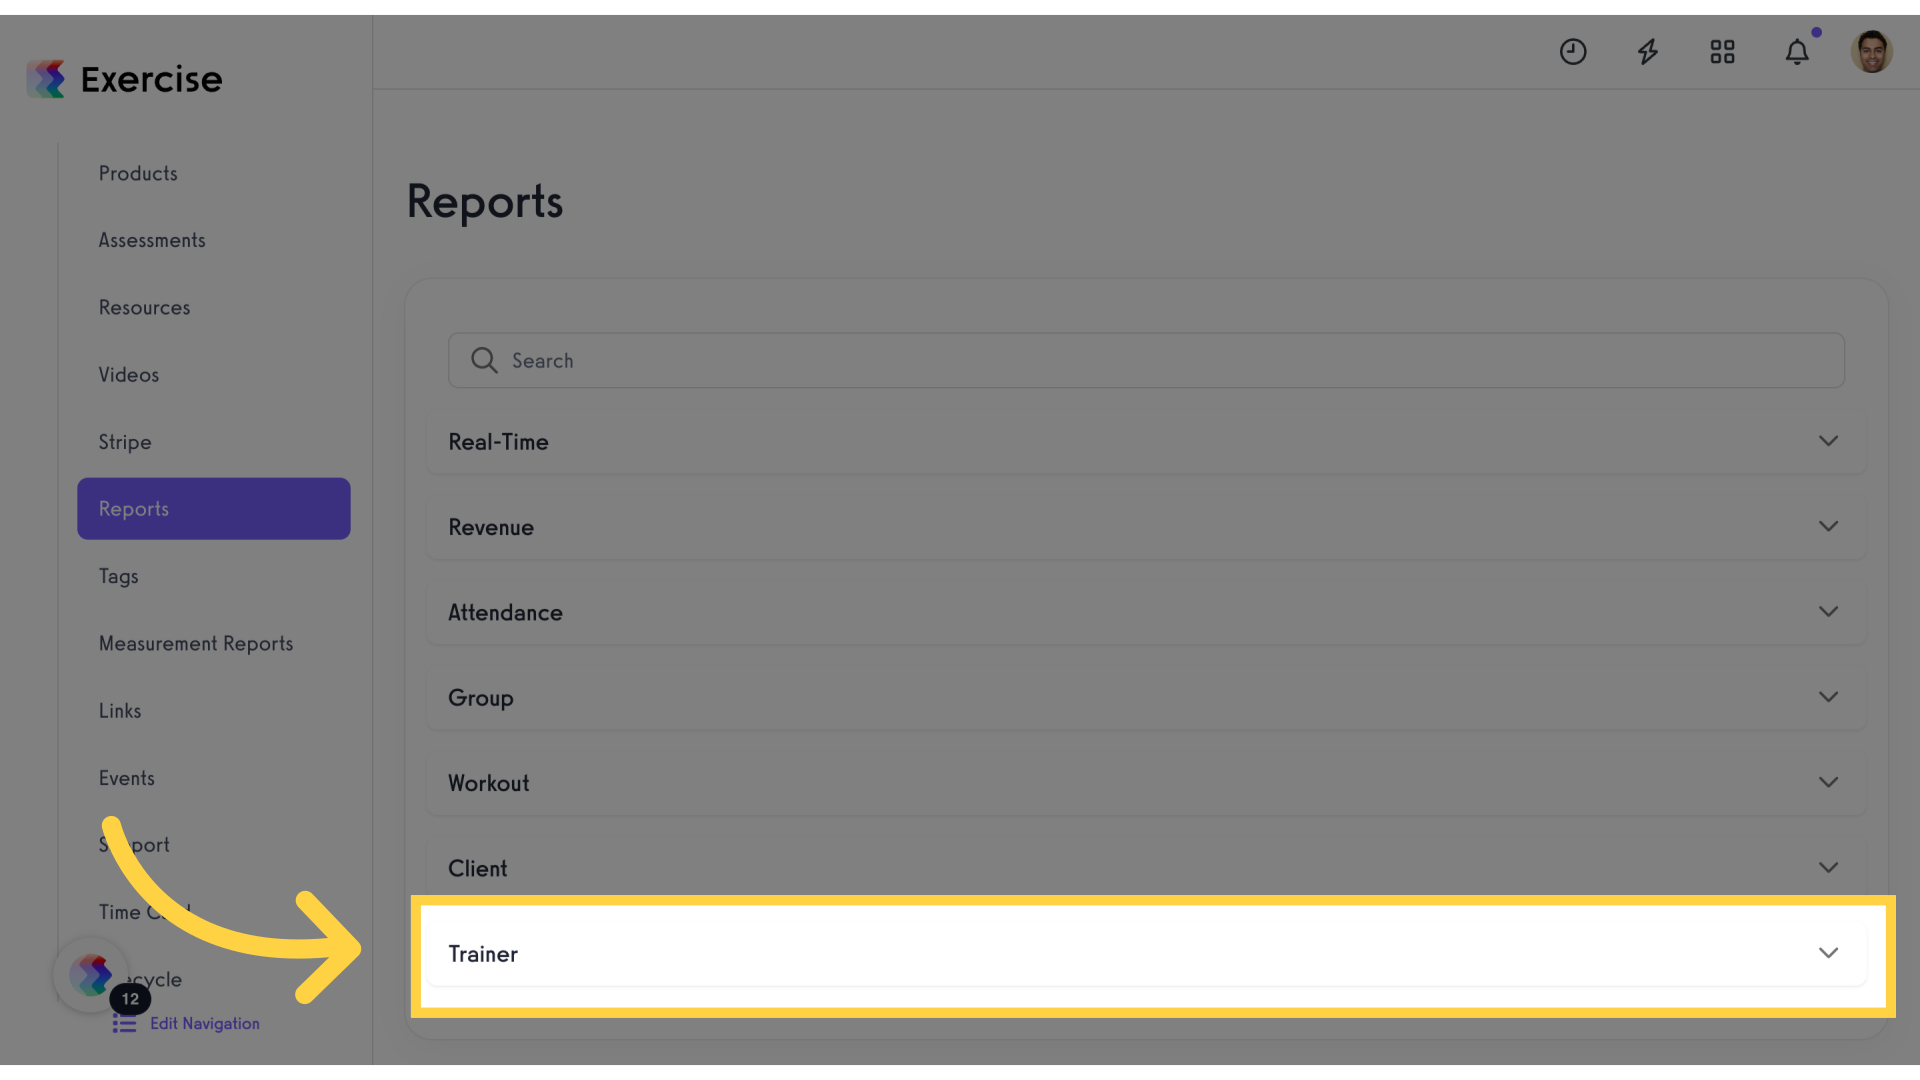
8. Click “Reports”
Access the Reports section.
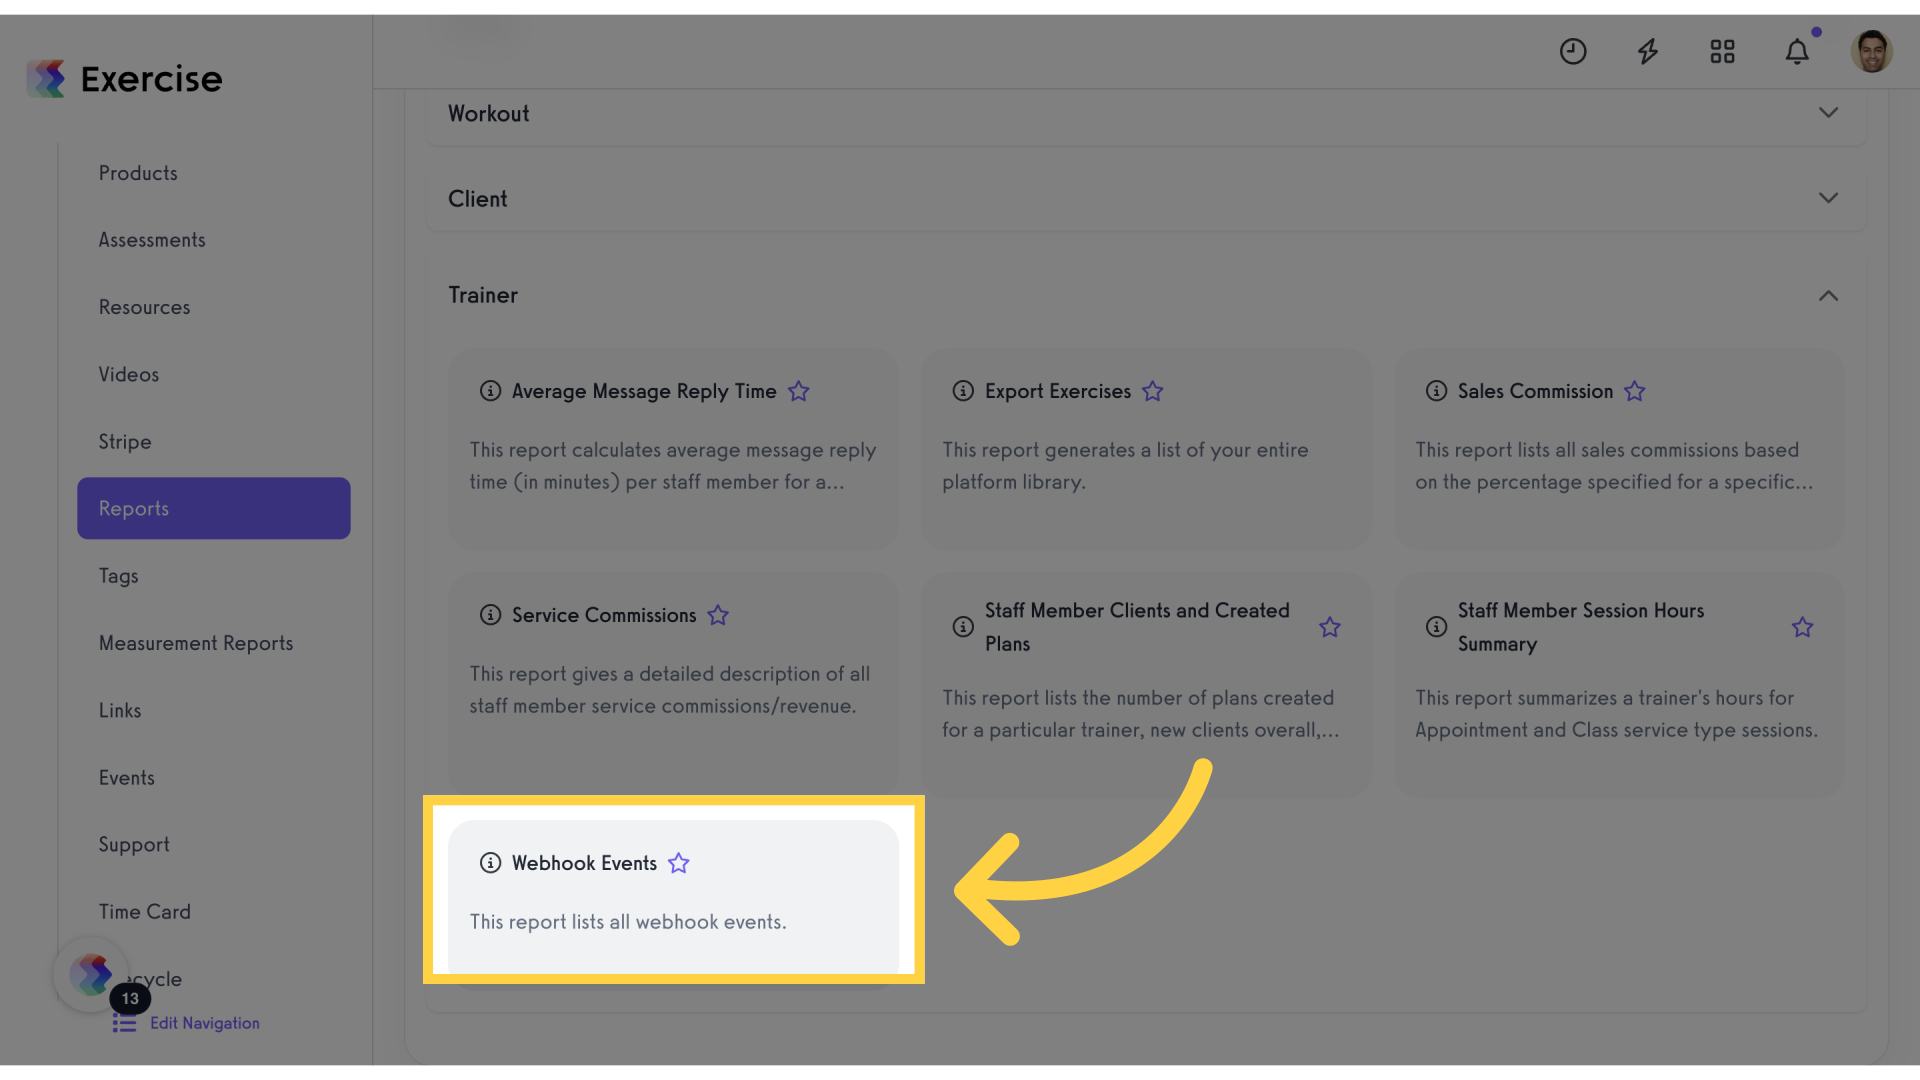
9. Click “Trainer”
Navigate to the Trainer settings.
10. Click “Webhook Events”
View the report on webhook events.
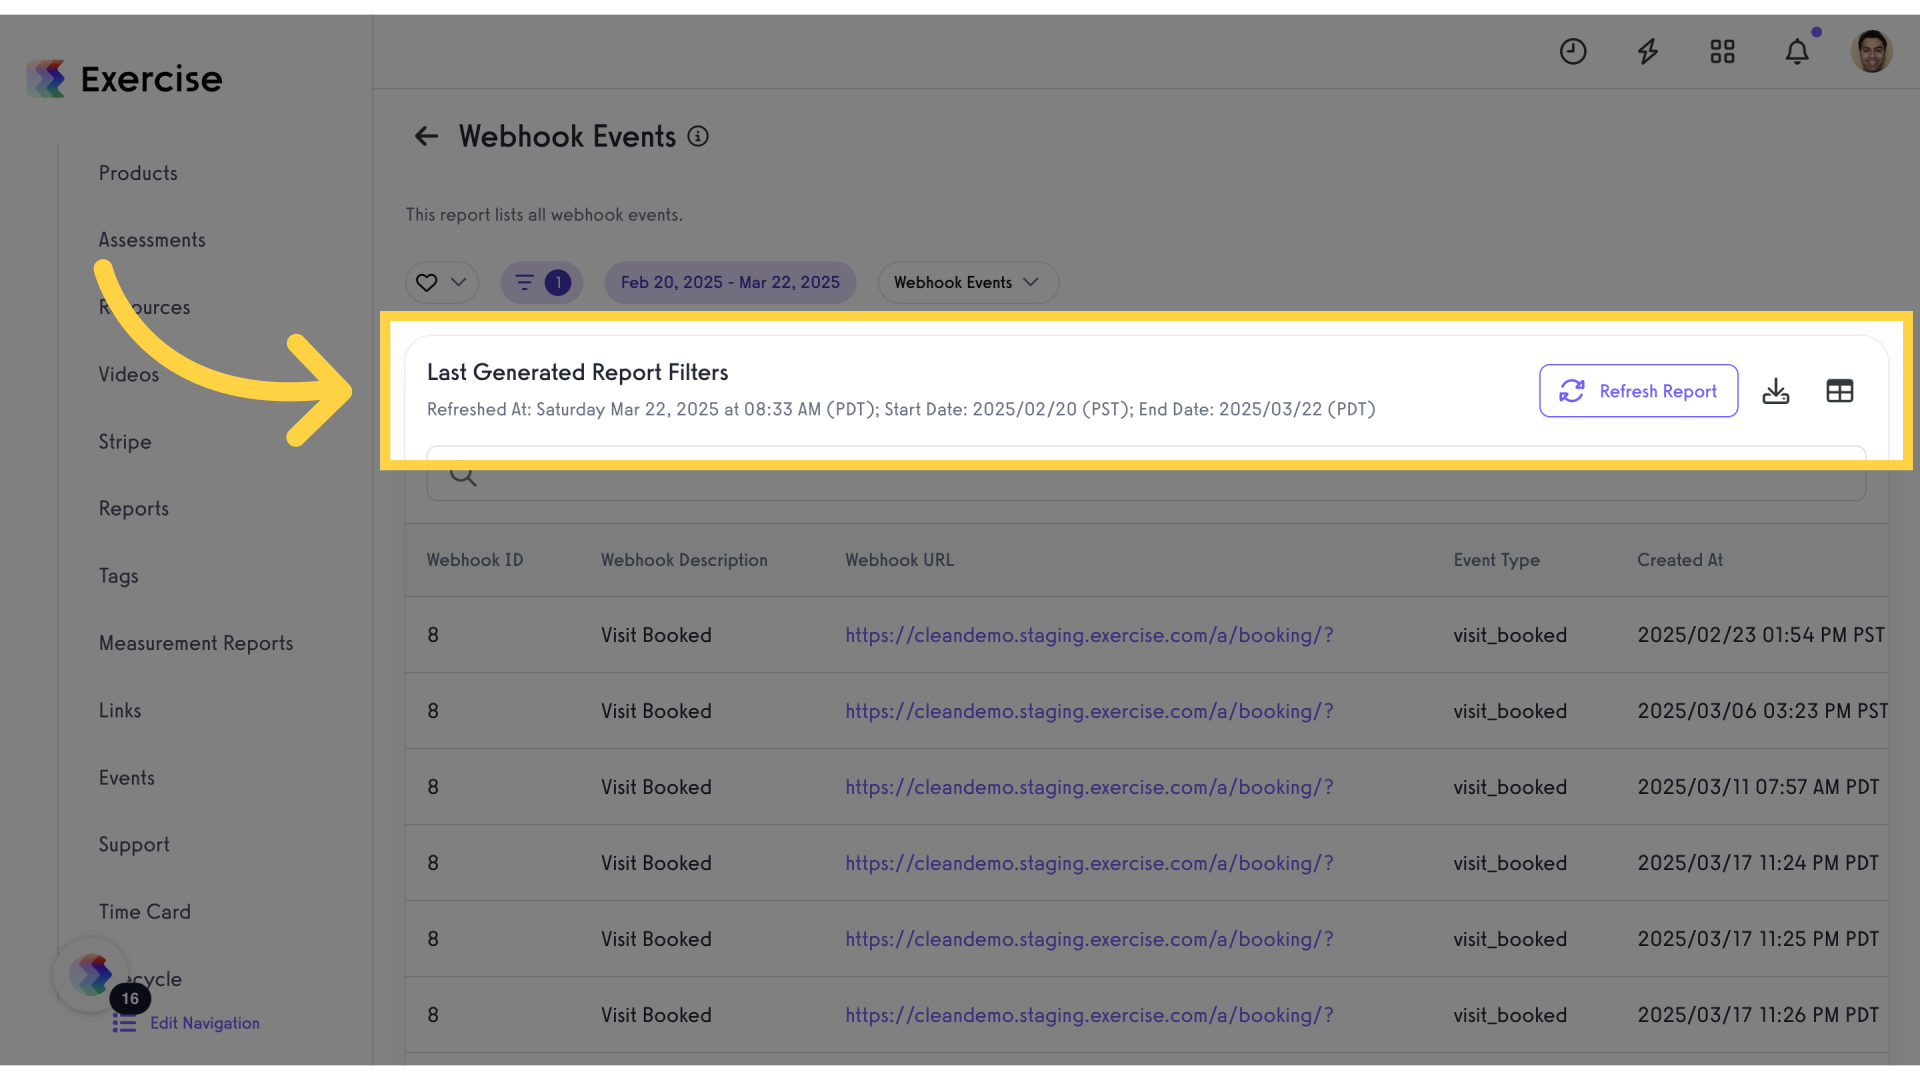
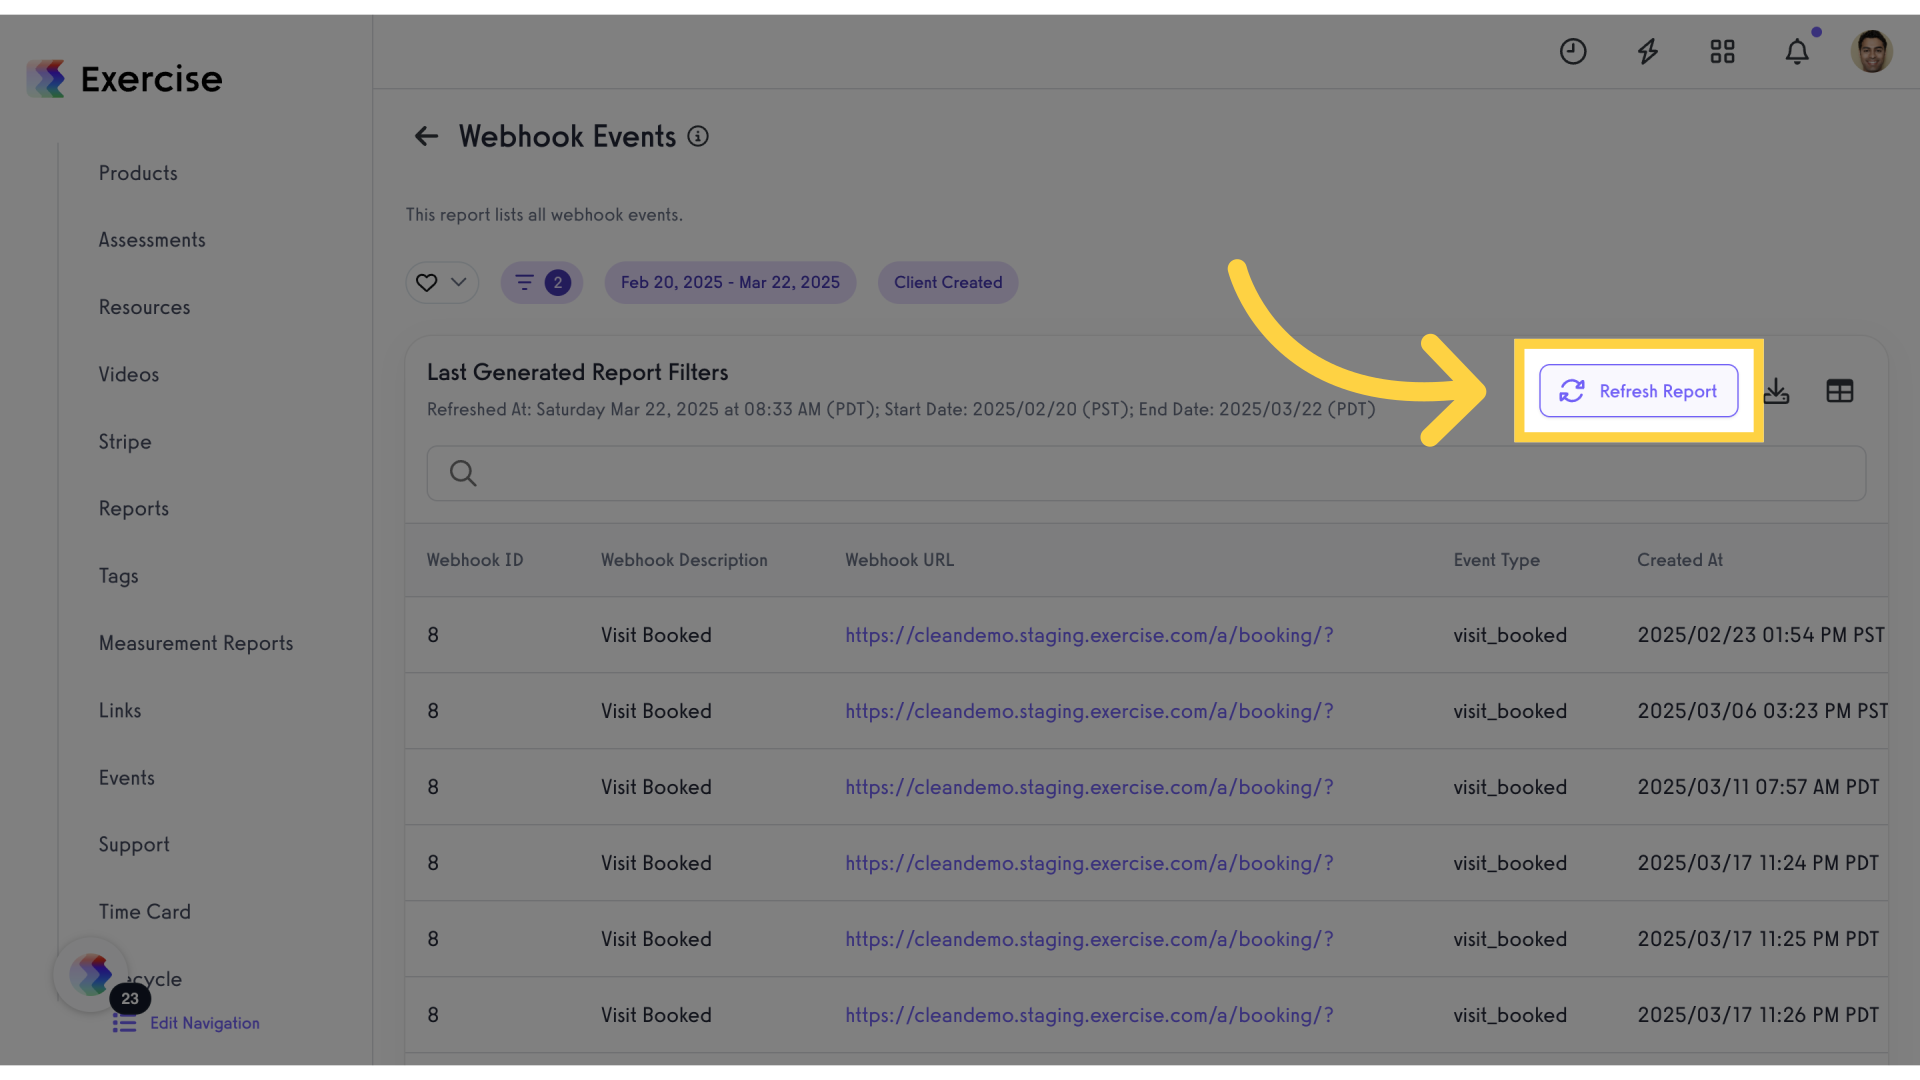
11. Click “Refresh Report”
Update and refresh the report.

12. Click “Last Generated Report FiltersRefreshed At: Saturday Mar 22, 2025 at 08:33 AM (PDT); Start Date: 2025/02/20 (PST); End Date: 2025/03/22 (PDT)Refresh Report”
Review the last generated report filters.

13. Click “Last Generated Report FiltersRefreshed At: Saturday Mar 22, 2025 at 08:33 AM (PDT); Start Date: 2025/02/20 (PST); End Date: 2025/03/22 (PDT)Refresh Report”
Access the refreshed report filters.
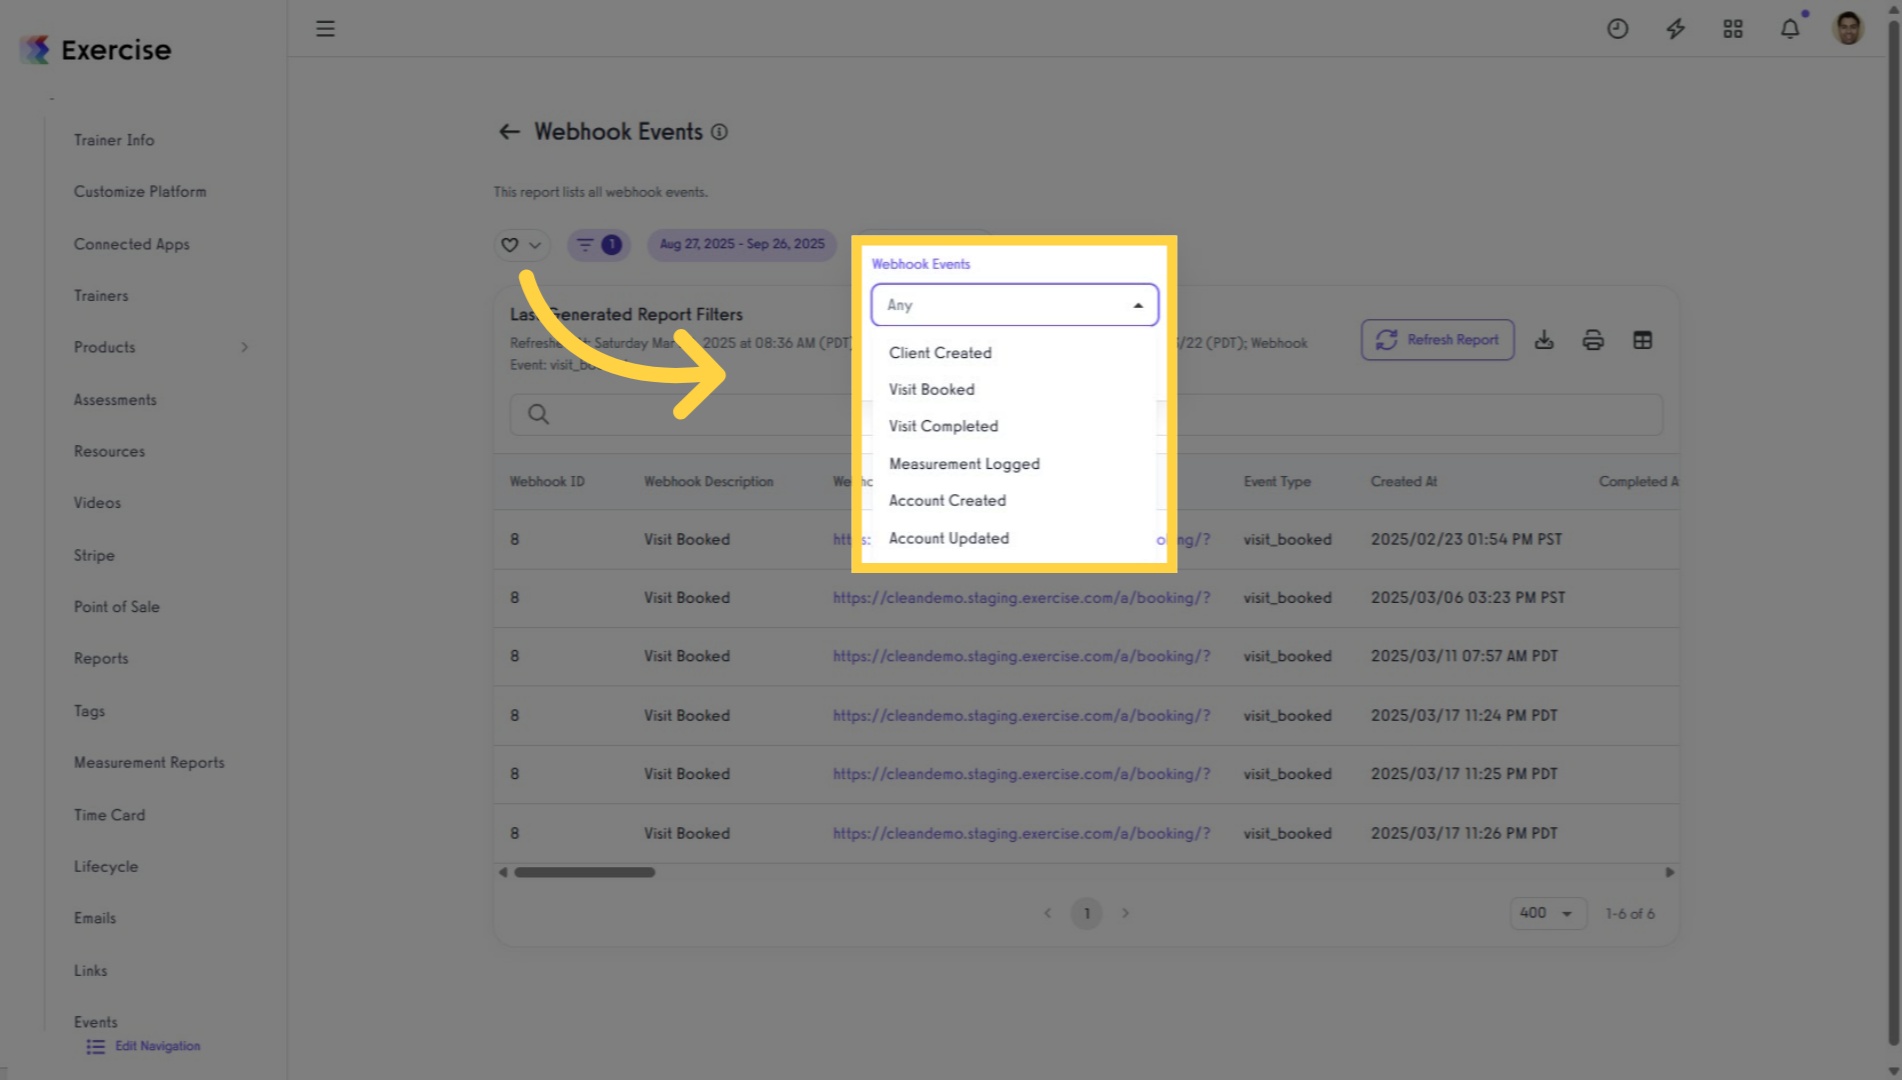
14. Click “Webhook Events”
View the list of webhook events.
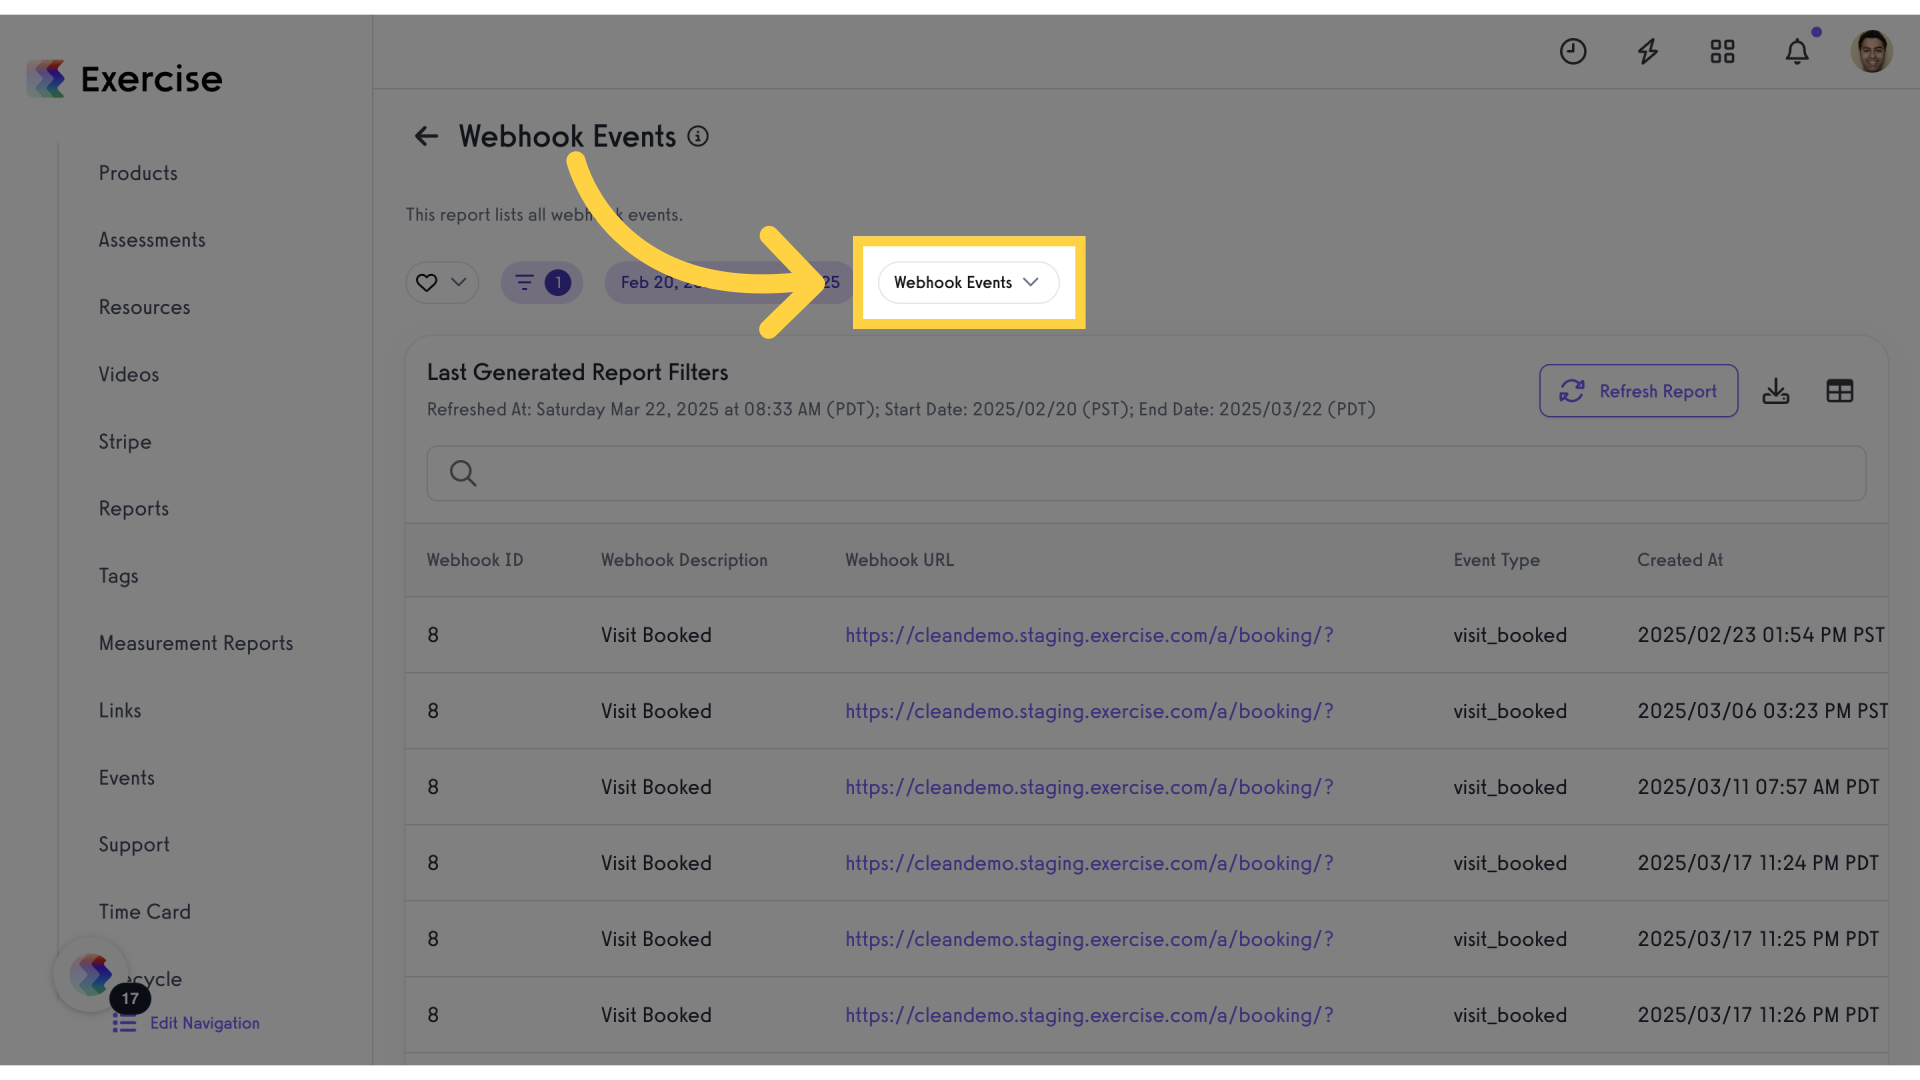
15. Click “Any”
Choose “Any” as the event type.
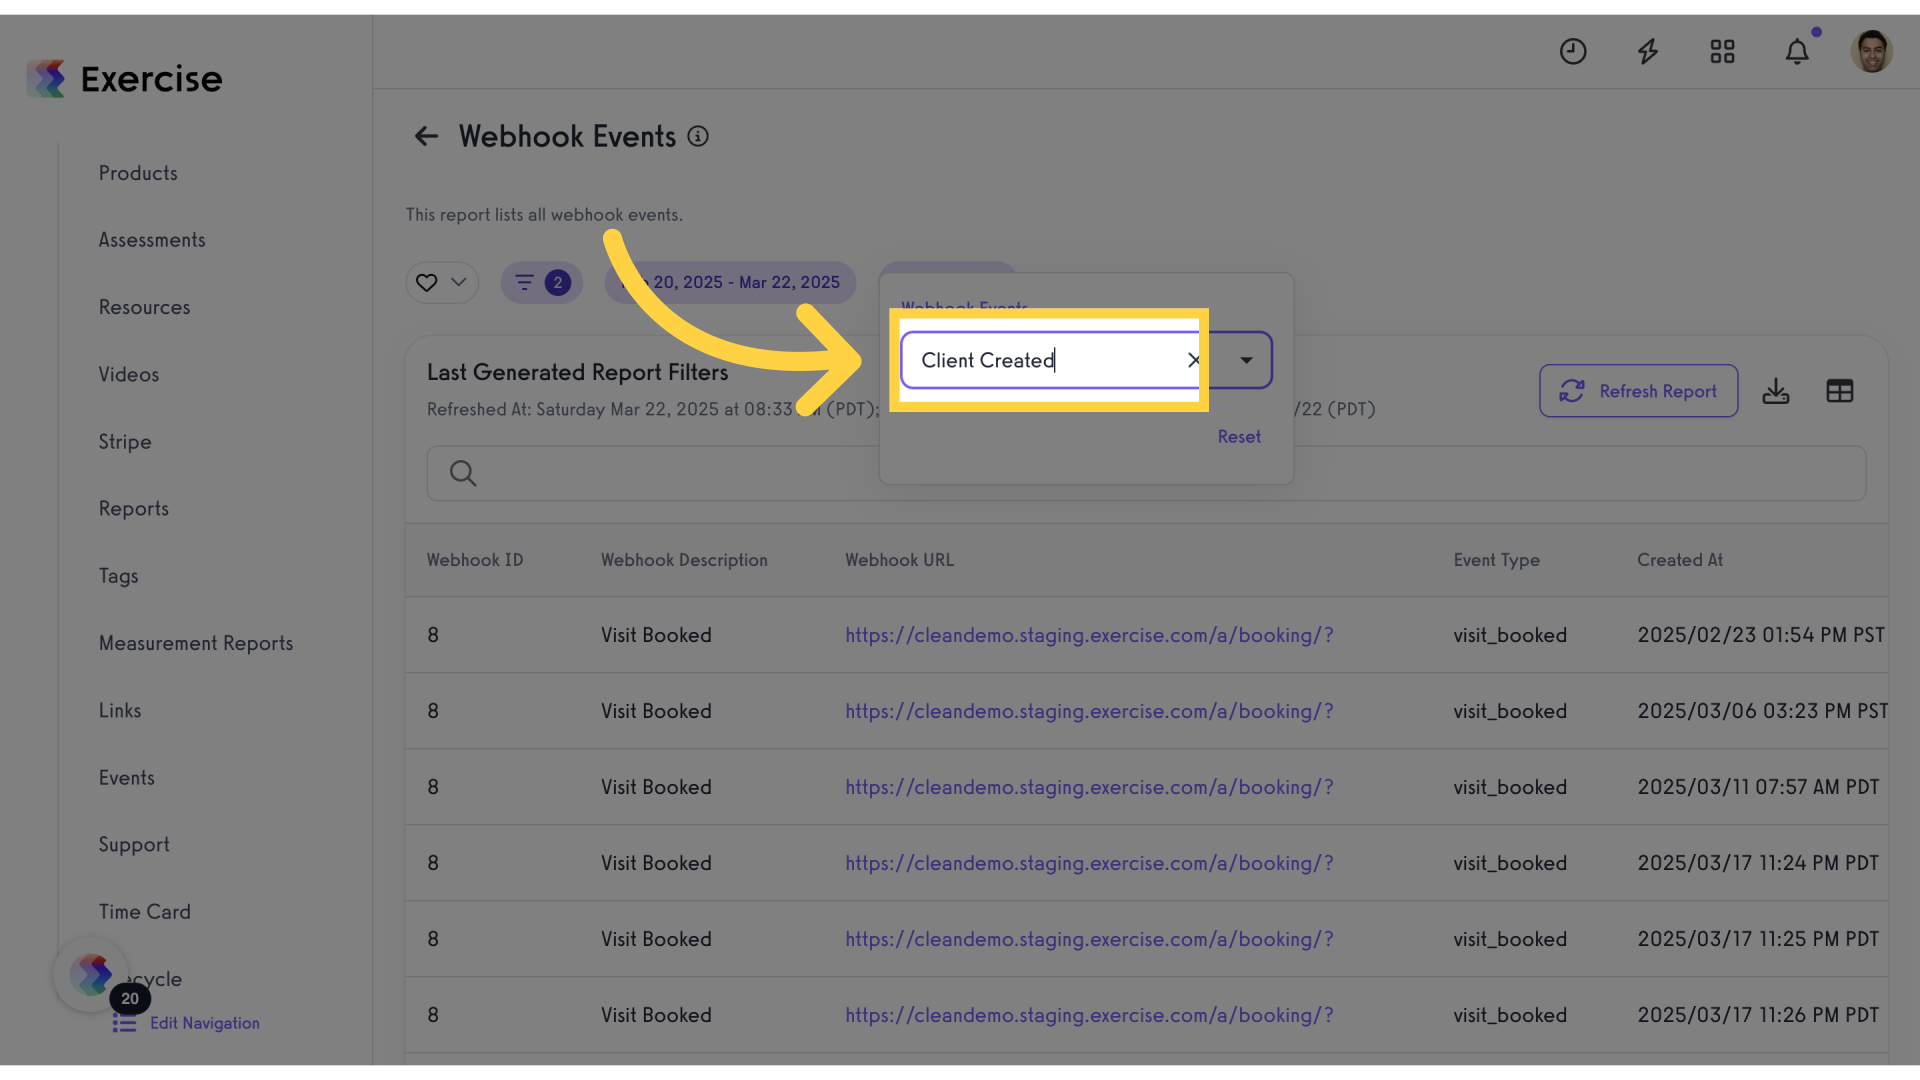
16. Click “Client Created”
Select the event “Client Created”.

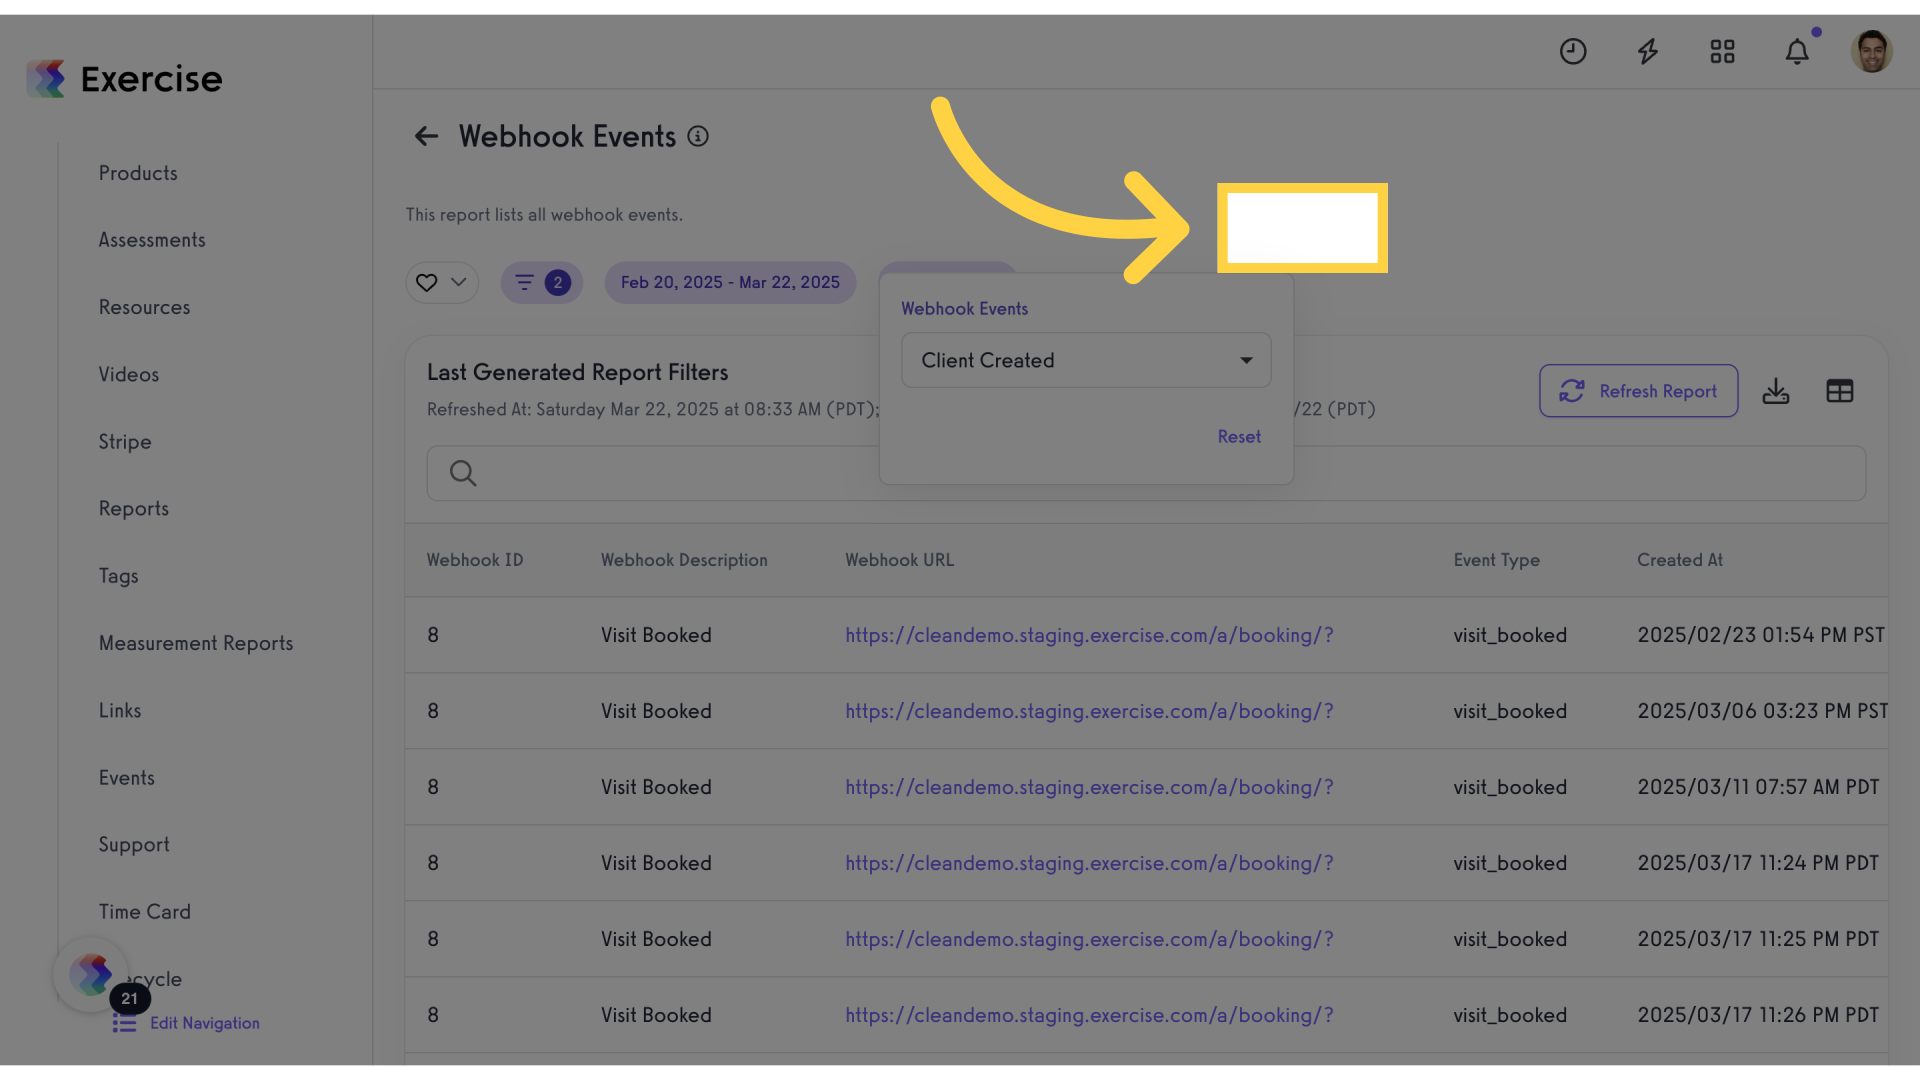
17. Go here
Navigate to a specific section.
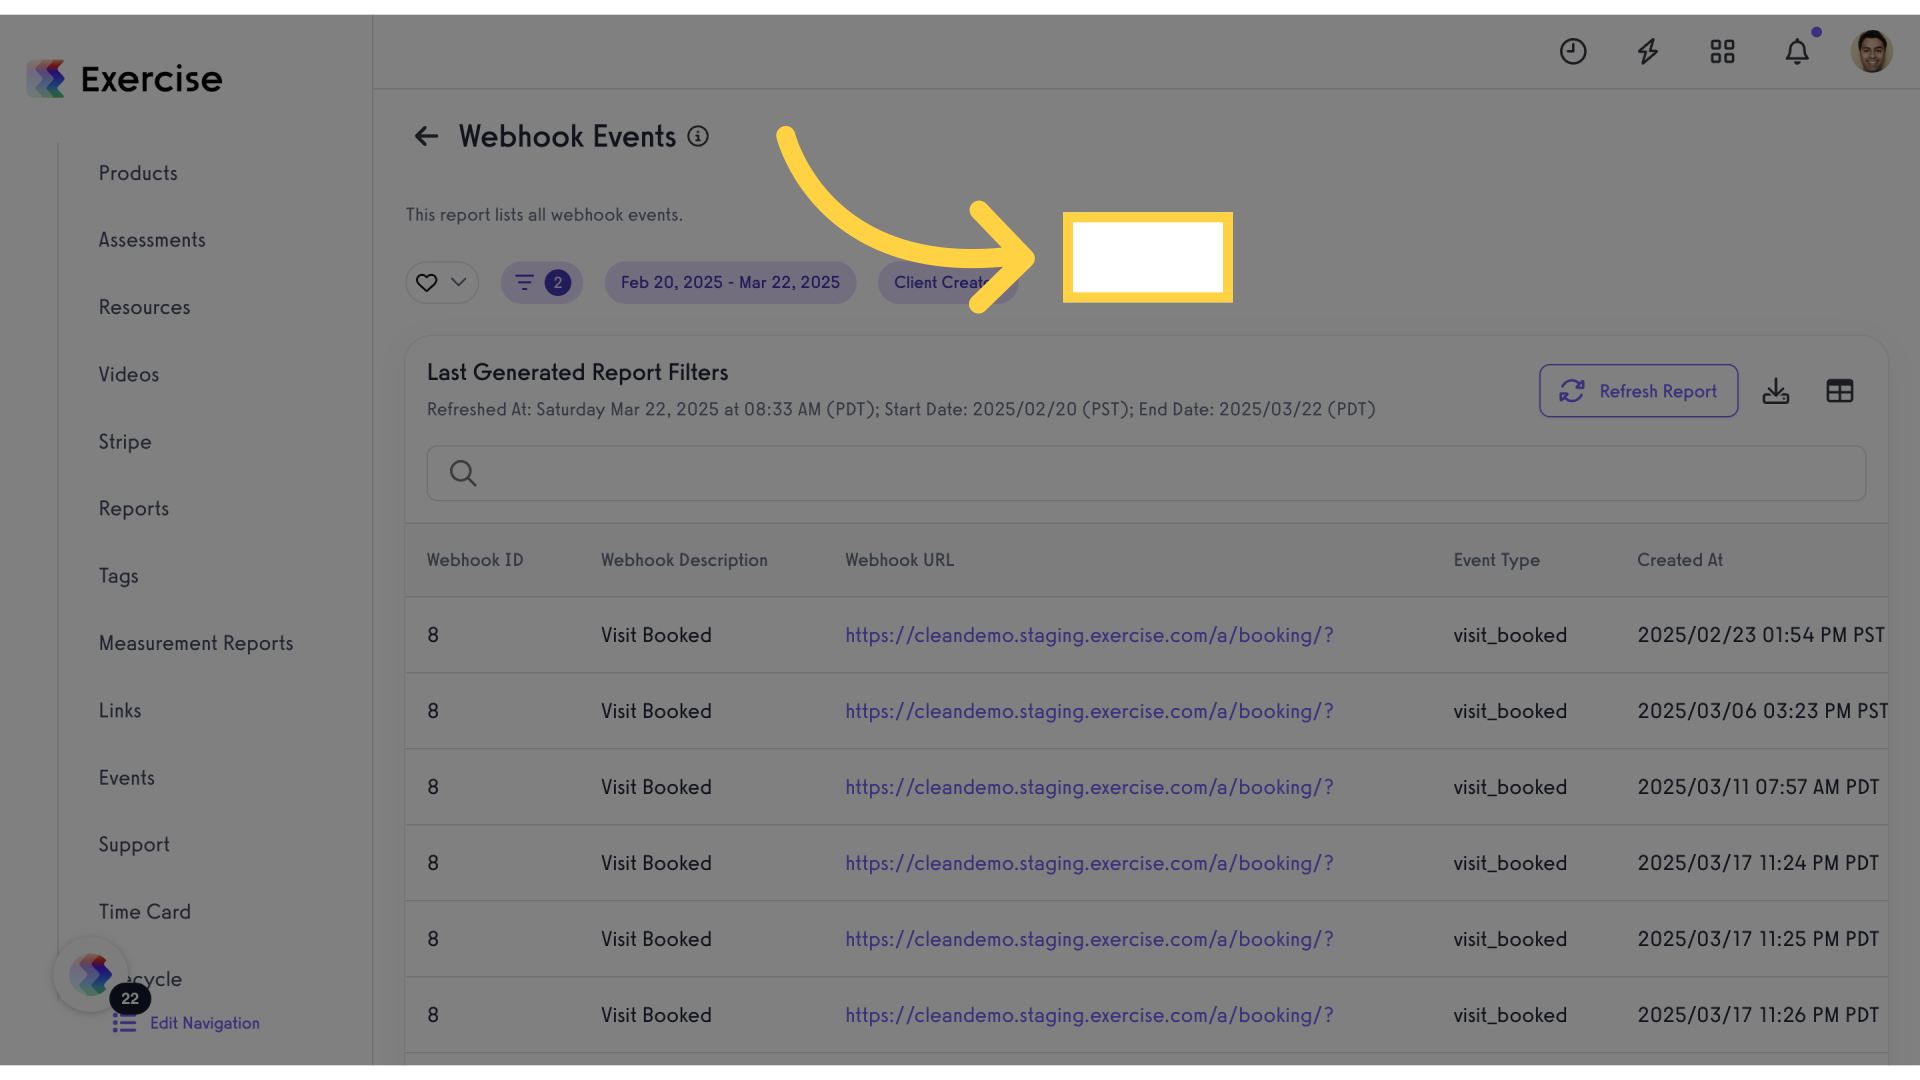
18. Click here
Select an option or feature.
19. Click “This report lists all webhook events.2Feb 20, 2025 – Mar 22, 2025Client CreatedLast Generated Report FiltersRefreshed At: Saturday Mar 22, 2025 at 08:33 AM (PDT); Start Date: 2025/02/20 (PST); End…”
Access detailed information on webhook events.
20. Click “Refresh Report”
Update and refresh the report.
This guide covered the process of creating and validating a Webhook for employee training, including setting up event types and viewing webhook events in the system.


