How do I link a custom thank you page after a plan purchase?
Posted by
Support Team
on
September 10, 2020
— Updated on
May 14, 2025
Here’s how to link a custom thank you page after a plan purchase.
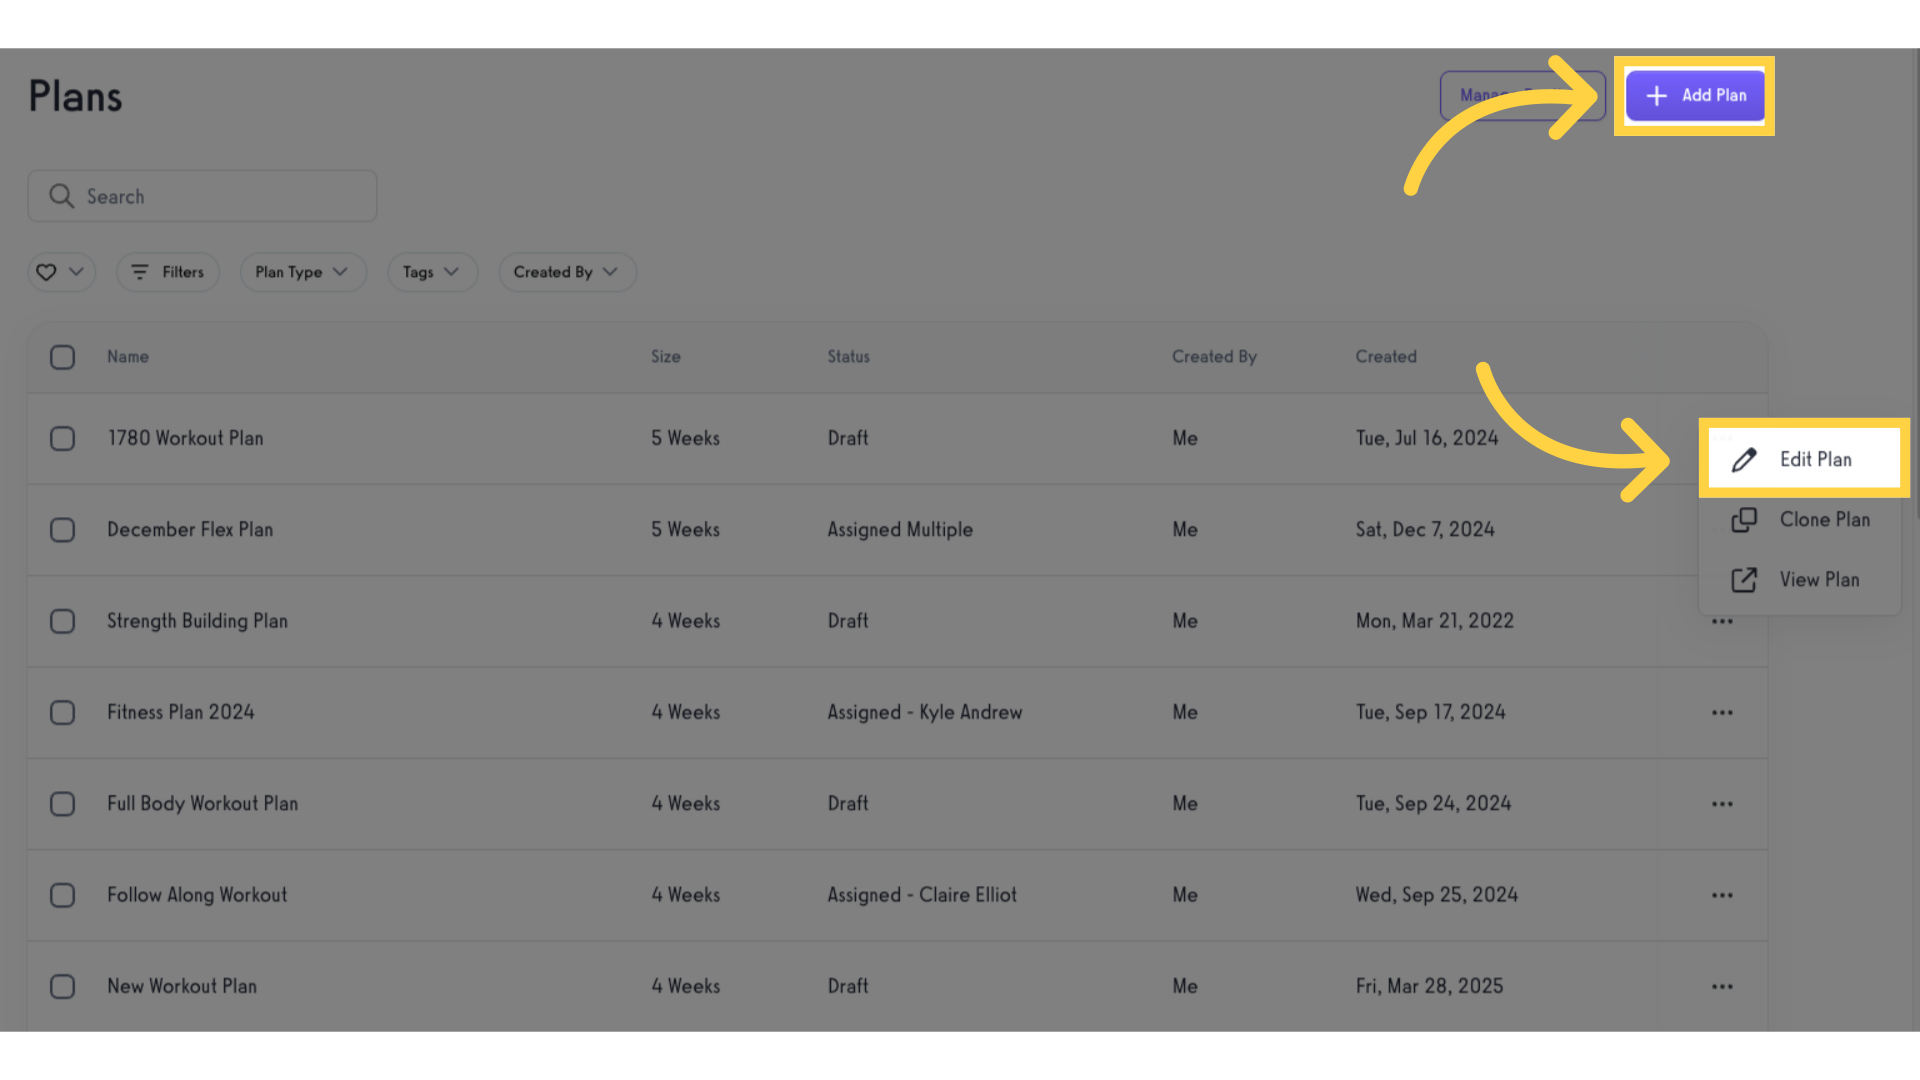
1. Click “Plans”.
Click “Plans”.

2. Create new or edit a plan.
Create new or edit a plan.
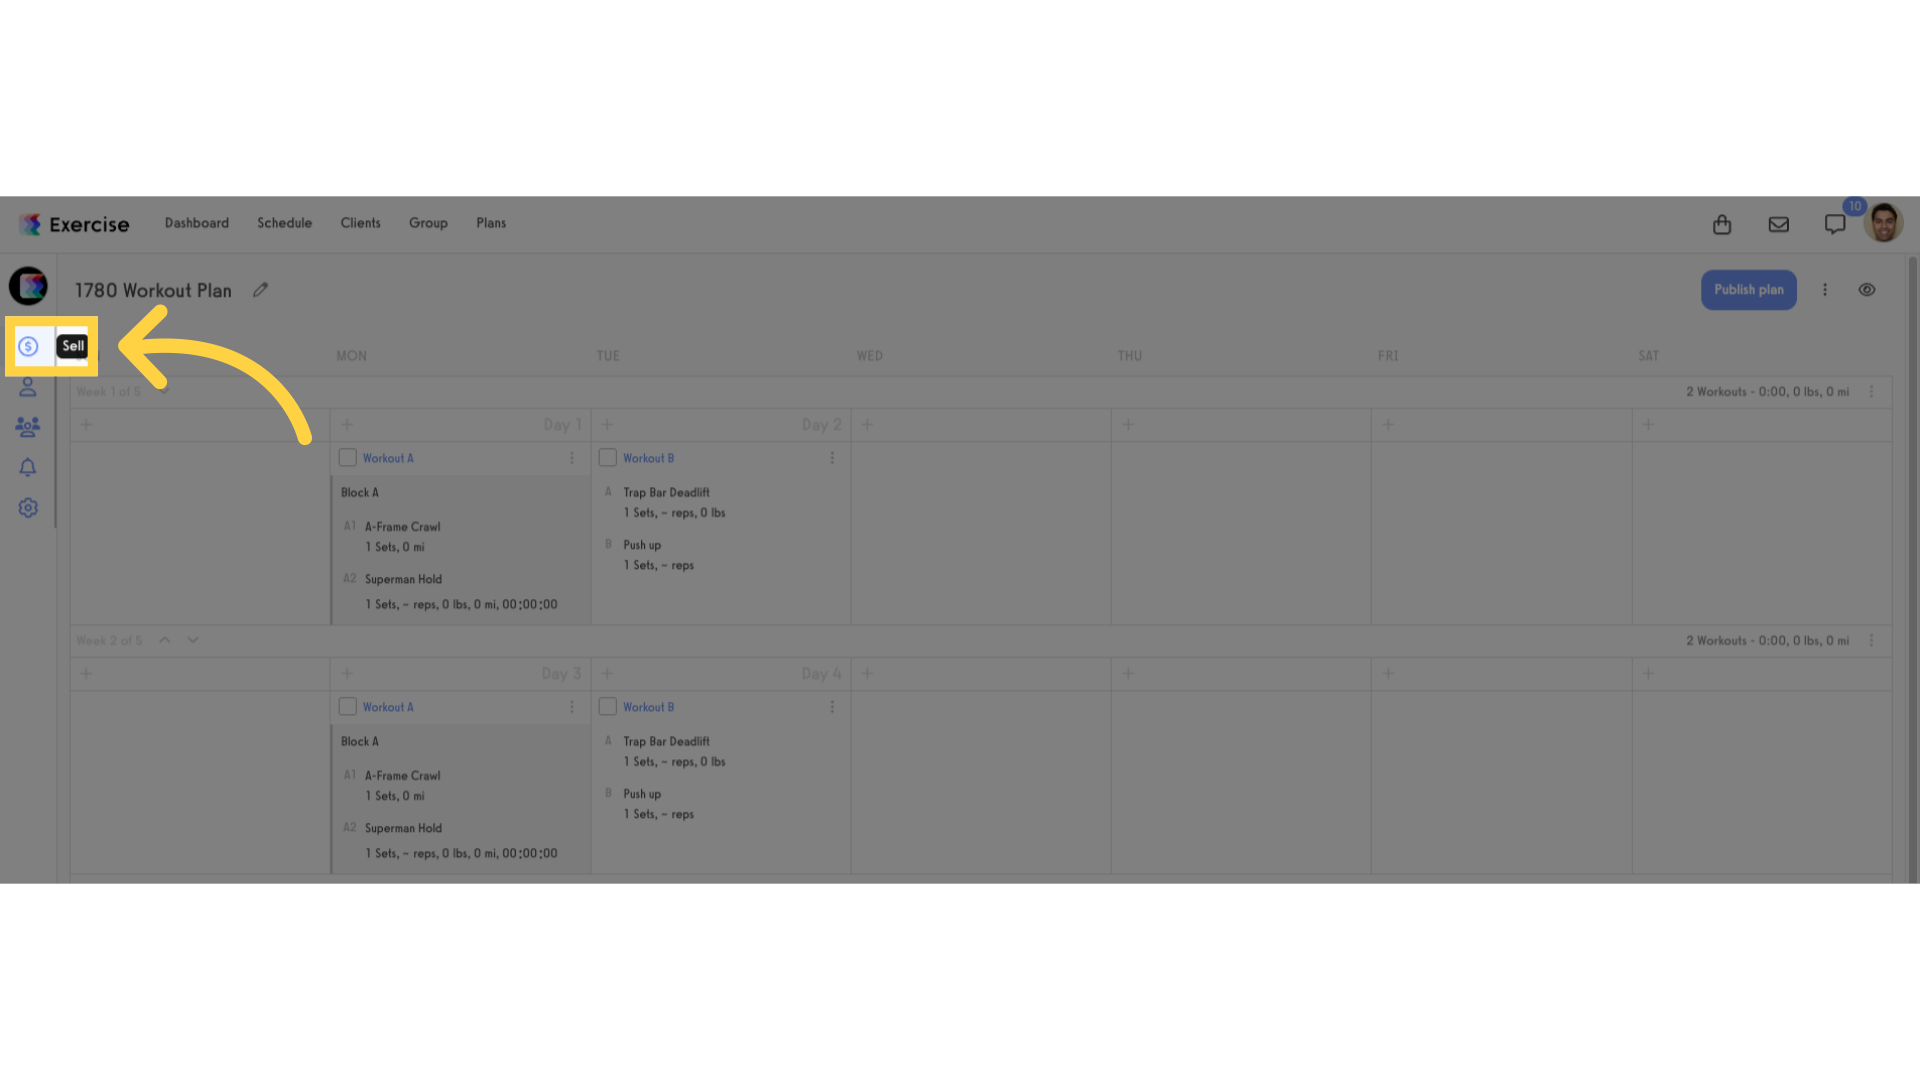
3. Click the “Sell” icon.
Click the “Sell” icon.
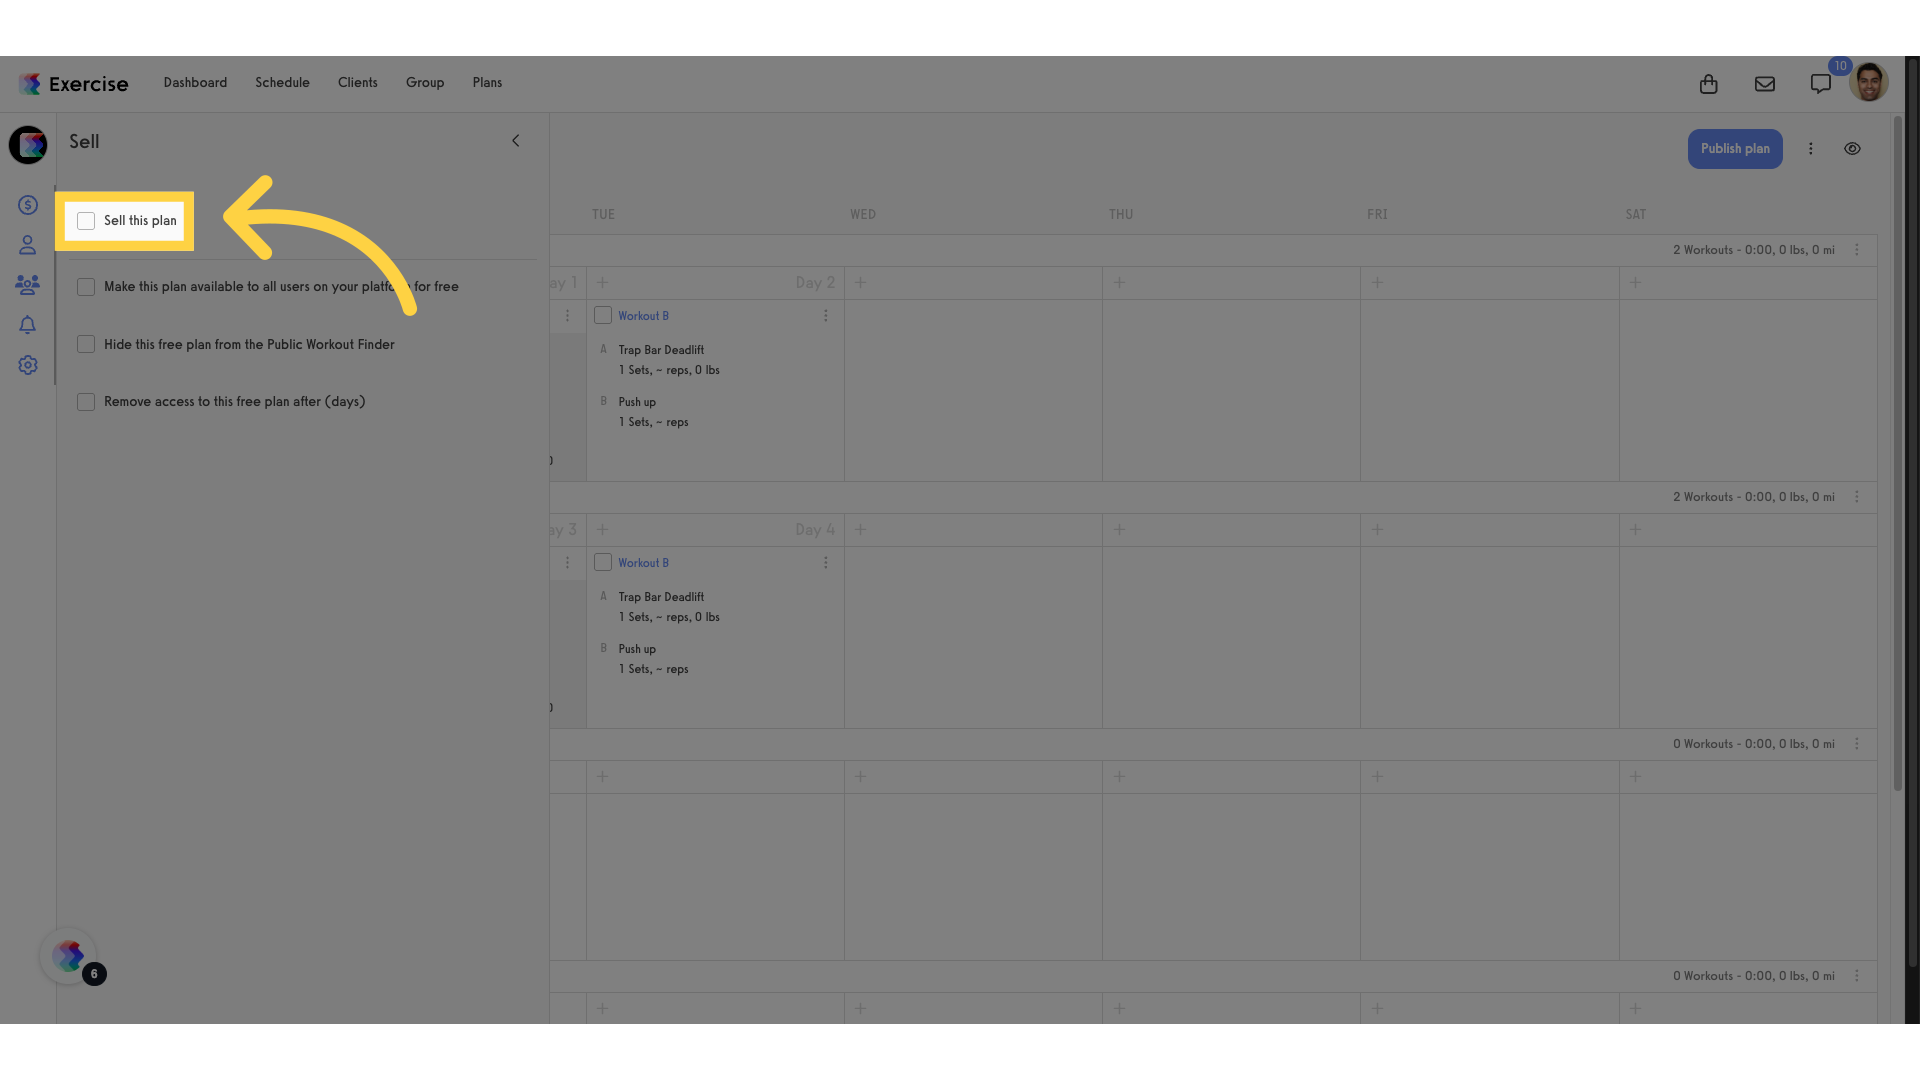
4. Tick the “Sell this plan” checkbox.
Tick the “Sell this plan” checkbox.
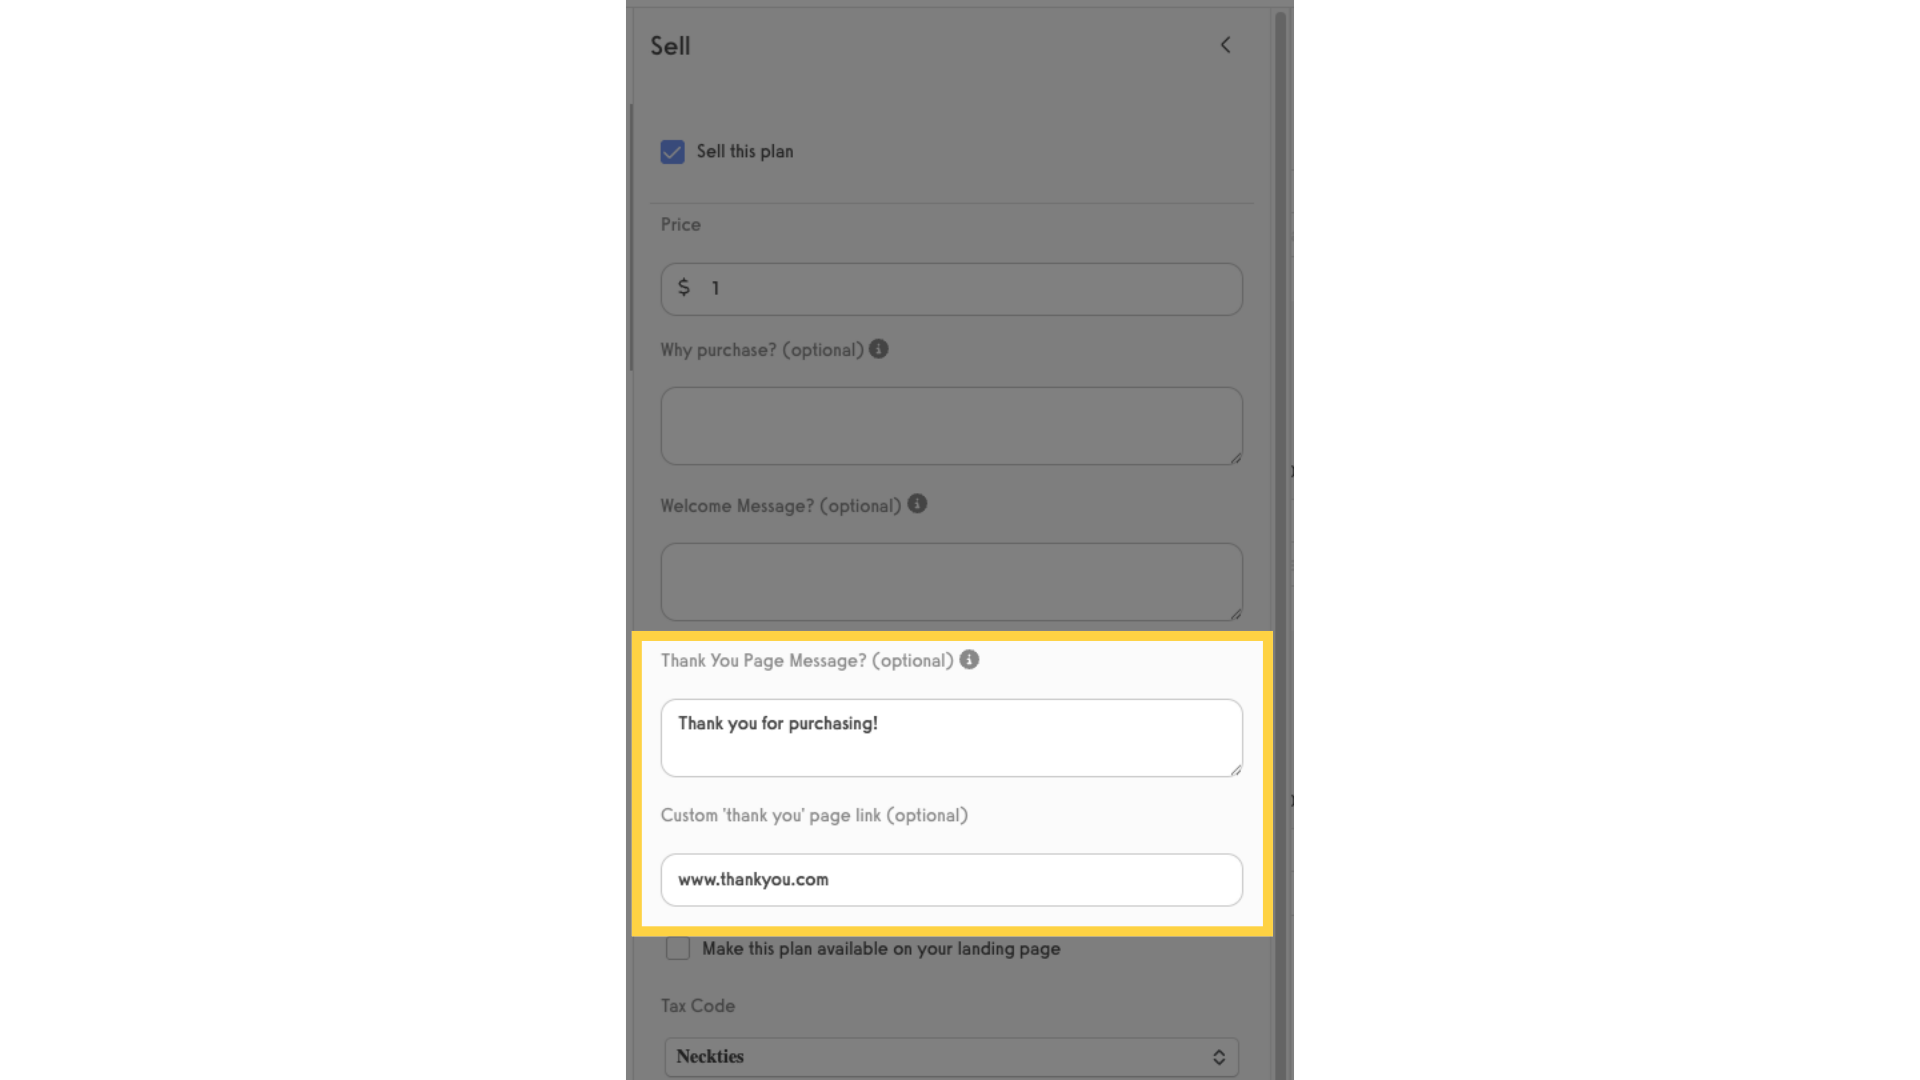
5. Custom Thank You Message or Link.
Type a custom “Thank You Page Message” or add a custom “Thank You Page” link.
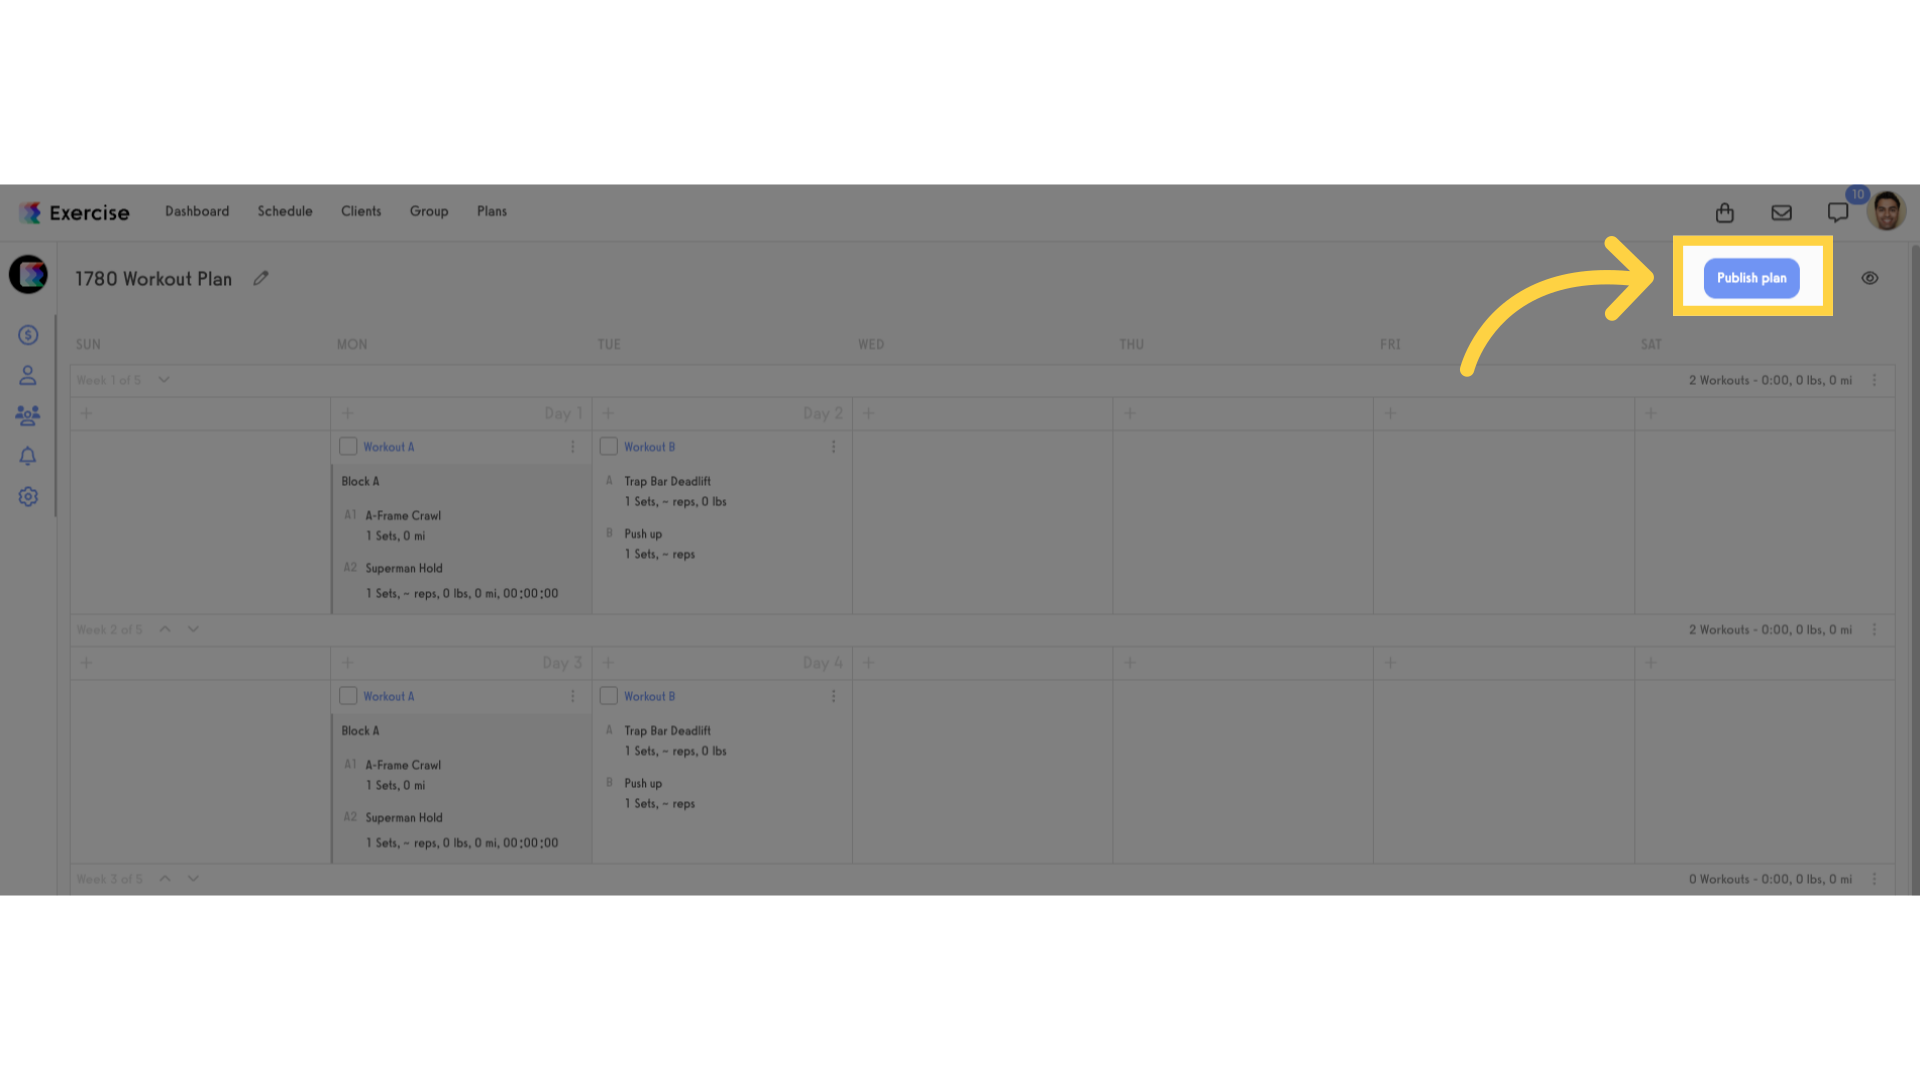
6. Click “Publish Plan” button.
Click “Publish Plan” button.
This guide walked you through customizing a thank you page after a plan purchase. You can link custom thank you pages for all purchasable items including groups, packages, products and online training.


