How to Update Scheduled Subscriptions?
This guide will walk you through the steps on how to update scheduled subscriptions, ensuring that you can efficiently modify subscription details, adjust billing cycles, change renewal settings, and manage customer subscriptions without disruptions.
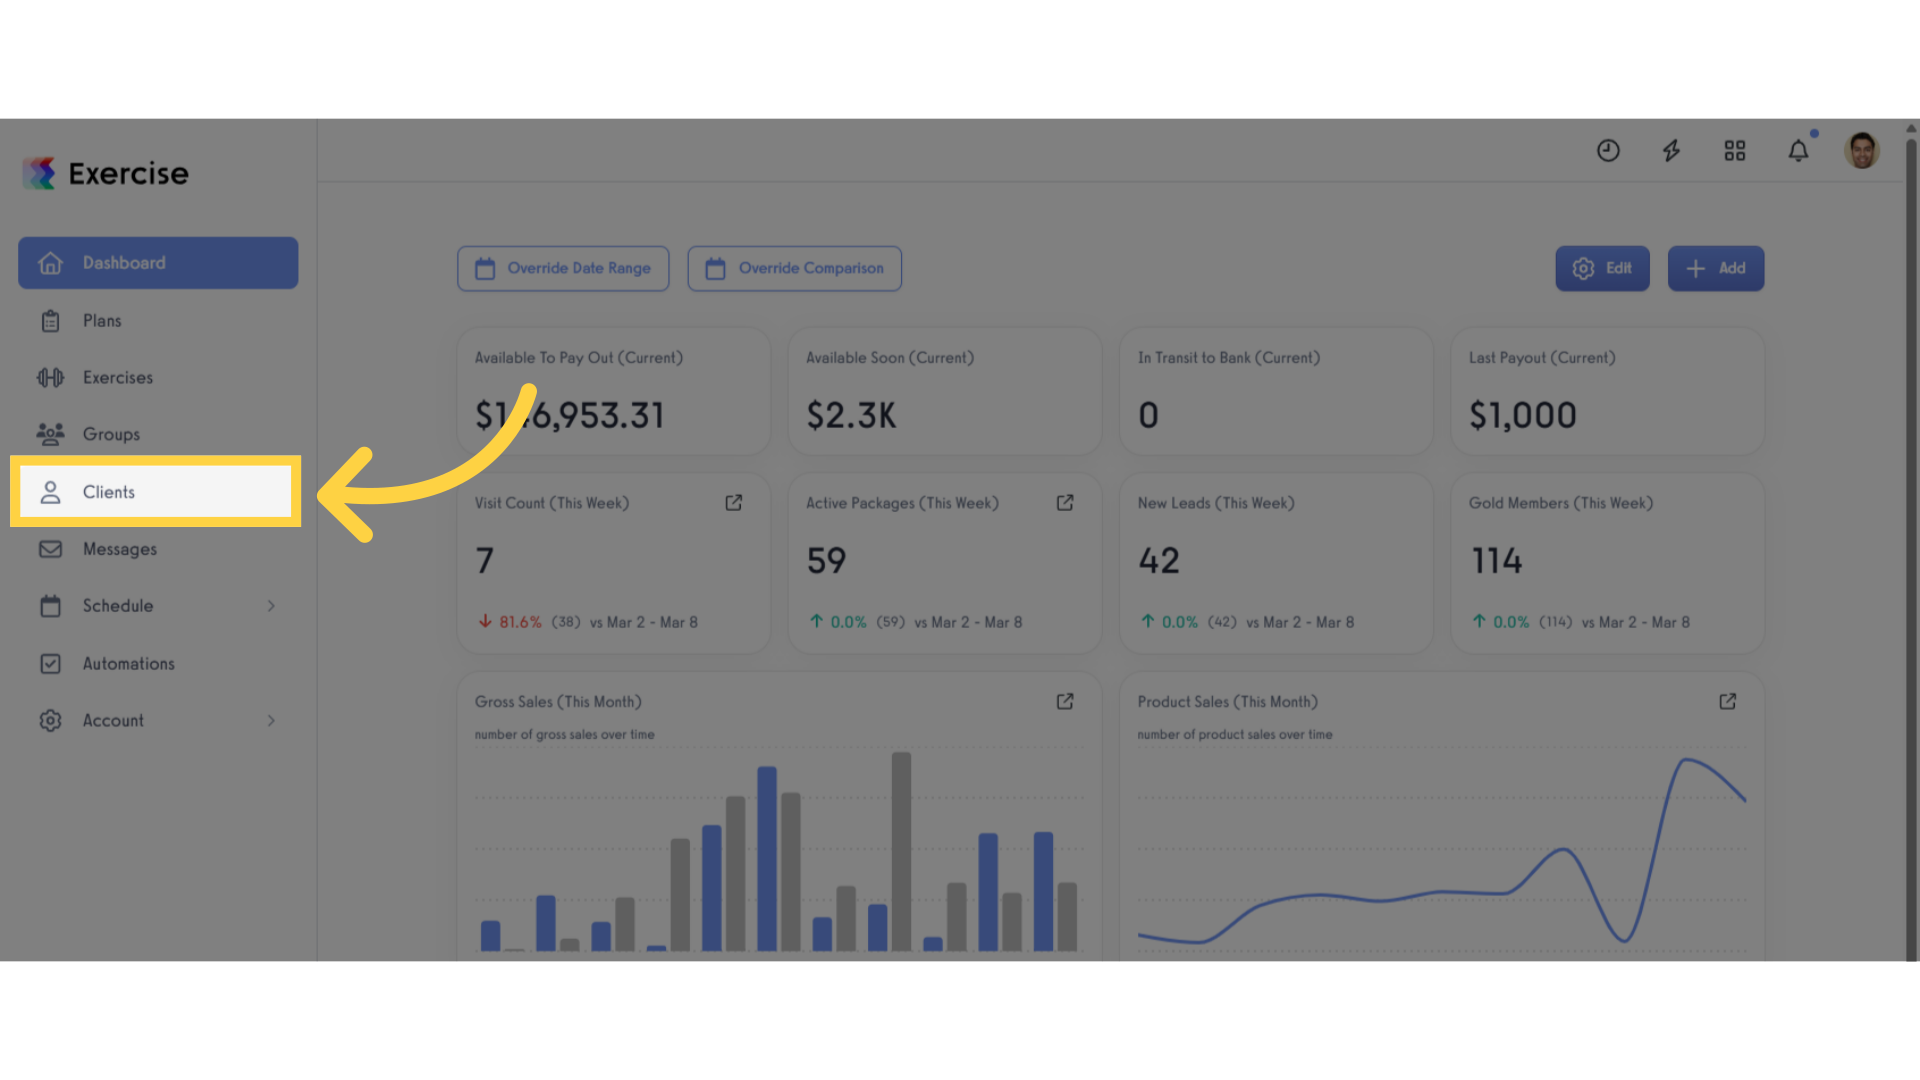
1. Click “Clients”.
Click “Clients” tab to access a list of all clients available on the platform.
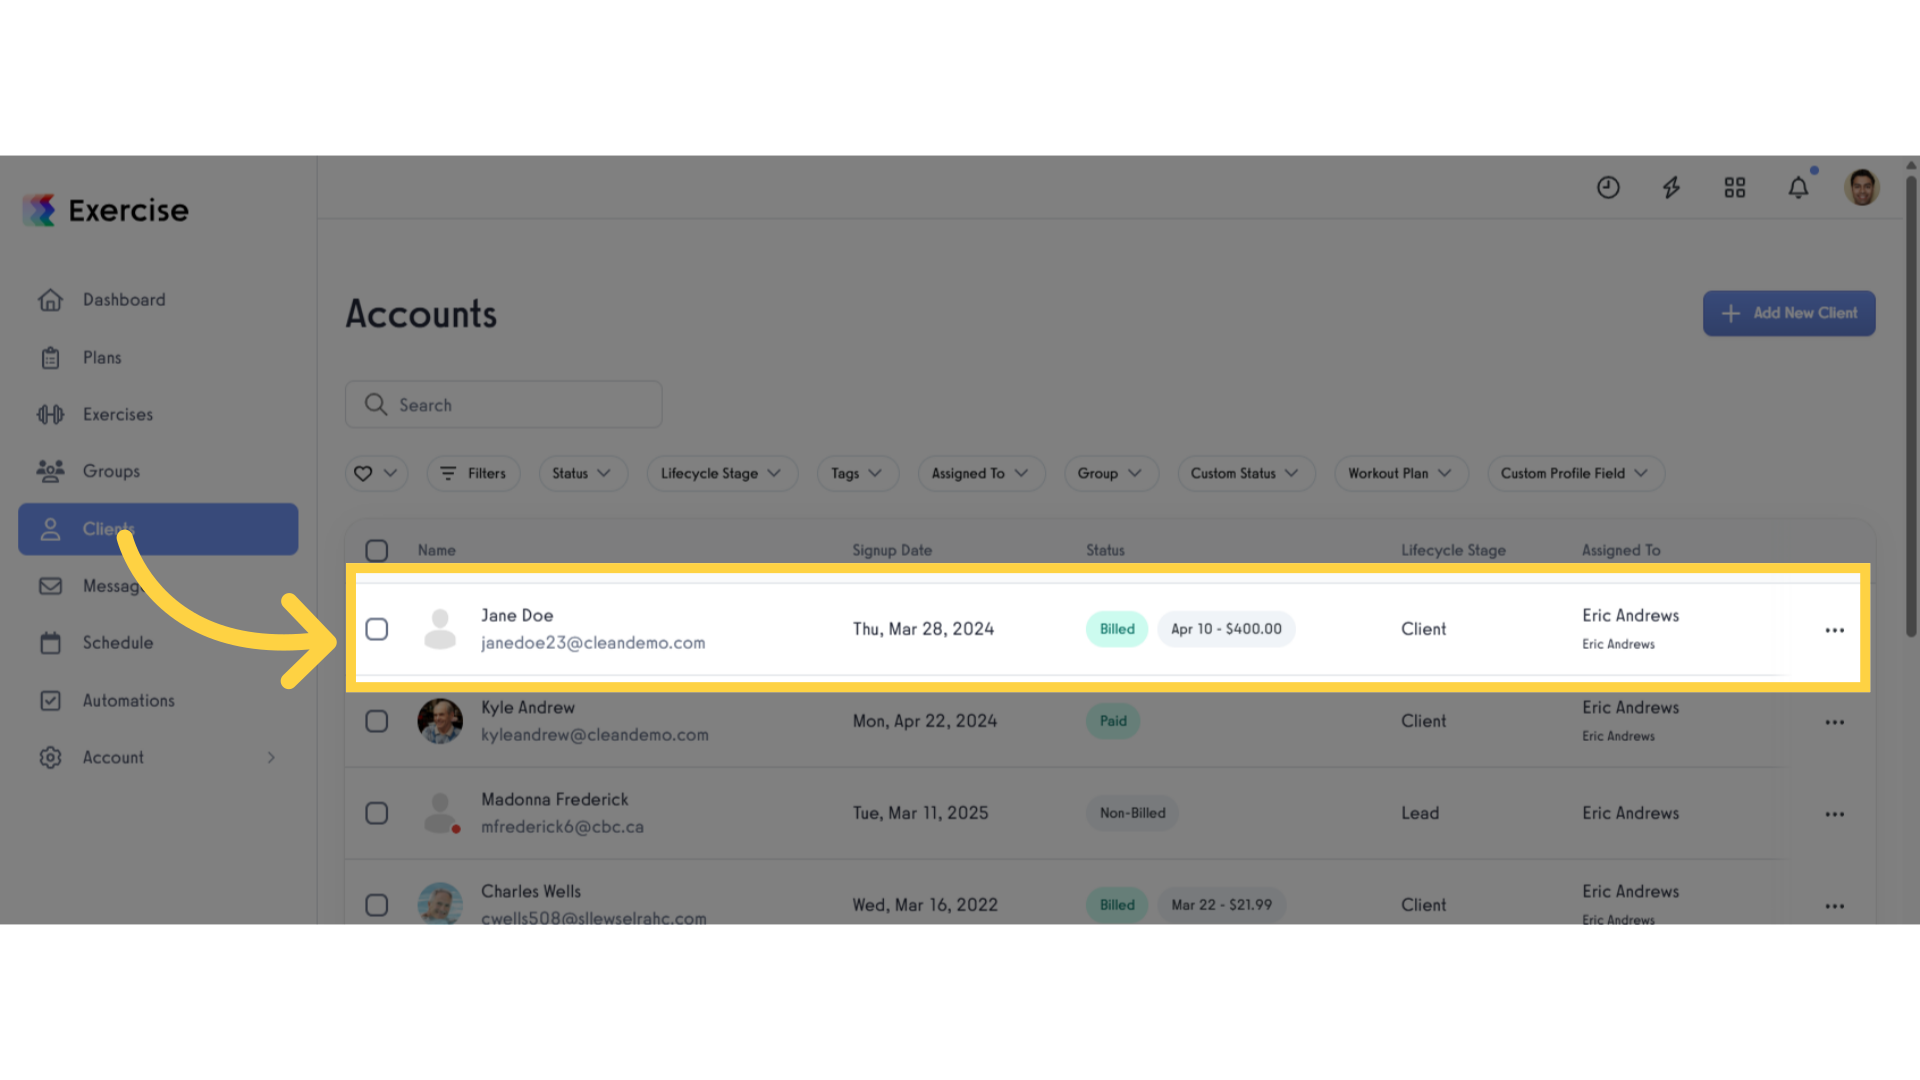
2. Select a Client.
In the “Clients” tab of your trainer dashboard, find the client for whom you want to update the scheduled subscription. Then, click the client.
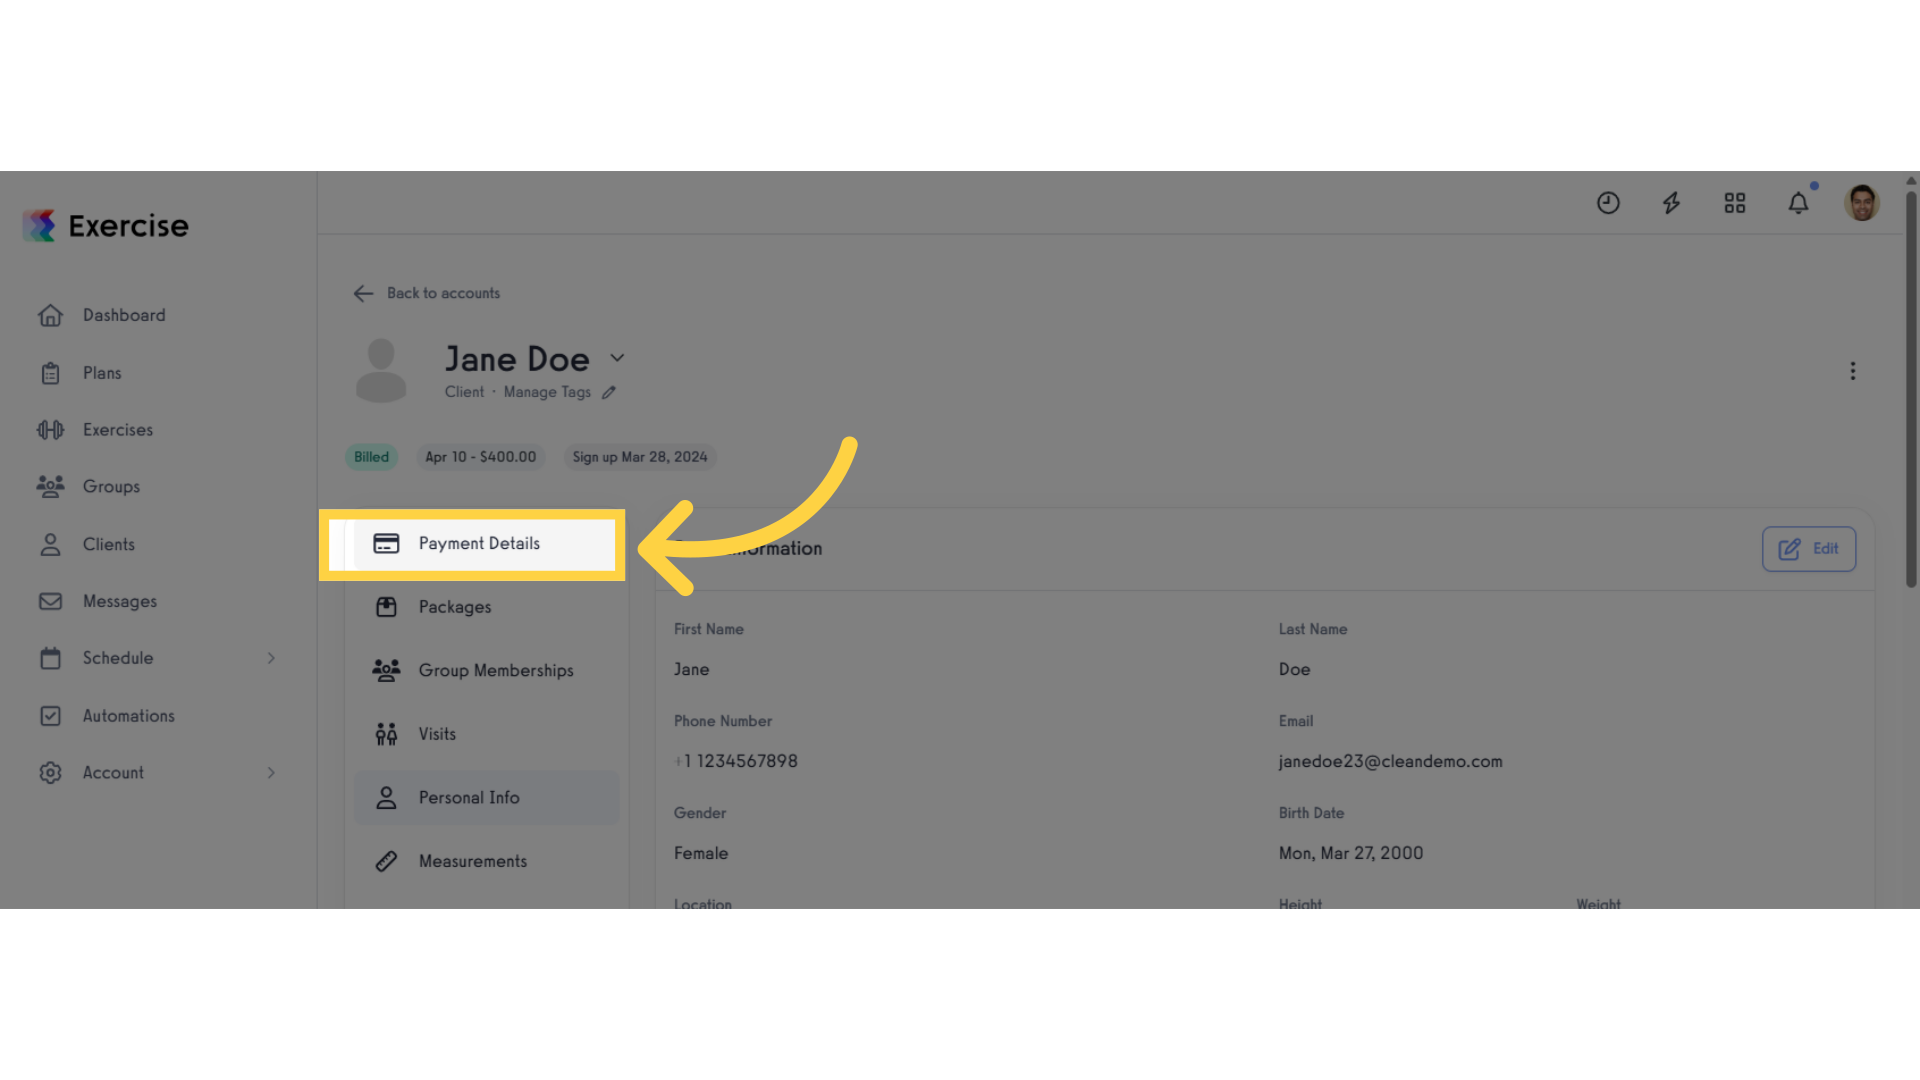
3. Click “Payment Details”.
On the client management page, navigate to the “Payment Details” tab from the menu on the left side of the screen.
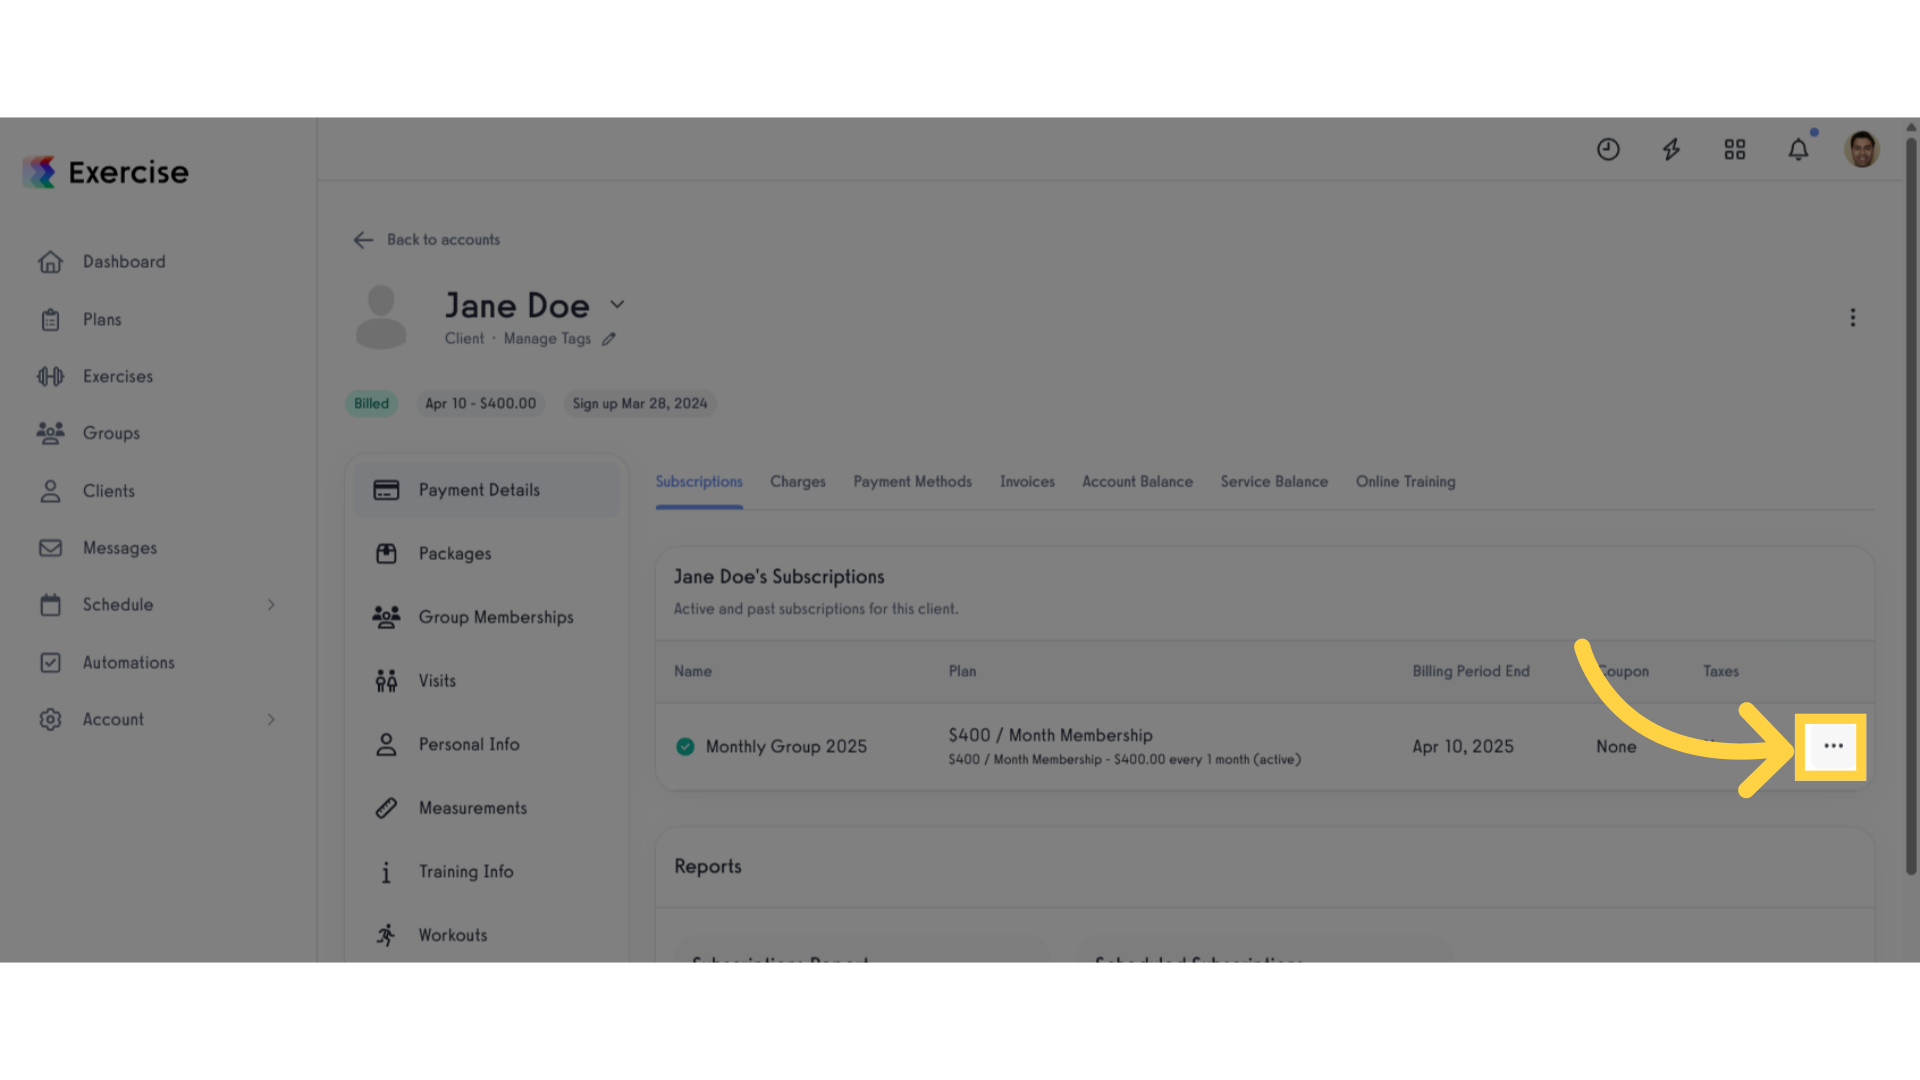
4. Click the 3 dots.
In the Clients’ Subscription section, click the three dots to access additional options.
5. Click “Change Payment Plan”.
Select “Change Payment Plan” to update the scheduled subscription or modify the payment plan.

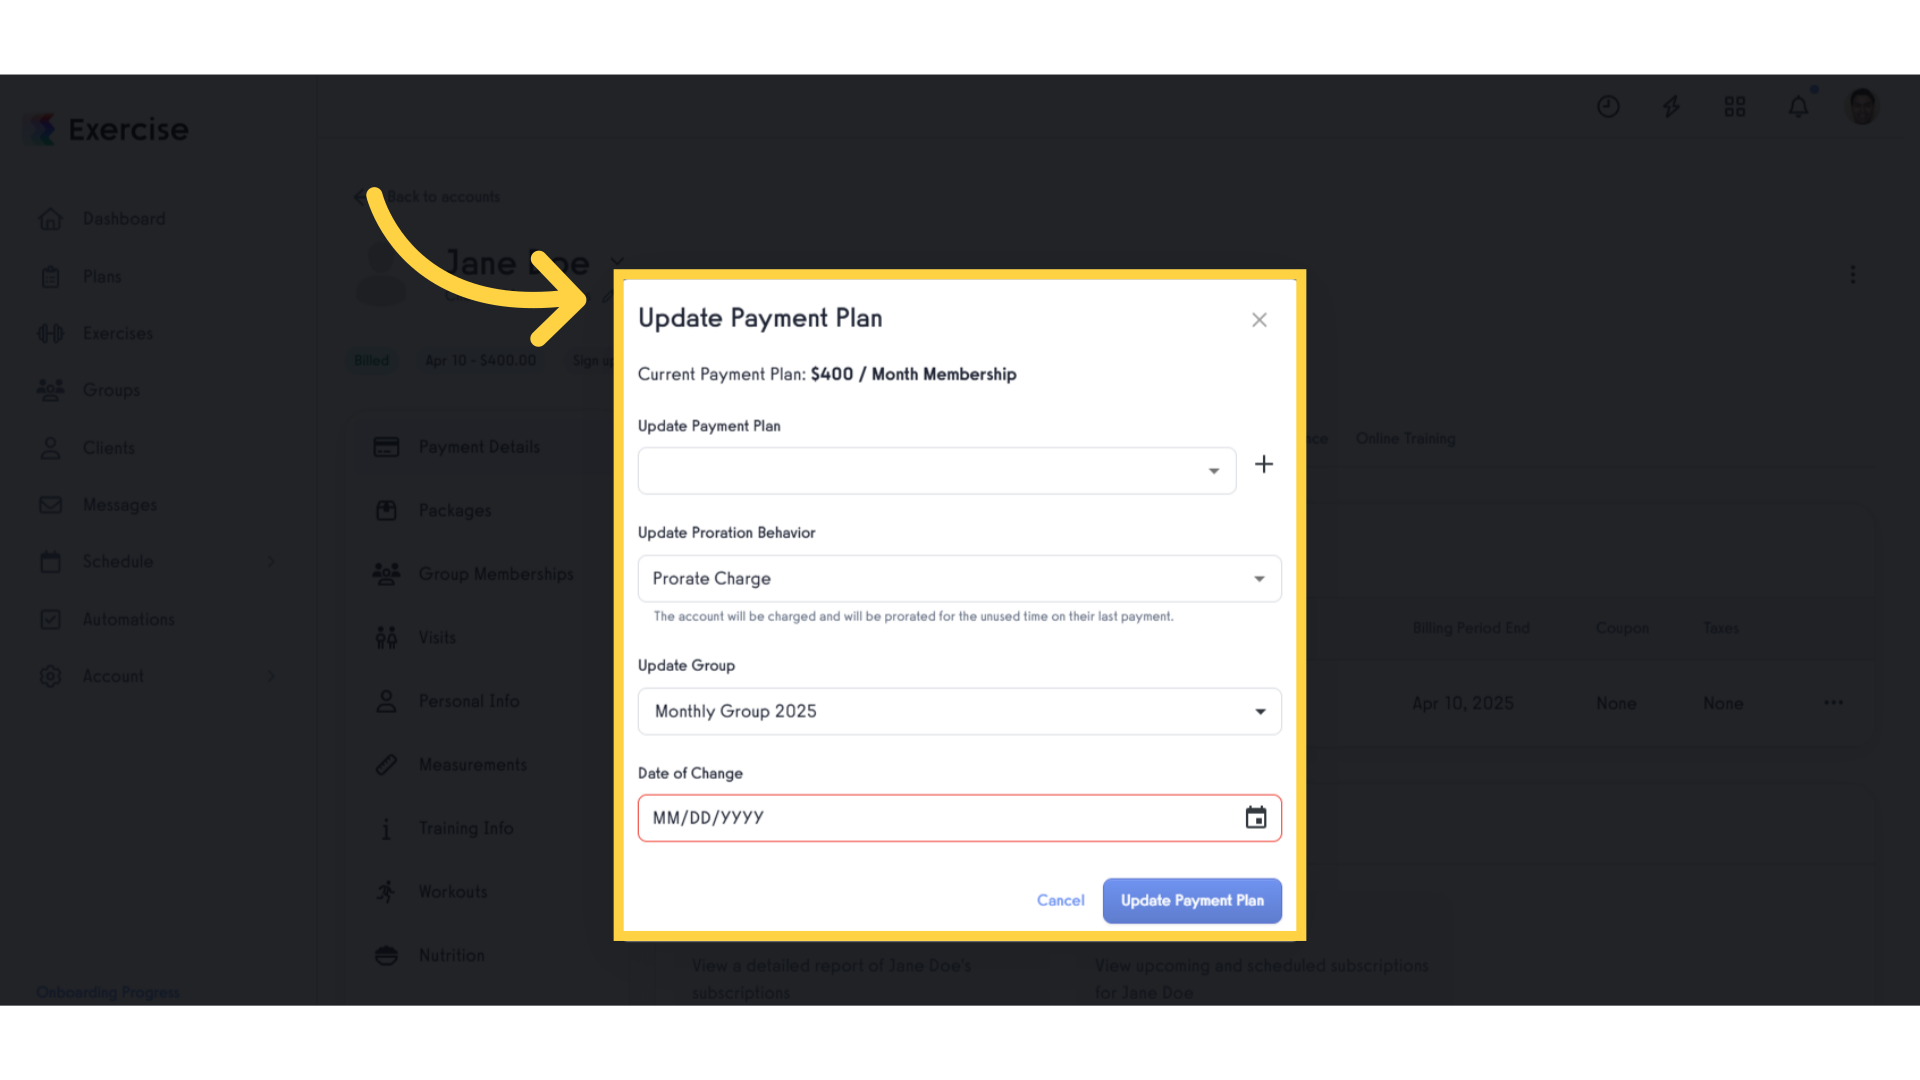
6. Update Payment Plan Modal.
In the Payment Plan modal, you can update the scheduled subscription by modifying the existing payment plan or adding a new payment plan.
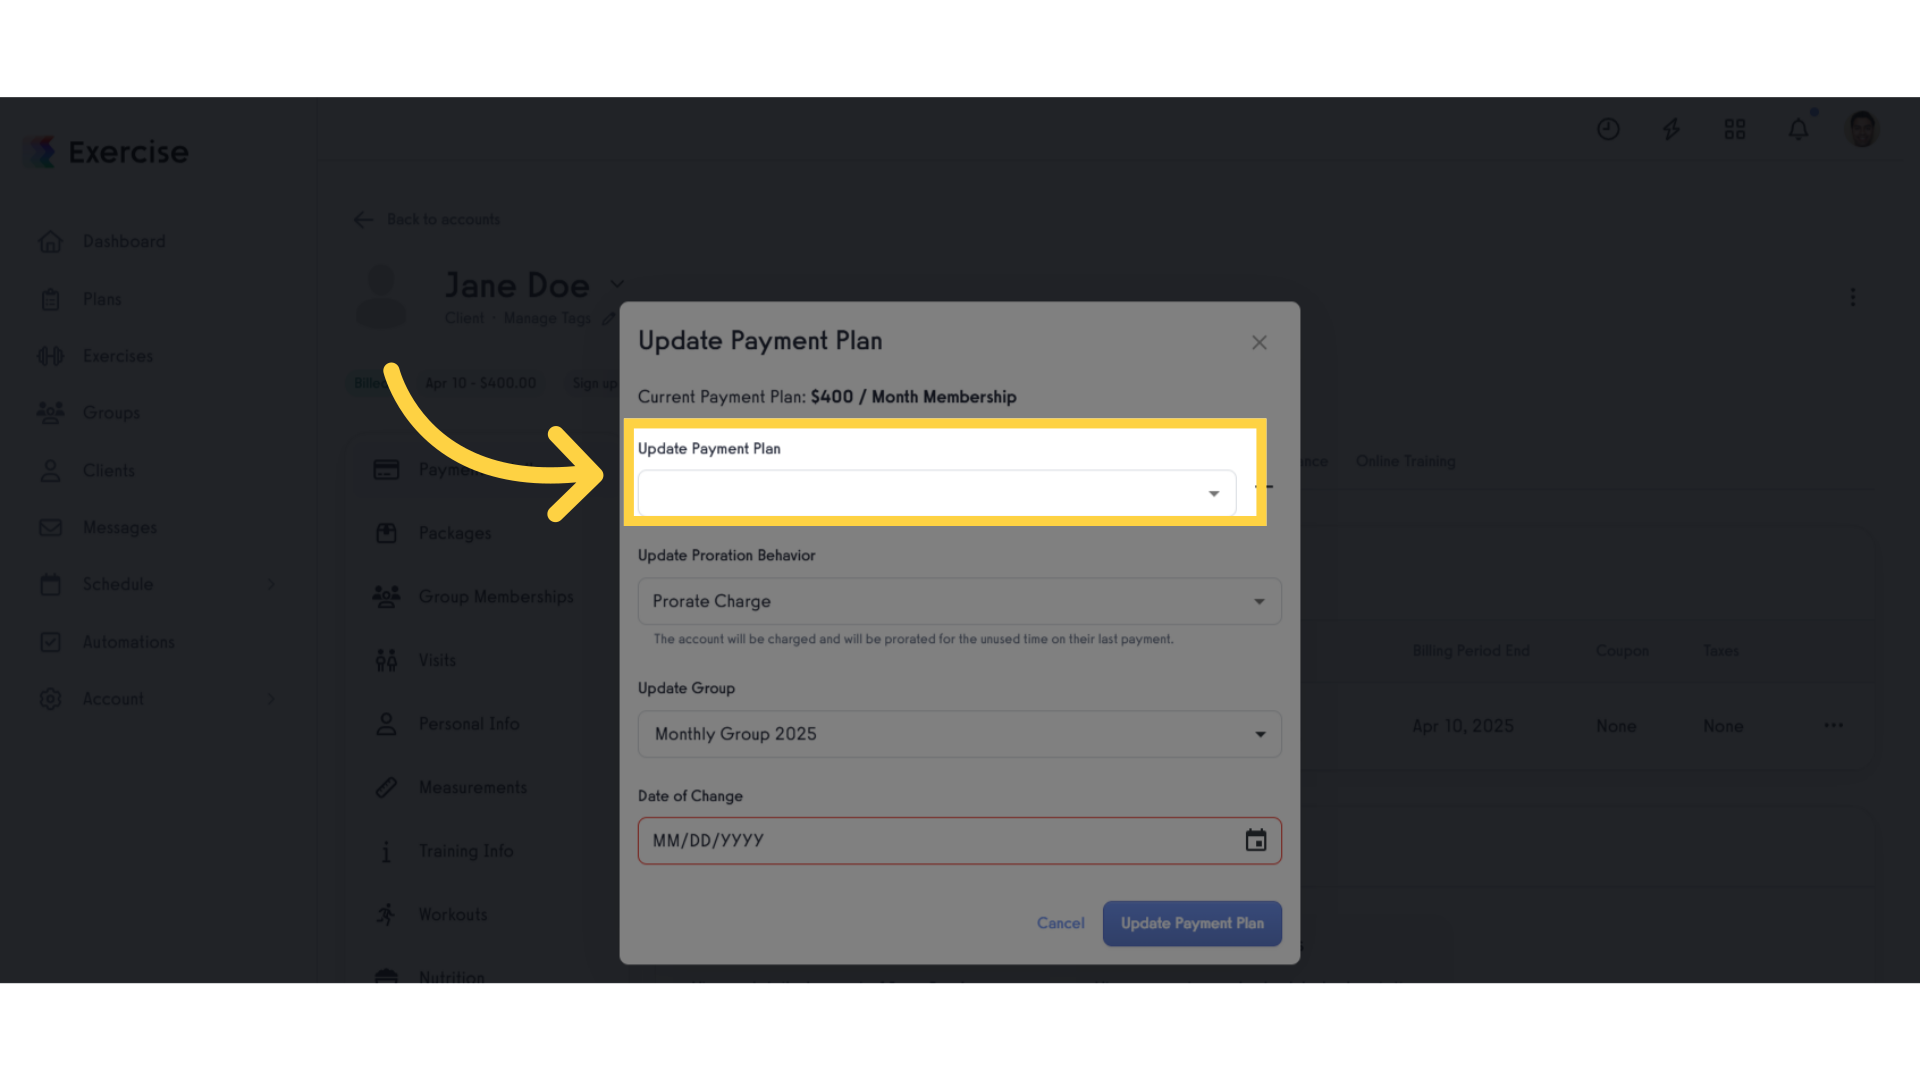
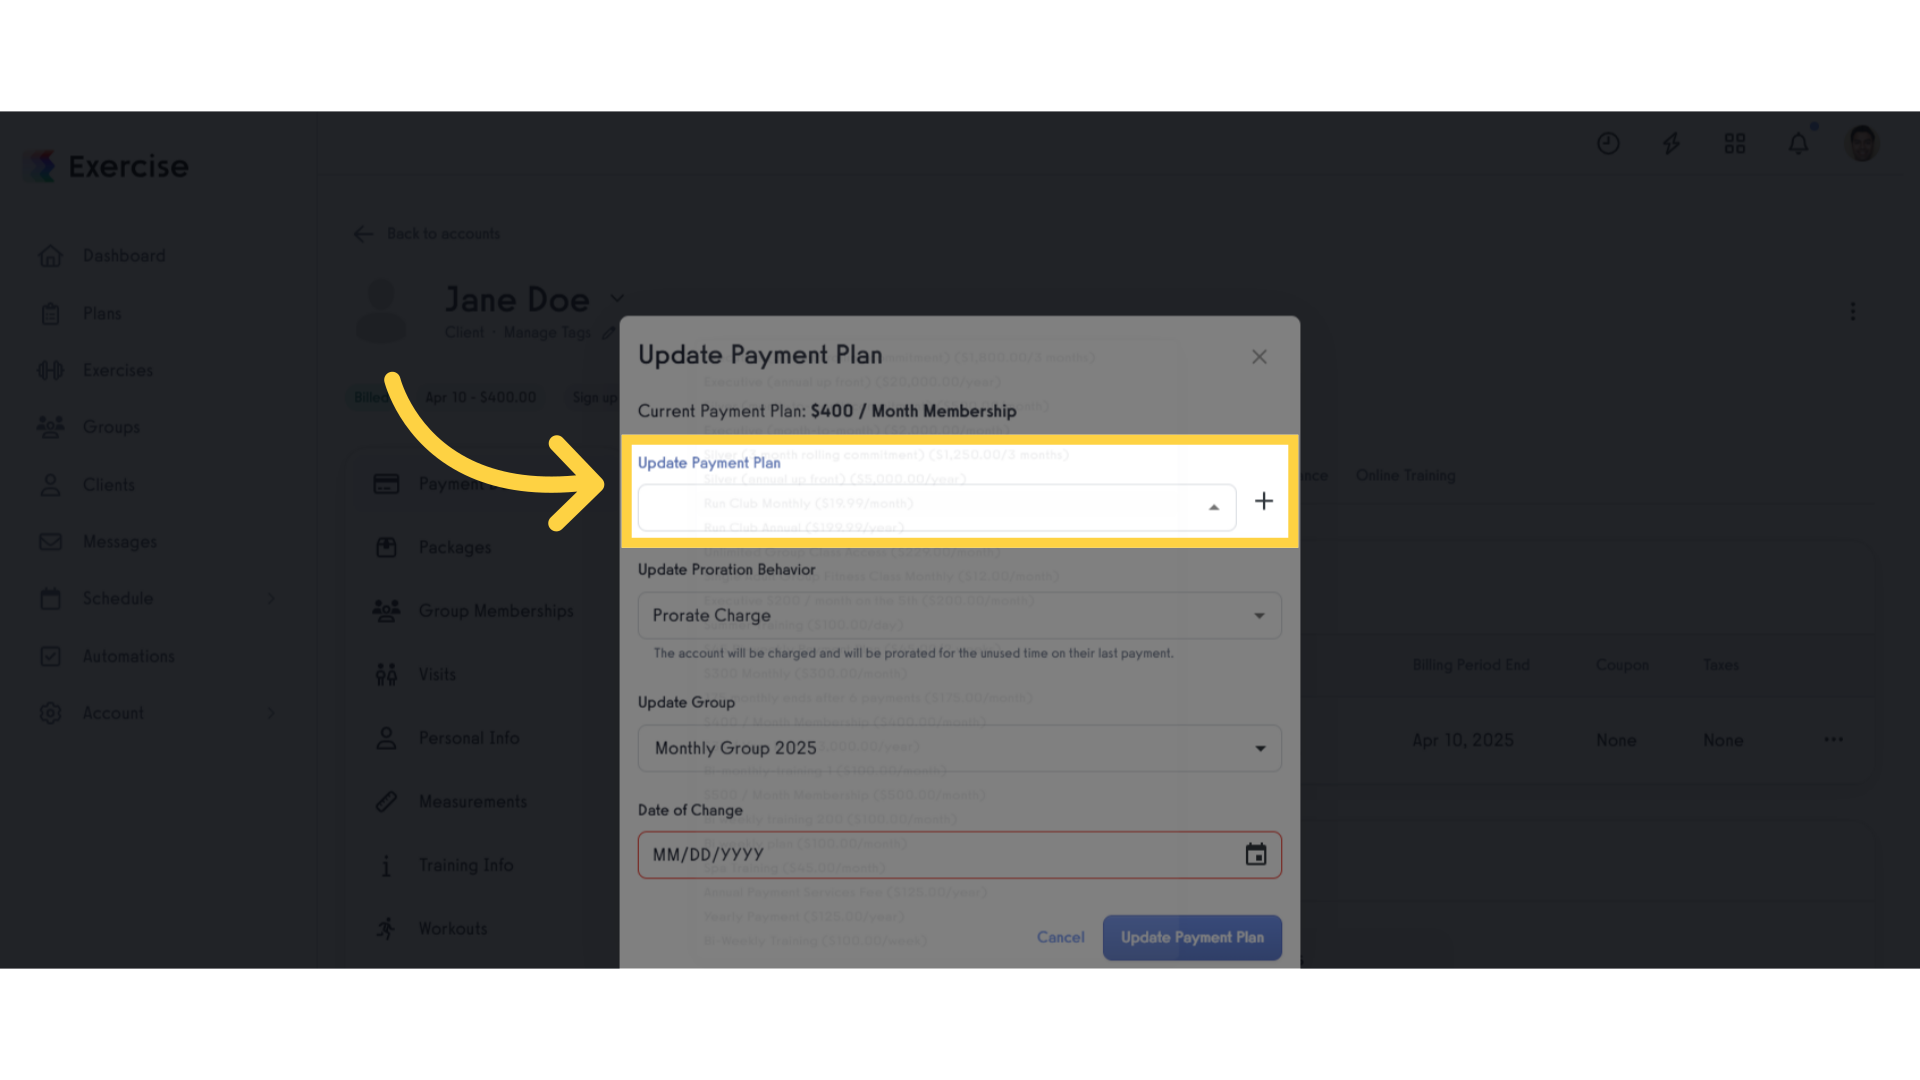
7. Select existing Payment Plan.
Select an existing payment plan from the “Update Payment Plan” dropdown field. This allows you to replace the current payment plan with any other available payment plan.
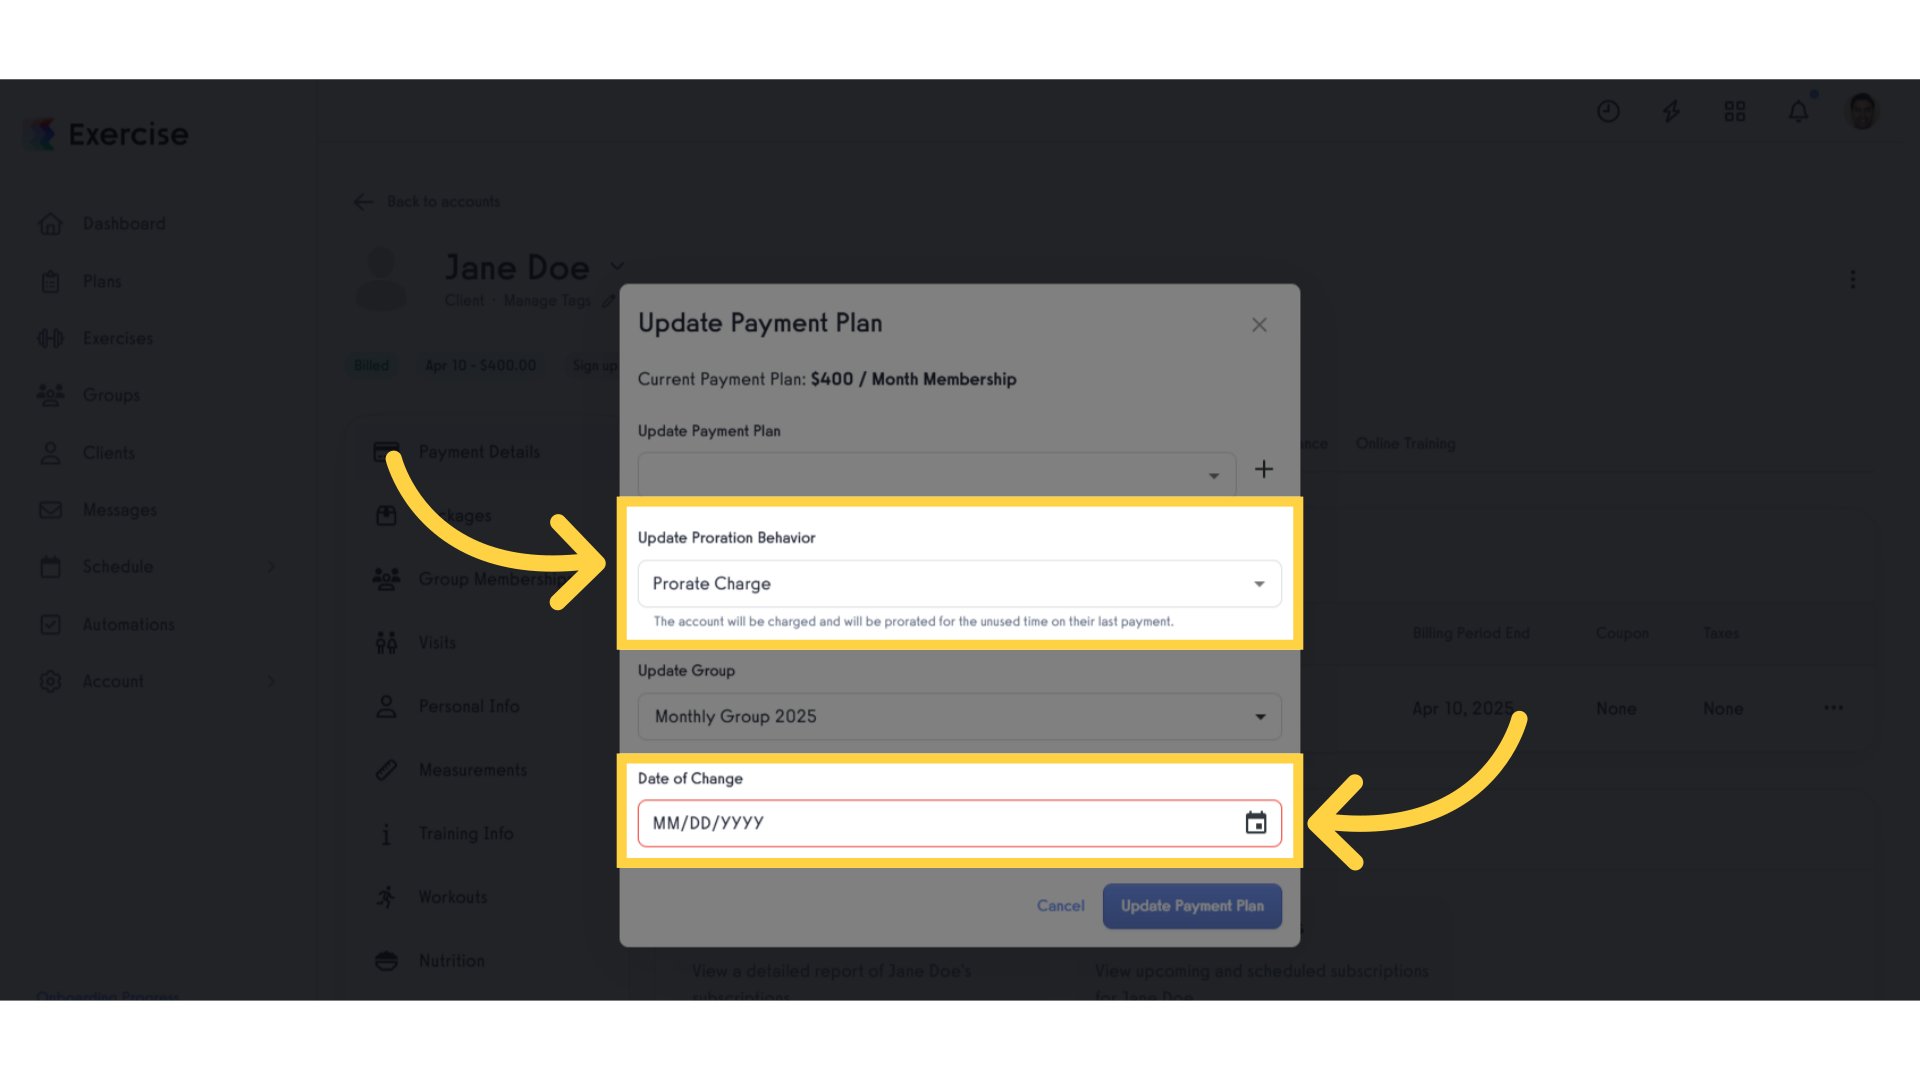
8. Select Proration Behavior.
Update the other options, such as proration behavior and date of change, based on your preferences to ensure the transition aligns with your billing requirements. After updating the necessary options, click “Save” to apply the changes to the payment plan.
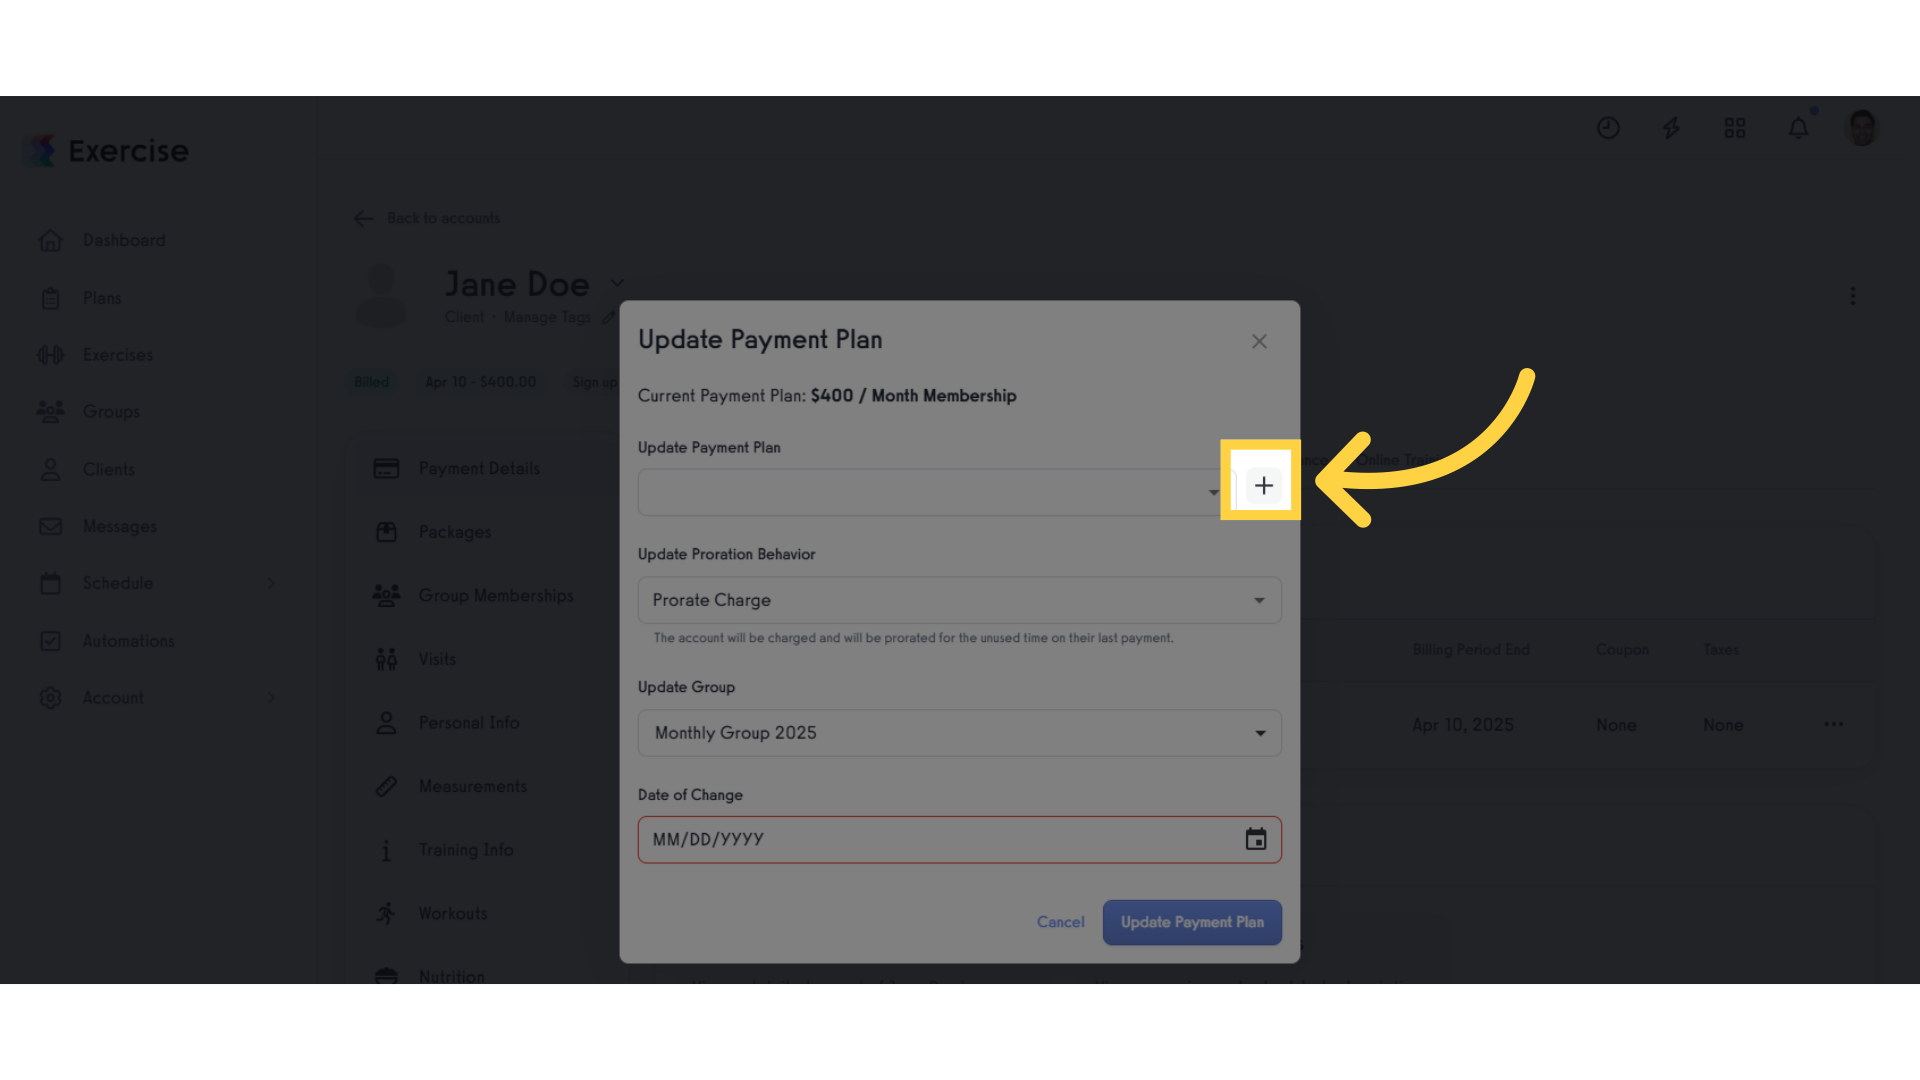
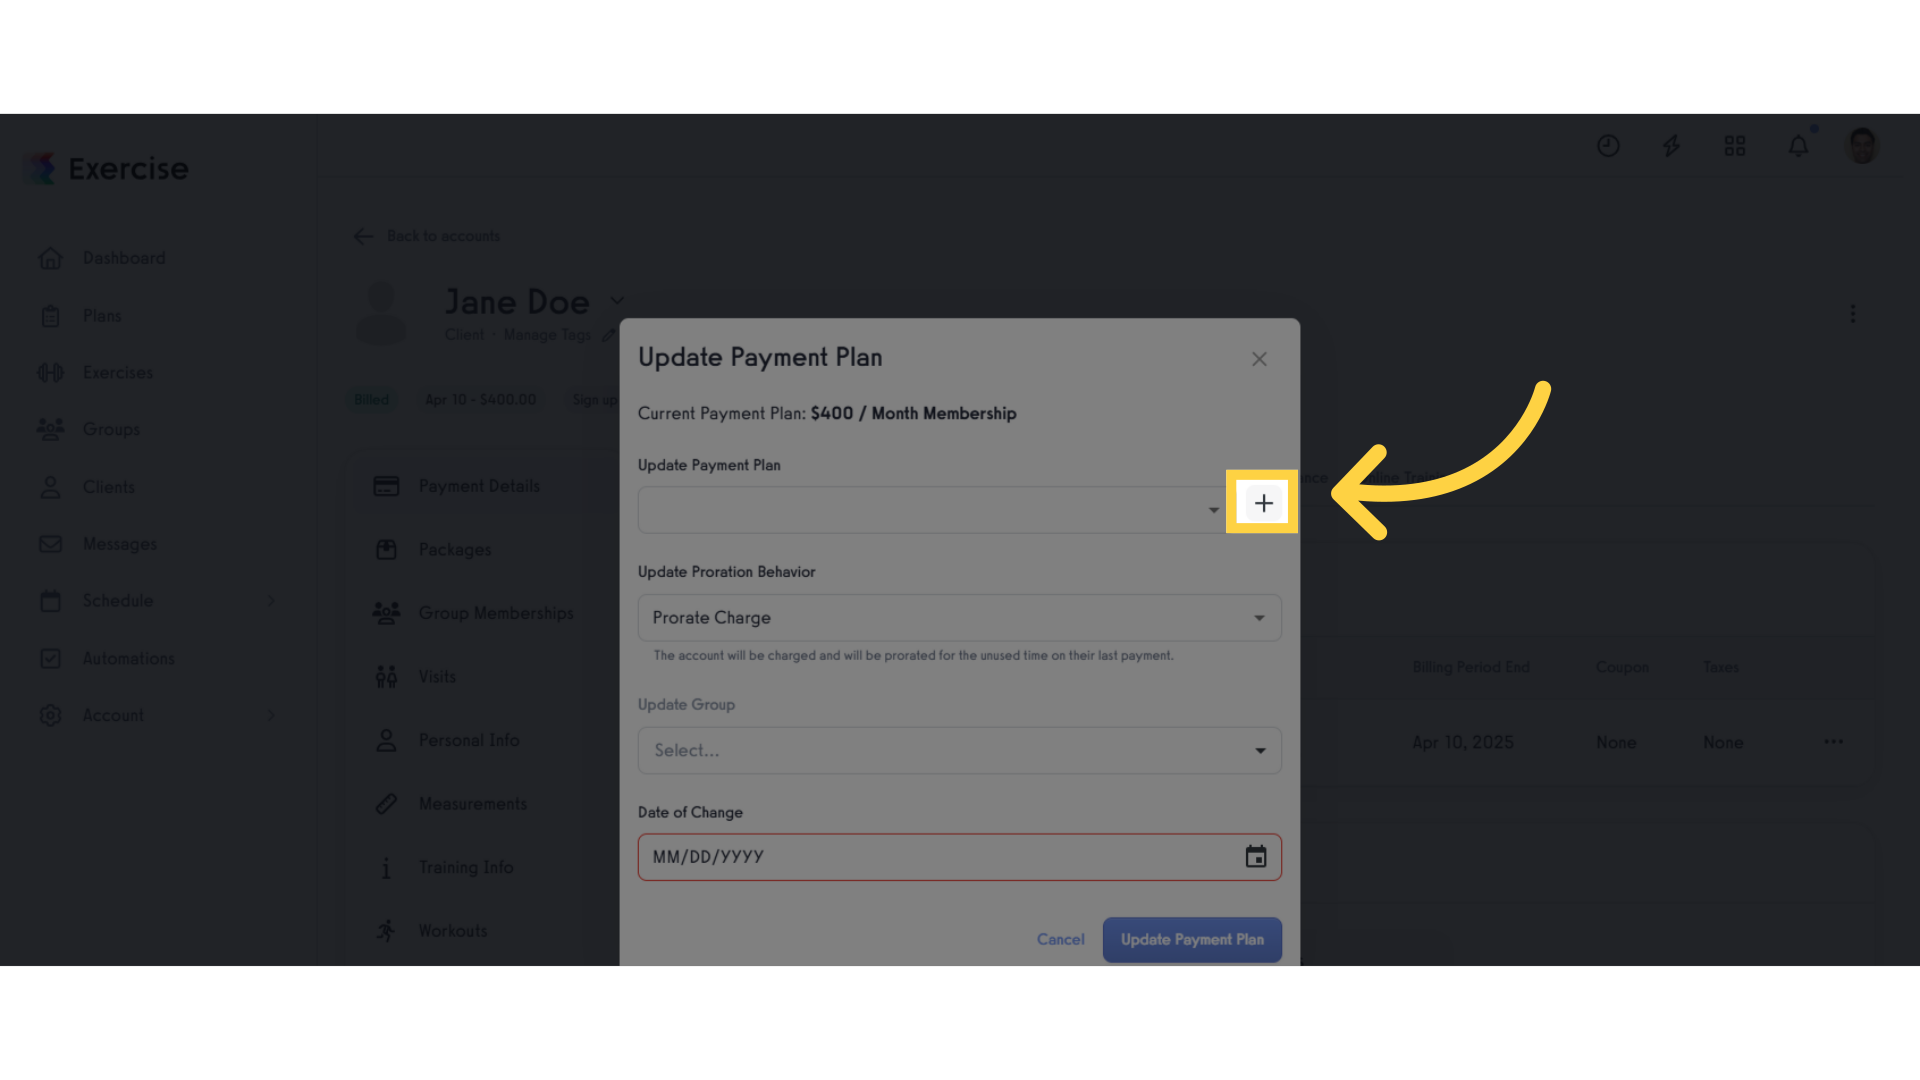
9. Click + icon.
This action leads to more detailed options for payment adjustments, key for tailoring subscription plans to client preferences.
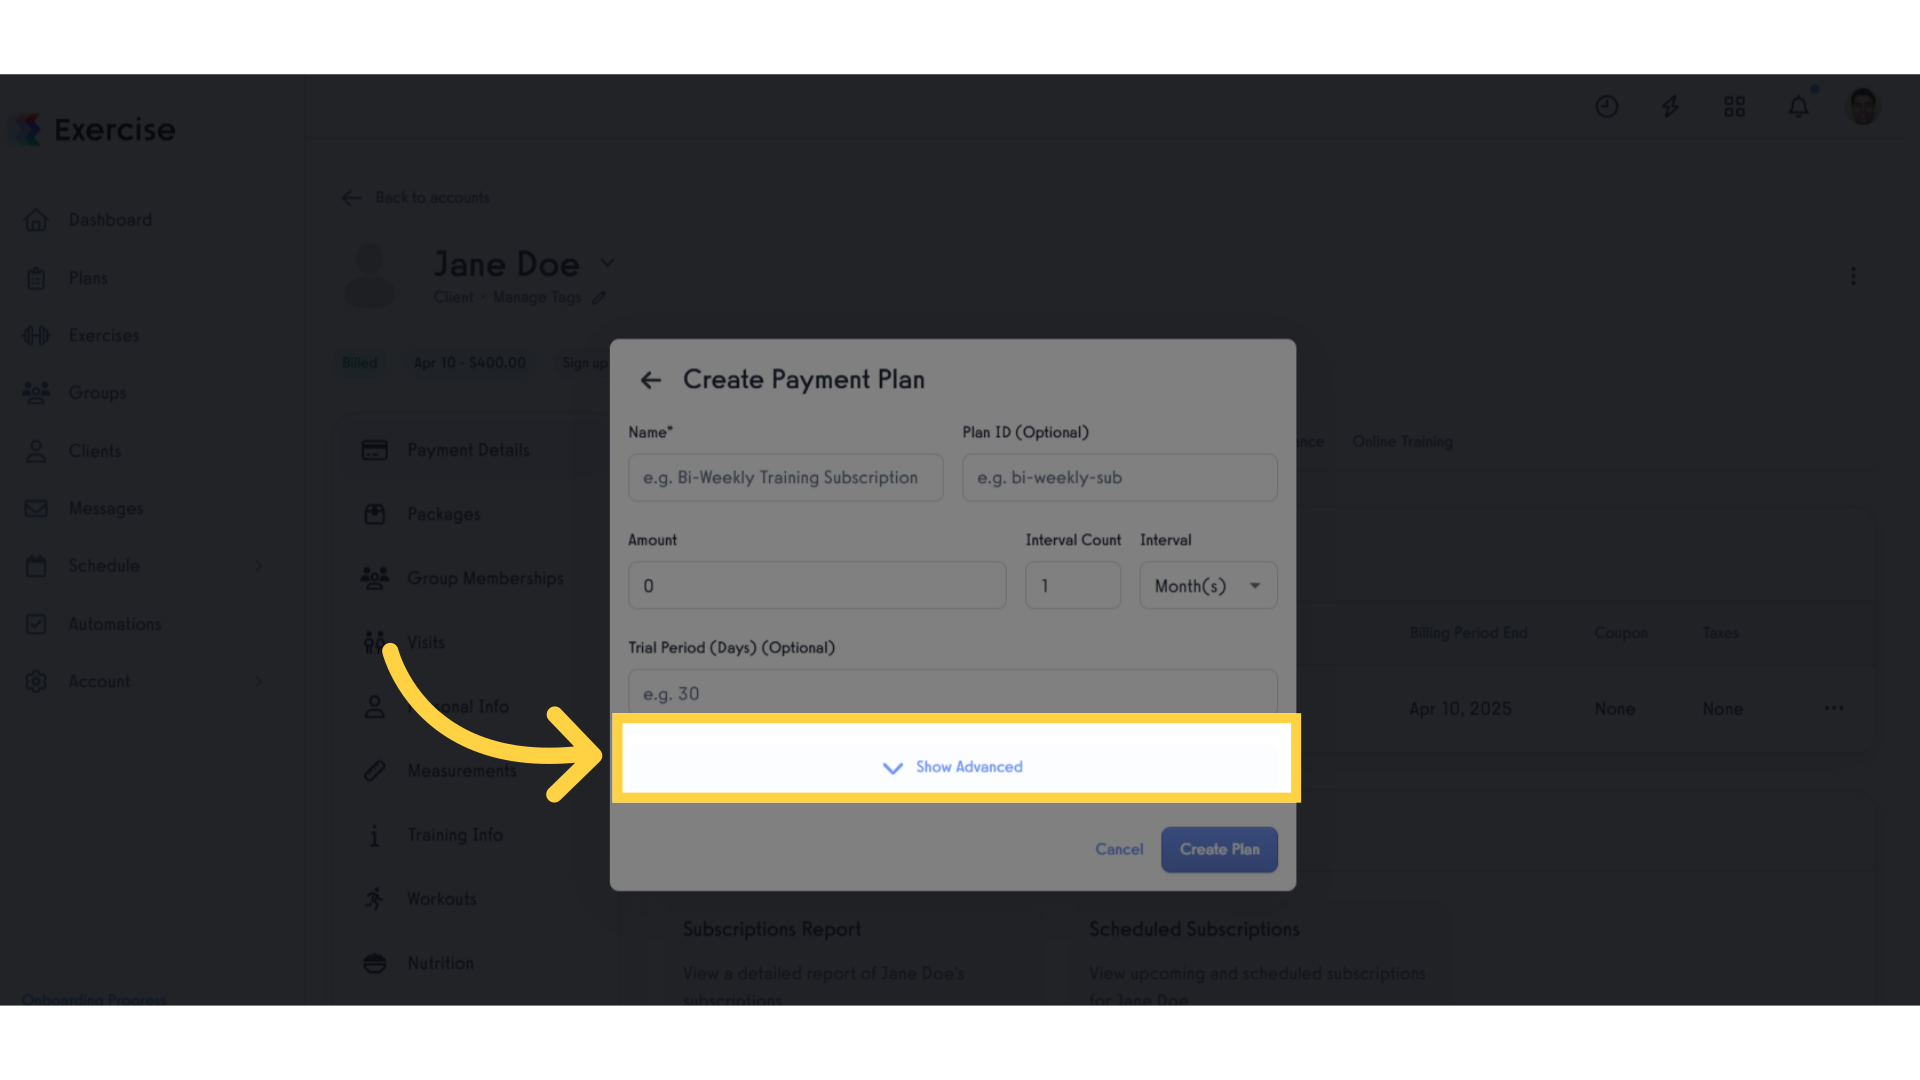
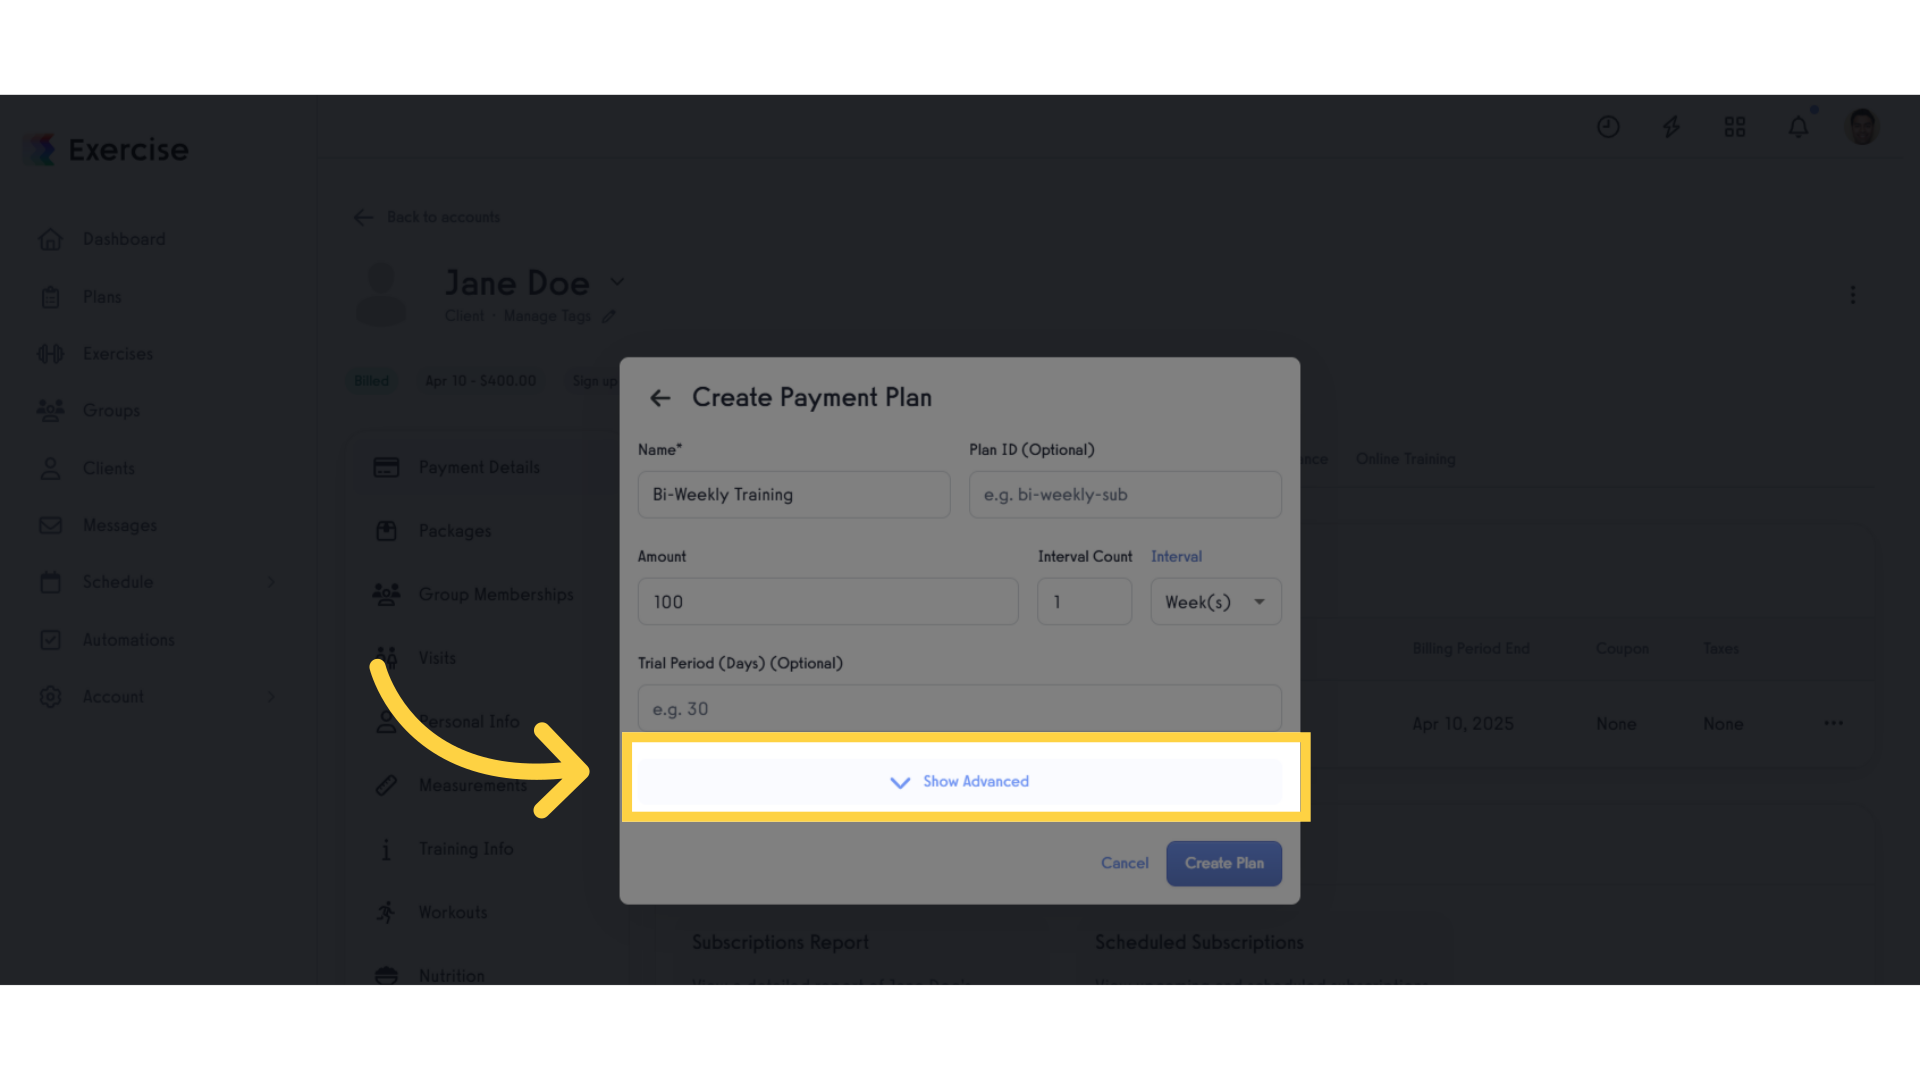
10. Click “Show Advanced”.
Expanding advanced options provides deeper customization capabilities, allowing for more tailored subscription offerings.
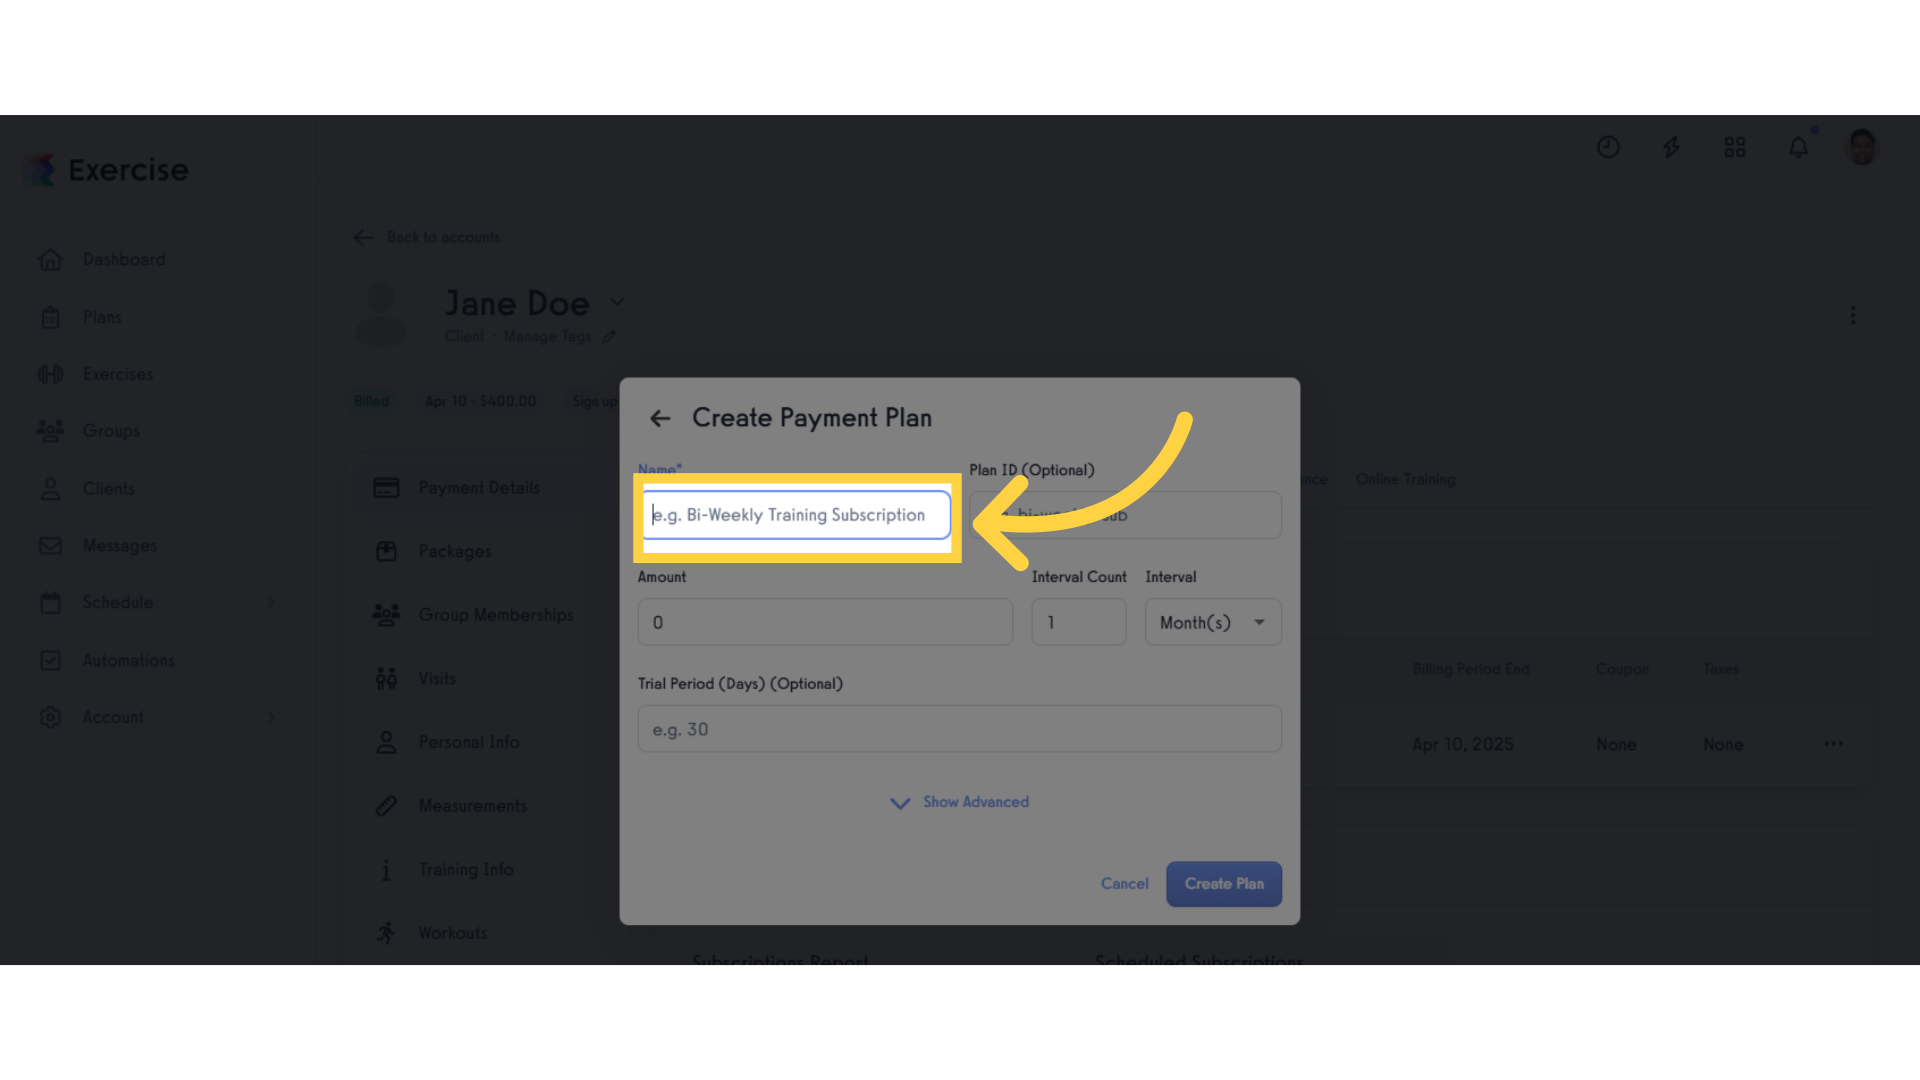
11. Click “e.g. Bi-Weekly Training Subscription”.
Choosing a specific subscription type enables you to offer clients precise training programs that meet their needs.

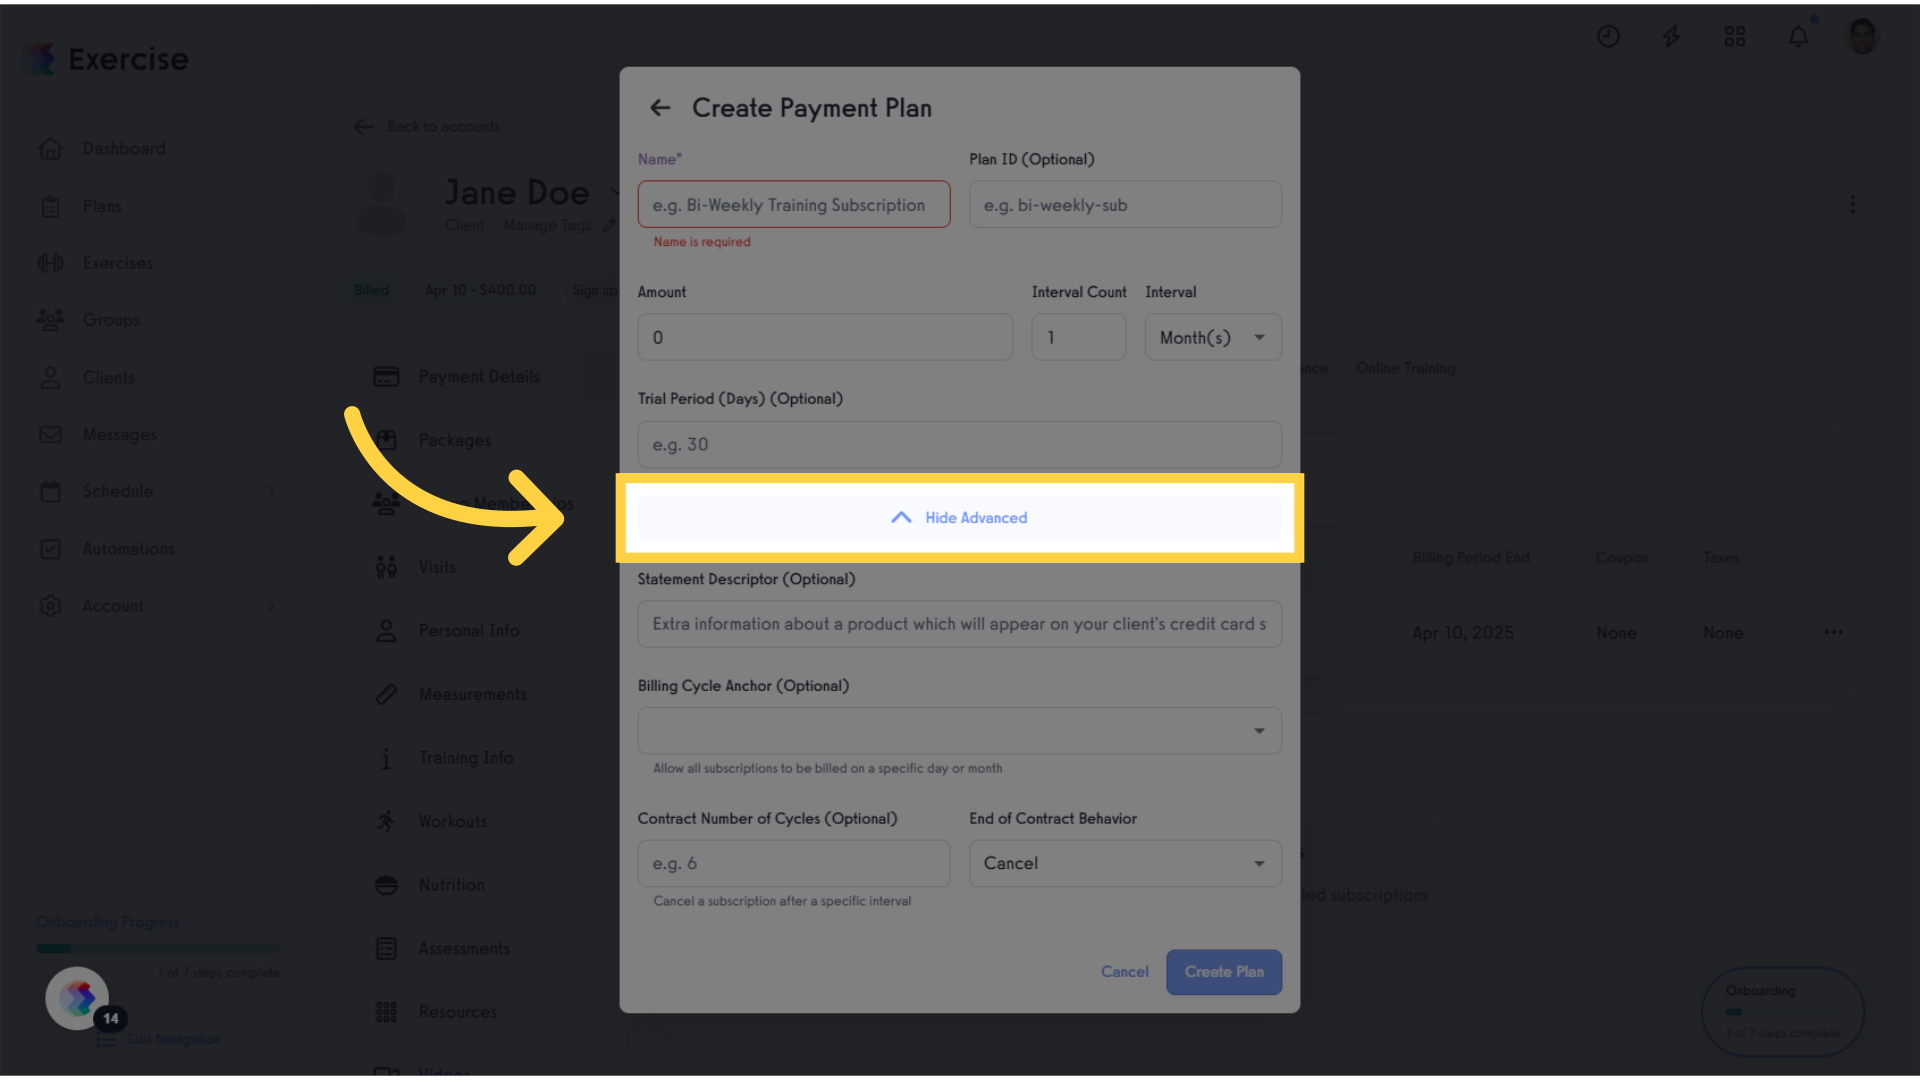
12. Click “Hide Advanced”.
Returning to the standard view simplifies the process, making it easier to navigate and manage subscriptions.
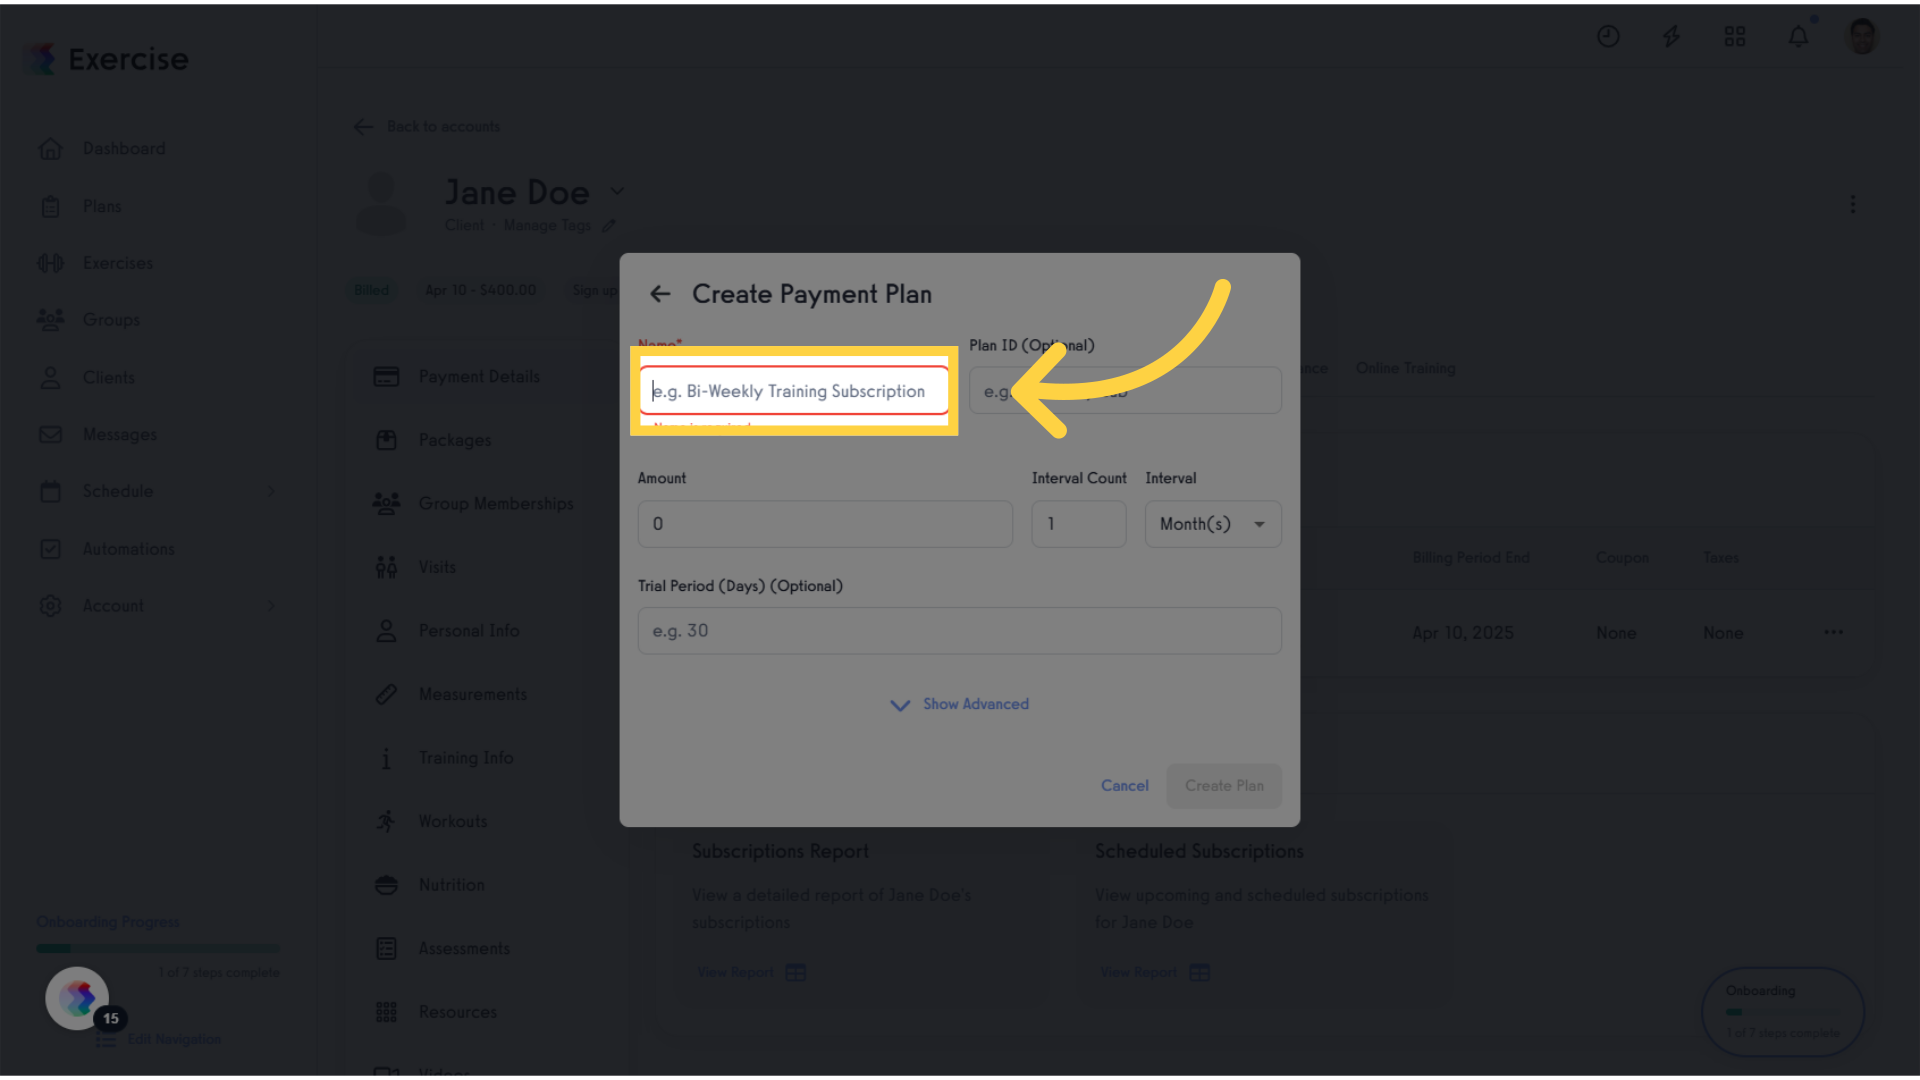
13. Click “e.g. Bi-Weekly Training Subscription”.
Re-selecting the subscription type ensures you are on track with the client’s desired plan.
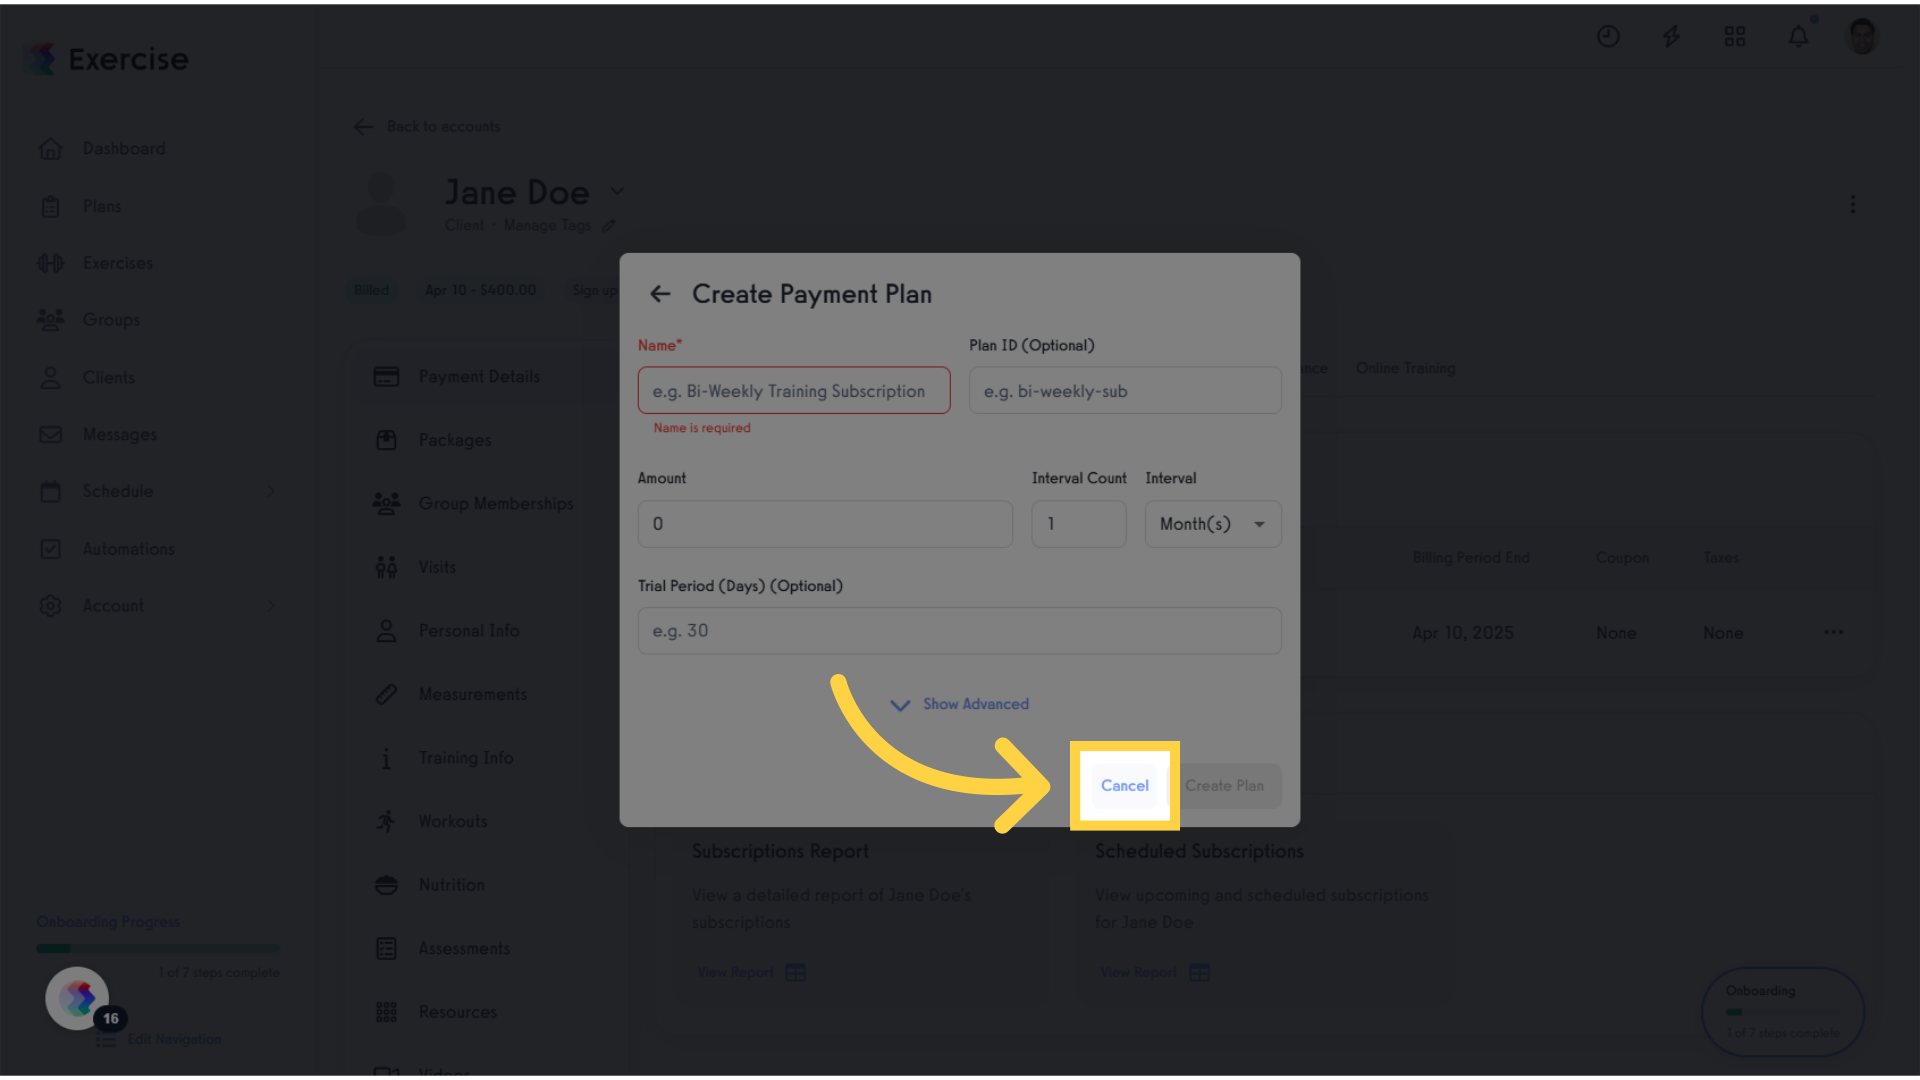
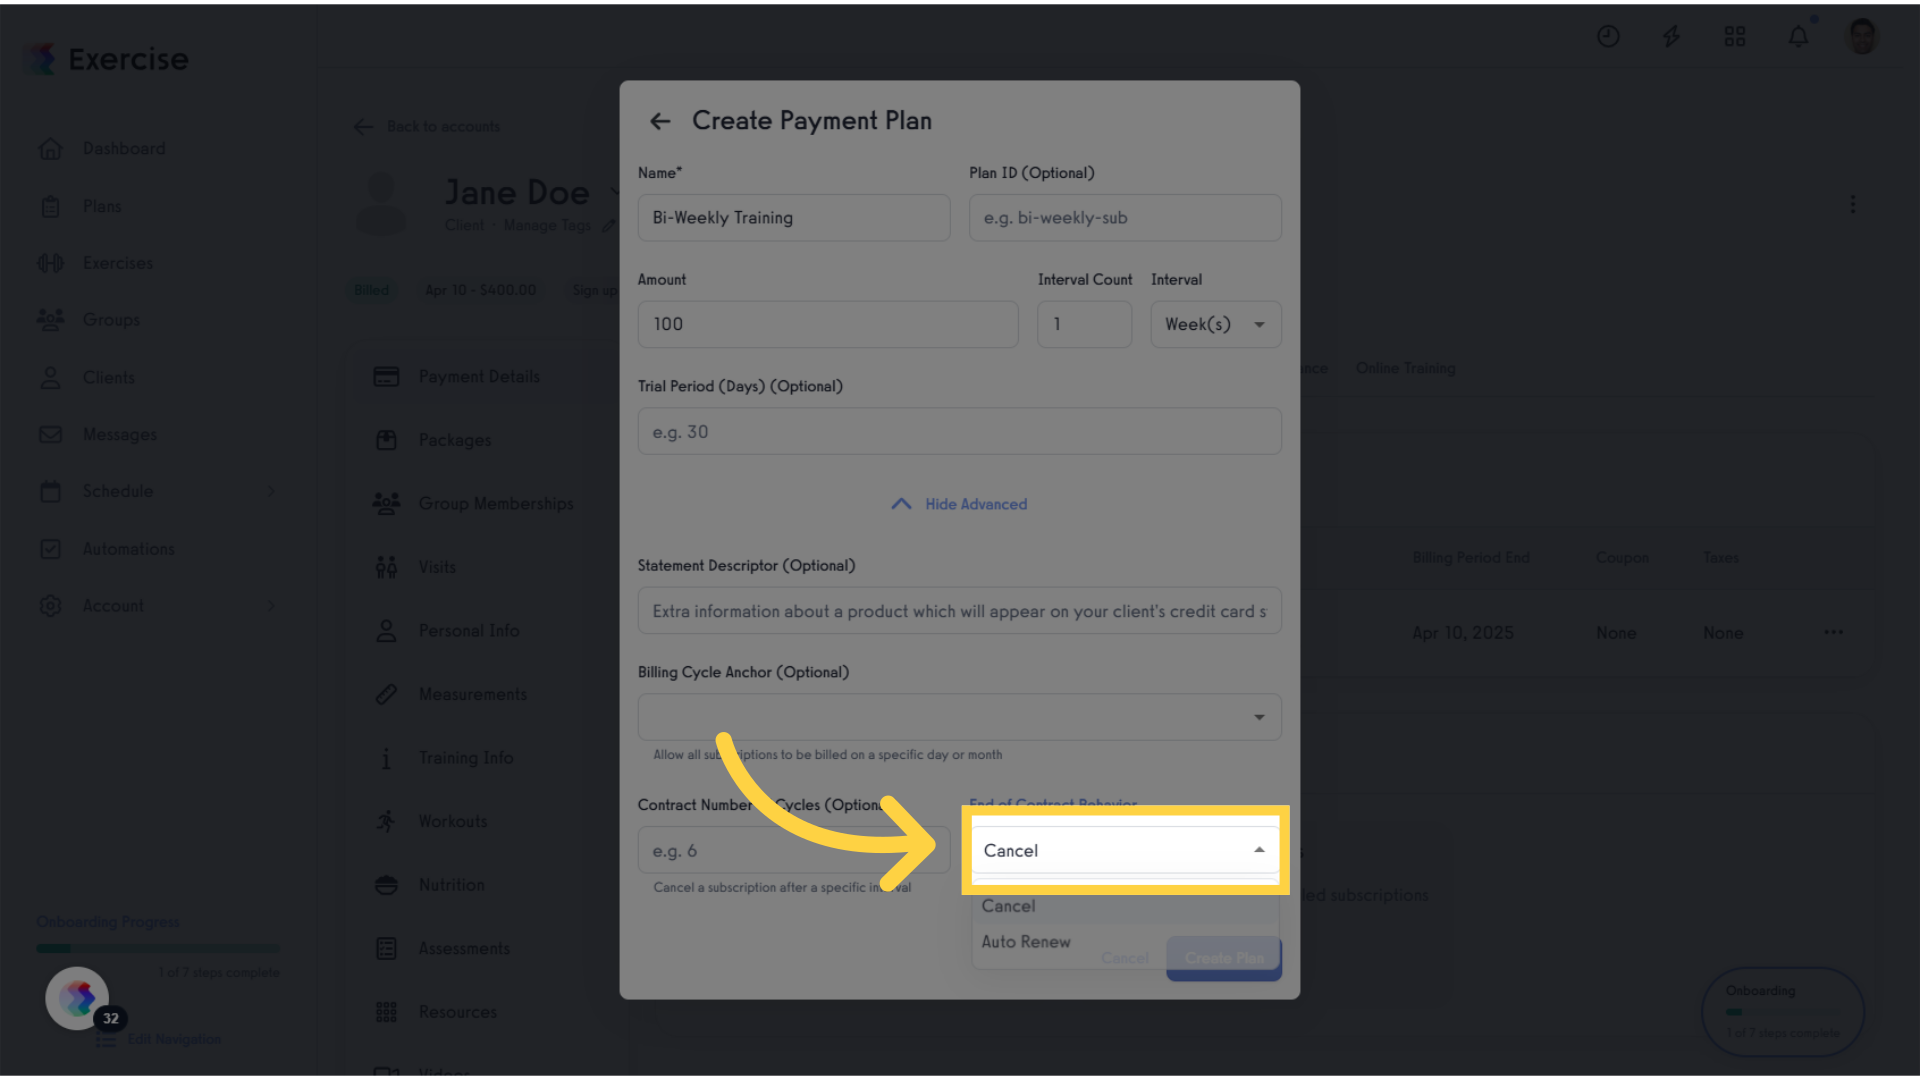
14. Click “Cancel”.
Canceling unnecessary changes helps maintain clarity in your subscription management process.
15. Click triple dots.
This guides you back to the payment plan options, allowing you to refine your choices.

16. Click “Change Payment Plan”.
Revisiting the payment plan options allows you to make necessary adjustments that align with client expectations.

17. Click + icon.
This leads you to the subscription selection, vital for confirming the client’s desired plan.
18. Click “e.g. Bi-Weekly Training Subscription”.
Selecting the specific training subscription aligns the offering with the client’s goals.
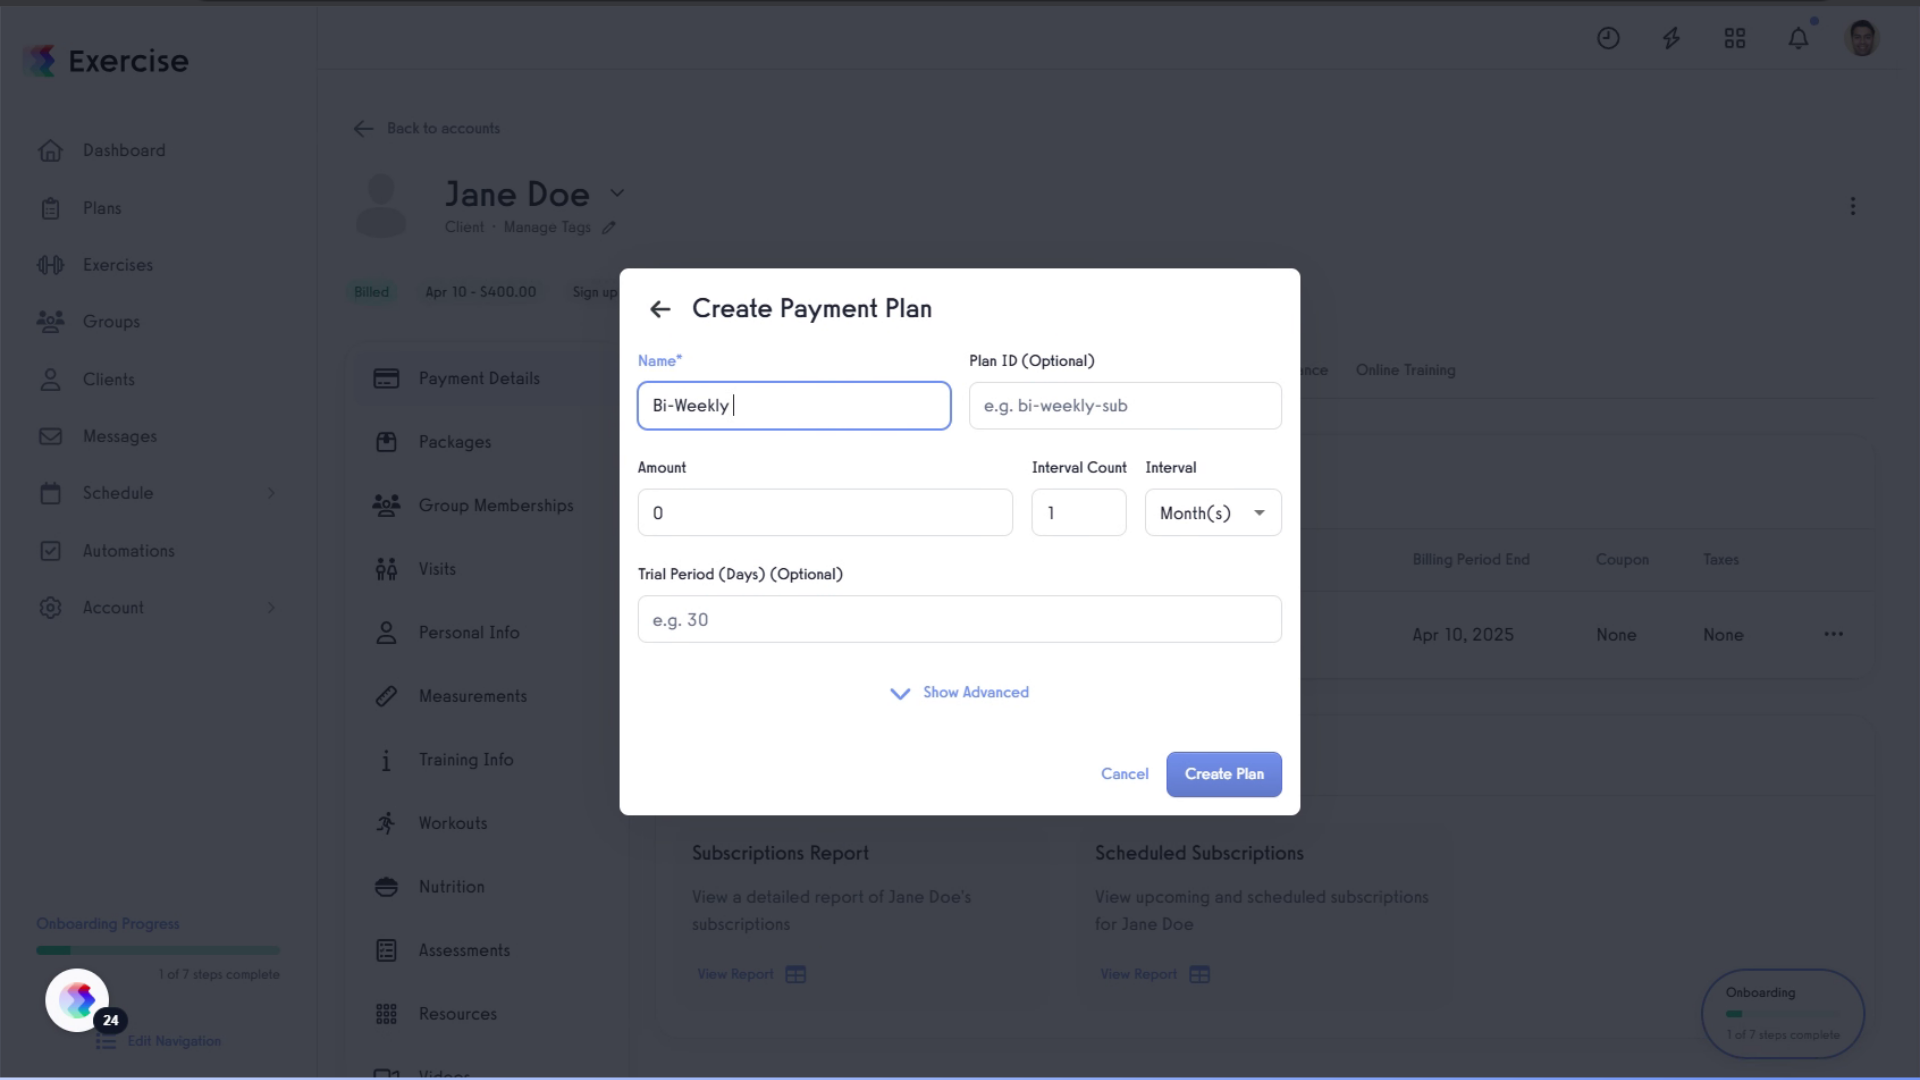
19. Fill “Bi-Weekly Training”
Enter “Bi-Weekly Training” in the provided field
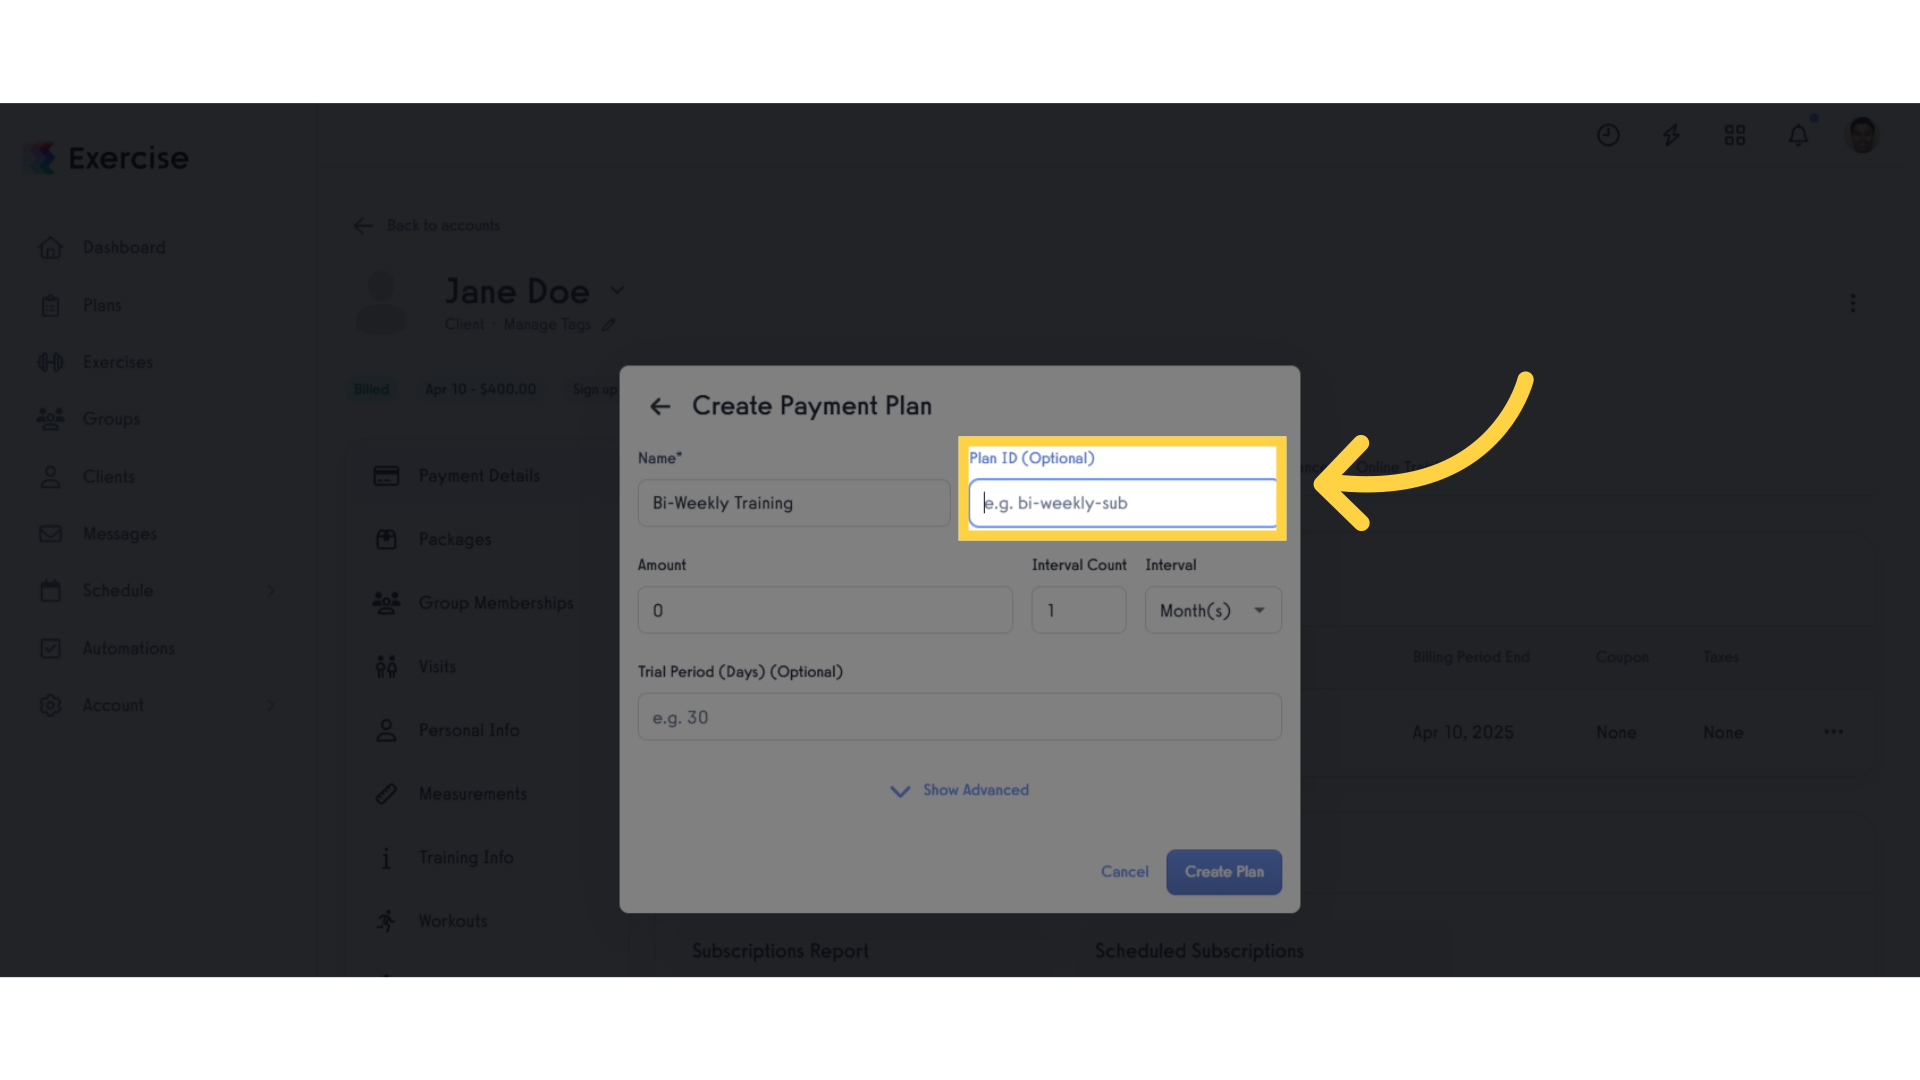
20. Click “e.g. bi-weekly-sub”.
Working with a test subscription helps you understand the features without affecting actual client accounts.
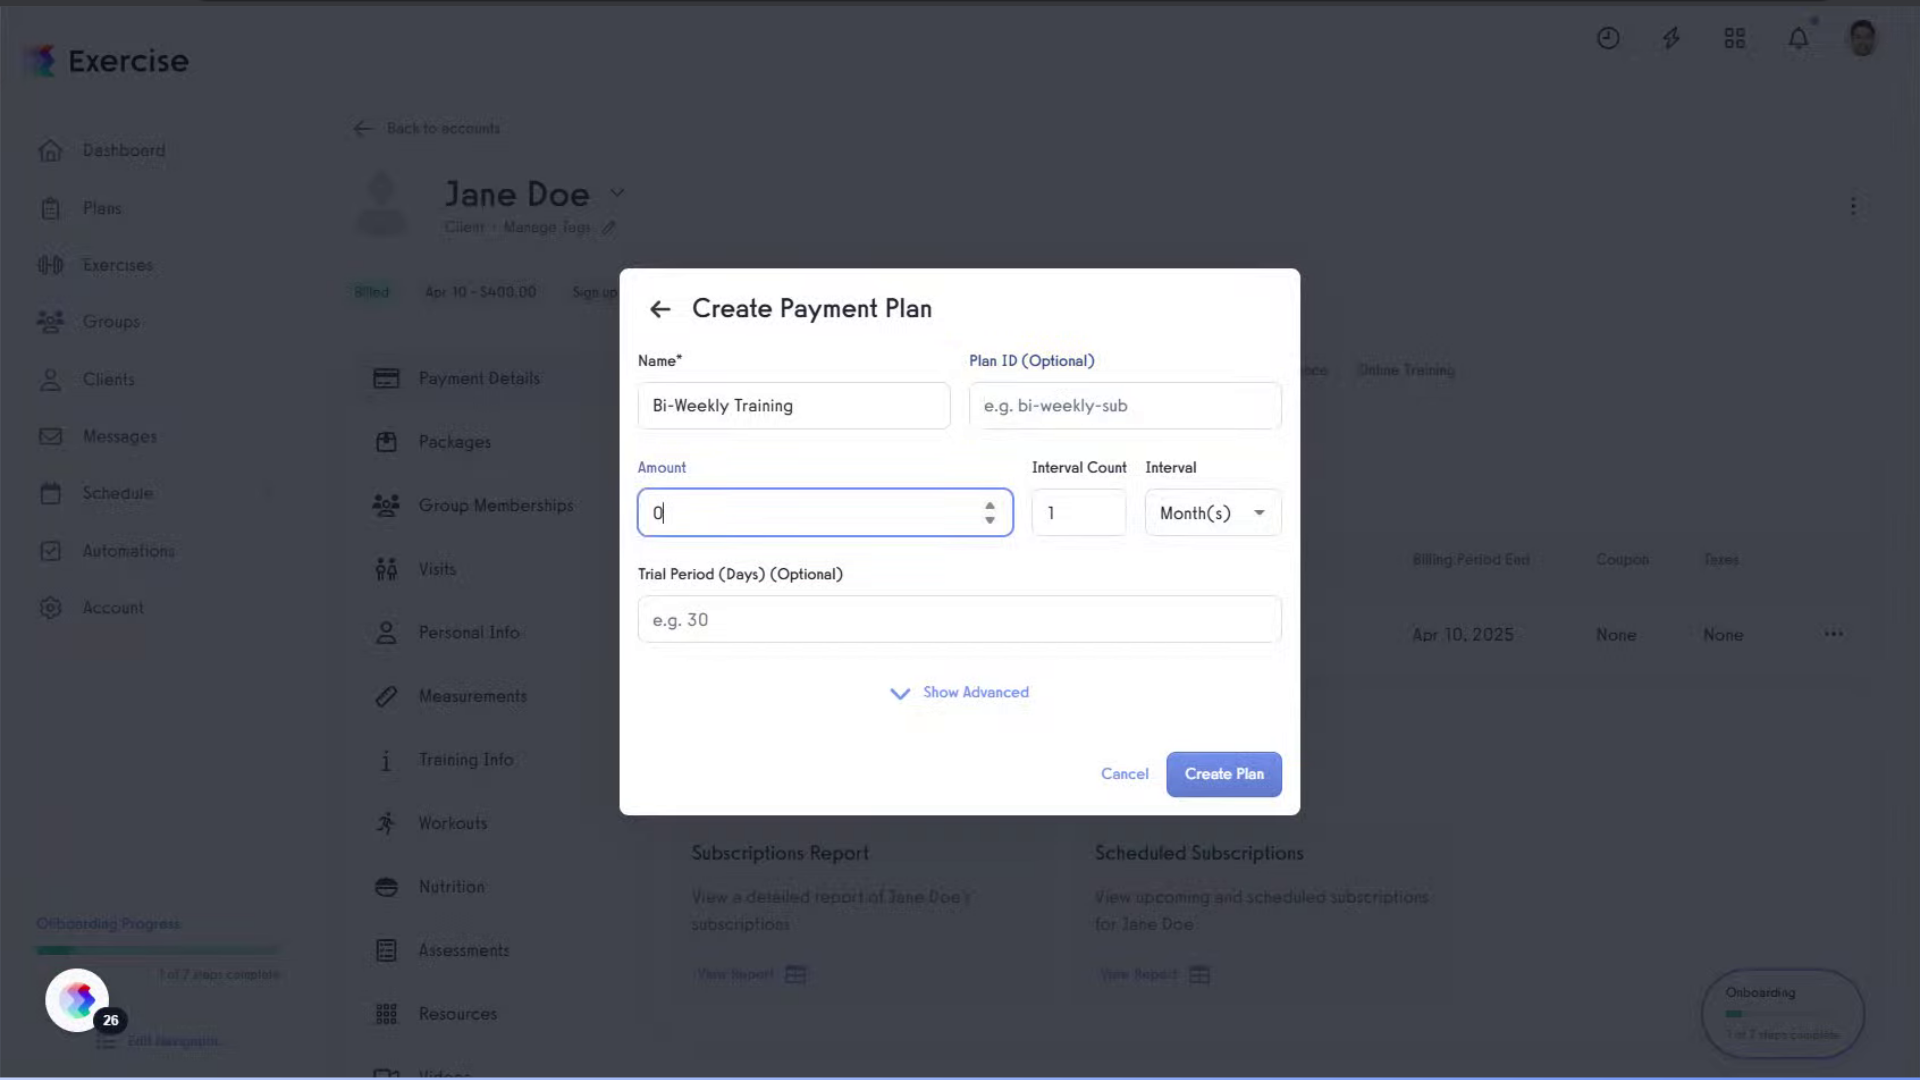
21. Fill “100”
Fill in the text box with “100”
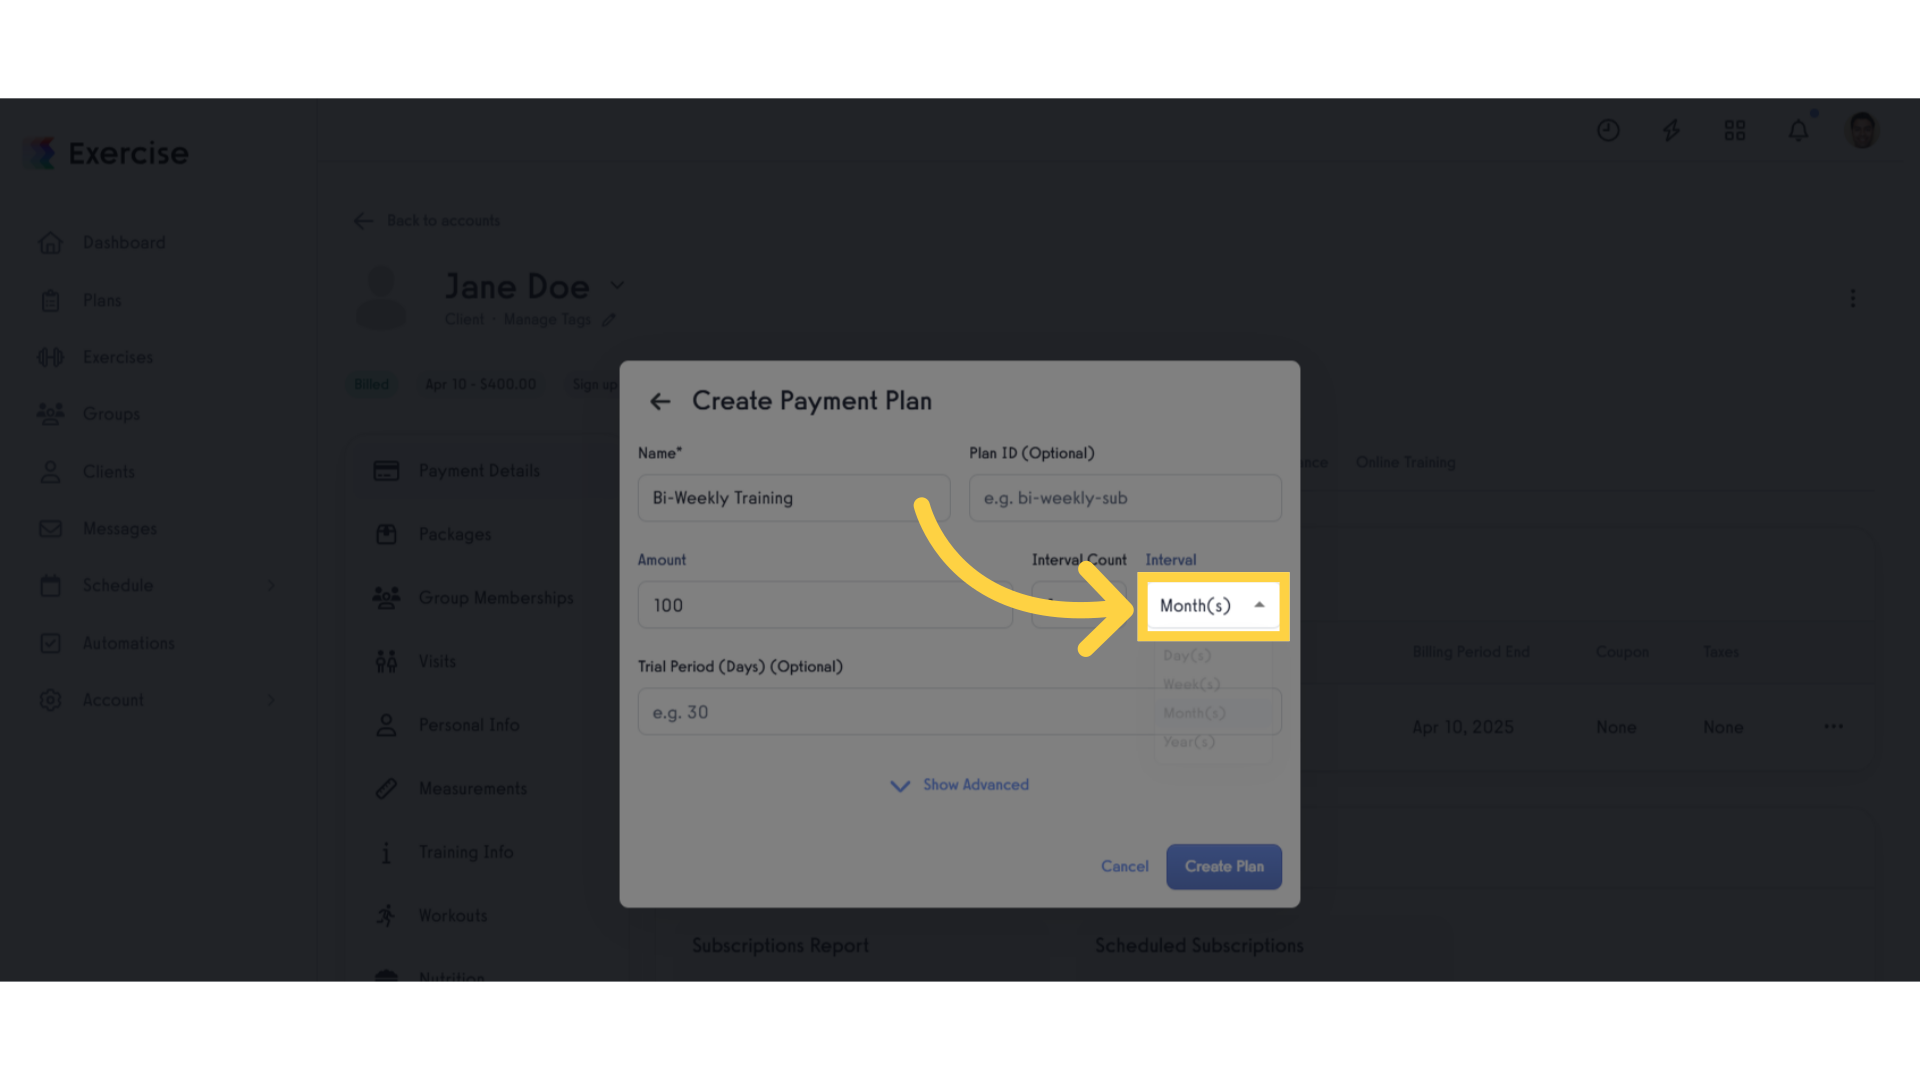
22. Click “Month(s)”.
Choosing the billing cycle duration allows for personalized subscription settings that meet client needs.
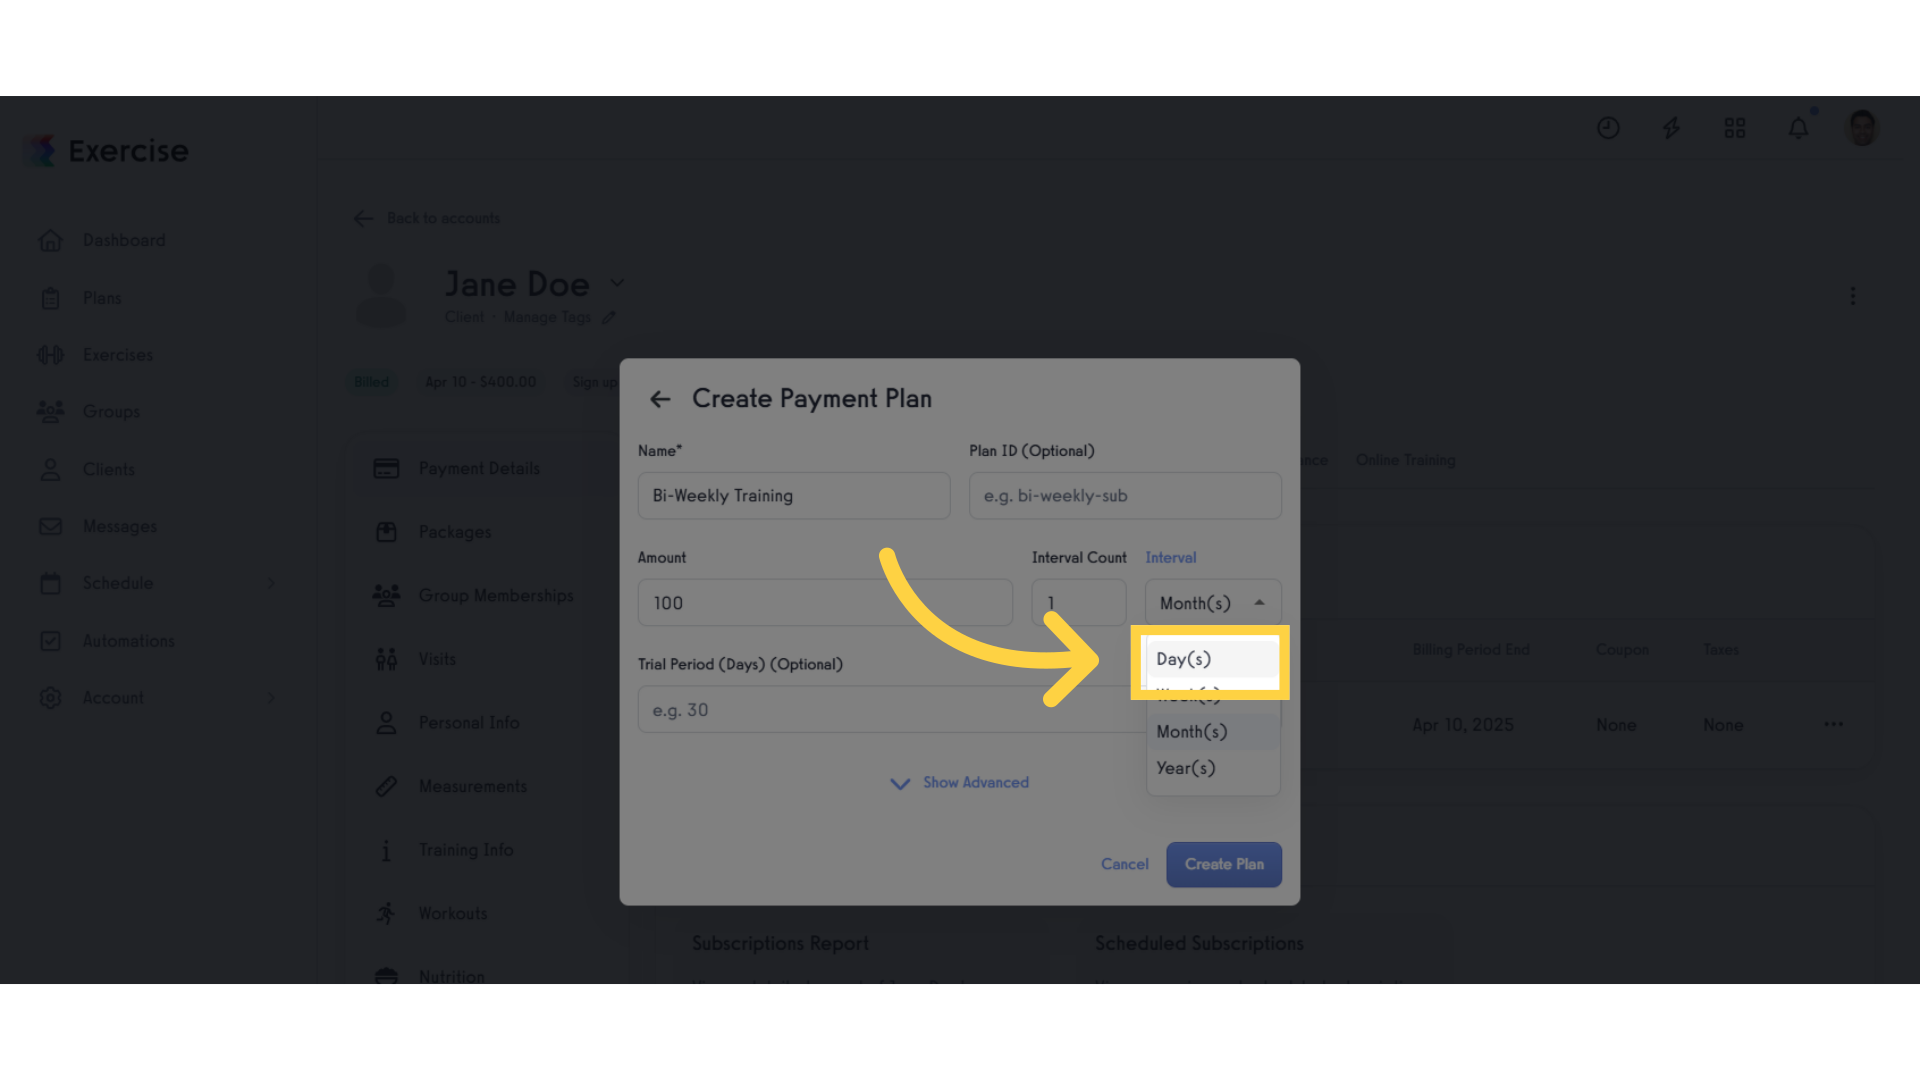
23. Click “Day(s)”.
Selecting daily options can cater to clients who prefer more frequent training updates.
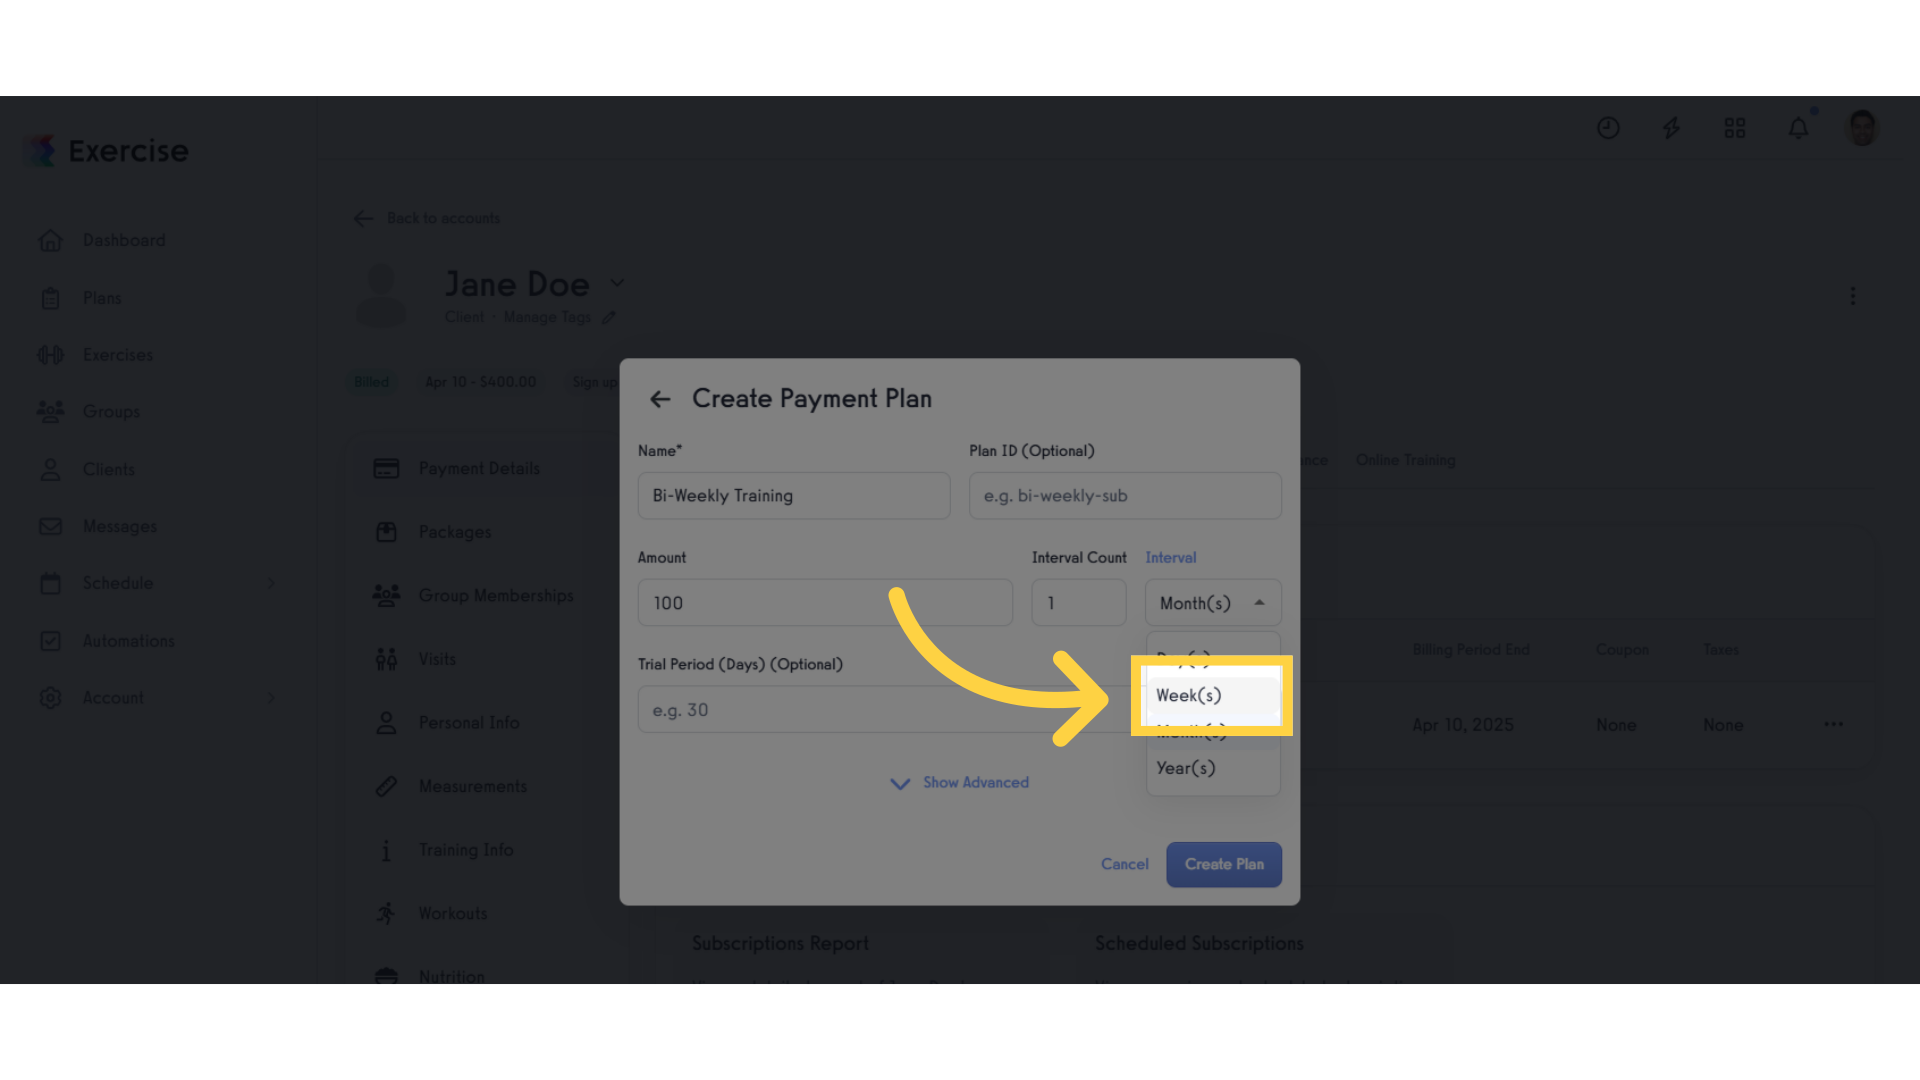
24. Click “Week(s)”.
Weekly billing options can provide flexibility and convenience for clients with busy schedules.
25. Click “Show Advanced”.
Accessing advanced settings allows you to customize options further, ensuring the subscription meets all client requirements.
26. Click “Cancel”.
Any unnecessary changes can be reverted, keeping the subscription process clear and accurate.
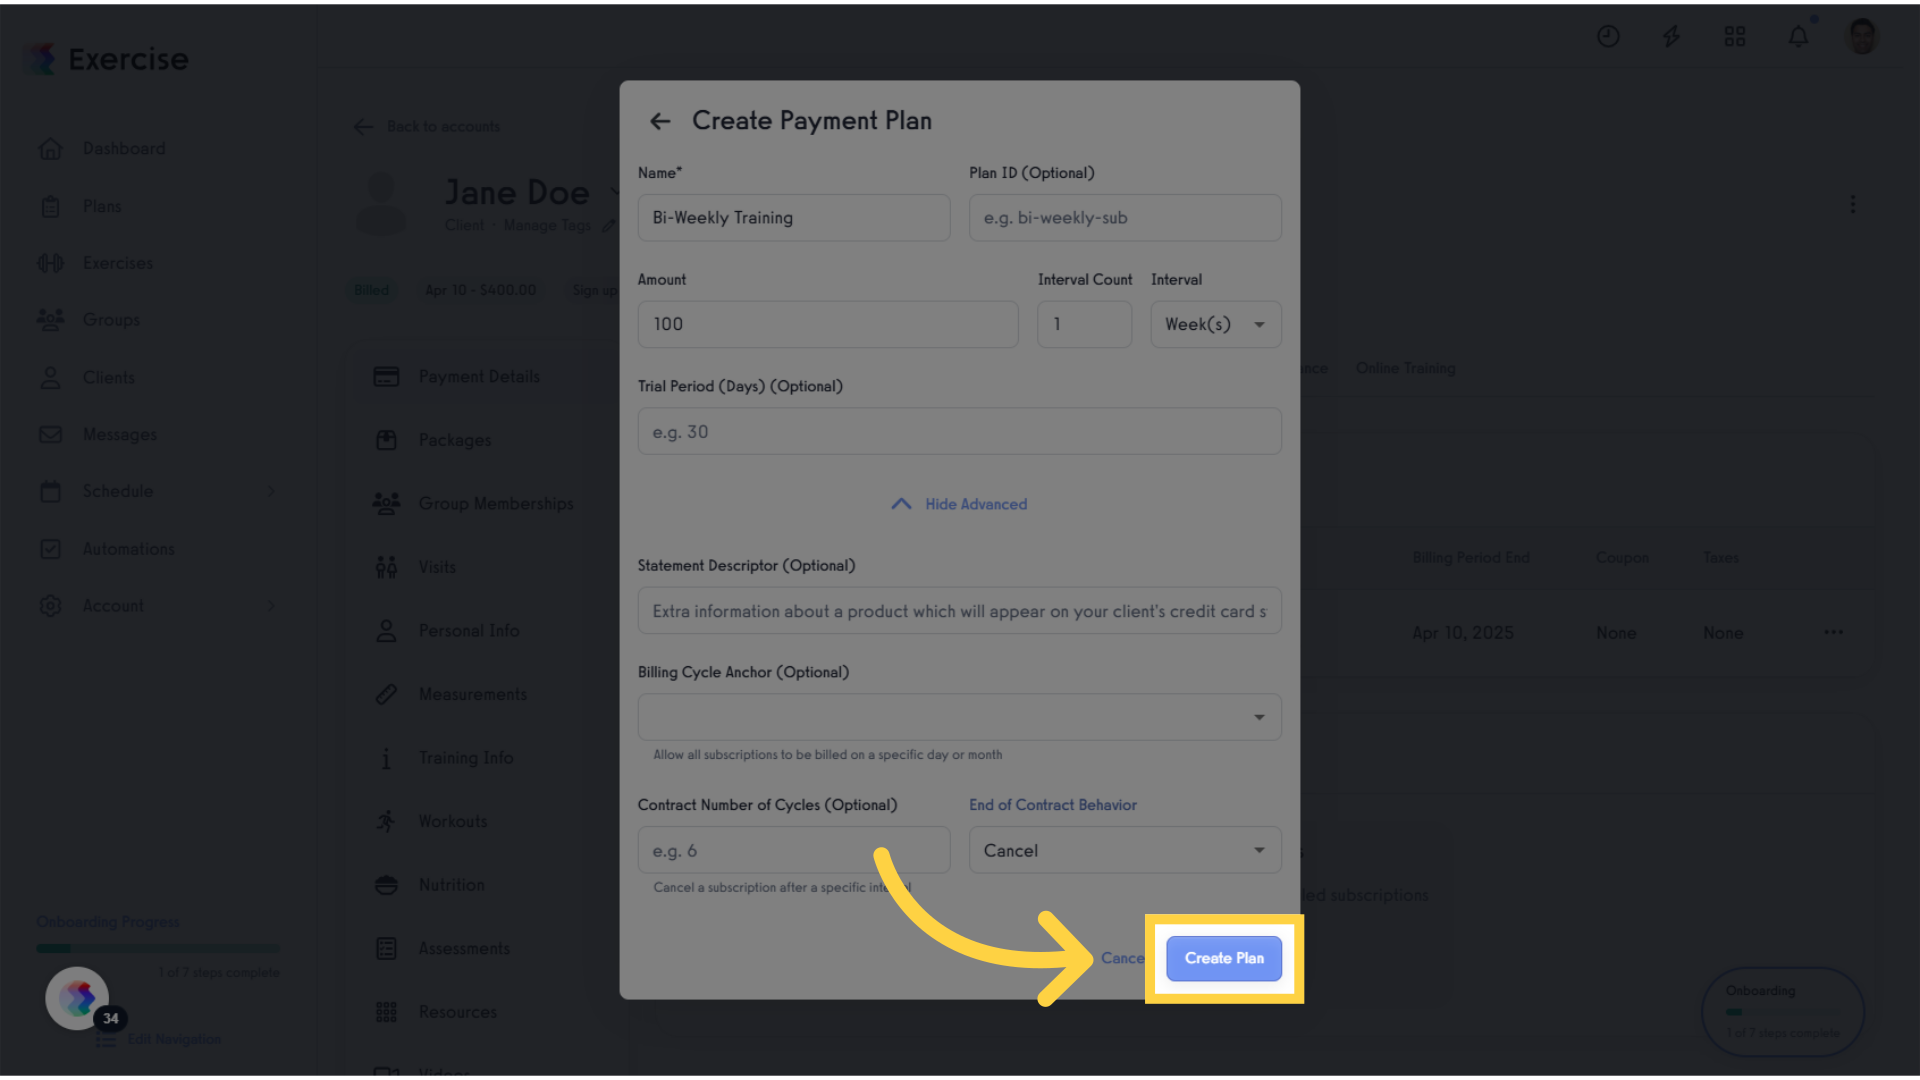
27. Click “Create Plan”.
Finalizing a new plan commits to your client’s updated subscription, enhancing their experience with your service.
28. Click “Update Payment Plan”.
This step may involve final confirmations or clarifications, ensuring all changes are understood.
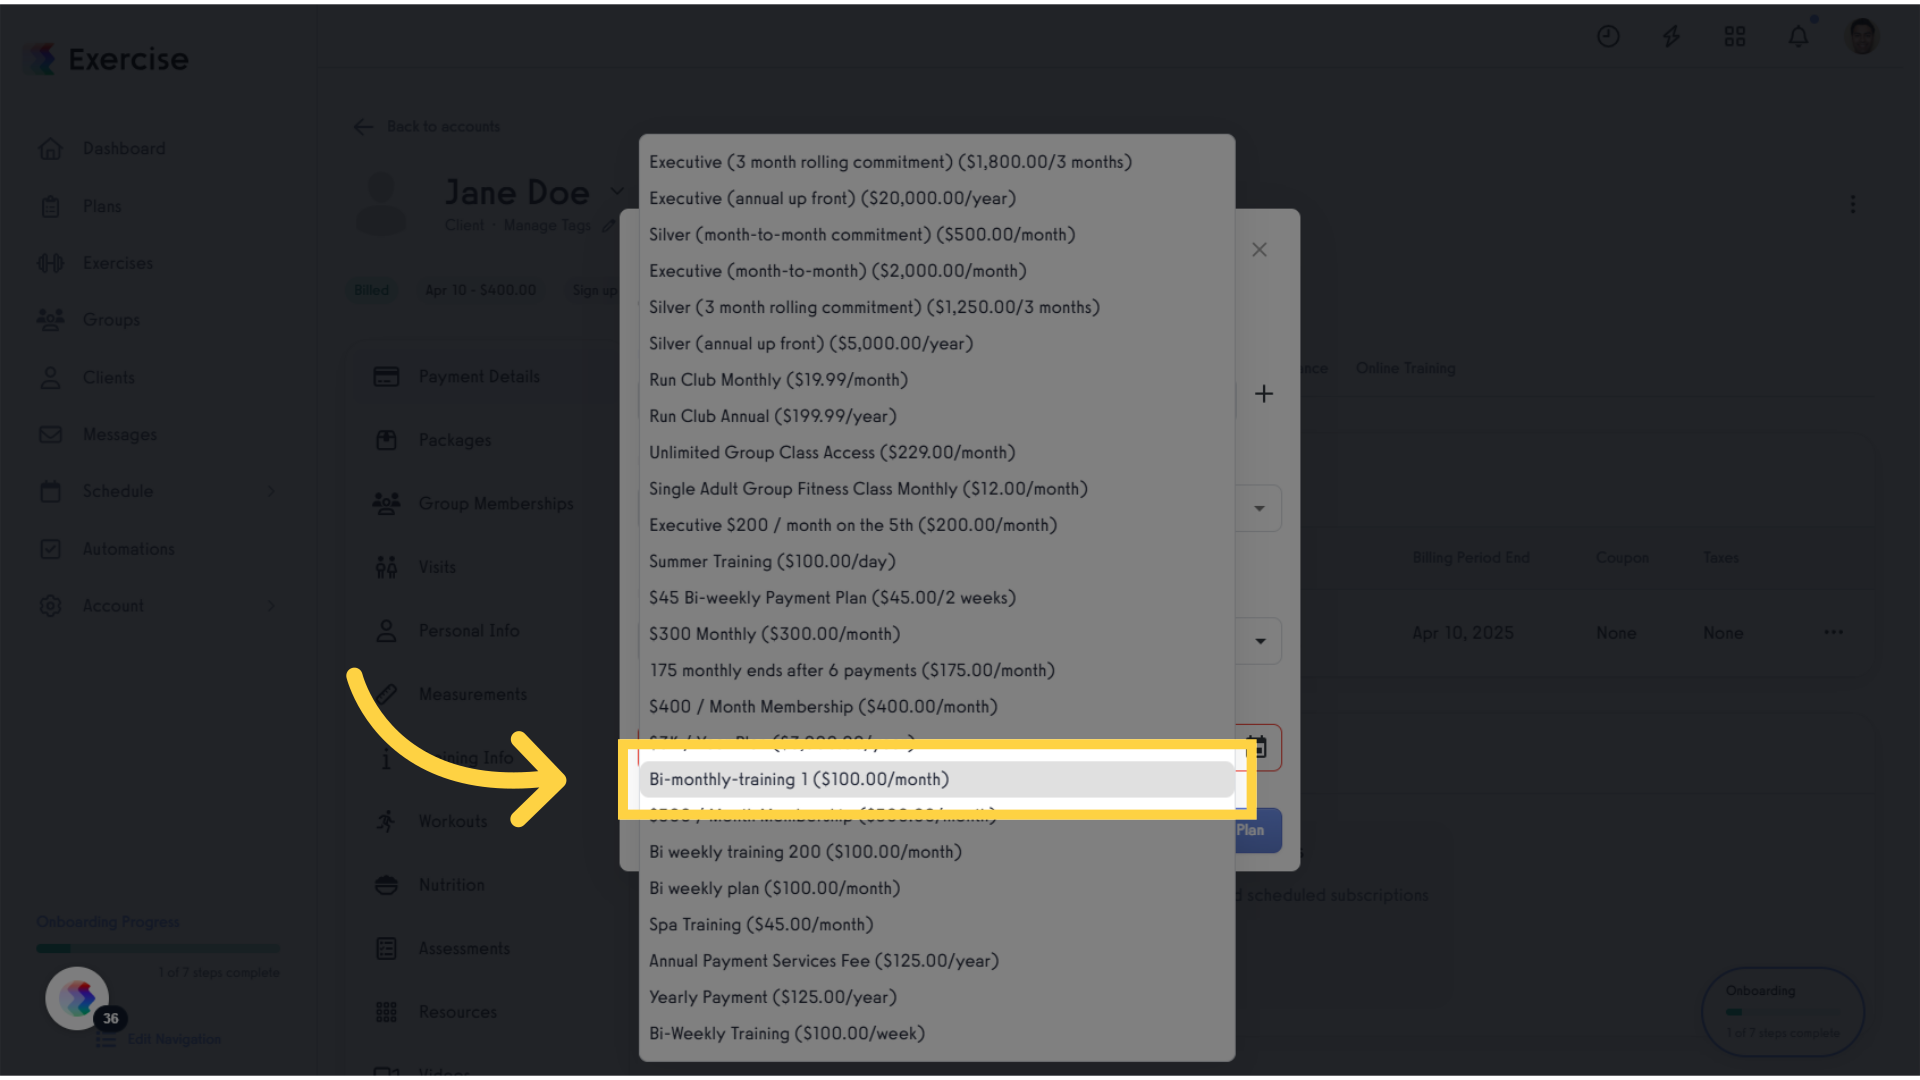
29. Click “Bi-monthly-training 1 ($100.00/month)”.
Selecting a specific training plan finalizes the client’s subscription choice, allowing you to deliver tailored services.
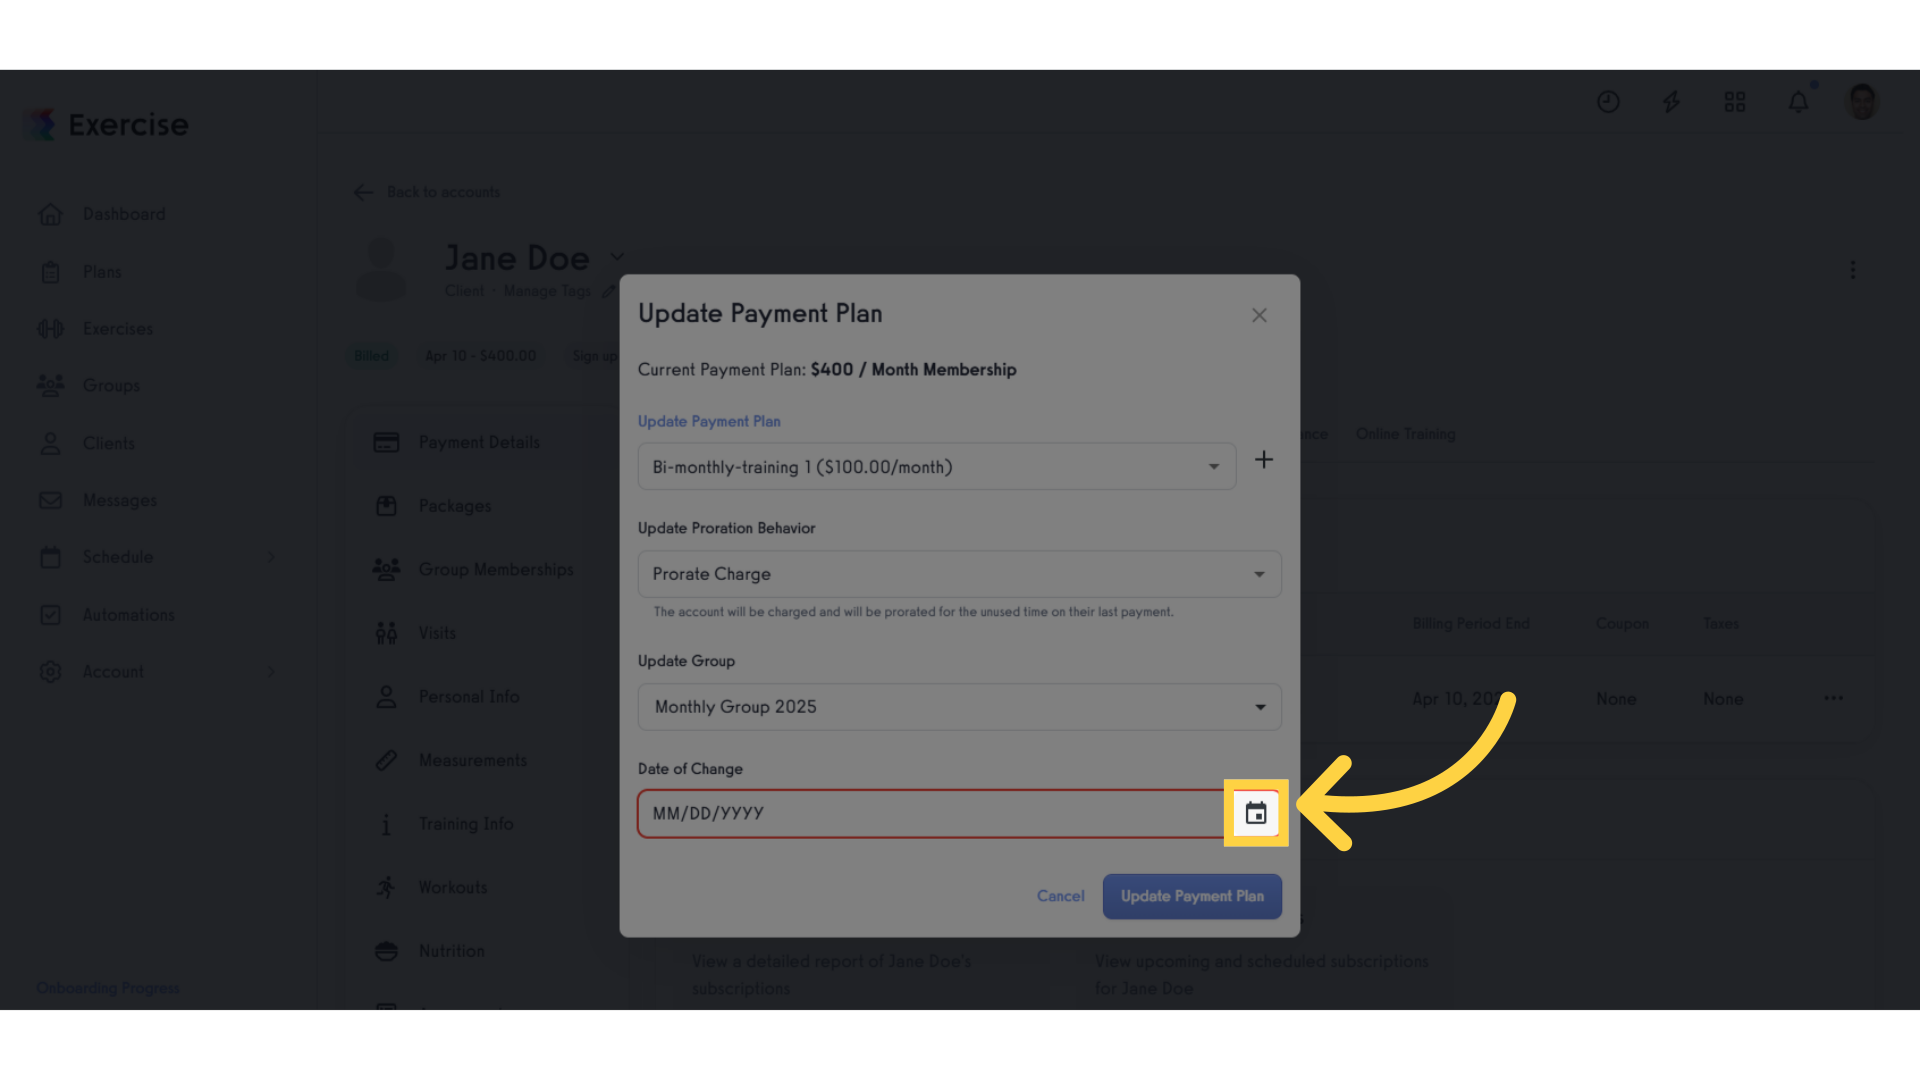
30. Click the calendar icon.
This step might involve reviewing or editing the selected plan, critical for ensuring accuracy before finalization.
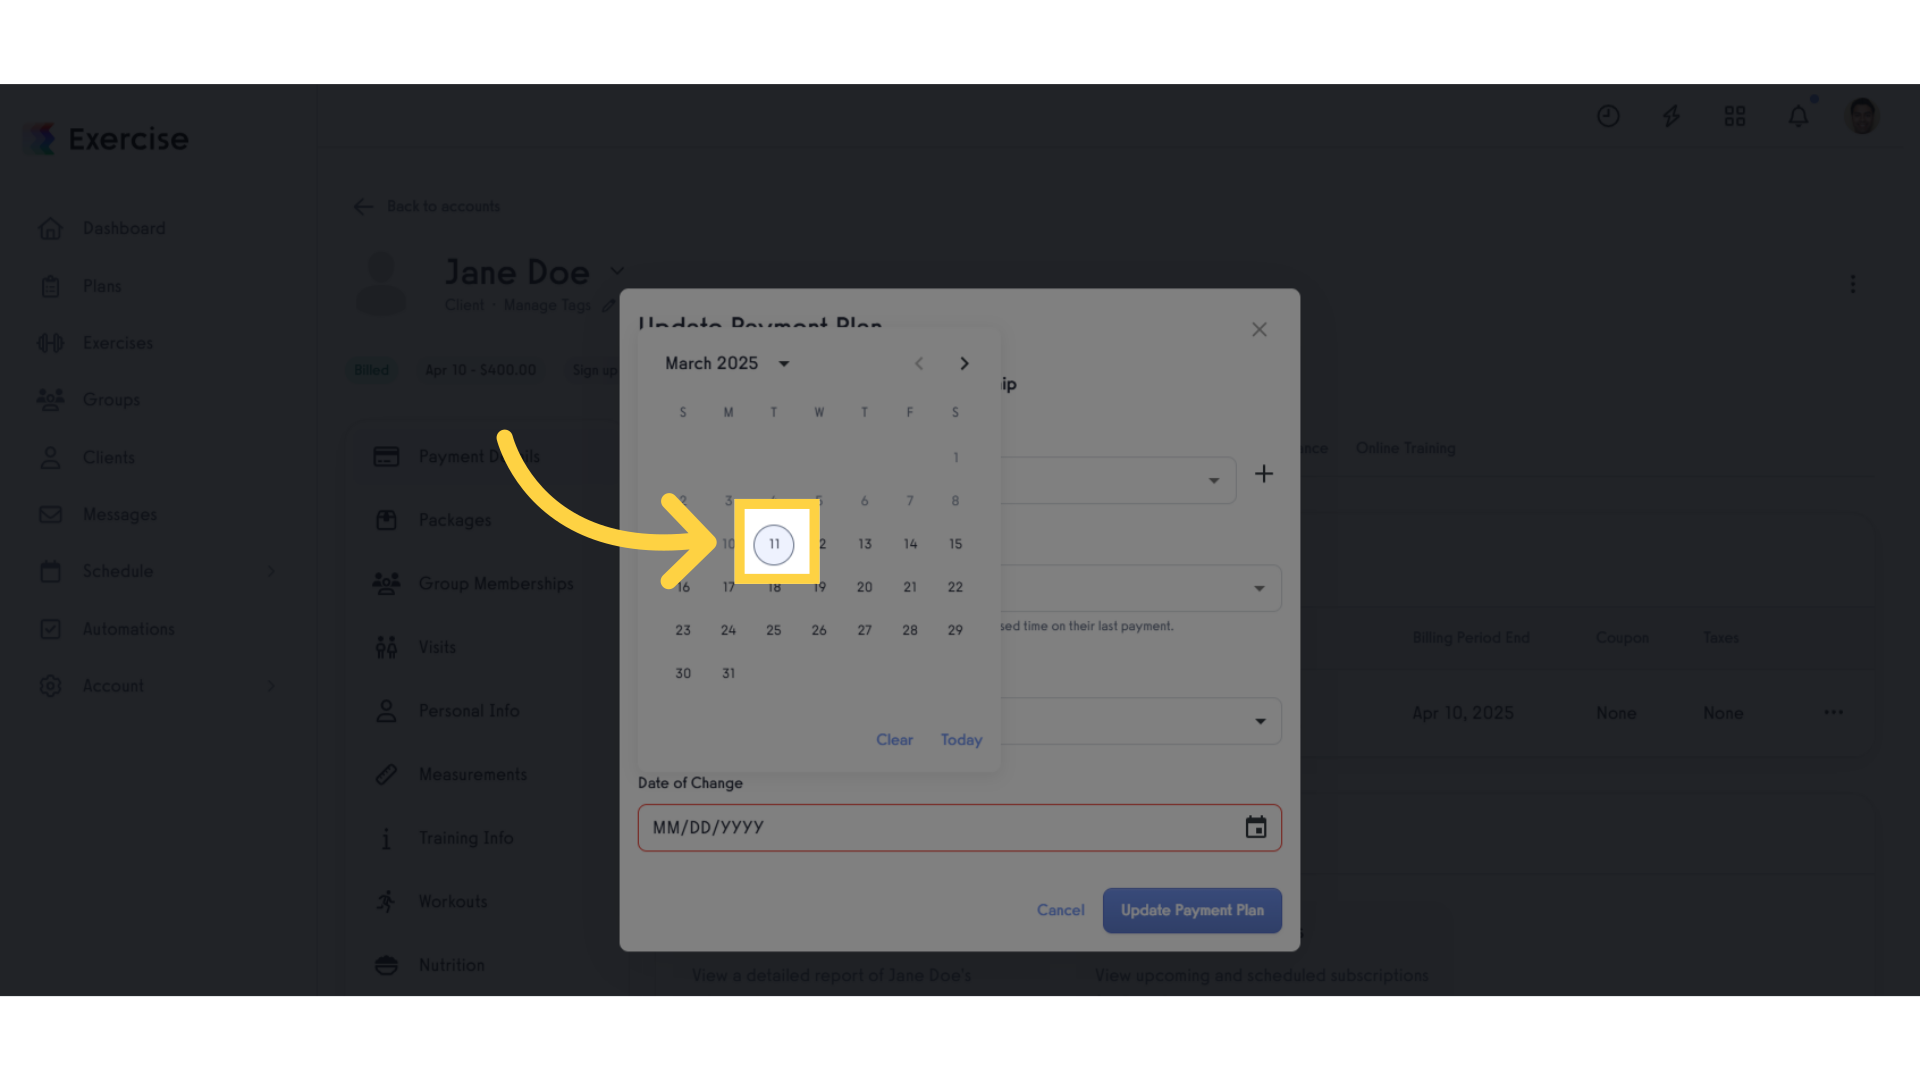
31. Click “11”.
Selecting the number of sessions helps personalize the training experience, catering to client preferences.
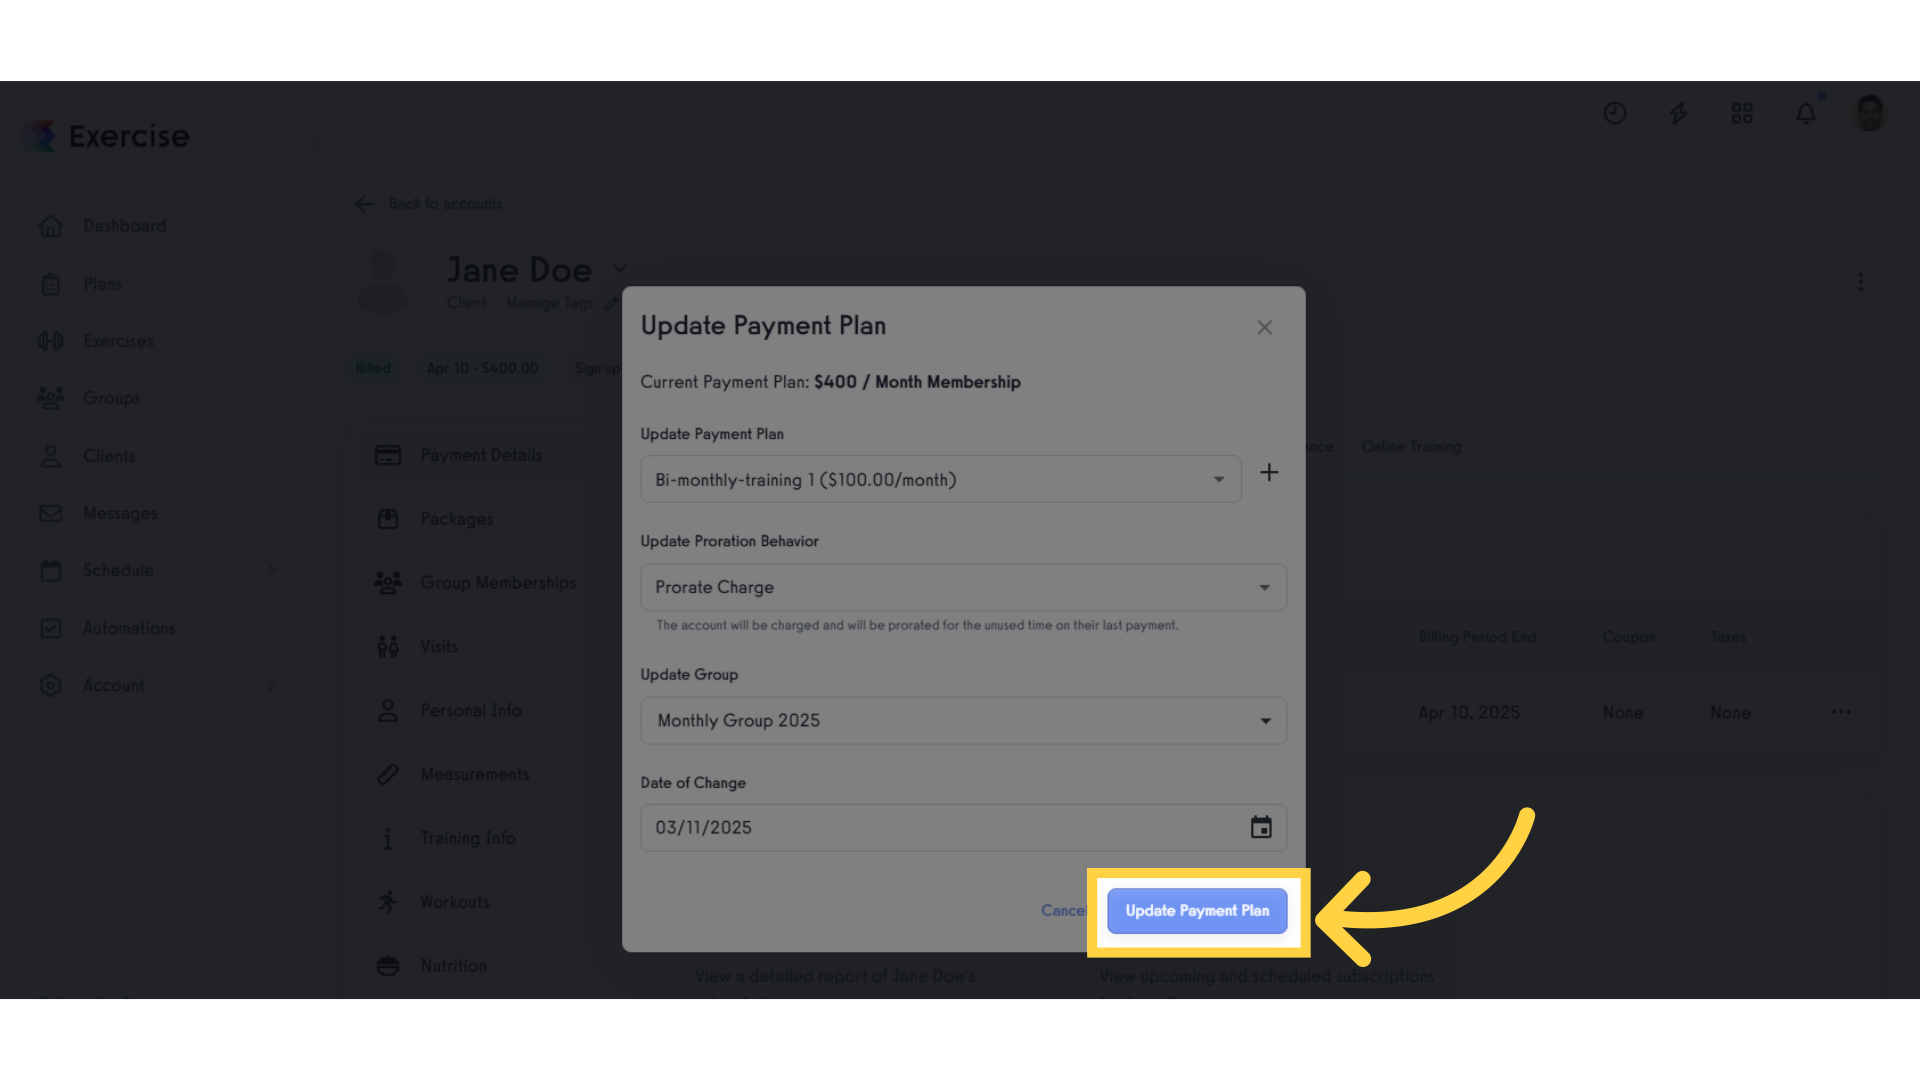
32. Click “Update Payment Plan”.
Updating the payment plan solidifies the changes, ensuring smooth transaction management for the client.
33. Click “Charges”.
Reviewing charges ensures transparency and clarity in billing, fostering trust with clients.

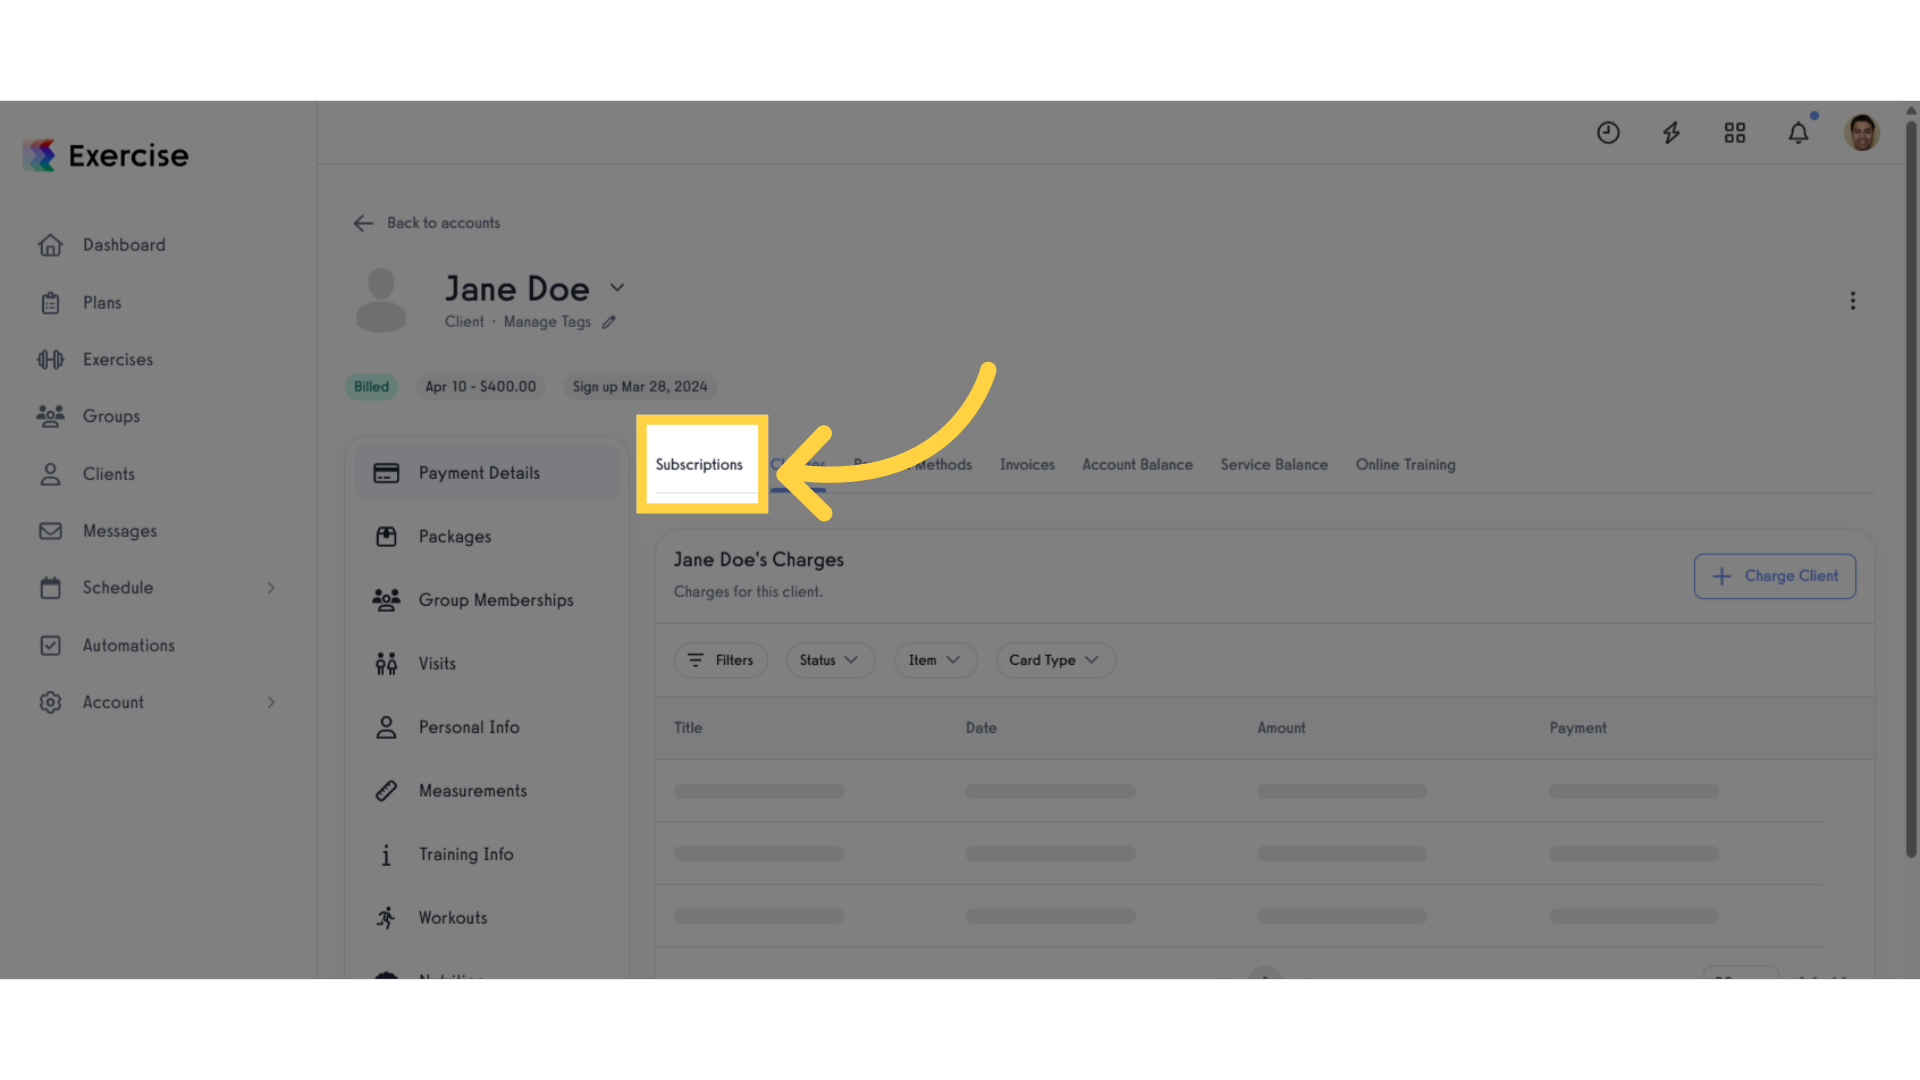
34. Click “Subscriptions”.
Accessing the subscriptions overview allows you to manage all client plans from one centralized location, simplifying operations.
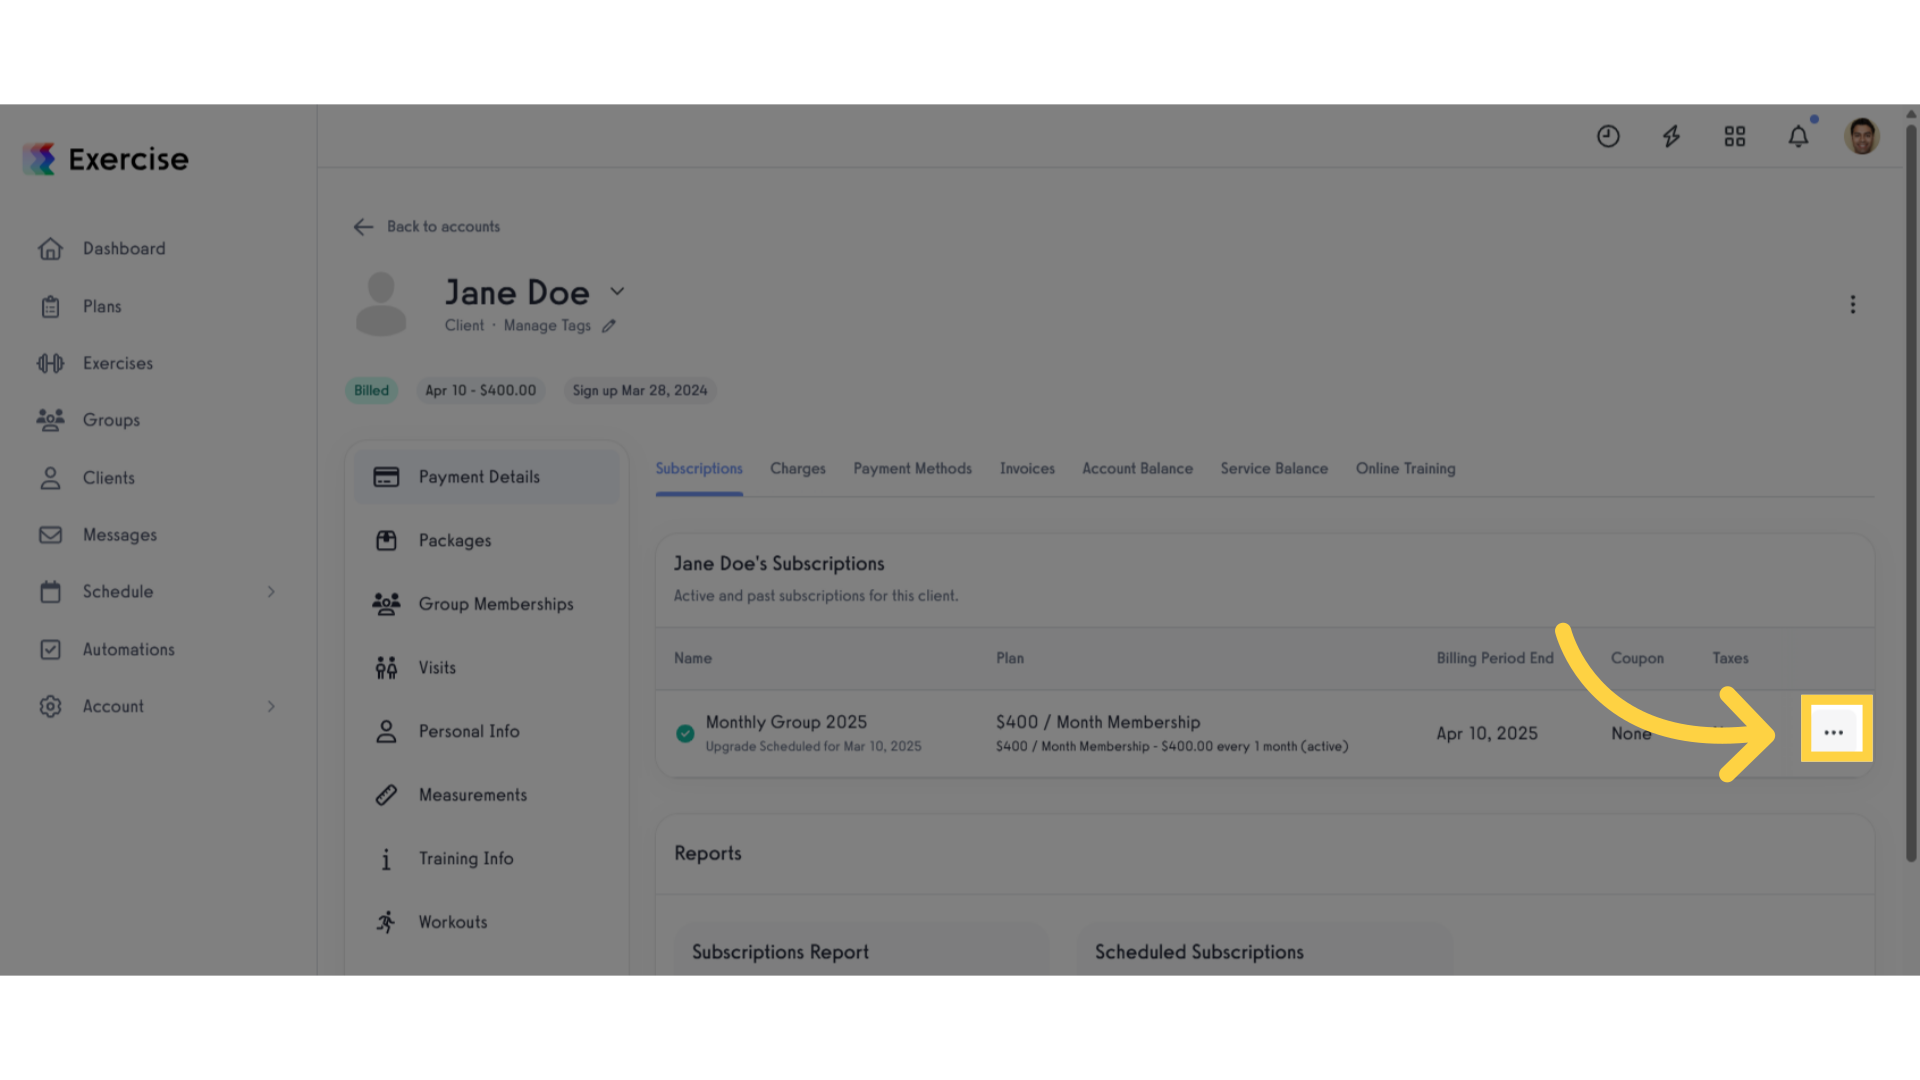
35. Click triple dots.
This action leads you to the payment management section, essential for overseeing ongoing subscriptions.
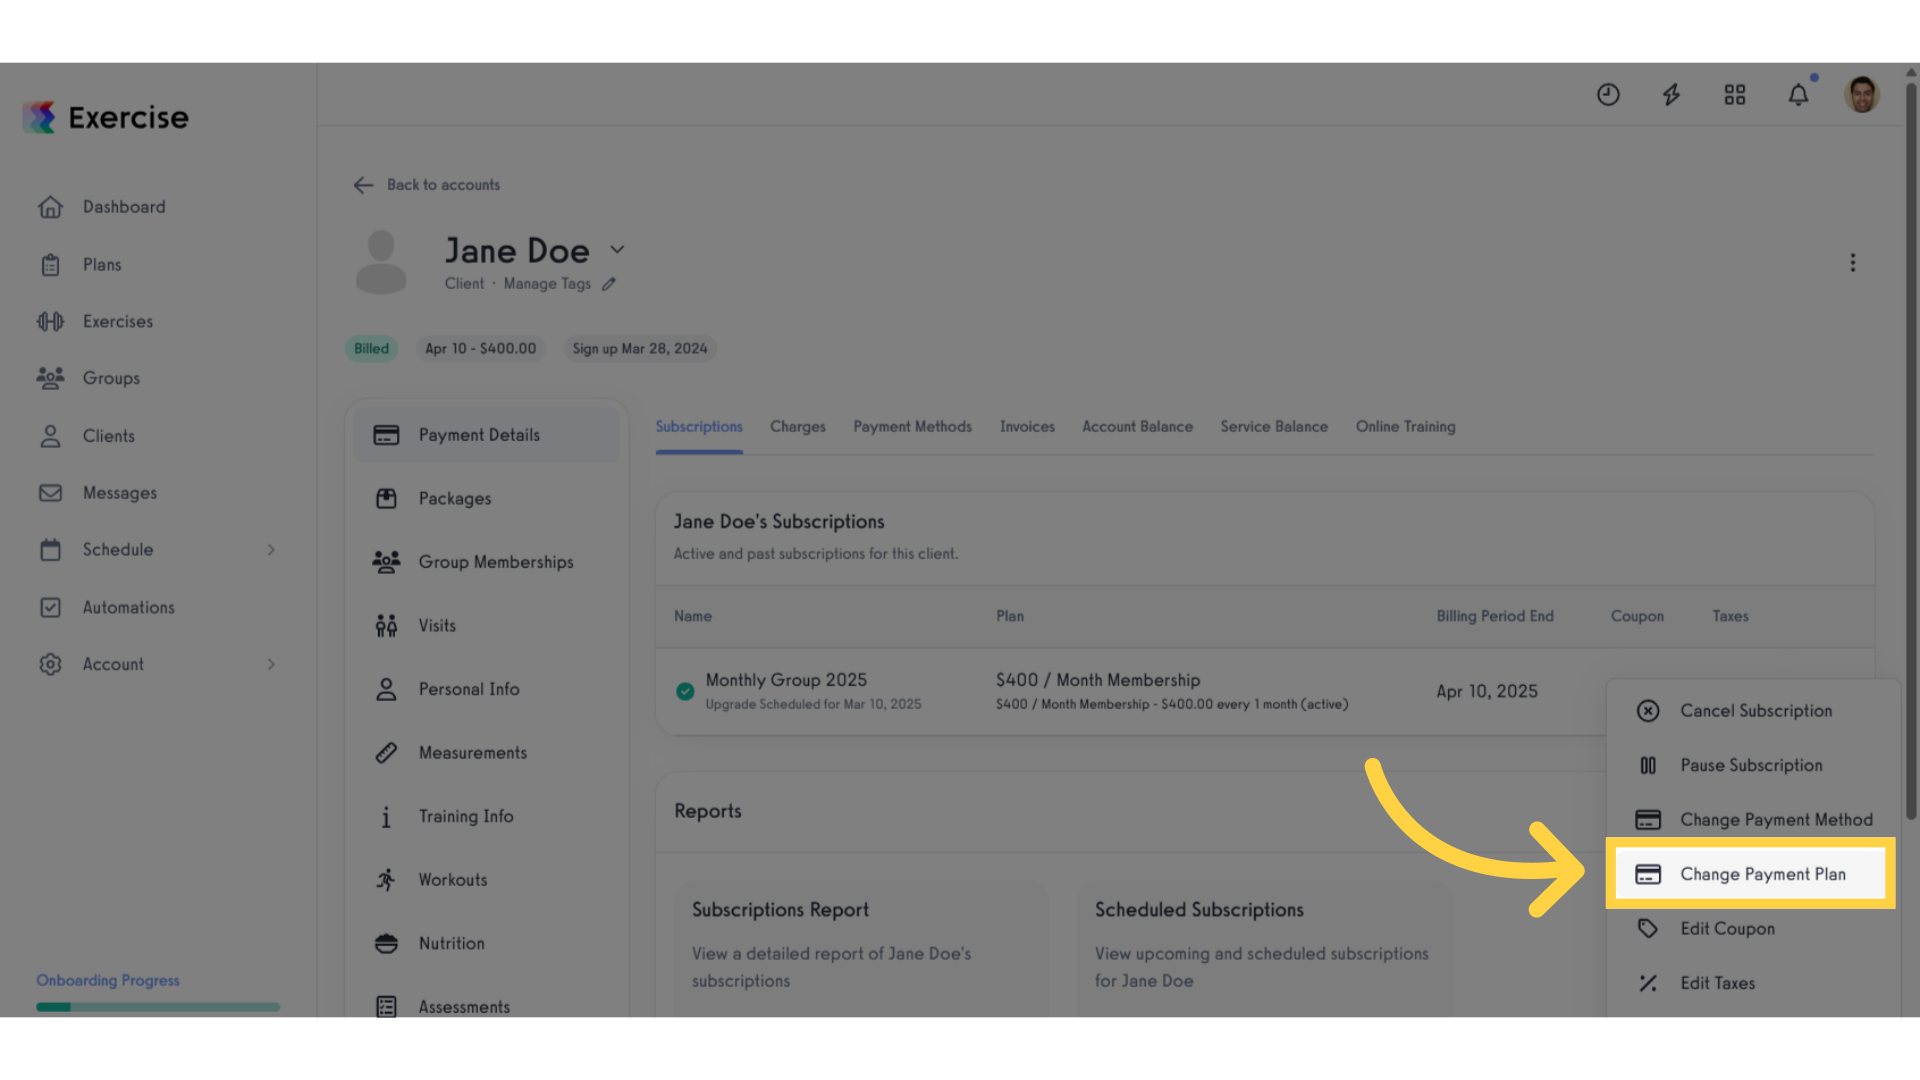
36. Click “Change Payment Plan”.
Accessing this option allows you to make necessary adjustments that enhance client satisfaction.
37. View “Upgrade Scheduled:”
You can now view updated schedule subscription.

38. Click “Scheduled Payment Plan:”.
Reviewing the scheduled payment plan helps ensure that all adjustments align with client expectations.
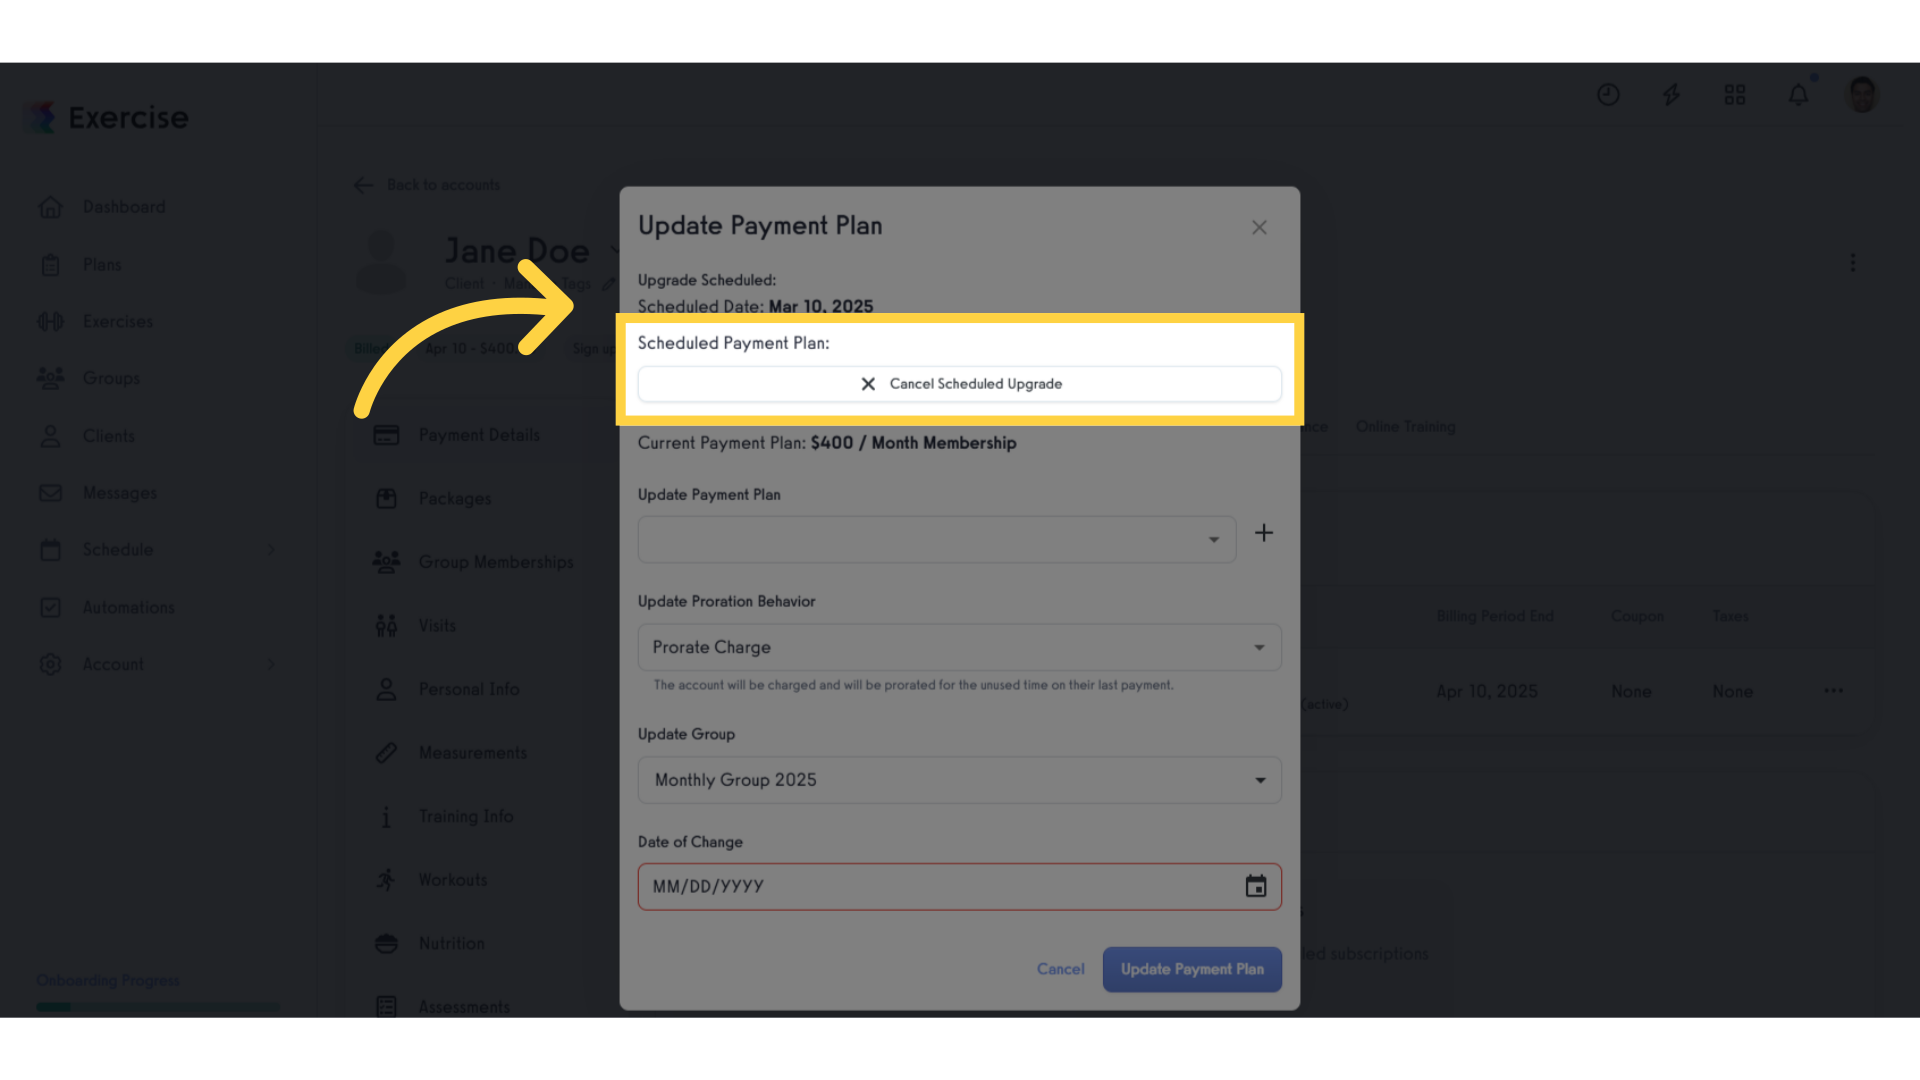
39. Click “Cancel Scheduled Upgrade”.
Canceling an upgrade prevents unnecessary changes, keeping the subscription process smooth.

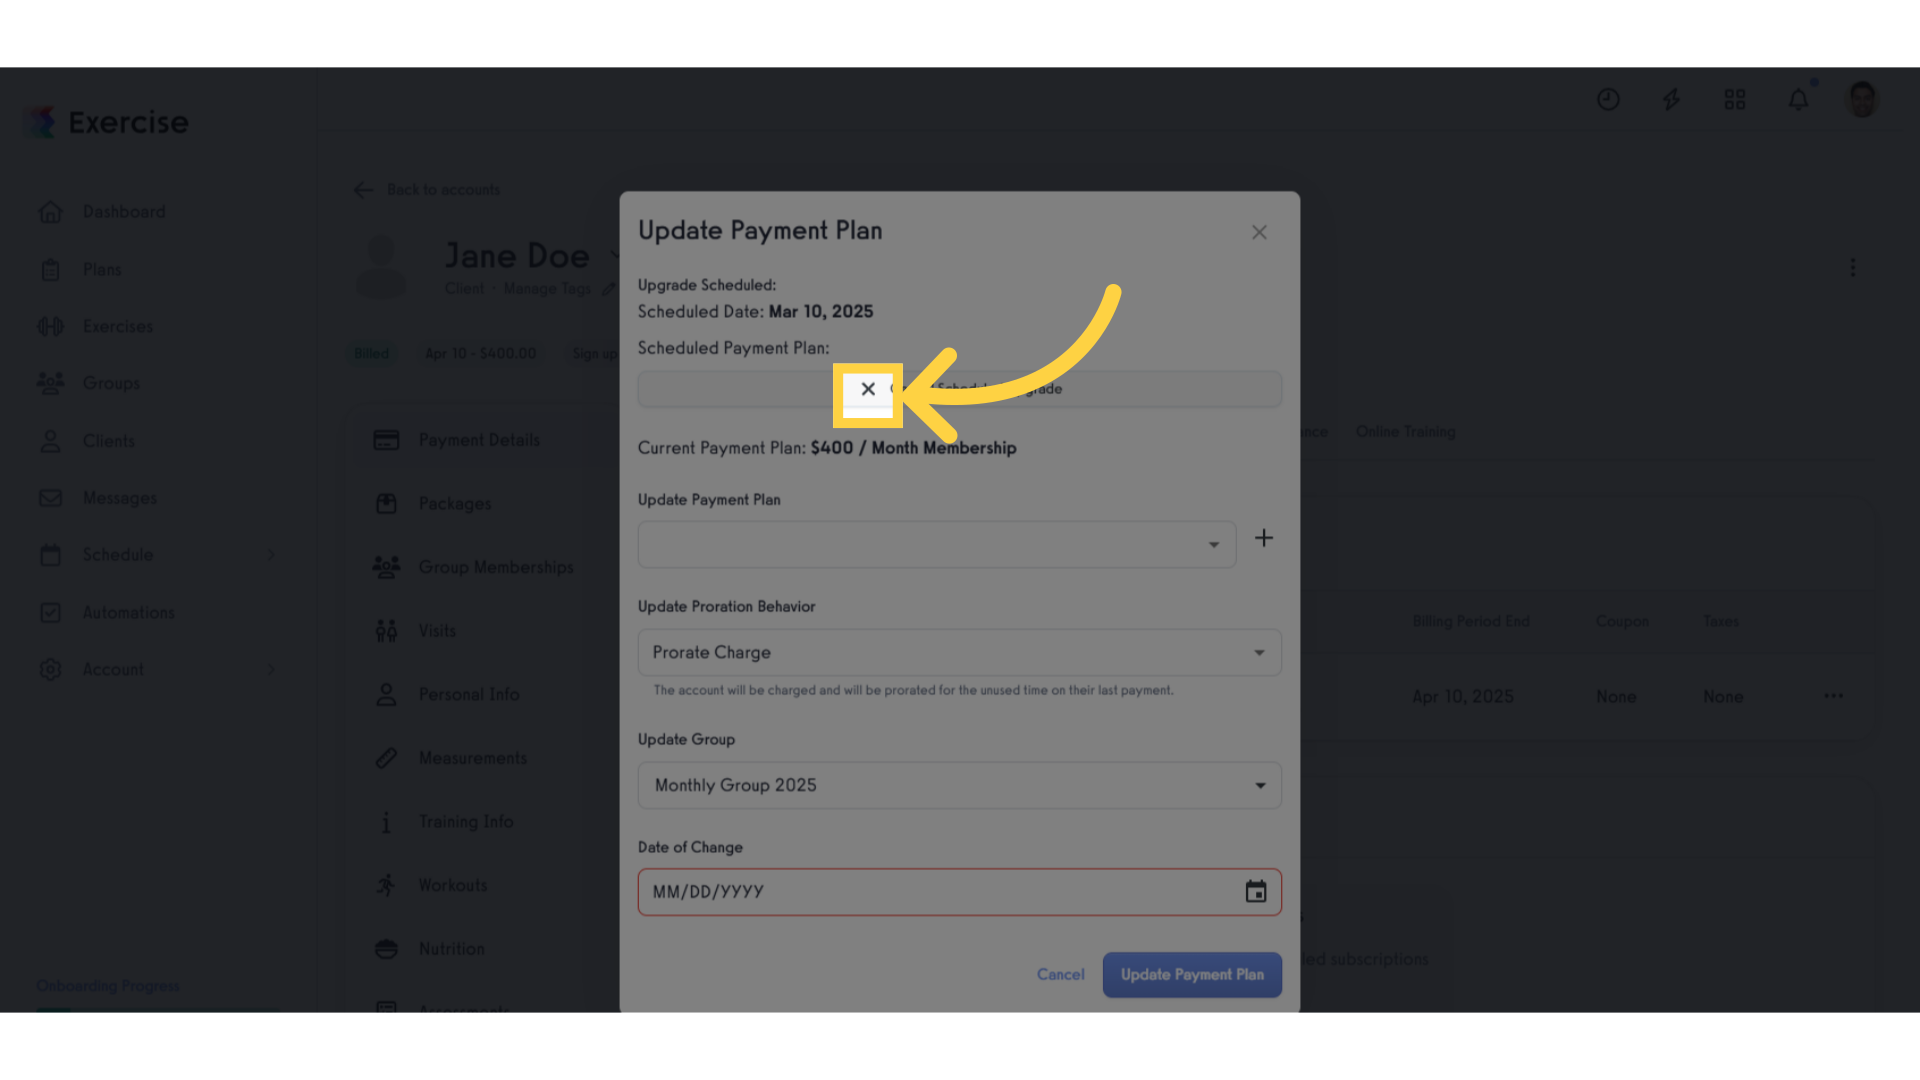
40. Click x icon.
This action will guide you back to the main subscription options, allowing for more decisions to be made.
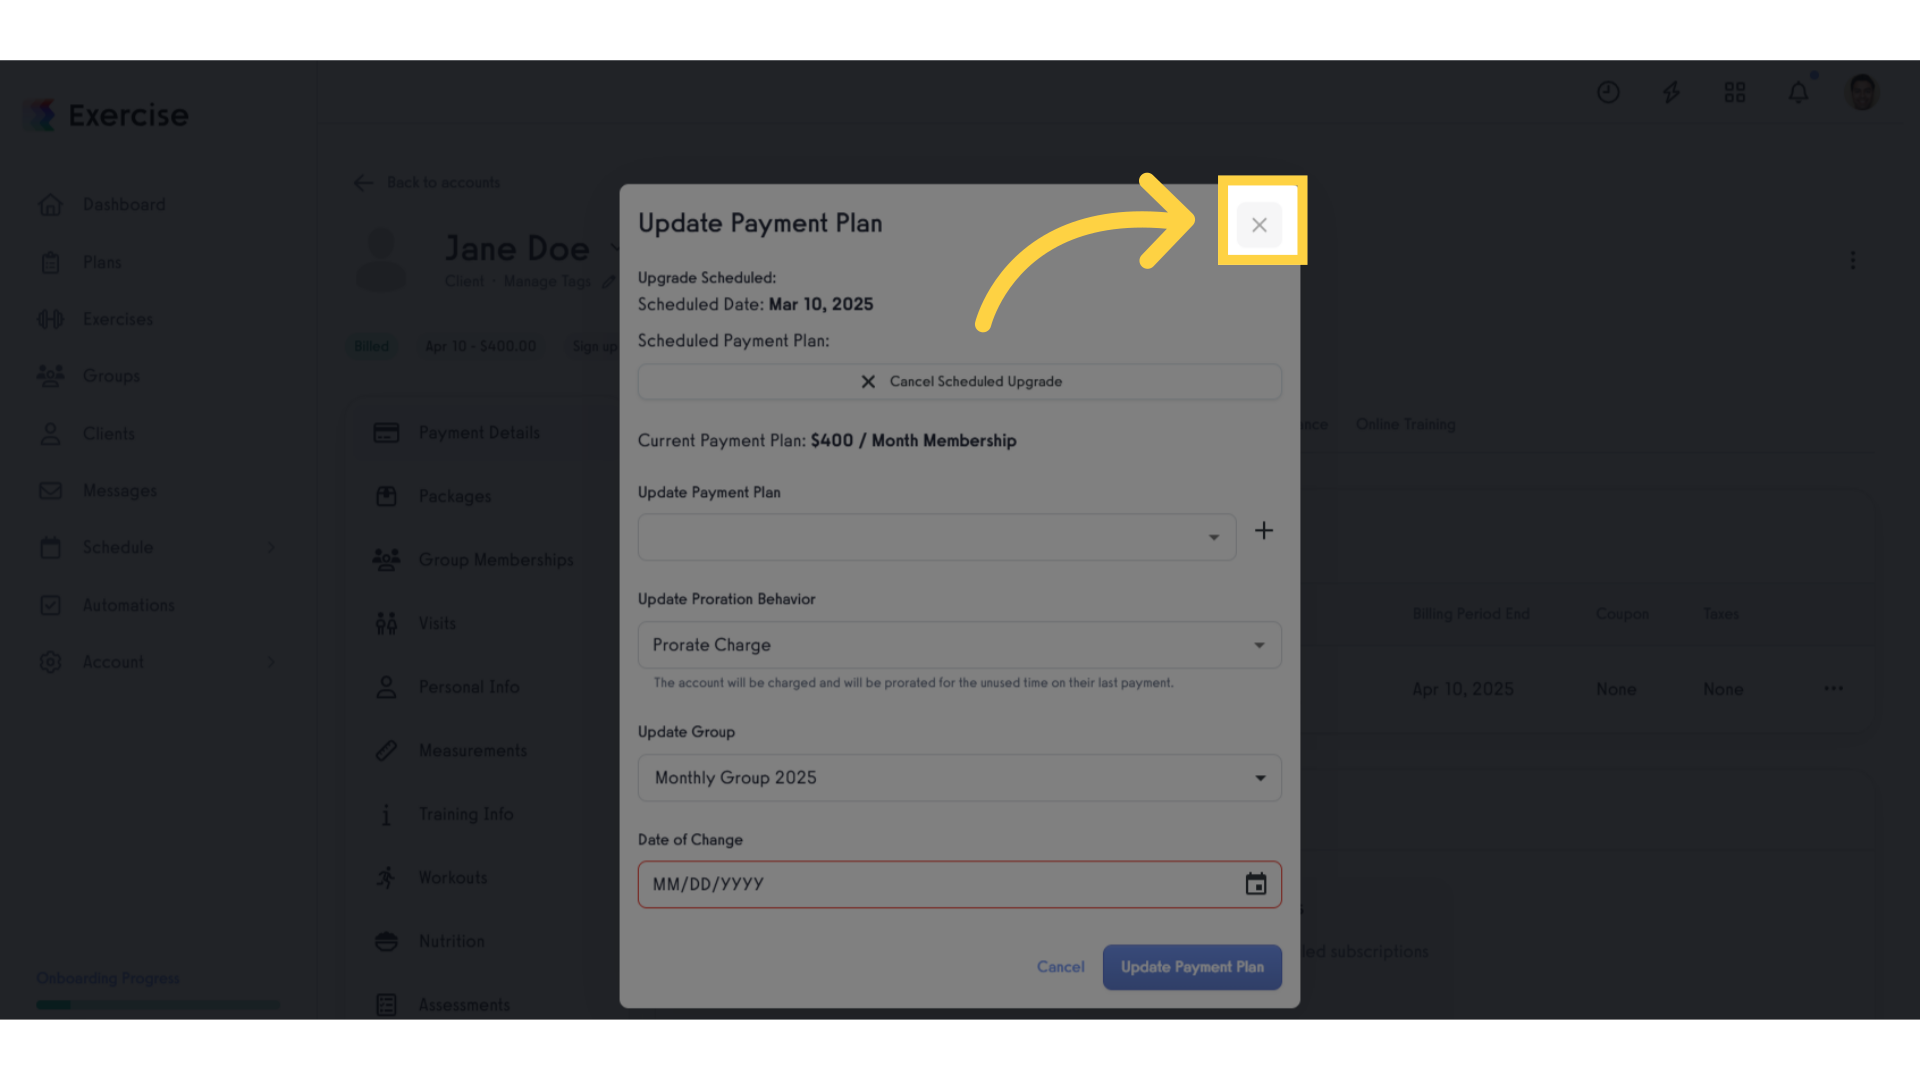
41. Click close icon.
Returning to this section is critical for finalizing any changes and ensuring that all updates are accounted for.
By following this guide, you will efficiently update scheduled subscriptions, giving your clients personalized options that cater to their needs. This feature not only streamlines your workflow but also strengthens client relationships, ultimately leading to improved satisfaction and loyalty.


